
Linux Mint is an open-source operating system offering users various features and functionalities. One of the standout features of Linux Mint is its software manager, which allows you to easily browse, install, update, and remove software applications. This comprehensive guide will dive deeply into the software manager and cover everything you need to know to manage all software applications effectively.
We will start with the basics of accessing the manager and searching for the software before moving on to more advanced topics like customization and troubleshooting common issues. By the end, you will completely understand how to oversee Linux Mint applications with this dynamic tool. Virtualization in computing involves creating virtual machines, storage, hardware, computer network resources, or an operating system. You can create many operating system instances on a single computer. These instances are called virtual machines. Here is the top opensource virtualization software for Linux.
Linux Mint software manager
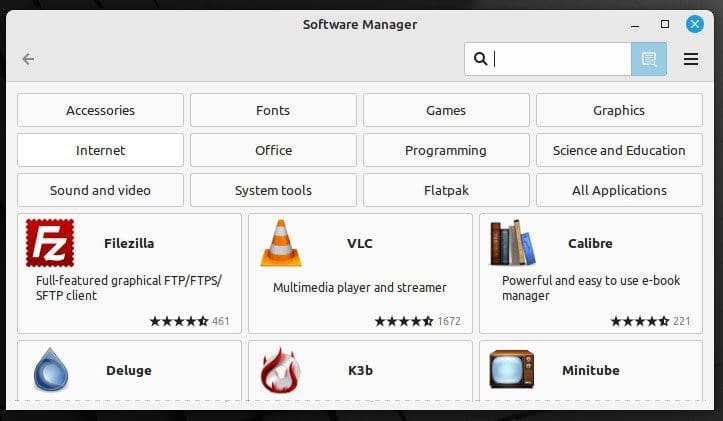
The Linux Mint software manager allows easy and quick management of all sorts of software applications. It is a graphical user interface (GUI) application that comes pre-installed with the Linux Mint operating system. The software manager provides access to a wide range of open-source and proprietary apps that can be installed, updated, and removed with just a few clicks.
Linux Mint software manager
One of its standout features is simplicity and ease of use. It has a clean and intuitive interface that is easy to navigate, even for people new to Linux. The software manager also hosts a powerful search functionality that makes it easy to find and install the latest applications within moments.
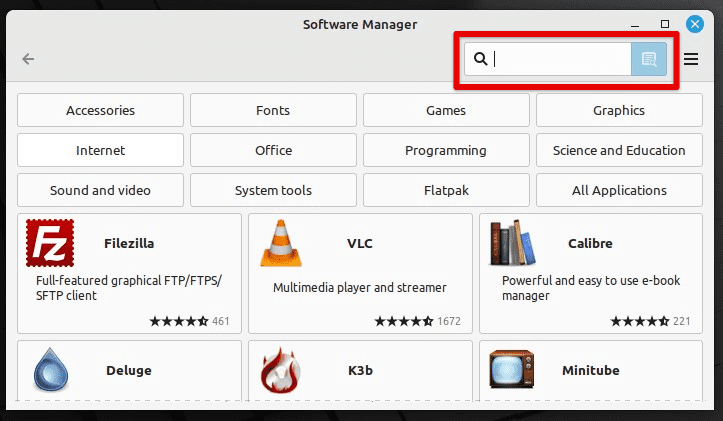
Software manager search functionality
This program is designed specifically for the Linux Mint operating system. It means it is optimized for the platform and provides seamless integration with the system. Additionally, the software manager is backed by a robust package management system that ensures all applications are up-to-date and free from security vulnerabilities. It includes a vast library of Mint software apps, including popular ones like LibreOffice, VLC, and GIMP. This makes it easy for everyone to find and install the applications they need for work or personal use.
Accessing the software manager
On Linux Mint, you can access the software manager with a couple of different methods. The first is navigating to the manager from the main menu, and the second involves using the terminal commands.
Method 1: Navigating from the main menu
The easiest way to access the software manager on Linux Mint is by navigating to it from the main menu. You can do so by going through the steps mentioned below:
Step 1: Click on the “Menu” button in the bottom left corner of the desktop. This will open the Linux Mint main menu.
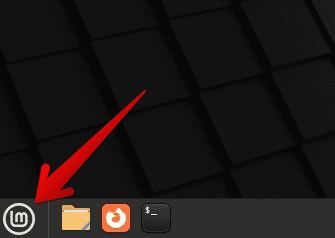
Opening the Linux Mint main menu
Step 2: Go to the “Administration” tab or search for it from the search bar at the top.
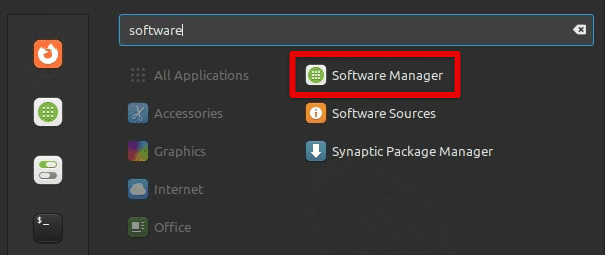
Searching for software manager in the main menu
Step 3: Click the “Software Manager” icon in the “Administration” category. Doing so will launch the software manager.
Method 2: Using terminal commands
Another way to access the software manager is by employing the Linux Mint terminal.
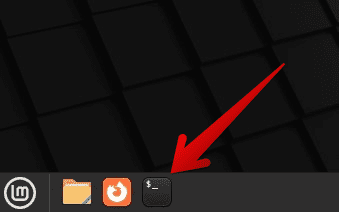
Step 1: Open the terminal by clicking the “Terminal” icon in the main menu or using the keyboard shortcut “Ctrl + Alt + T”.
Opening the Linux Mint terminal
Step 2: Type the following command in the terminal and press “Enter”. Doing so will launch the software manager immediately.
mintinstall
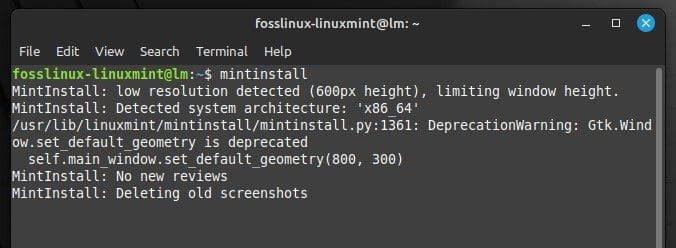
Opening software manager with Linux Mint terminal
Once the manager launches, you can start browsing for software applications. It has a clean and intuitive interface that is easy to move around. Use the search bar at the top of the window to search for a specific app or browse through various categories to discover new software.
Searching for software
The software manager provides various methods to search for software, making it easy for users to find and install the applications they need. This section will cover three ways to search for software in this manager. These include using the search bar, browsing by categories, and filtering by keywords.
Using the search bar:
The search bar is the quickest way to find new software in the Linux Mint software manager.
Step 1: Launch the software manager. Type the name or keywords of the software application you seek in the search bar at the top of the window.
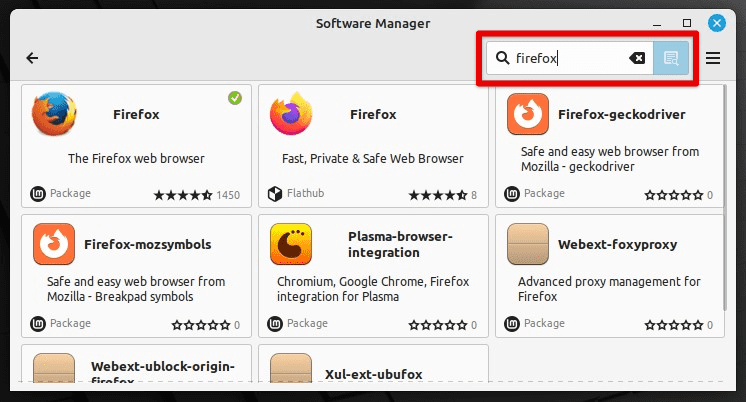
Searching for firefox in the software manager
Step 2: As you type, the manager displays a list of matching results. Click on the application you want to install to view more details.
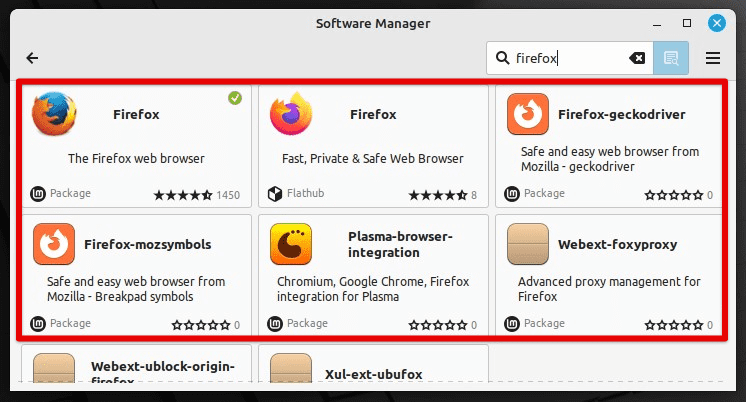
Matching results for the search query
Step 3: To install the application, click the “Install” button next to its name.
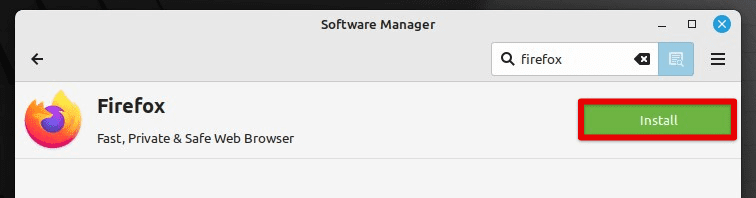
Install button
Browsing by categories:
Step 1: Launch the software manager. Click on one of the “Categories” tabs at the window’s top.
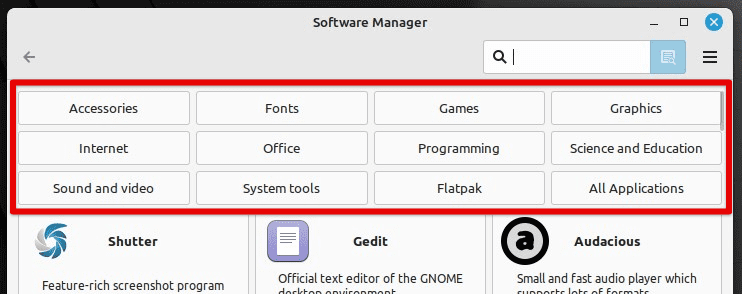
Software manager category tabs
Step 2: Browse through various categories to find the software application you seek. You can expand each category by clicking the arrow next to the category name.
Expanding a category tab
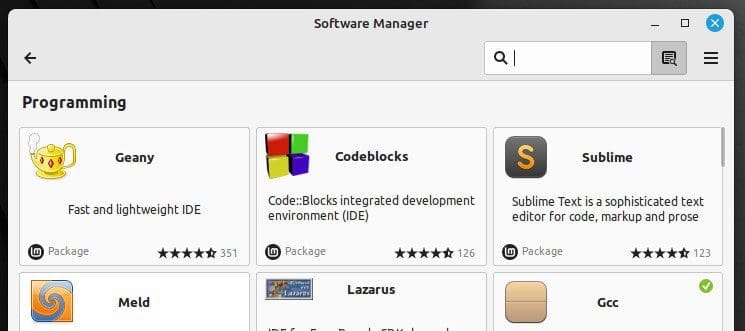
Step 3: Click on the application you want to install to view more details.
Step 4: To install that app, click the “Install” button next to the application’s name.
Filtering by keywords:
Filtering by keywords is a more advanced method for finding the latest software applications.
Step 1: Launch the software manager. Type the keywords or tags of the software application you seek in the “Search” field.
Step 2: Click on the hamburger menu icon in the window’s top right corner.
Hamburger menu icon
Step 3: Use the other filtering options and make sure that “Search in packages summary” and “Search in packages description” are checked.
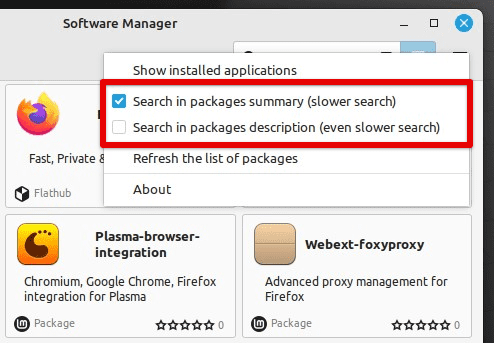
Enabling keyword filtering
Step 4: Apply these filters to display the matching results. You may then go to the application you want to install to view more details.
One of the essential tools in any Linux distribution is a Task Manager. It is a system monitor application that gives you a report of all programs running on your computer and the status of your RAM and CPU usage. Browse through our list of the six best task managers for Linux.
Installing and removing software
In this section, we will cover how to install and remove software through the software manager, as well as how to initiate the installation process, monitor its progress, and remove software and any related data.
Installing new software:
Here are the steps to follow for installing new software through the manager:
Step 1: Search for the application you want to install, as described in the previous section.
Step 2: Click the “Install” button next to the application’s name. If necessary, enter your user password to authorize the installation.
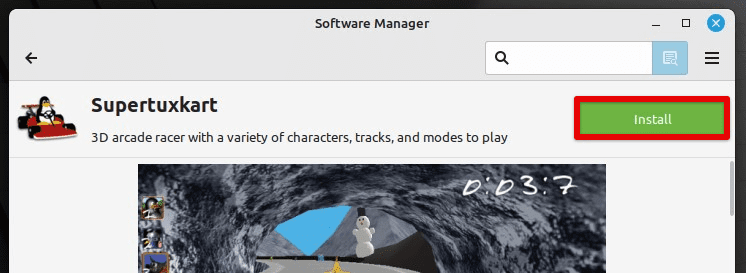
Installing a new application
Step 3: The software manager will download and install the application. You can monitor the progress of the installation from a bar in the window’s top right corner.
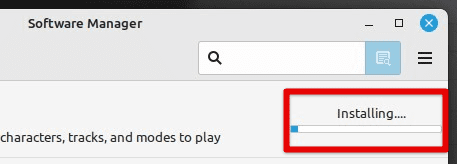
Installation progress
Step 4: Once the installation finishes, that application will be listed in your Linux Mint system’s “Installed” tab.
Removing installed software:
Here are the steps to follow for removing previously installed software applications:
Step 1: Launch the software manager. Search for an already installed application. Then, browse through the list of installed software to find the one you want to remove.
Step 2: Click on the application to be removed to open its respective page.
Step 3: Click the “Remove” button next to the application’s name. If necessary, enter your user password to authorize the process.
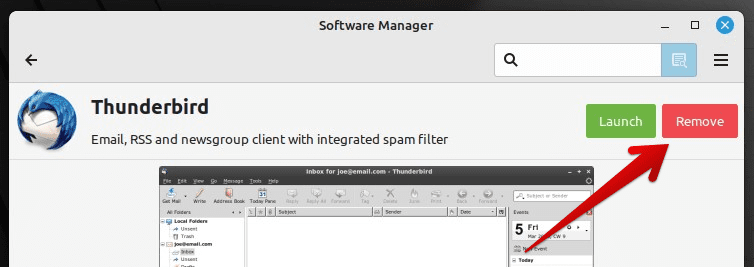
Removing a previously installed application
The software manager will remove that app and any related data. Once the process finishes, that application will no longer be listed in the “Installed” tab.
Note: It is important to note that some software applications may still leave behind residual configuration files or data after removal. If you want to remove all traces, you can use the following terminal command. This not only uninstalls the application but also removes any related configuration files.
sudo apt-get purge supertuxkart
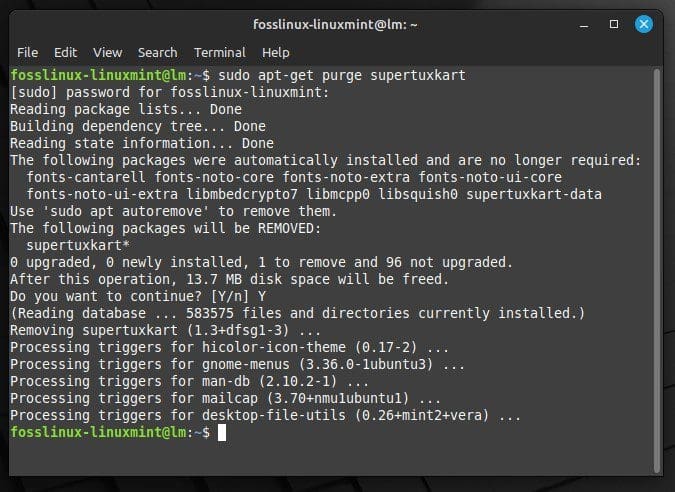
Removing an application with terminal
Replace “supertuxkart” with the application name you want to remove.
Monitoring progress:
While installing or removing software through the software manager, you can monitor the progress of the process in the “Queue” tab. The queue lists all pending software installations or removals and their current status. You can pause, resume, or cancel the process using the buttons next to each entry in the queue.
Updating software
Keeping your software applications up to date is essential to maintaining the stability and security of your system. This section will cover how to update already installed software through the Linux Mint software manager. We will also discuss how to check for new updates and manage them automatically.
Checking for updates:
Step 1: Launch the manager. Doing so automatically starts a check and displays a list of available updates. You can also click the “Refresh the list of packages” option to check for updates manually.
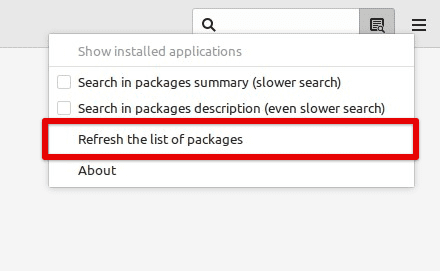
Refreshing the list of packages
Step 2: The list displayed by the manager includes the name of the software application, the current version, and the available version.
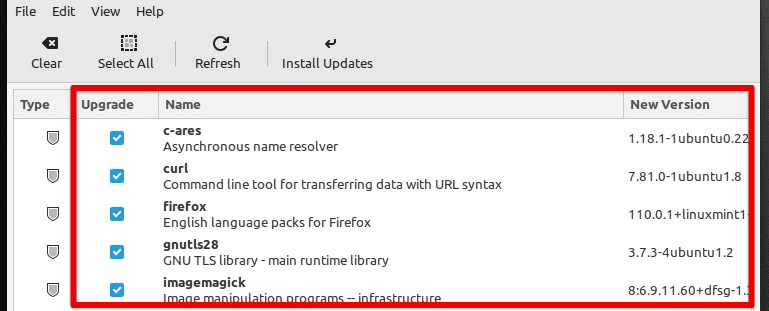
List of available updates
Step 3: Select the applications you want to update by clicking the checkboxes next to their names. Once you have selected it, click the “Install updates” button. If necessary, enter your user password to authorize the updates.
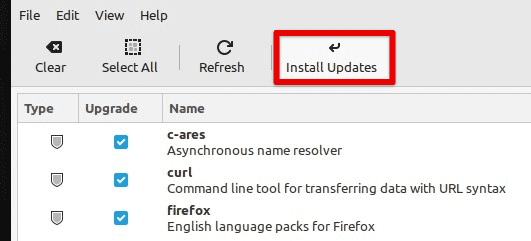
Installing selected updates
The software manager will now start downloading and installing the selected updates. You can monitor their progress in the queue.
Managing automatic updates:
By default, the Linux Mint software manager is set to check for updates and notify you when updates are available. However, you can also configure the manager to download and install updates regularly and automatically. Following are the steps to manage automatic updates on Linux Mint:
Step 1: Launch the manager. Click on the “Edit” menu located at the top of the window.
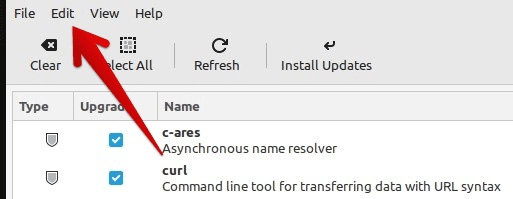
Opening the edit menu
Step 2: Select “Preferences” from the dropdown menu. In the “Preferences” window, click on the “Automation” tab.
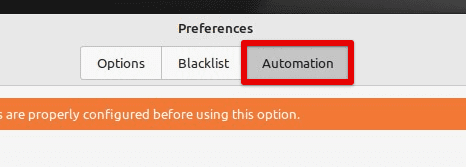
Automation tab in the preferences
Step 3: Under “Package updates,” you can choose how often you want the software manager to check for updates and whether you want to download them automatically.
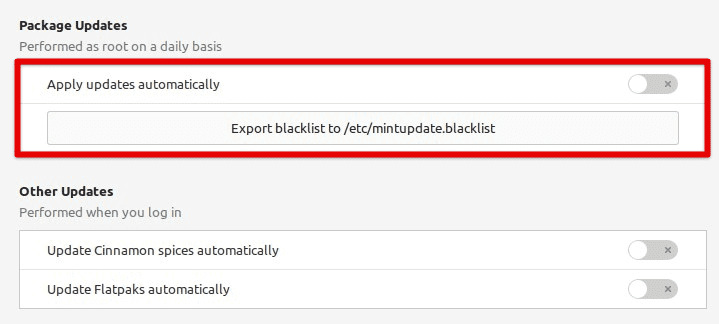
Applying updates automatically
Step 4: You can also receive notifications when updates are available and set their frequency. Once you have made all the changes, click the “Close” button to save these preferences.
Customizing the software manager
The Linux Mint software manager provides various customization options for tailoring each user’s experience. In this section, we will cover how to customize the software manager by adjusting settings related to display, notifications, and updates.
Customizing interface settings:
Step 1: Launch the manager. Click on the “Edit” menu located at the top of the window.
Step 2: Select “Preferences” from the dropdown menu. In the “Preferences” window, go to the “Options” tab.
Step 3: You can choose your preferred interface by toggling the switches next to each option. Once you have made all changes, click the “Close” button to save your preferences.

Customizing interface settings
Customizing notification settings:
Step 1: Launch the manager. Click on the “Edit” menu located at the top of the window.
Step 2: Select “Preferences” from the dropdown menu. In the “Preferences” window, go to the “Options” tab.
Step 3: Here, you can choose how often you want to receive notifications from the manager. Select the type of notifications you wish to receive from one of the options below. Once you have made all changes, click the “Close” button to save your preferences.
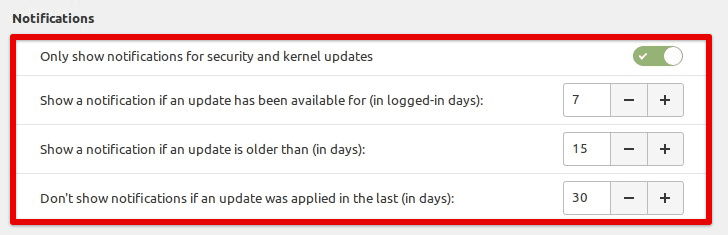
Customizing notification settings
Customizing update settings:
Step 1: Launch the manager. Click on the “Edit” menu located at the top of the window.
Step 2: Select “Preferences” from the dropdown menu. In the “Preferences” window, click on the “Automation” tab.
Step 3: Choose how often you want the manager to check for updates. Select whether to perform other updates by toggling the switch next to this option. Once you have made all changes, click the “Close” button to save your preferences.
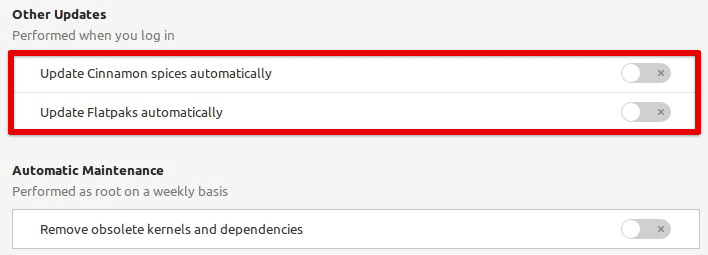
Customizing update settings
This level of customization allows you to use the manager more effectively and efficiently, ultimately making the Linux Mint app management experience more enjoyable.
Conclusion
Linux Mint software manager is a comprehensive tool that simplifies software management in this operating system. We have explored its various features, including but not limited to searching for software, installing and removing applications, updating them, and customizing the manager functionalities itself.
By following the steps outlined in this guide, you can effectively manage your software and keep the system up to date. With its user-friendly interface and extensive library, the Linux Mint software manager is a lifesaver. A window manager is software responsible for the placement and appearance of windows of various applications. It allows you to use any number of displays and utilize the screen to its full potential. Here are the top 15 window managers for Linux.
1 comment
I found one major drawback in the software manager, there is no way to tell who the publisher is.
This opens the door for malicious players to portray their software as the original one, especially if there’s no official support from the vendor.