
Previously we showed how to install Docker on Ubuntu. Docker is a handy tool designed to make it easier to create, deploy, and run applications by using containers. Today, let’s talk about working with Docker images, Containers, and the DockerHub.
Docker Hub, Images, and Containers
As the name indicates, DockerHub is a hosted repository service provided by the publisher for finding and sharing container images with developers/users. A Docker image has everything needed to run an application as a container.
A container is a runtime instance of an image. We will show you how to work with these things with easy to follow examples.
1. Pulling the docker image and setting up a software
To pull the docker image, use the following command:
docker pull ubuntu
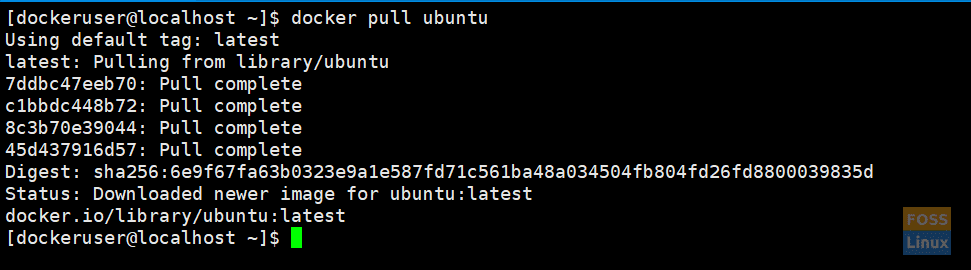
Pull Docker Image
It should download the latest ubuntu image. If needed, you can get a specific version using tags. You can go to the docker hub and see the Ubuntu docker images.

Docker Hub
I. Get a specific version
For example, pull Ubuntu xenial:
docker pull ubuntu:xenial
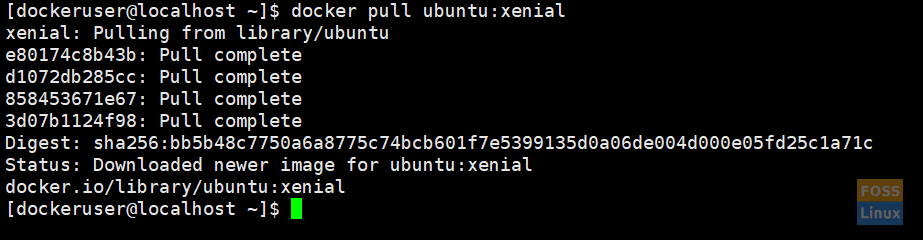
Pull Specific Version
II. Listing images
Run the following command to list downloaded images
docker images
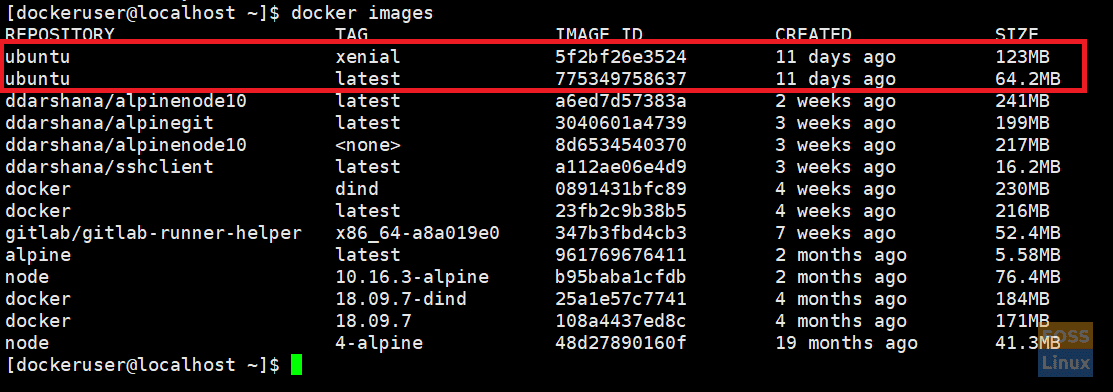
List Docker Images
III. Running docker image
Here we run ubuntu latest image and give name called “ubuntu_apache”:
docker run -it --name="ubuntu_apache" ubuntu:latest /bin/bash
docker run:– command lets you run any Docker image as a container.
-it:– executes the container in interactive mode (not in the background).

Run Ubuntu Image
IV. Configuring new image
Now you are inside ubuntu latest container. Here we are going to install apache and git.
Let’s update Ubuntu first:
apt-get update
Install apache2 and check the version.
apt-get install apache2
apache2 -version
Now install GIT:
apt-get install git
Start apache 2:
/etc/init.d/apache2 start
2. Creating an account on Docker Hub
Now we are going to build a new image and push it to the docker hub. So you must create a docker hub account first.
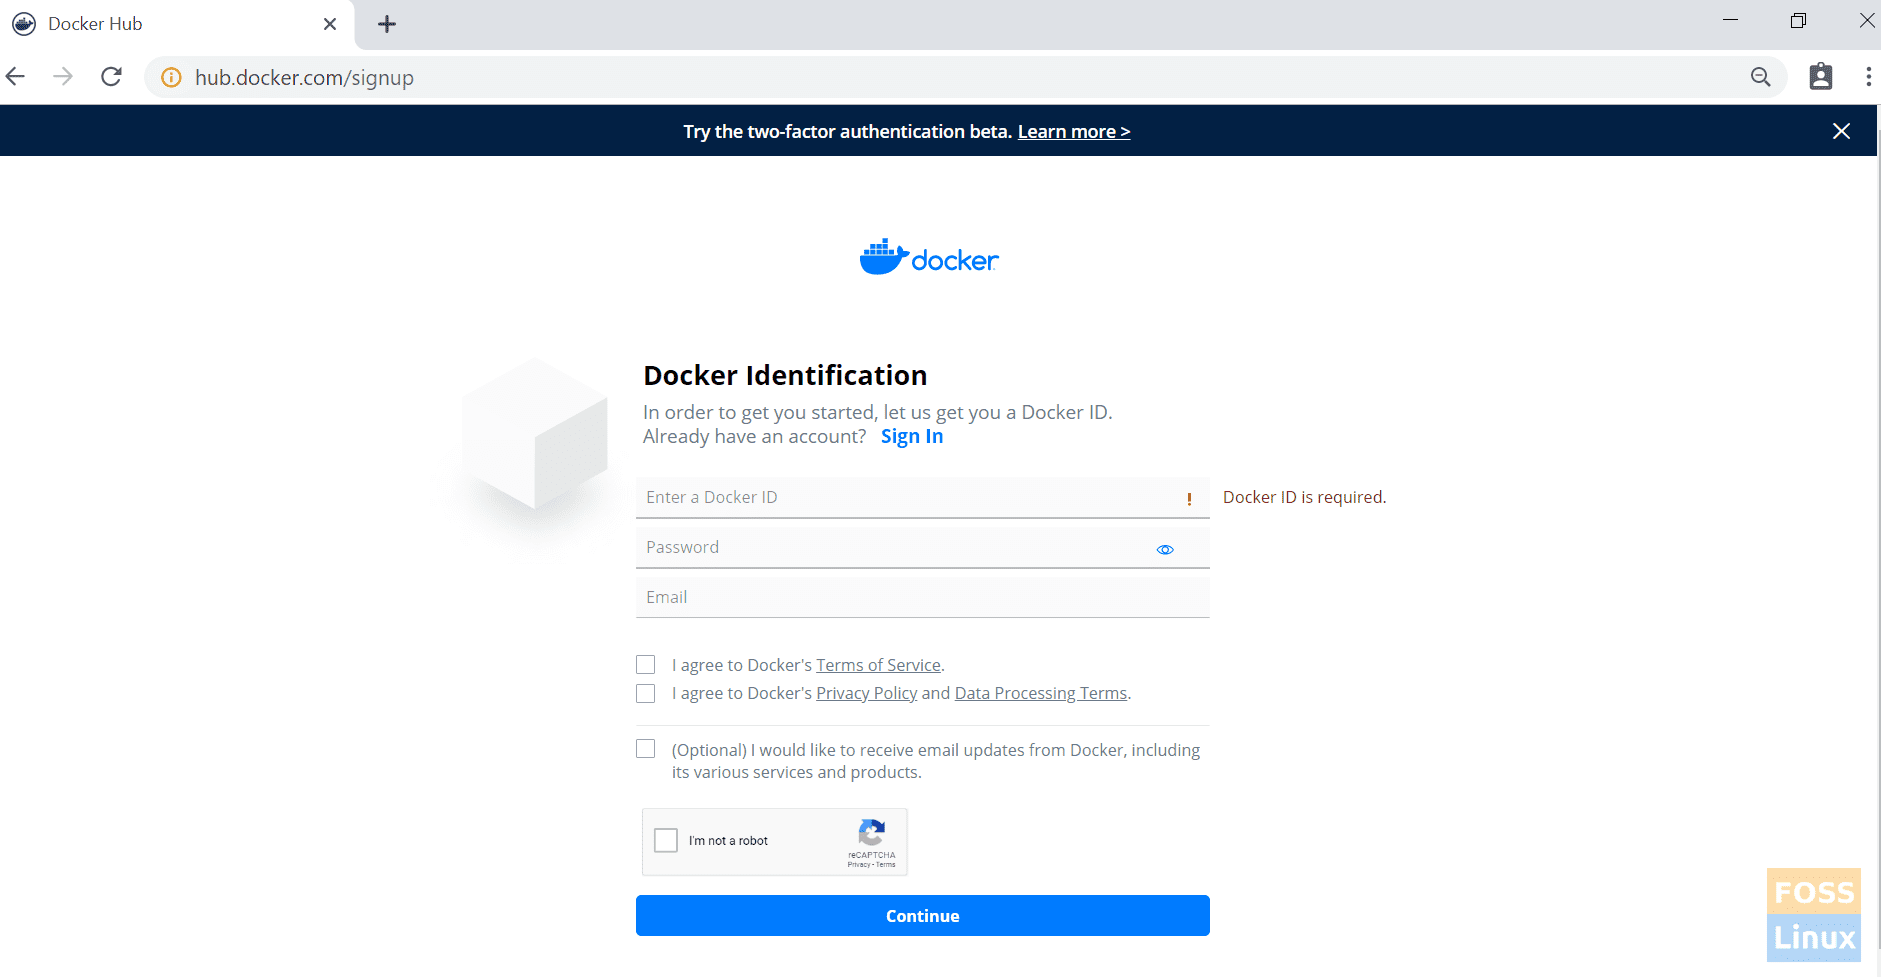
Sign Up Docker Hub
Then go to your docker host. Exit from the docker container.
exit

Exit Docker Container
3. Building a new image
I. Commit modifications
docker commit -m="ubuntu-apache-git-image" ubuntu_apache ddarshana/ubuntuapache
-m:– Commit message.
ubuntu_apache: Name of the container that we are going to creating the image.
ddarshana/ubuntuapache: Name of the Docker Hub repository. (replace this with your docker hub name and repo name)

Docker Commit
After you list images, you can see a new image.
docker images

docker images
Push docker image to docker hub repository:
II. Login into the docker hub repository.
docker login

Log in to Docker Hub
III. Now we can push the image to the Docker hub repository.
docker push ddarshana/ubuntuapache

Docker PushNow, you browse a login to your docker hub account, and under repositories, you can see a new image.

Pushed Image
IV) Removing Docker Images
Now we are going to remove the docker image (ddarshana/ubuntuapache) in our host machine. Before that, you need to list docker images. Then get an image ID to execute the following command to remove it.
docker rmi -f "Image ID"
-f:- force
4. Now again, we are going to pull our docker image from the docker hub.
docker pull ddarshana/ubuntuapache
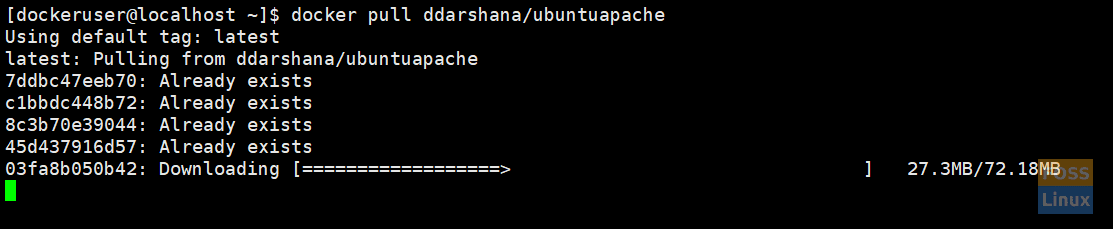
Pull New Image
I. Running the new Docker image as a container and in a background
docker run -itd -p 80:80 ddarshana/ubuntuapache
-itd:- executes the container in the background
-p 80:80:- using the -p option we’re connecting the internal port 80 of the container the external port 80. Apache uses port 80. So we can send the HTTP request to the server from our local machine by opening up URL http://IP:80.

Run Docker Image background
II. Listing Docker containers
docker ps -a

List Docker Containers
III. Login to docker container
docker exec -it "container ID" /bin/bash

Log in to Docker Container
/etc/init.d/apache2 status
/etc/init.d/apache2 start

Apache Status
Before we create an image, we install git too. You can run the following command and check the git version:
git --version
IV. Checking apache service
Now you can browse apache server page using your host machine IP or hostname:
http://192.168.8.105/
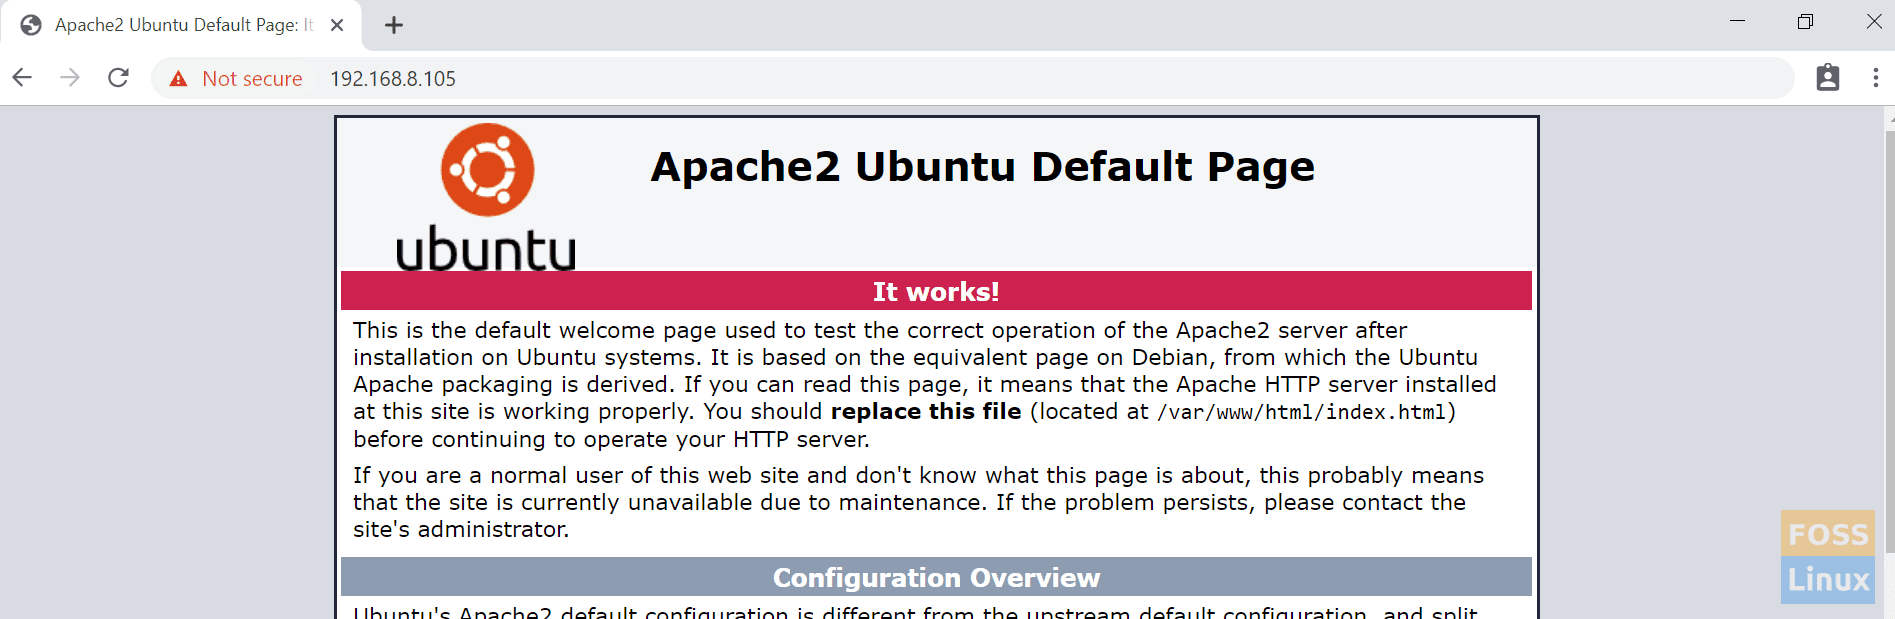
Apache Default Page
Now we will stop the container and remove it.
5. Listing containers and get the container ID
docker ps -a
I. Stoping the container
docker stop "container ID"
II. Removing container
docker rm "container ID"

Remove Container
That’s it for now! I hope you liked this section of working with Docker images and containers.
1 comment
This is a very good article which explains all steps that you need to know as a beginner. Keep writing the articles like these.