
Docker is a containerization technology designed to create, deploy, and run applications by using containers —from hybrid cloud to the edge.
Docker is available in three tiers:
- Docker Engine – Community
- Docker Engine – Enterprise
- Docker Enterprise
Docker Engine – Community: It is ideal for individual developers and small teams looking to get started with Docker and experimenting with container-based apps.
Docker Engine – Enterprise: It is designed for enterprise development of a container runtime with security and an enterprise-grade SLA in mind.
Docker Enterprise: It is designed for teams who build, ship and run business-critical applications in production at scale.
Docker can be run on any distribution running version 3.10+ of the Linux kernel. There are quite a few ways to install docker.
Docker installation methods
- Install using the repository
- Install from a package
- Install using the convenience script
In this guide, we are going to install it from the docker repository. We shall execute commands using the root user for docker configurations.
1. Check Kernel Version
Before installing Docker, we should check the Linux kernel version. So run following command to get kernel information.
uname -a

Kernel Information
Before installing Docker engine, we need to configure the docker repository.
Docker Engine – Community: It has three types of update channels, stable, test, and nightly:
- Stable gives you the latest releases for general availability
- Test gives pre-releases that are ready for testing before general availability
- Nightly gives you the latest builds of work in progress for the next major release
Generally, Docker package is available in Ubuntu repositories, but here we are going to use docker repositories and install the latest version of docker.
2. Update Repositories
Let’s start with updating the system repositories. Launch the Terminal and enter the following command:
apt-get update
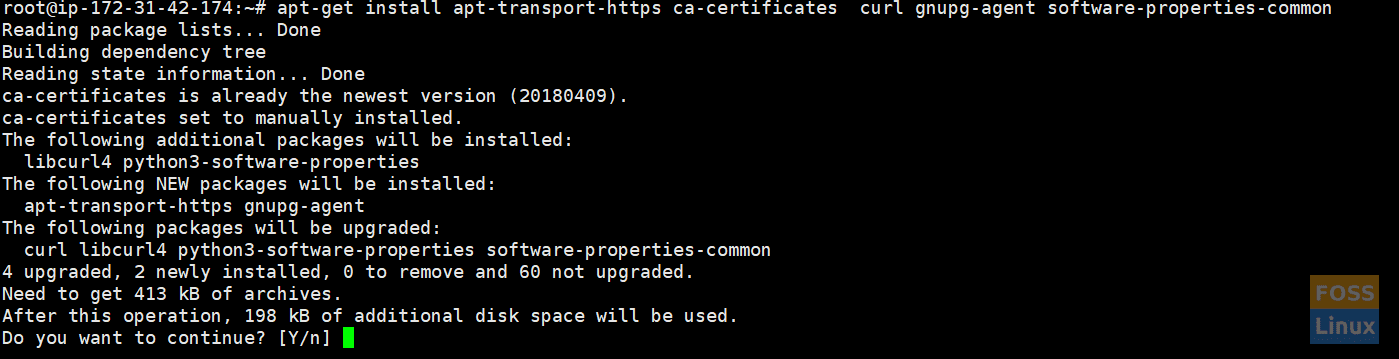
3. Install Dependencies
You need to install below packages. Then apt can access the Docker repositories over HTTPS.
apt-get install apt-transport-https ca-certificates curl gnupg-agent software-properties-common
Install Needed Packages
Purpose of each command can be classified as follows.
apt-transport-https: Transfer files and data over https
ca-certificates: Allows the system to check security certificates
curl: Tool for transferring data
gnupg-agent: Gpg-agent is a program that runs in the background (a daemon) and stores GPG secret keys in memory
software-properties-common: Adds scripts for managing software
Add Docker’s official GPG key:
curl -fsSL https://download.docker.com/linux/ubuntu/gpg | apt-key add -

Add GPG Key
4. Setup Repository
Setup a stable Docker repository:
add-apt-repository "deb [arch=amd64] https://download.docker.com/linux/ubuntu $(lsb_release -cs) stable"
The $(lsb_release –cs) sub-command below returns codename of Ubuntu installation

Add Repository
Update repositories.
apt-get update

Update Repositories
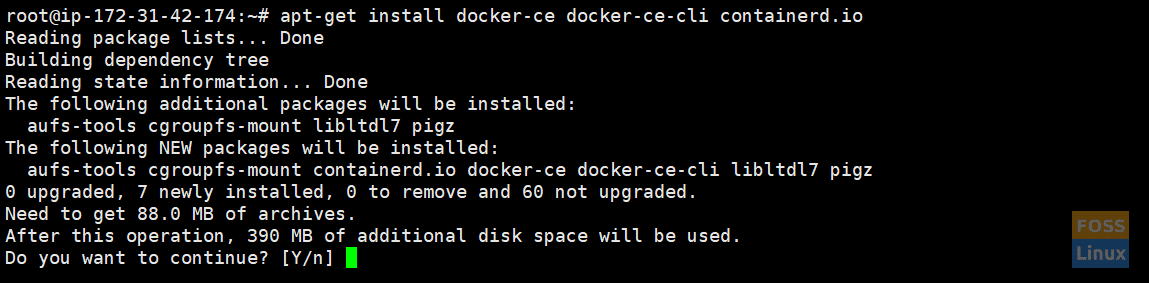
5. Install Docker-CE
Install the latest version of the Docker Engine – Community.
apt-get install docker-ce docker-ce-cli containerd.io
Install Latest Docker
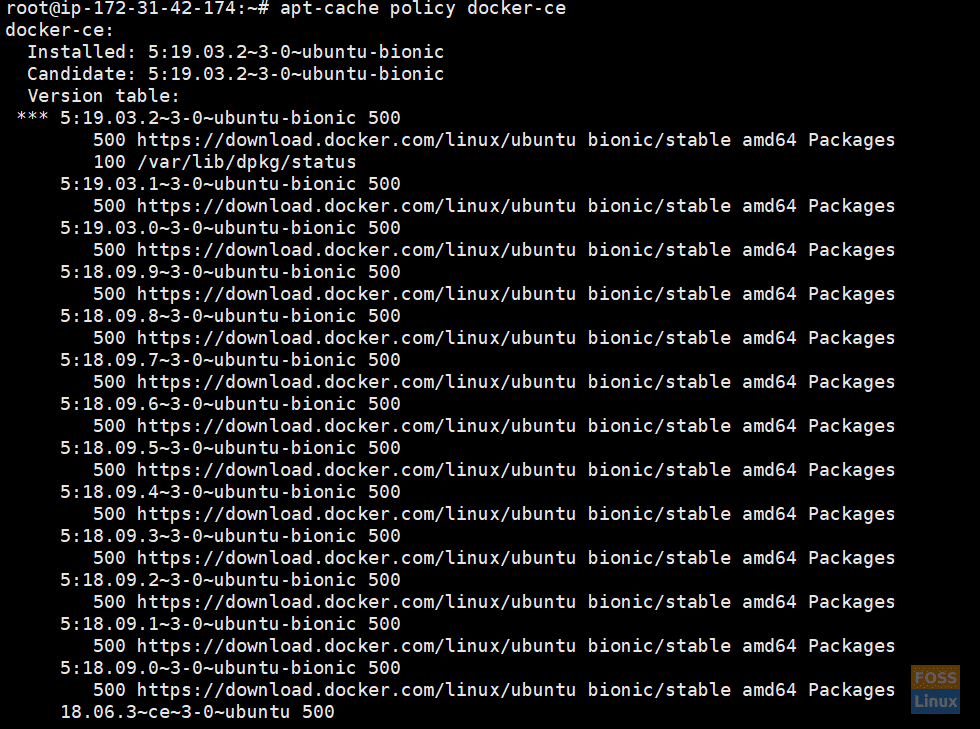
List the versions available in the repo.
apt-cache policy docker-ce
List Available Docker Versions
6. Install Specific Version
If you need to install a specific version run below command. Here I selected “18.03.1~ce~3-0~ubuntu.”
apt-get install docker-ce={Version}
E.g.:-
apt-get install docker-ce=18.03.1~ce~3-0~ubuntu
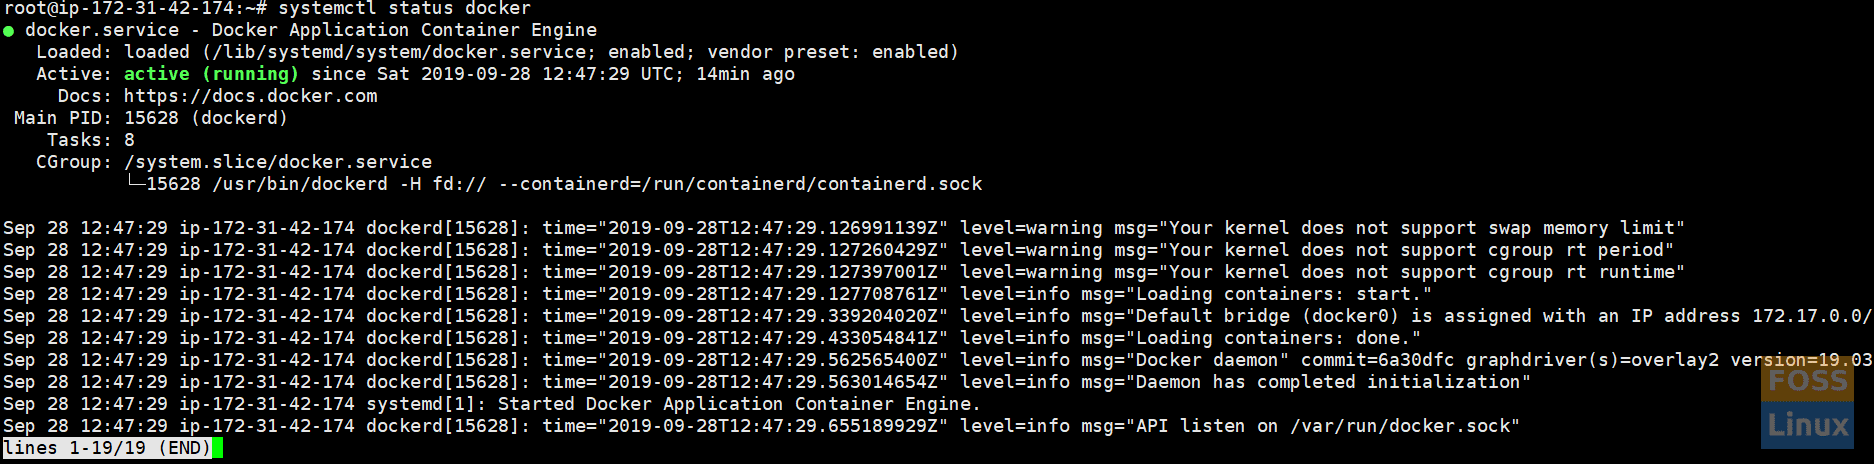
You can check the docker-engine status using the following command
systemctl status docker
Docker Engine Status
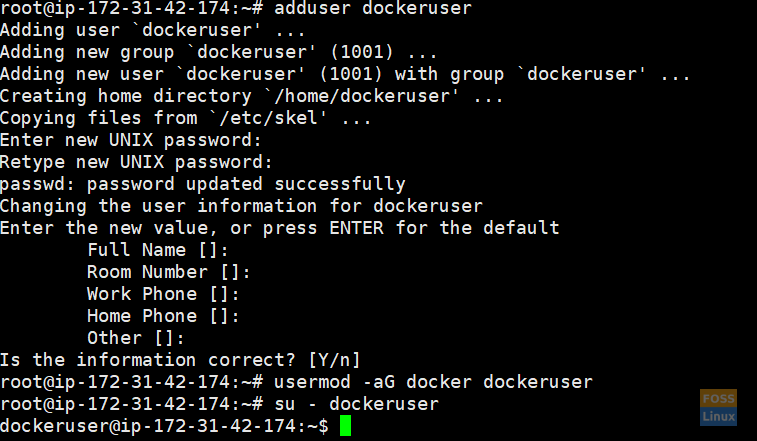
7. Docker as a non-root user
First, let’s create a new user and add them to the docker group.
adduser dockeruser
usermod -aG docker dockeruser
Change user:
su - dockeruser
Create New User
Verify that you can run docker commands
docker run hello-world
The above command downloads a test image and runs it in a container. When the container executes, it prints an informational message and exits.

Test Docker User
8. Configure Docker to start on System boot
systemctl enable docker

Docker On Boot
9. Remove Docker
If you want to remove docker, you can run following commands
apt-get purge docker-ce
apt-get autoremove
Images, containers, etc. are not automatically removed. To delete all images, containers, and volumes run below command:
rm -rf /var/lib/docker
10. Docker CLI
To list all available commands run docker command in docker user.
docker
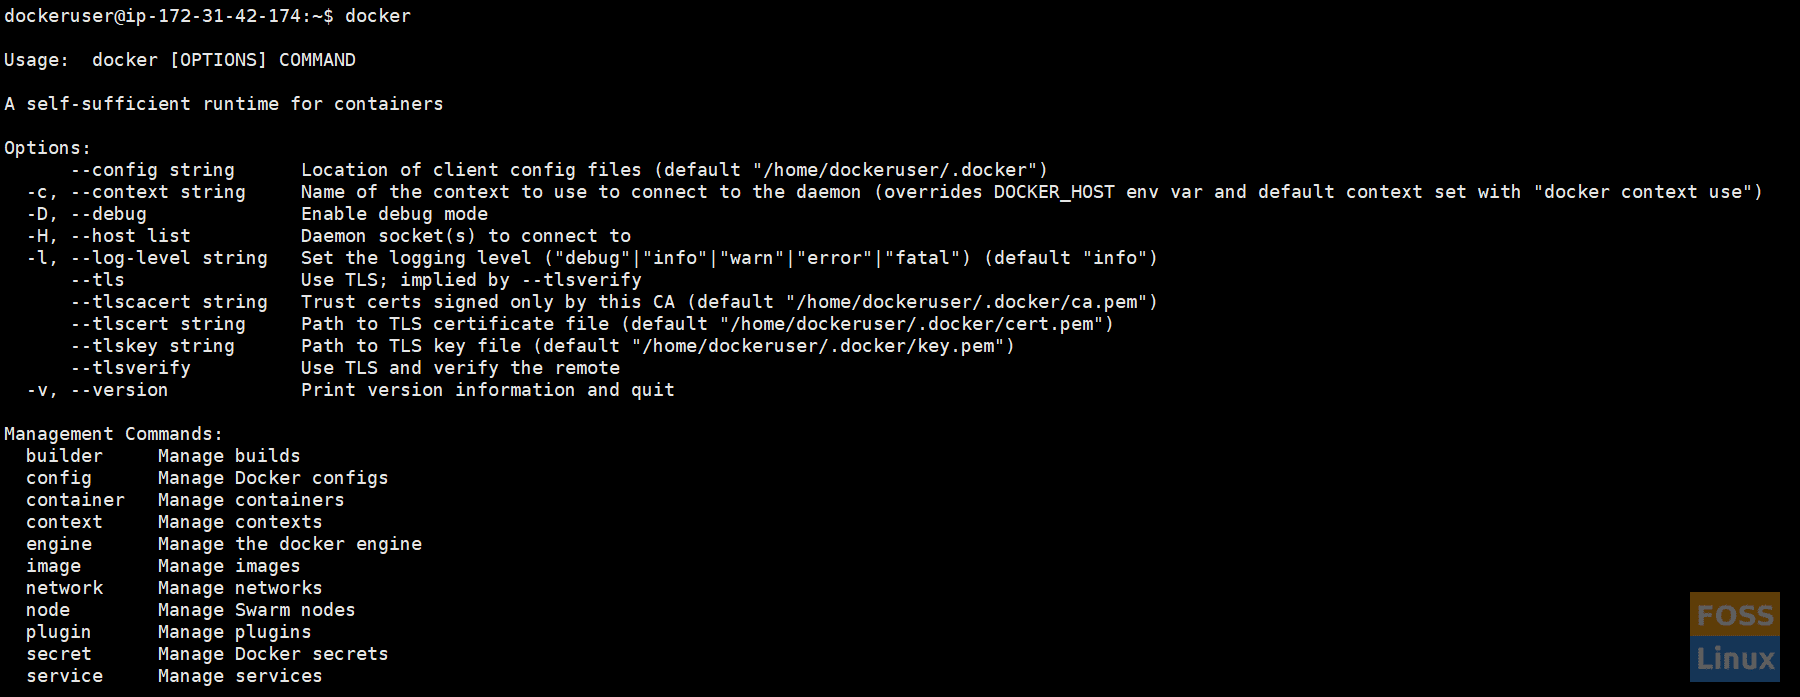
List Docker Commands
Run ‘docker COMMAND –help’ for more information on a command.
E.g.:-
docker image --help
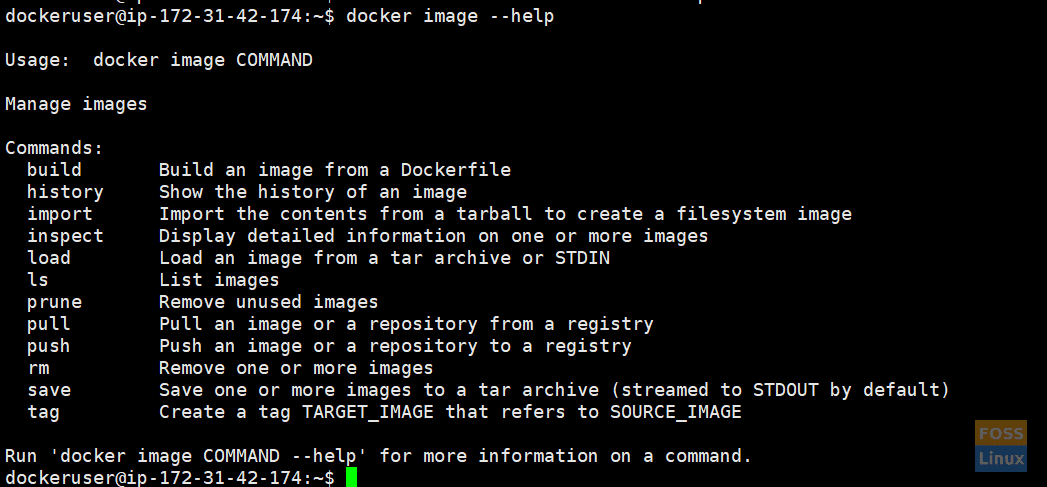
Command Help
That’s it. You have now successfully installed docker on your Ubuntu system. In our upcoming articles, we will see how to work with docker effectively.