
Every Microsoft Windows user knows how vulnerable is the operating system for malware and virus. If your Windows PC is infected with a virus, there are a couple of ways to clean up the PC.
If Windows is bootable, you at least got a chance to launch your favorite Antivirus program and start cleaning it. But, what if the virus infection is so severe that Windows is not able to boot? Indeed, it doesn’t sound right as your complete private data is at stake.
In this tutorial, we are going to show you how to clean your Windows machine from infected viruses using an Ubuntu live USB or CD and the ClamAV antivirus. The ClamAV is a free, open-source antivirus that can be used on Ubuntu.
If you have an Ubuntu Live USB or CD drive lying around, you can use it to clean your Windows PC. In case you don’t have it, you can create one using the link How to create a Ubuntu Live USB drive.
Removing Virus from Windows PC using Ubuntu Live USB drive
Before starting, you have to make sure that you have changed your machine BIOS settings to boot from USB or CD first. Now let’s begin by inserting your Ubuntu Live drive (USB or CD) in your computer then power it on.
Step 1. When the Ubuntu Install window appears, choose the “Try Ubuntu” option.
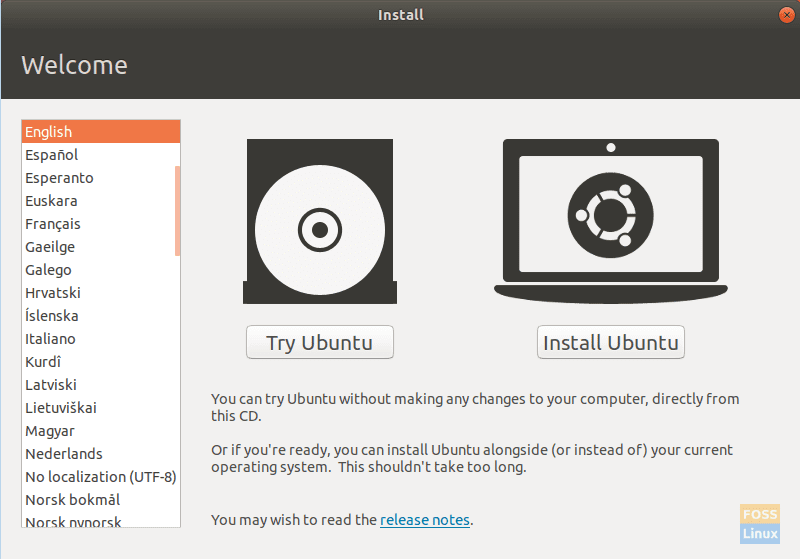
Try Ubuntu From The Live Ubuntu USB
Step 2. When the live Ubuntu session starts successfully, open the terminal and use the following command to update the Ubuntu repository.
sudo apt update
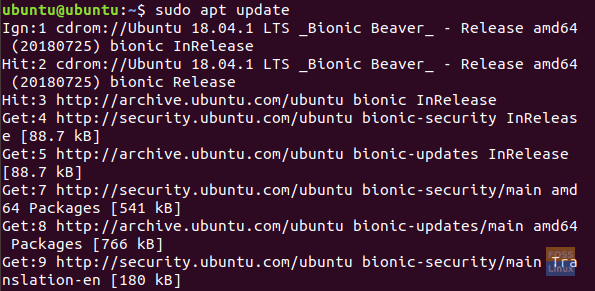
First Update Ubuntu Repository
Step 3. To install the ClamAV antivirus on Ubuntu, you can use the following command.
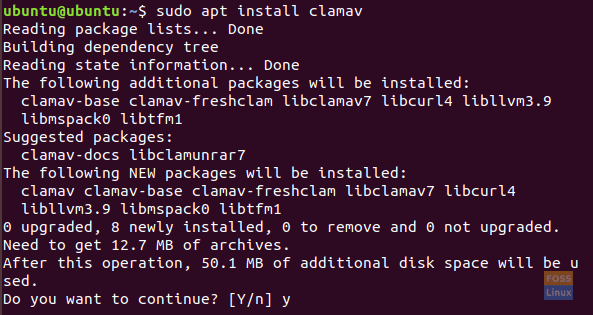
Install ClamAV Antivirus Package
Step 4. After the ClamAV antivirus installed successfully, you need to know the location of the Windows drive you intend to perform the scan on. You can find the location of your Windows drive by opening the Ubuntu file explorer and search for your Windows drive.
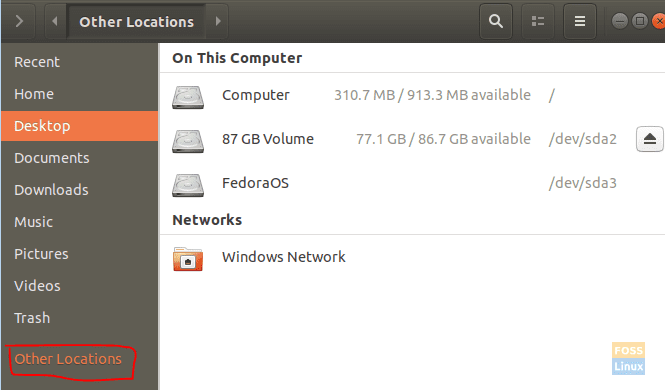
Open Ubuntu File Explorer
Step 5. After locating your Windows drive, right-click on the Windows drive tab from the top panel in the file explorer and choose the Properties option.

Open Windows Partition Properties
Step 6. When the properties window opens successfully, get the path and the name of your Windows drive, as you can see in the below screenshot.

Get The Path And Name Of Windows Partition
Step 7. Now get back to your terminal, search for the Windows drive path, as shown in the below screenshot.

Locate The Windows Partition In Your Terminal
Step 8. Next, you can start scanning your Windows drive using the ClamAV scan command.
clamscan -r --bell -i WIN_DRIVE_PATH
The previous ClamAV scan command means to search for all the infected files and ring a bell once found.
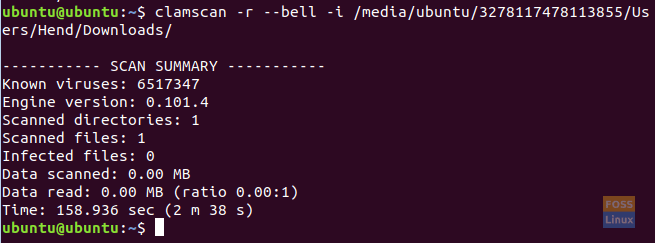
Scan Downloads Directory In The Windows Partition
After the ClamAV scan command finishes successfully, you will get a scan summary, as you can see in the above screenshot.
Here are some ClamAV scan command options:
- -r –> option is to perform a recursive scan.
- –exclude=.avi –> option is to exclude a set pattern to skip things like videos or music files.
- –scan-mail=yes/no –> option is to include mail files which are found in system scan.
- –remove=yes/no — > option is to delete all the infected scanned files, yes or no. Be careful using this option.
Step 9. To know more about the ClamAV scan options, use the next command.
clamscan --help
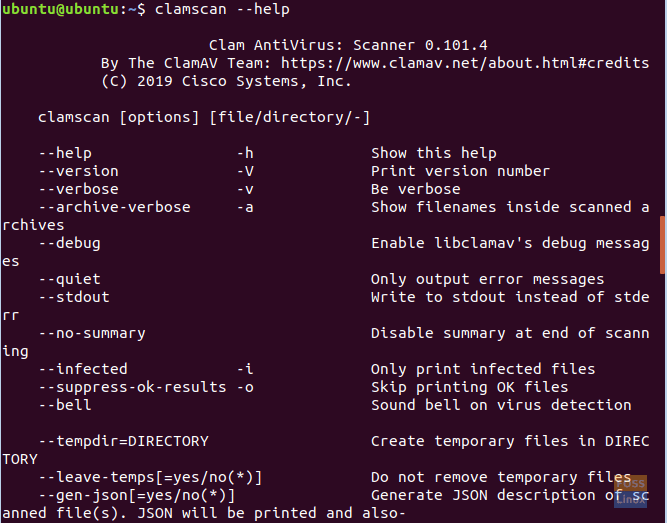
The ClamAV Help Command
I hope you enjoyed cleaning your Windows system with the Ubuntu Live USB drive.