
Ubuntu is one of the most popular Linux distributions used worldwide. It is decently stable, quick, and can run on a system with just 2 GB RAM and 25 GB hard disk space.
If you want to test drive or install Ubuntu, you will need a Ubuntu Live DVD or a USB live drive. You can easily create a Ubuntu Live USB drive yourself on your Windows machine using Rufus utility. On a Linux machine, we will use a built-in USB creator.
Ubuntu 17.10 desktop
Ubuntu Live USB drive lets you test drive Ubuntu without actually installing it on your computer. Hence, there will be no change in your system configuration or hard disk partitions. On the other hand, having a bootable USB with a modern operating system will act as a great backup in case your currently running system crashed, and you need to fix things up.
In this tutorial, we are going to help you install Ubuntu on a USB Flash Drive. We will install on two various systems Windows and Ubuntu. After you test drive the Live environment, you can use the same Live USB drive to install Ubuntu on your computer.
Creating a Ubuntu Desktop Live USB Drive using Rufus
On a Windows PC
Step 1. First of all, ensure that you have a USB with size 4GB or larger.
Step 2. Download the latest Ubuntu ISO from the Ubuntu downloads here.
Step 3. Now we are going to use an application called “Rufus”.
Rufus
Rufus is a free utility that can be used to create Live USB drives of various Linux distros. It works only on Windows You can download it from here. On the official website, you will notice an installer version and a portable version. You can use either of the versions.
Step 4. Open the “Rufus” application. By default, Rufus detects the USB device. In case you need to change the selected USB device, you can choose the USB device from the dropdown menu.
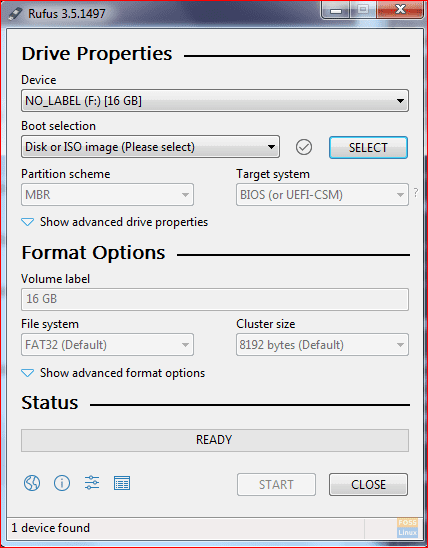
Rufus Window
From the boot selection, select the Ubuntu ISO image you need to install on the USB device then click open.
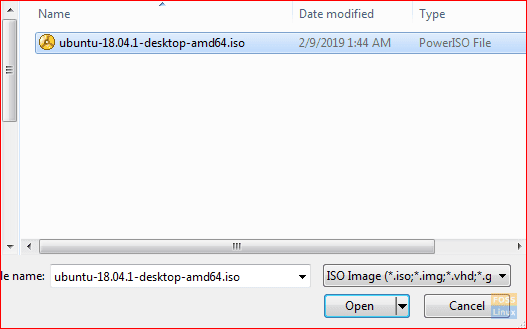
Choose Ubuntu ISO
Step 5. After selecting the ISO, click the start button to install Ubuntu on USB.
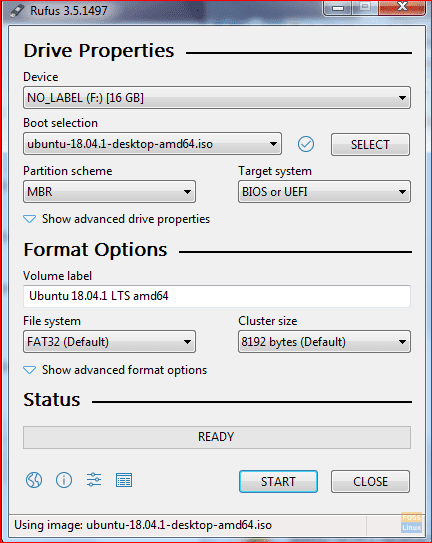
Rufus Interface
Sometimes you will get an alert that Rufus needs some additional files to complete the process. Click yes to download the files and continue.
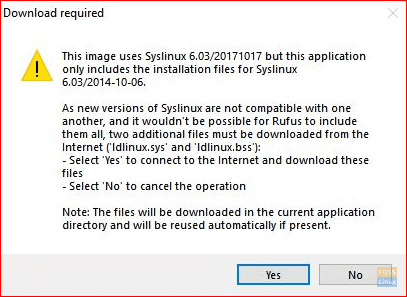
Required Download
Also, you will get another alert that Rufus has detected that the selected ISO is an ISOHybrid, which means that the ISO image can be used as a source for both DVD and USB without any conversion. Leave it with the “Write in ISO Image mode” option and click OK to continue.
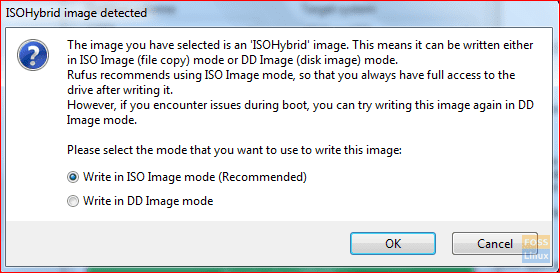
Write in ISO
Another alert message will appear to warn you that the USB device will be formatted.
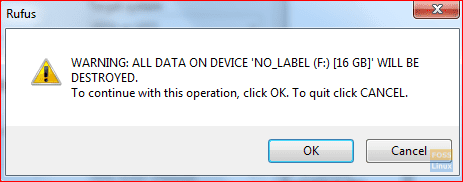
Format Message
After confirming all the previous alerts, Rufus will start to install the ISO on USB, as you can see in the below screenshot.
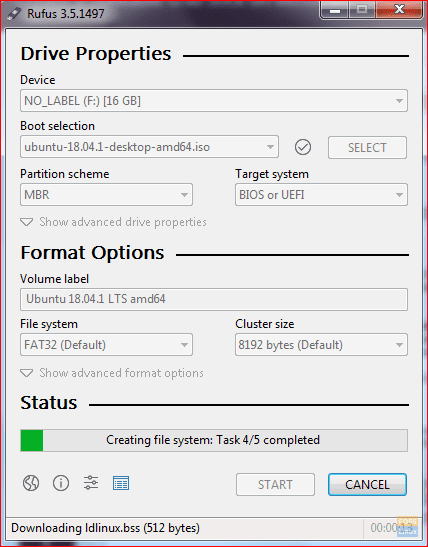
Creating Ubuntu USB Progress
After the process completes successfully, you will see the green bar, as shown in the below screenshot.
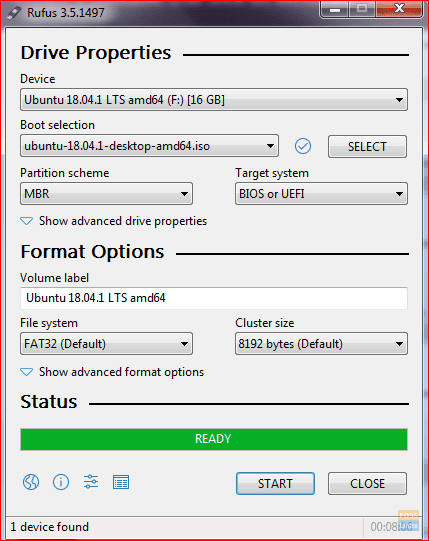
Installation using Rufus
That’s it – your Ubuntu Desktop Live USB drive is ready! You can boot into it and test drive it. It also serves as an installation media just in case you decided to install it.
On a Ubuntu PC
Step 1. First of all, ensure that you have a USB with size 2GB or larger.
Step 2. Download the latest Ubuntu ISO from the Ubuntu downloads here.
Step 3. Next, we are going to use the “Startup Disk Creator” application. You can install the “Startup Disk Creator” using the next command.
sudo apt-get install usb-creator-gtk
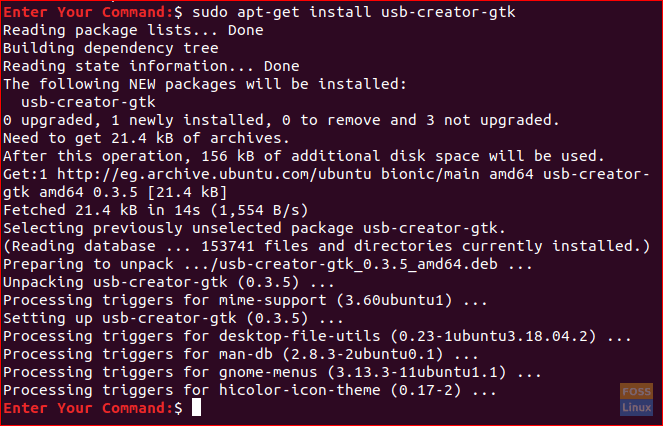
Install Startup Disk Creator
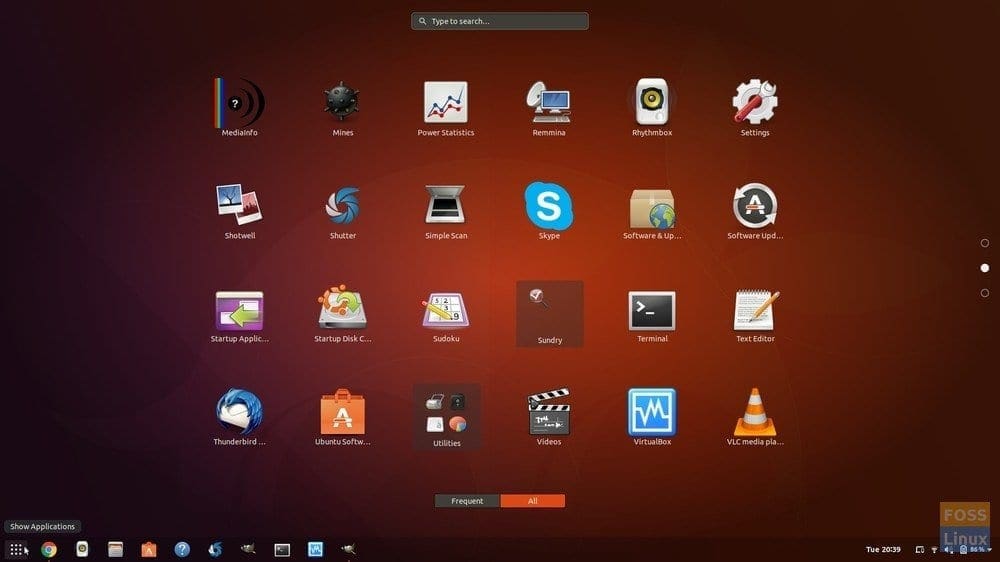
Step 4. From the bottom left icon “Show Applications,” use the search box to search for “Startup Disk Creator.” From the results, open the “Startup Disk Creator” application.
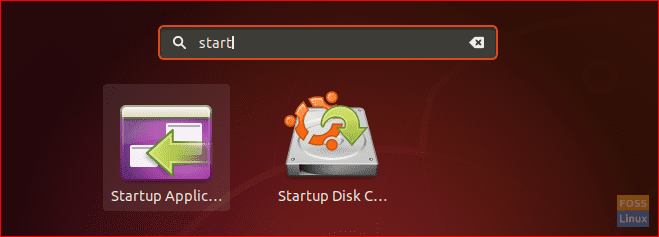
Open Startup Disk Creator
Step 5. By default, when the “Startup Disk Creator” application starts, it will look for any ISO in your Download folder as well as any attached USB storage.
In case you need to add an ISO image from another folder, then open the other button, which is marked with yellow as in the below screenshot.

Select Source Image From Other
Step 6. Select the Ubuntu ISO then click open.
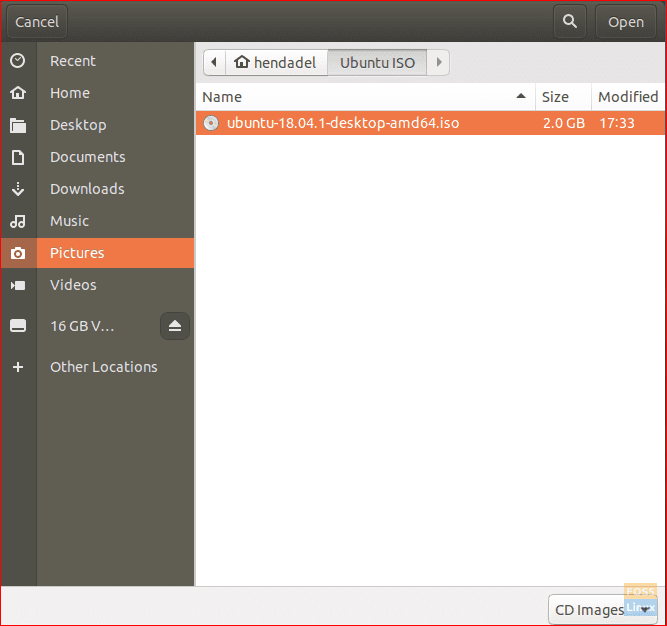
Select Ubuntu ISO
Step 7. Click the “Make Startup Disk,” which is marked yellow, as you can see in the below screenshot.
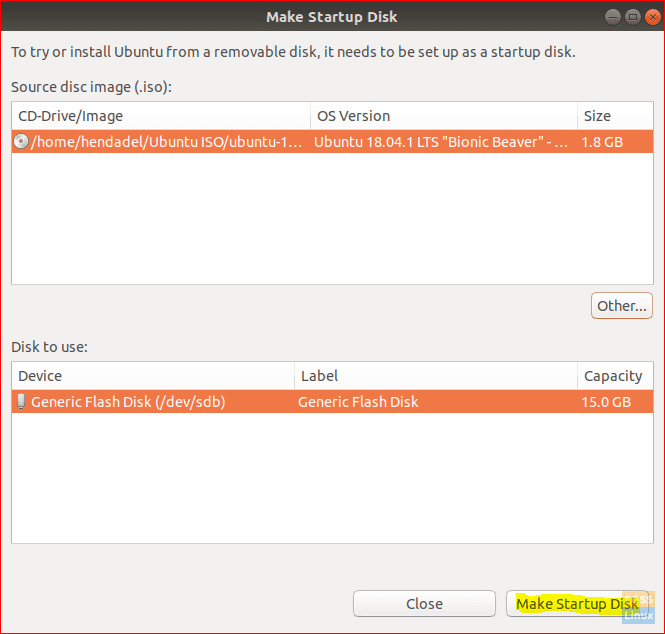
Make Startup Disk Creator
Step 8. A confirmation message will appear to confirm the applied changes, click yes to continue.
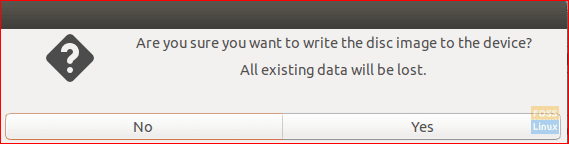
Confirmation Message
After confirmation, the writing disk image process will start.
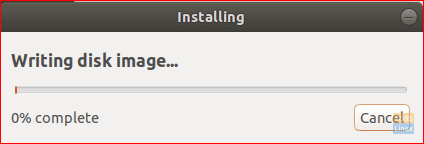
Disk Creator Progress
Step 9. After the writing process completes successfully, you will get an installation complete message you can click Quit to close the window.

Installation Complete
Conclusion
That’s all about creating a live Ubuntu USB drive using Ubuntu and Windows. We hope you liked this guide. If so, do share it with your friends.
3 comments
This doesn’t work for me. Installation on a USB HDD works fine, but installation on a USB stick doesn’t. The stick is new, 128 Gb USB 3.1. Installation on the stick is extremely slow (more than one hour compared to a few minutes on HDD) and even if it “succeeds”, it will never boot. I need to do this because I have no internal HDD, only a RAID5 array and it does not seem to be possible to install directly to a raid 5 array. Furthermore, the array already contains data from a prior Centos installation and I would like to keep this data. I can do this from a USB HDD, but I don’t want to keep a USB HDD running in permanence because I expect it will not resist! Another solution would be to install Ubuntu directly on the raid array (there is a small 512 Mb SSD for boot). But I can’t find a way to see the logical drives in the array when installing.
Startup Disk Creator (AKA usb-creator-gtk) is hot garbage. It hangs at the end of the procedure indefinitely. Rufus works so much better and quicker, it’s so ironic that a Windows application is better at creating live Linux USB drives.
Works great. Thanks for the information