
Tar is a great utility that is used for collecting multiple files in a single archive. This file is often called a ‘tarball.’ Today, we are going to tell you about the different things you can do with tarballs using the tar command, with practical examples.
Tar is mostly used for packaging applications and their binaries for raw installation that would work on any system, rather than base specific formats like DEB, RPM or AUR packages. Other than that, tar is also quite an efficient format for creating backups.
NOTE: All the -f tags used anywhere are necessary whenever interacting with any ‘files,’ which is almost every case.
Using the Tar command in Linux
1. –list
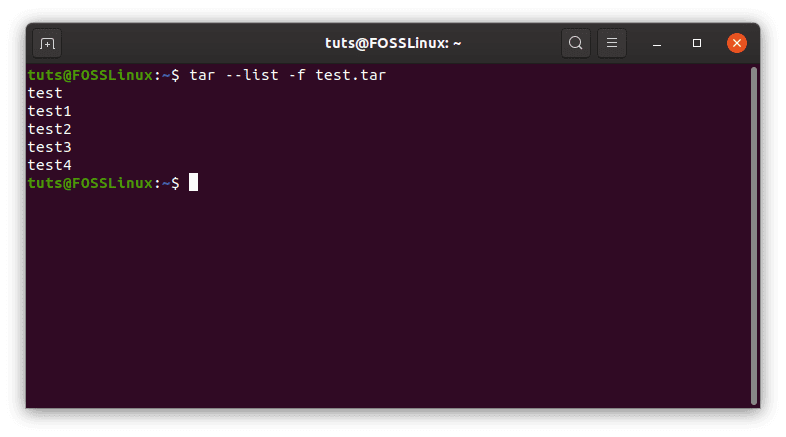
This flag is used to list the files inside a tarball. The required argument is only the name of the tarball and (as mentioned), the -f flag. The standard syntax looks like:
tar --list -f <Tarball name>
In shorter form:
tar tf <Tarball name>
–list
2. –create
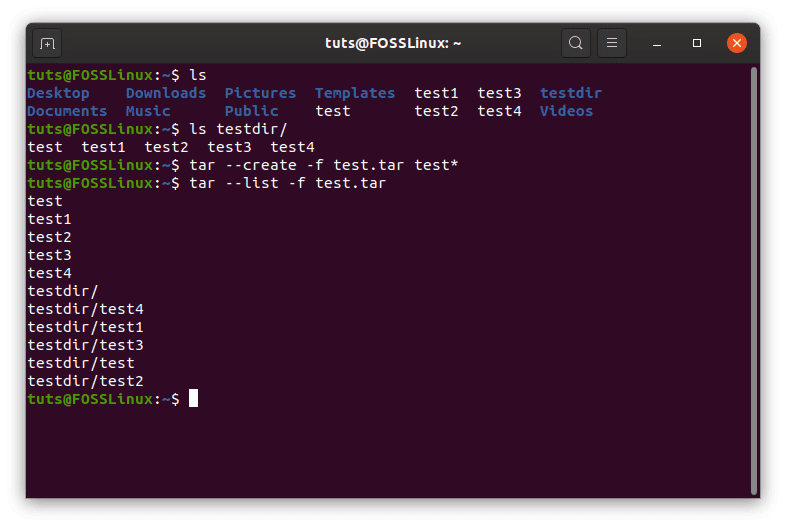
The –create flag is used to create a new tarball. The required arguments are the name of the (future) tarball and the files to be included. The names of directories are also acceptable as an argument. The standard format is:
tar --create -f <Required tarball name> <File names>
This can be used in a short form in the following way:
tar cf <Required tarball name> <File names>
–create
Creating other formats of archive
There are different formats of archiving that are included in tar, which are used for compression. The formats we are going to show are the .tar.xz and .tar.gz formats.
Creating a XZ (.tar.xz) archive
tar cfJ <Required tarball name> <File names>
Creating a GZip (.tar.gz) archive
tar cfz <Required tarball name> <File names>
Creating a bzip2 (.tar.bz2) archive
tar cfj <Required tarball name> <File names>
3. –append
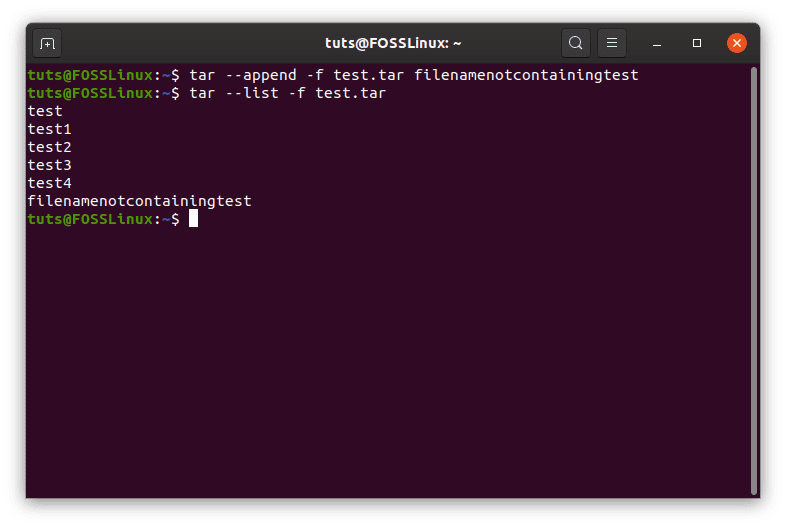
The –append flag is used to add files to an already existing tarball. The syntax is pretty simple, that is:
tar --append -f <Tarball name> <Names of files to be added>
Shorter:
tar rf <Tarball name> <Names of files to be added>
–append
4. –delete
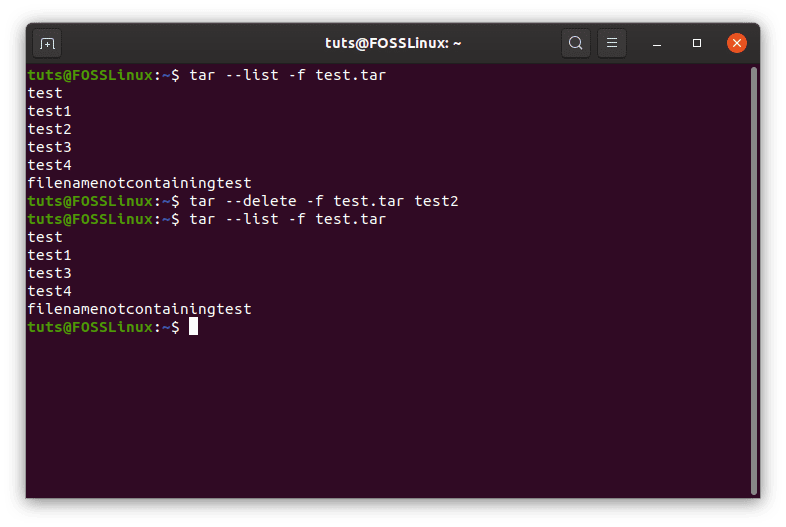
This is used to delete files from a tarball. The syntax requires the name of the tarball and the name of the file in the following order:
tar --delete -f <Name of tarball> <Names of files>
–delete
5. –diff
The –diff flag finds the differences between a tarball and certain files that the user has to specify. For example, as mentioned before, tar is extensively used to create backups. So if there is an existing tarball, and you want to check whether or not there are any differences between the current state of the files, compared to the ones that are already in the tarball, you can use –diff.
Example:
In this situation, the file test in the tarball test.tar is empty, but the one outside the tarball has the contents as shown. Notice the differences demonstrated by tar.
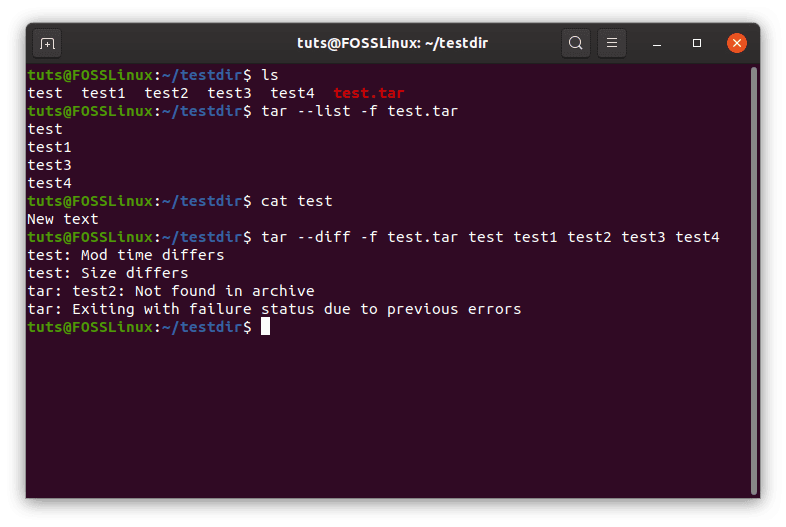
–diff
As you can see here, the error shown between the empty test and the non-empty test is ‘Size differs,’ but even when the size is the same, there is an error given off:
Different content
Conclusively, the general syntax can be shown as:
tar --diff -f <Name of tarball> <Names of files to be compared>
6. –update
This flag can be used to update a specific file inside the tarball. If a file of the same name is placed in this command, the file with the new content will be appended to the end of the file, rather than the old one being replaced by the latest version. The screenshot below describes this:

Update
Again, this can be used in the case of making backups. The general syntax becomes:
tar --update -f <Tarball name> <Names of files to be updated>
Shorter format:
tar uf <Tarball name> <Names of files to be updated>
7. –extract
This is probably the most used flag of the tar command. It is used to extract files from a tarball, and since it is so used, it also has a lot of configurations. For a change, the arguments except the tarball name are optional. If not specified, tar will extract all the files inside the tarball. So, the syntax to extract specific files:
tar --extract -f <Tarball name> <File names>
For extracting all files:
tar --extract -f <Tarball name>
Or a shorter format:
tar xf <Tarball name> <Optional file names>
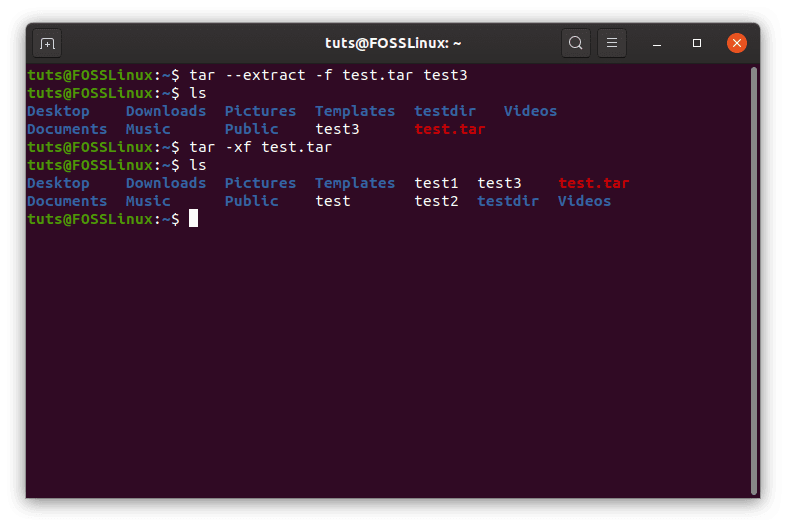
–extract
Extracting GZip (.tar.gz) archives
tar zxf <Tarball name> <Optional file names>
Extracting XZ (.tar.xz) tar archives
tar xf <Tarball name> <Optional file names>
Extracting bzip2 (.tar.bz2) archives
tar xjf <Tarball name> <Optional file names>
Now, after handling the basics, we can go into some deeper features of tar.
8. Overwrite control
It may just happen that the names of one or more of the files being extracted from a tarball coincide with the name of files already existing in the working directory. Some measures can be taken to do what you desire when that happens. Various scenarios:
To overwrite the files
The first case is that you do want to replace the files existing in the directory. To make sure this happens, issue the command in the following way:
tar --extract -f <Tarball name> <Optional file names> --overwrite
To not overwrite files
This will not overwrite the files, saying that the files already exist. The command can be issued in the following way:
tar --extract -f <Tarball name> <Optional file names> -keep-old-files
To only overwrite older files
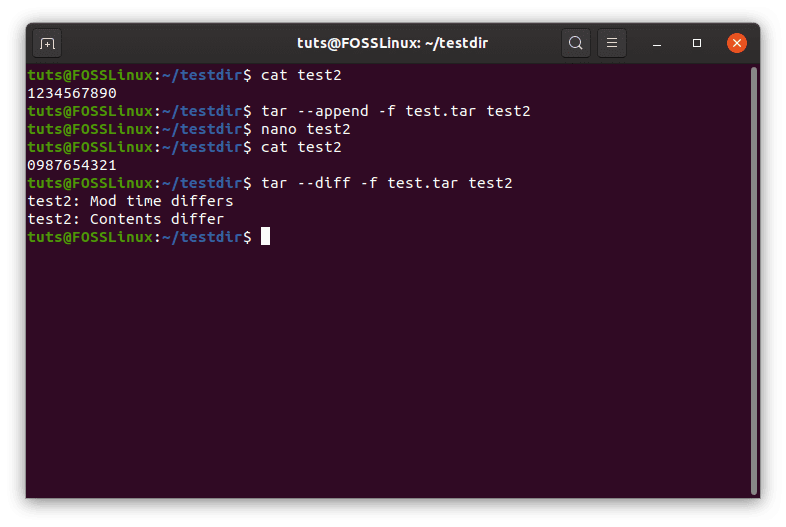
This is particularly useful, as it only protects those files that are newer compared to the files in the archive. For example, here, test2 inside the archive has content that has been modified as compared to test2 in the directory:
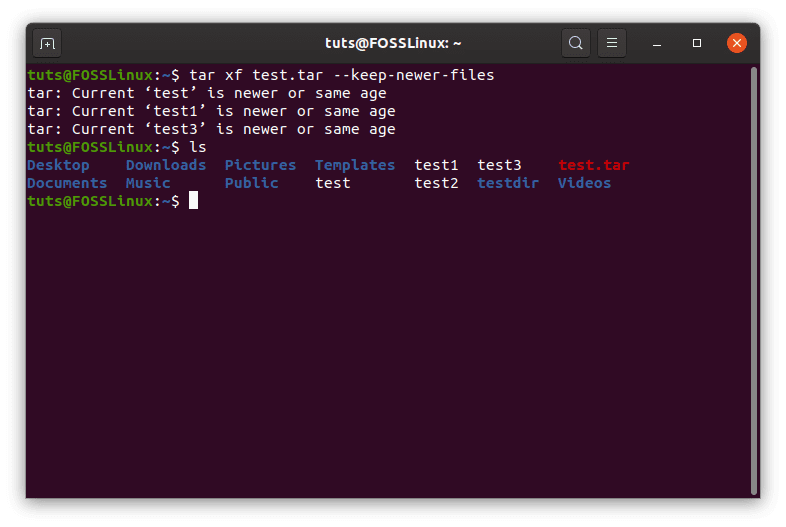
–keep-new-files
As you can see, it says ‘… is newer or same age‘ for the rest of the files, but not test2, which means test2 was replaced. Therefore, the structure of the command is:
tar --extract -f <Tarball Name> <Optional file names> --keep-newer-files
9. –remove-files
This flag can be used as a shortcut for removing files from the directory directly after they have been archived. Its a simple enough command, the syntax follows:
tar --create -f < Required tarball name> <File names> --remove-files

–remove-files
10. –exclude
The –exclude flag can be used to exclude certain files from being archived. The pattern has to be specified before anything else, and in inverted commas, as used in the command below:
tar --exclude='PATTERN' --create -f <Tarball name required> <File names>
Example usage:
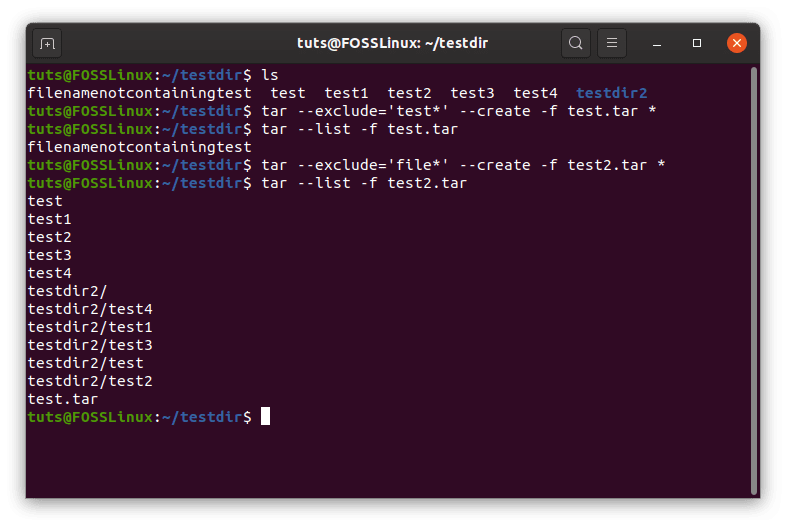
–exclude
11. –to-command=’COMMAND’
The tar command has its feature for using output as the input for another command, that is the –to-command flag. For example, I want to use the names of the files from test2.tar and create a directory of the same name as that of the files inside the archive. This can be done as:
tar xf test2.tar --to-command='mkdir $TAR_REALNAME'
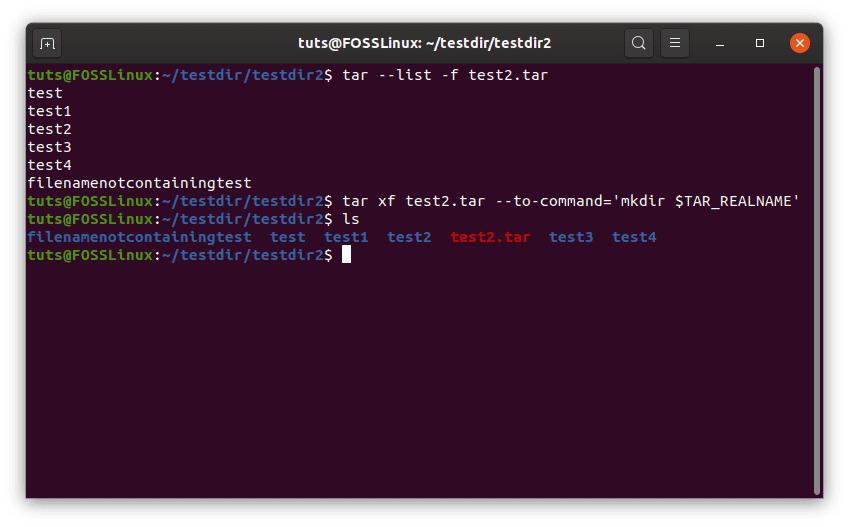
–to-command
This is fairly advanced. The ‘$‘ is necessary to refer to any system variable while using Bash. The name ‘TAR_REALNAME‘ is the variable used to refer to a single file’s name while using the –to-command flag in tar. There are several such variables, which can be found in the man pages of tar, as well as on this webpage.
12. Ownership of files
The ownership of files in the archive can be configured in various ways. First of all, to create an archive in which the files are set to a specific owner, the flag –owner can be used. Example usage:

–owner
As seen, user 0, and group 0 corresponds to the user root. Root (as you probably know) is the overlord emperor of the system. You can find the UID (User ID) and GID (Group ID) of other users using the id command in the following way:
id <username>
Now to extract the files while preserving the owners of the file:
tar xf <Tarball name> --same-owner
13. Complete backup solution
As I’ve mentioned a few times already, tar is quite a good backup program. I am going to tell you about some more flags that make it even better. First of all, there are things that we want to include/exclude while making backups. Include the files that links (symbolic links) are pointing towards. Exclude prior backup files and VCS directories (mostly just useful for programmers). It is also important to stay out of the directories that you’re making a backup of.
For example, you’re in the /home directory, and you want make a backup of the user, testuser. The command would look like:
sudo tar --exclude-backups --exclude-vcs --dereference --create -f backup.tar ./testuser
- ‘sudo’ for two reasons: First, that you’re doing things in the /home directory, which requires privileges. Second, that if any symlinks point to files out of the user’s usual privileges, that will cause an error.
- –exclude-backups and –exclude-vcs exclude backup and VCS files respectively.
- –dereference makes tar follow the symlinks to the data they are point to.
14. Modified time
There are a whole lot of things that can be done with the modification time of a file. First of all, to change the modified date as a file is being archived, we can use the –mtime flag. Basic syntax:
tar --create -f <Required tarball name> <File names> --mtime=YYYY-MM-DD
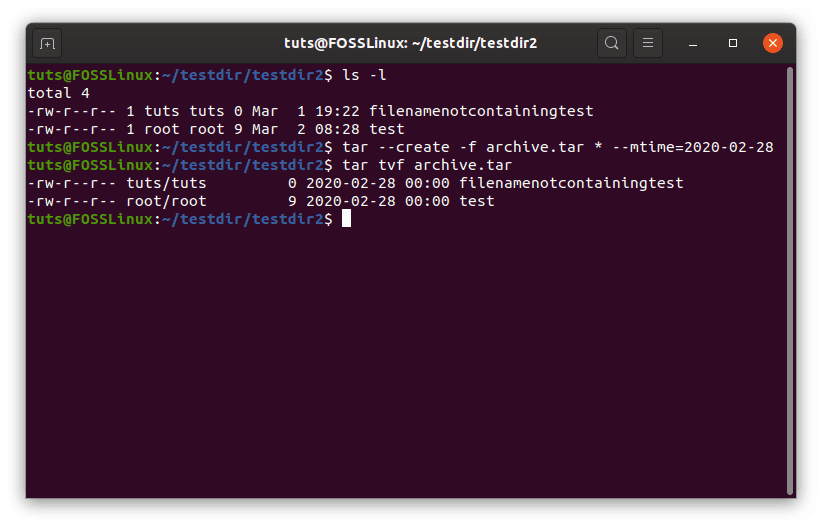
-mtime
As an antidote to this, the -m flag can be used to obtain the unchanged, modified date. To use this:
tar xf <Tarball name> -m
Only act on files modified after a specific date
This form of the command can be used to act upon files that have been modified after a specific date. The command looks like:
tar xf <Tarball name> --newer-mtime=YYYY-MM-DD
The example usage is shown below.
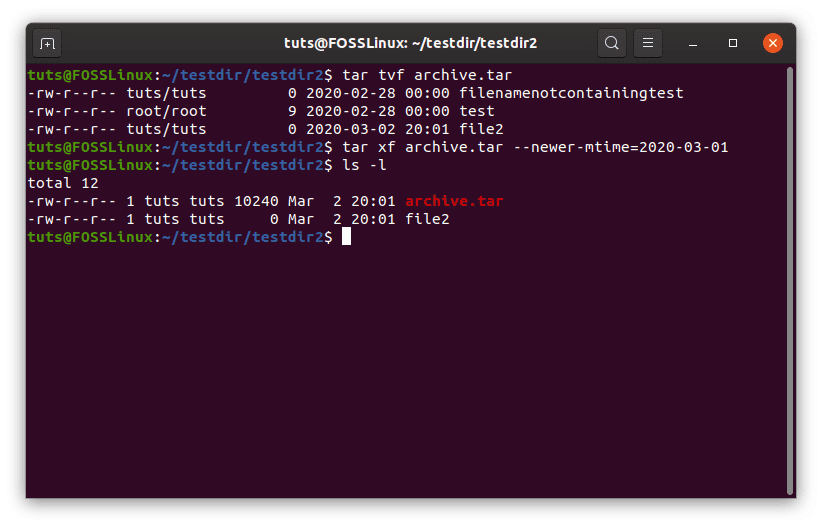
–newer-mtime
15. Permissions
Finally, permissions can be configured quite well in the case of tar files. There are two significant variations:
Preserving original permissions
This can be used to preserve the permissions for the file, as mentioned in the archive after being extracted. This is achieved through such a command:
tar xf <Tarball name> --preserve-permissions
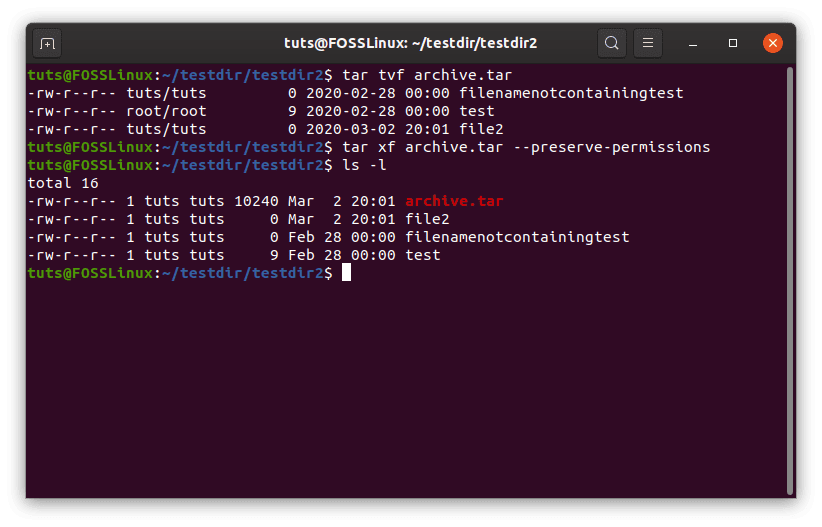
–preserve-permissions
Modifying permission as the default value
Secondly, the permissions can be changed as the default umask values. The default value varies by the systems. To do that, enter the following command:
tar xf <Tarball name> --no-same-permissions
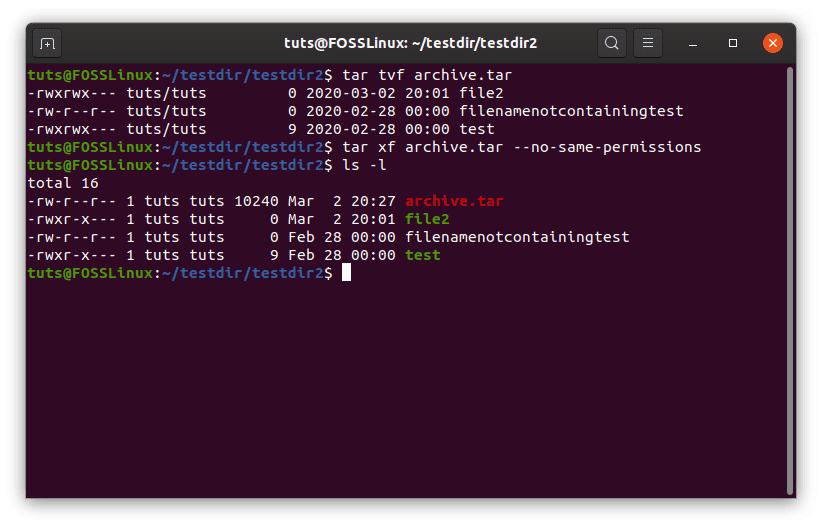
–no-same-permissions
Conclusion
The tar command is much more than what it seems. It has a vast spectrum of uses, from packaging applications, creating backups, to storing even entire OSs. We hope the tutorial helped you in learning something new and exciting things about tar. For any questions, feel free to use the comments section.
1 comment
tar rf this command is not working !!!