
As a C and C++ developer, it is not uncommon to handle projects that require different versions of compilers. With advancements in technology, it’s likely to find yourself in a situation where you need a particular GCC or G++ compiler version for a specific project.
In this tutorial, we will show you the method to install multiple versions of GCC and G++ on Ubuntu 20.04 using the apt install command. Additionally, we will show you how to switch between various G++ and GCC versions using the update-alternatives and confirm the selected version currently in use.
To ensure you don’t miss a bit, we will divide this tutorial into three steps, as shown below.
- Install multiple versions of GCC and G++ compilers.
- Create an alternative compiler version list.
- Switch between multiple GCC and G++ compilers.
Before you proceed
Our Linux distribution of choice in this tutorial is the recently released Ubuntu 20.04 LTS. Ensure that all packages are up to date using the commands below.
sudo apt update
sudo apt upgrade
You will also need elevated privileges by executing commands using the sudo command.
Installing multiple GCC compiler versions on Ubuntu 20.04 LTS
We will use the apt install command. Execute the commands below using the sudo privileges.
sudo apt install build-essential
sudo apt -y install gcc-7 gcc-8

installing GCC-7 GCC-8
We will also install GCC 9.0 using the commands below.
sudo add-apt-repository ppa:jonathonf/gcc-9.0

install GCC -9 repository
sudo apt-get install gcc-9
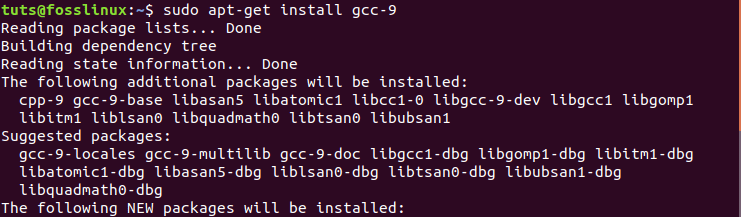
Install GCC-9 on Ubuntu 20.04.
Installing multiple G++ compilers on Ubuntu 20.04 LTS
With GCC compilers installed, we can now proceed to install multiple versions of G++ compilers.
sudo apt install build-essential
sudo apt -y install g++-7 g++-8 g++-9

Install G++ Compilers
Alternatively, you can install both GCC and G++ compilers with a single command, as shown below.
sudo apt install build-essential
sudo apt -y install gcc-7 g++-7 gcc-8 g++-8 gcc-9 g++-9
Creating a list of GCC and G++ alternatives with update-alternatives
Step 1. Launch the Terminal and execute the commands below one by one.
sudo update-alternatives --install /usr/bin/gcc gcc /usr/bin/gcc-7 7
sudo update-alternatives --install /usr/bin/g++ g++ /usr/bin/g++-7 7
sudo update-alternatives --install /usr/bin/gcc gcc /usr/bin/gcc-8 8
sudo update-alternatives --install /usr/bin/g++ g++ /usr/bin/g++-8 8
sudo update-alternatives --install /usr/bin/gcc gcc /usr/bin/gcc-9 9
sudo update-alternatives --install /usr/bin/g++ g++ /usr/bin/g++-9 9
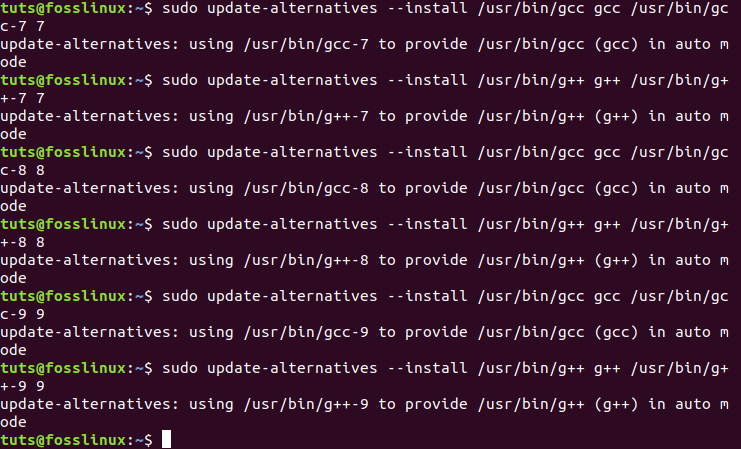
Create a List of GCC and G++ alternatives
Step 2. Check the GCC and G++ lists available on your system and select the default compiler you wish to use for your development. Let’s start by setting up the GCC compiler.
Launch your Ubuntu Terminal and execute the command below.
sudo update-alternatives --config gcc
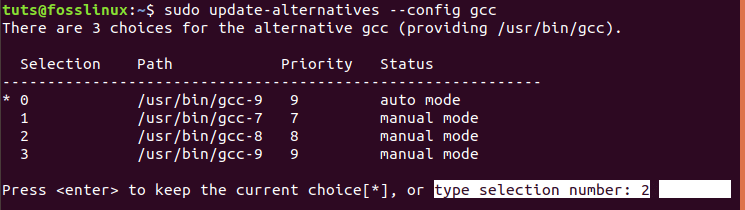
Set your default GCC compiler.
Select the GCC compiler you wish to use by selecting the number under the selections menu. In this tutorial, I chose option two(2) since I wanted to use GCC-8 as my compiler for my current project.
Step 3. Now let’s do the same and choose our default G++ compiler. Execute the command below.
sudo update-alternatives --config g++

Select the Default G++ Compiler
Here, I am also interested in using G++-8, and therefore, I will select option two(2), as shown in the image above.
To switch to another GCC or G++ compiler, repeat the config process in steps two(2) and three(3) above. Select a different option to set another Compiler version that you wish to use.
To affirm the changes we have made running the version command on the Terminal for each compiler.
gcc --version
g++ --version

Run the G++ and GCC version command.
From the image above, we can see that the system shows the GCC and G++ compilers that we configured to use as defaults.
That’s all about how you can install multiple versions of GCC and G++ compilers and switch between each of them on your Ubuntu machine. If you have additional information, feel free to share it with our readers in the comment section below.
4 comments
Thank you! Very easy to follow. I was able to use an older gcc version, and this also is much better than using the alias command.
Good one.
Very nice. It works for me too.
I wonder if there is another solution which does not require sudo every time to switch between versions of GCC and G++ ? That’s gonna be so cool.
thank you !!!
it is really helpful…