
Nothing seems as excellent as having flexible software to aid in the conversion of images and your other stuff to your preferred version, like, in this case, converting PDF files to images. This review will, in detail, enlighten how to carry out this process (convert) the pages of a PDF document to image files (PNG, JPEG, and a lot of other formats).
Here is a compiled list of software and command-line methods to help you accomplish this. Of course, and for many reasons, you can always find an online software converter site that easily converts PDF to images; however, there is no guarantee that your file will always be secure. Hence, we recommend converting PDF on your Linux system, which we will show you. Besides the graphical user interface format, we will also cover the command line convertion, and pdftoppm methods give you various options.
Converting PDF to images on Linux
Method 1. Convert command
This is one of the easiest, if not the easiest, methods to convert PDF to jpg, png, and gif formats. Interestingly, this method is not only limited to conversion, but you can also utilize it to resize, flip, crop, blur, and a lot more uses.
How to install convert
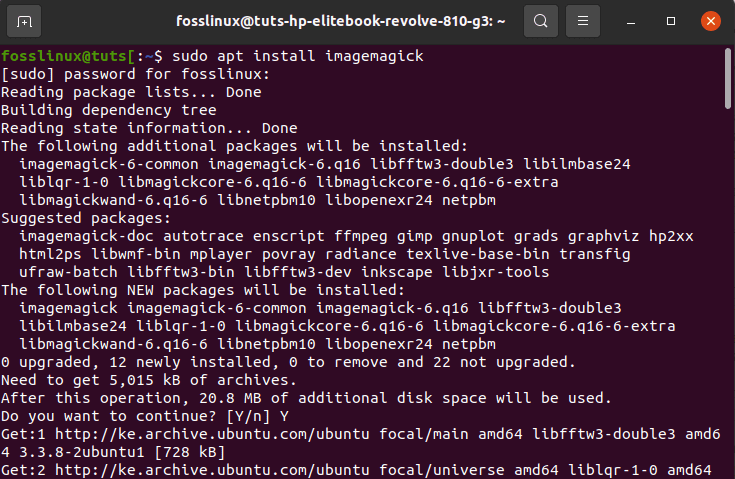
Convert is made available from ImageMagick, a well-known free, open-source, cross-platform software used for displaying, converting, editing, and modifying images. Dependent on your Linux distro, you can install convert using the following commands; in our case, we will install the Debian format:
Arch Linux:
pacman -s imagemagick
Fedora/Redhat/CentOS:
dnf install ImageMagick
Debian/Ubuntu/Mint:
sudo apt install imagemagick
install ImageMagick
To convert pdf to image format. Use the following conversion command with covered syntaxes on converting pdf to jpeg, png, gif, and tiff format.
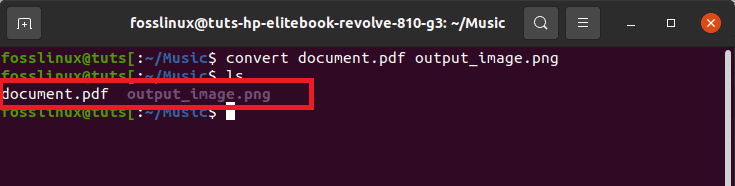
convert document.pdf output_image.png
Note: Ensure you replace the “document.pdf” with your file name.
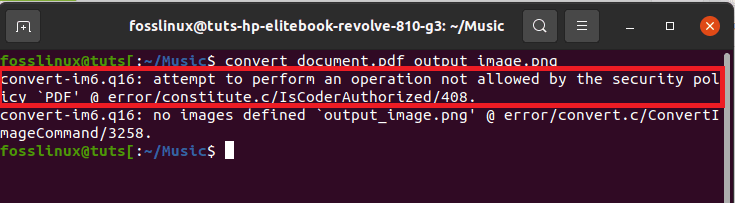
error-alert
However, in some instances, you will discover that PDF file conversions are not authorized by the policy, as seen in the snapshot above. If that is the incident, open the Imagemagick policy XML file using the following command:
sudo nano /etc/ImageMagick-6/policy.xml
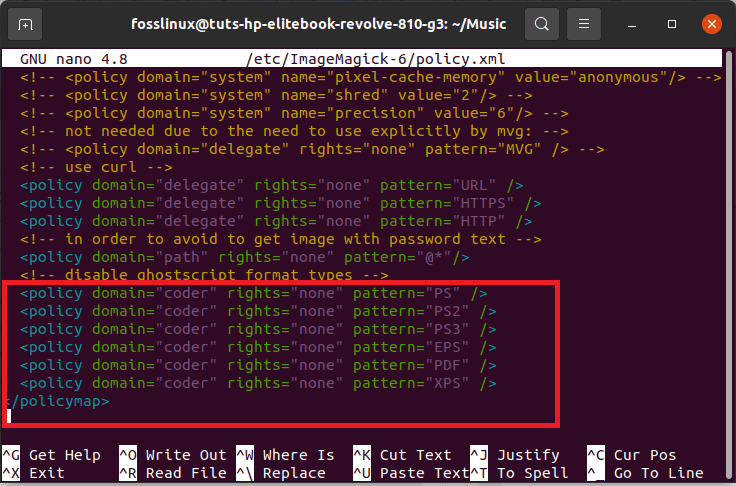
Upon running the command, scroll to the end of the nano editor using your keyboard’s down arrow key, and you should see the following code snippet at the end of the file:
 <!-- disable ghostscript format types -->
<policy domain="coder" rights="none" pattern="PS" />
<policy domain="coder" rights="none" pattern="PS2" />
<policy domain="coder" rights="none" pattern="PS3" />
<policy domain="coder" rights="none" pattern="EPS" />
<policy domain="coder" rights="none" pattern="PDF" />
<policy domain="coder" rights="none" pattern="XPS" />
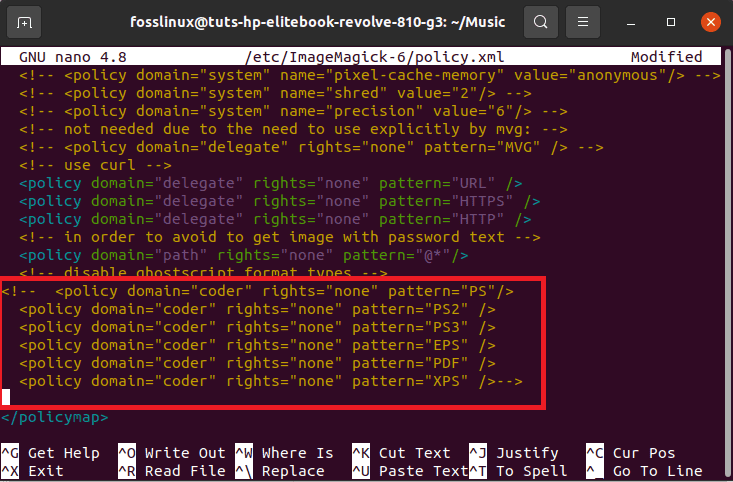
After locating the snippet, comment it out in the following format:
<!-- code -->
Nano editor before commenting out:
nano editor command line edit
The same editor after commenting out:
nano-editor-after-commenting-out
After that, Press “Ctrl+O” and “Ctrl+X” to complete the editing process. And then rerun the convert command:
convert document.pdf output_image.png
finally-converted
As you can see, the conversion is now successful. On the other hand, you can also define the quality of the image using the following syntax:
convert -density 350 document.pdf -quality 100 output_image.jpeg
As such,
- Density 350 is dpi that the PDF is rendered at.
- Quality 100 is the highest JPEG compression quality.
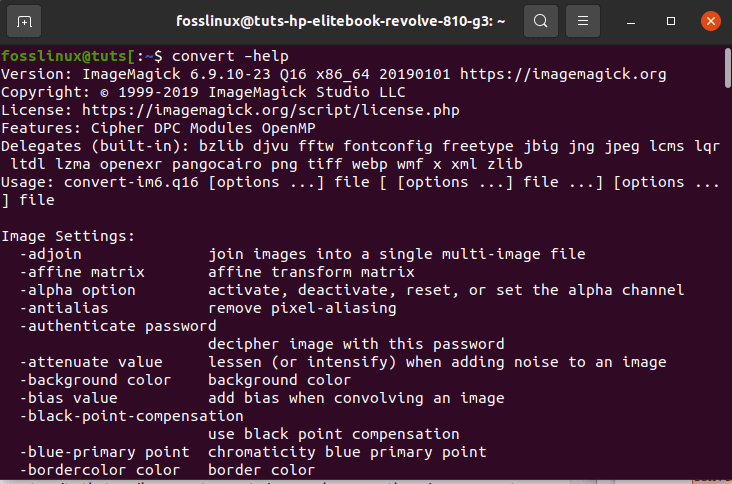
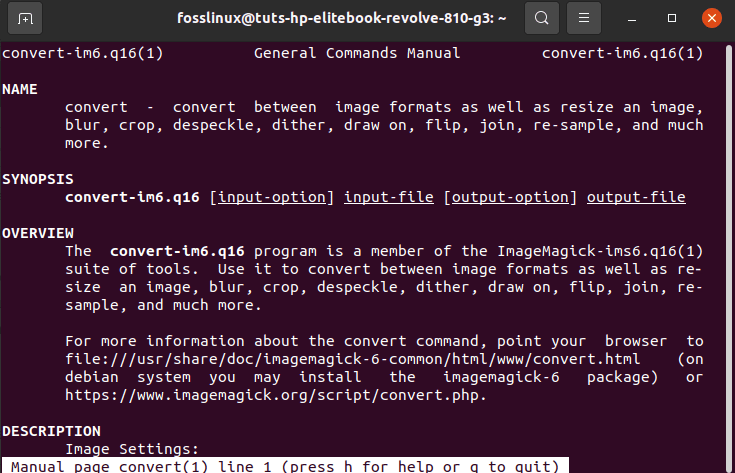
Are you in need of some commands this software uses to render the PDF documents or for use? You need not worry anymore since you will find more convert commands by referring to the help and man pages using the following commands:
convert –help
convert help
man convert
man convert
Method 2: Using GIMP
The GIMP (GNU Image Manipulation Program) is a freely made available cross-platform image manipulation software editor available for GNU/Linux macOS, Windows, and a lot more operating systems. This free software allows you to change its source code and distribute your changes hence an open-source software.
Whether you are a graphic designer, illustrator, photographer, or scientist, GIMP provides you with tools to get your task done in time. Furthermore, you can boost your productivity with GIMP thanks to its customization options and 3rd party plugins.
To add on the conversion of PDF to images option offered by this software is the programming algorithms it supports. GIMP is a high-quality framework for scripted image manipulation shipped with multi-language support like Perl, Python, C, Scheme, C++, and many more.
Installing GIMP
Below are several ways to install this software on your machine, depending on your Linux Operating System distro version.
Ubuntu/Linux Mint:
$ sudo apt update

$ sudo apt upgrade

$ sudo apt install snapd

$ sudo snap install gimp
CentOS 8/ RHEL 8:
$ sudo dnf update

$ sudo dnf install gimp
Arch Linux:
When it comes to Arch Linux, you need to install snap repo and utilize it to install GIMP. To attain this, clone the git repo of the snap package and build it using the makepkg command as shown below:
$ git clone https://aur.archlinux.org/snapd.git

$ cd snapd

$ makepkg -si
In our case, we will install using the Debian distro:
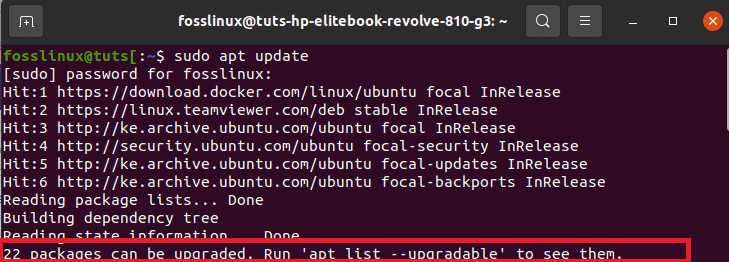
$ sudo apt update
update command
In case you run an update command and receive packages that need to be upgraded, like in our case 22, then run the following command:
sudo apt upgrade
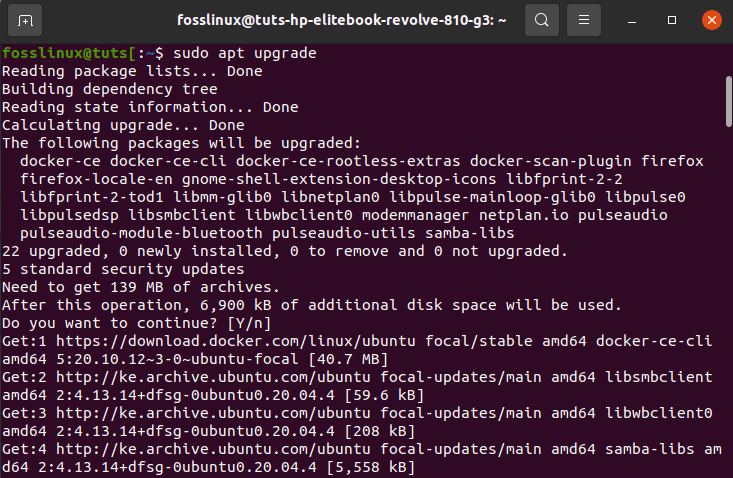
upgrade command
After upgrading your machine, install the snapd package in case you don’t have one:
sudo apt install snapd
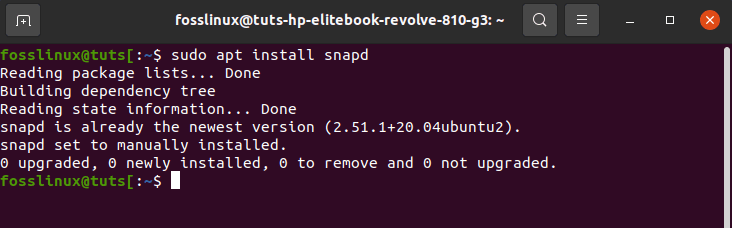
install snapd
After that, we now enable snap communication socket and generate a symbolic link to the /snap directory using the following commands:
$ sudo systemctl enable --now snapd.socket
OR
$ ln -s /var/lib/snapd/snap /snap

enable snap communication
At this point, your snap package is installed, and you can now go ahead and install GIMP. To do this, use the following command:
$ sudo snap install gimp
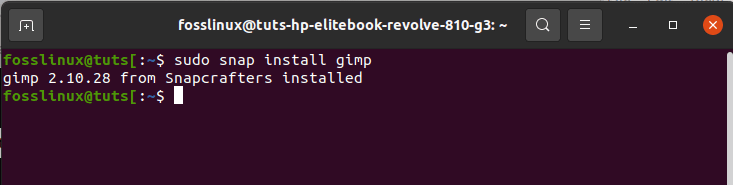
install gimp
Now you can utilize GIMP to meet your desires (Convert PDF documents to images). To open GIMP, go to your terminal and type in the following command:
$ gimp
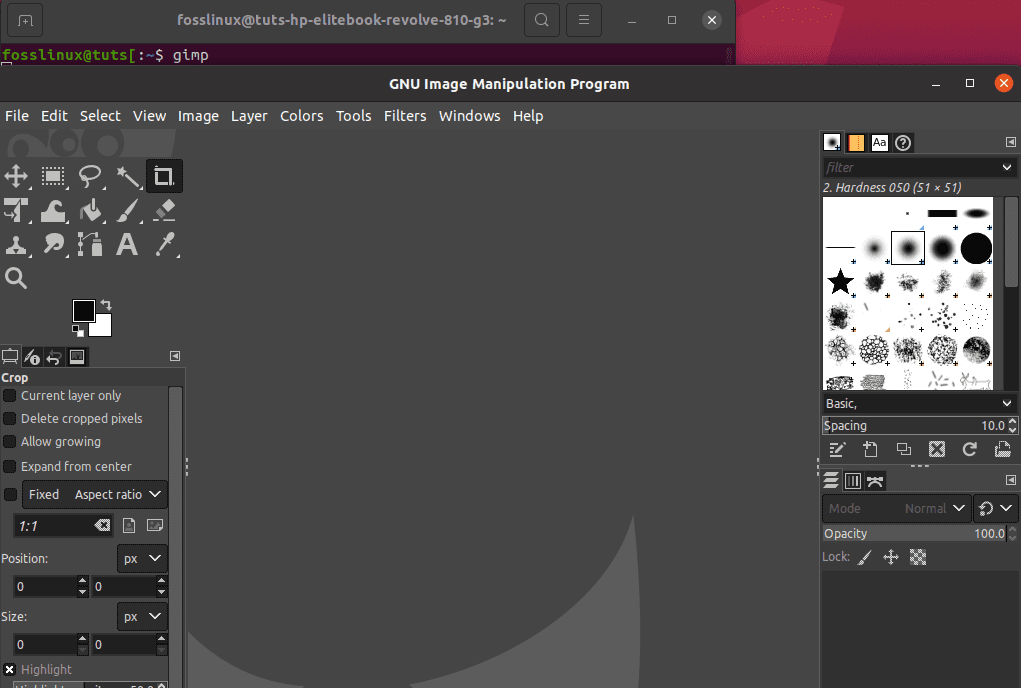
run the gimp command
Upon running the command, you should see such an open window:
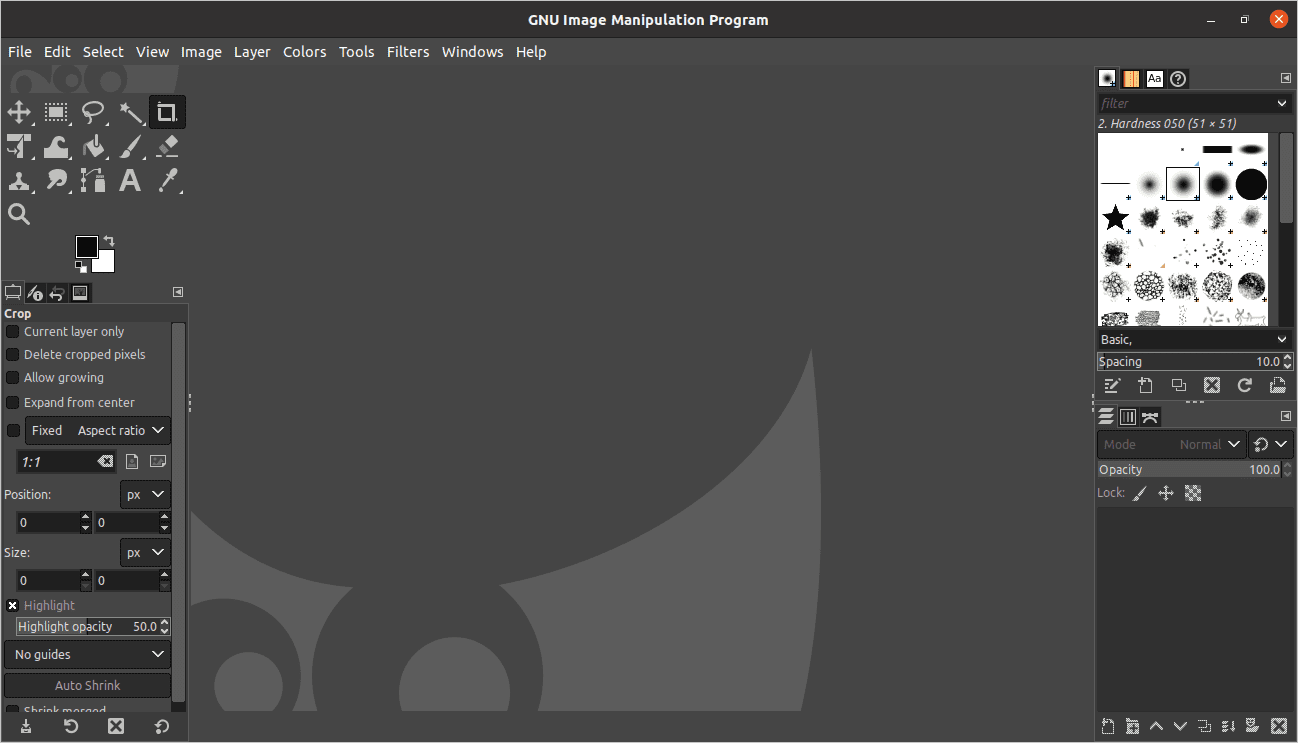
Gimp window
After that, go to file, click on open, and browse for your PDF file that needs conversion (File>Open>Browse PDF file).
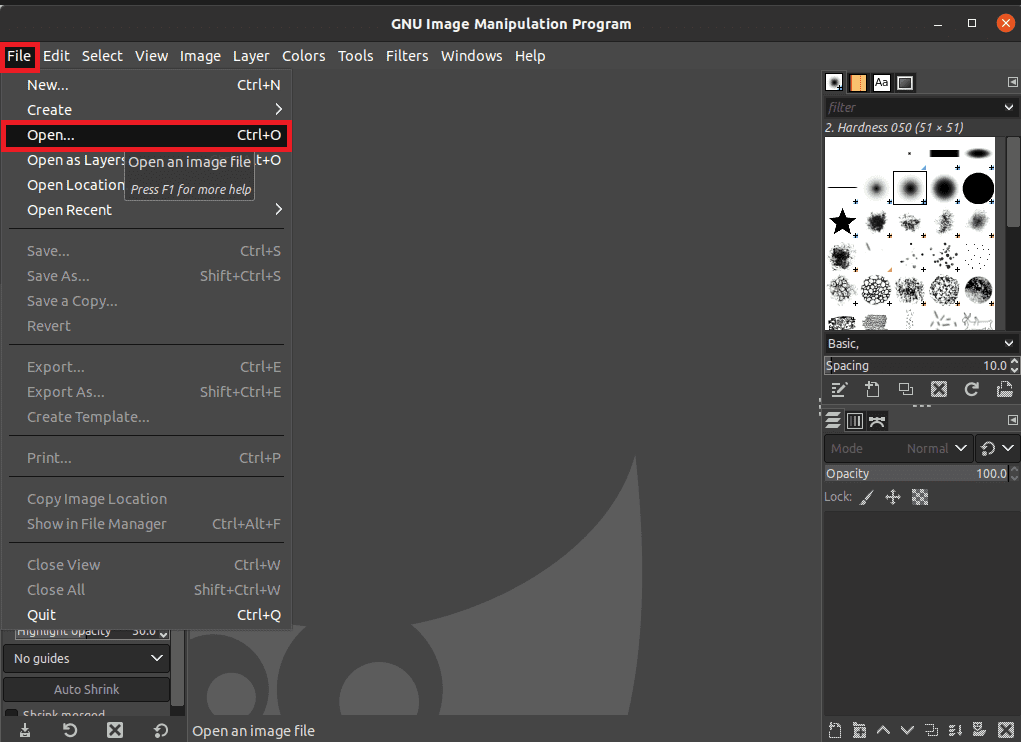
click open
At this point now, you can make changes to apply different edits. To convert it into an image format, go to the File menu and select “Export as,” then change the extension to an image format of your liking (jpg, png, gif) and click on export.
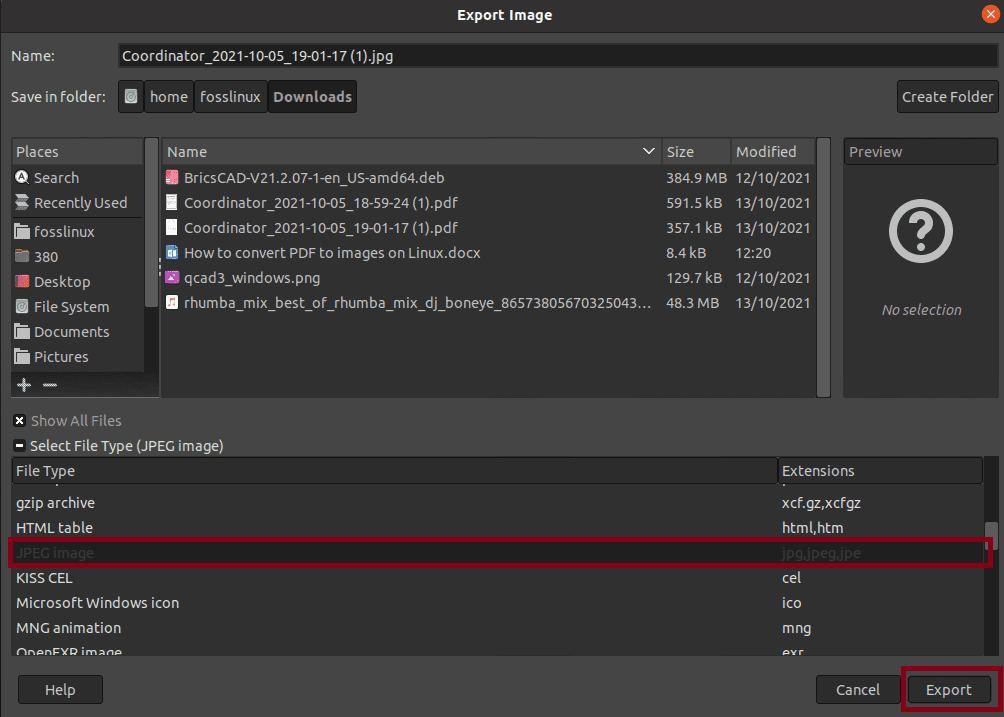
select the export version and click export
When you click on the first Export button when you are done selecting the format method, in our case, we set “JPEG,” a window will appear telling you to choose the quality of the image you want. You can play around with the quality of the image to your liking; However, if you are satisfied with the default settings, click on the “Export” button again to finish the process.
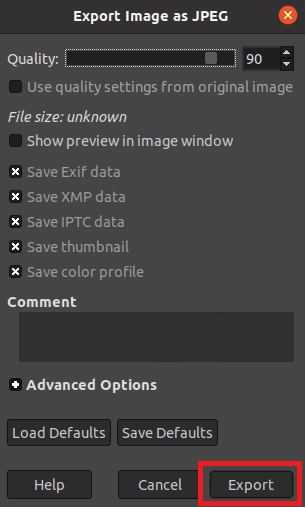
quality options
After that, your PDF document will be converted to the image format you specified.
Method 3: How to convert to images (PNG, JPEG, GIF) from Command line Using pdftoppm
pdftoppm are initials that stand for Portable Document Format (PDF) to Portable Pixmap (PPM) converter. This (pdftoppm) converts Portable Document Format to color image files in Portable Pixmap (PPM) format, grayscale image files in Portable Graymap (PGM) format, or monochrome image files in Portable Bitmap (PBM) format. Pdftoppm reads PDF file as PDF-file and writes one PPM file for each page, PPM-root-nnnnnn.ppm. Where nnnnnn is the page number
It can also convert all the PDF document pages into separate PDF files, a single page or a page range. On the other hand, it also supports specifying the image resolution, scale, crop images, and a lot more.
pdftoppm is a member of the “poppler / poppler-utils / poppler-tools” package, which entirely depends on the OS distro you are using. Below are the commands to install this software, depending on your OS.
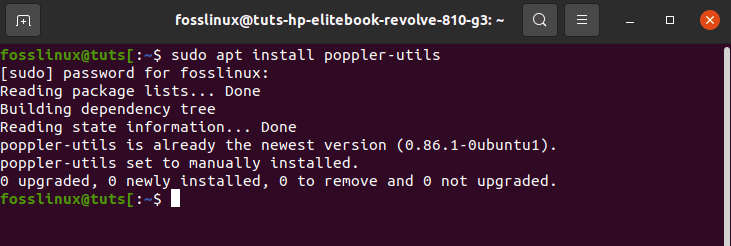
For Debian, Linux Mint, and other Debian/Ubuntu-based Linux distro like the one we will be using in our case, use the following command:
sudo apt install poppler-utils
install poppler utils
For Fedora users, use the following command:
sudo dnf install poppler-utils
For openSUSE users, use the following command:
sudo zypper install poppler-tools
For Arch Linux users, use the following command:
sudo pacman -S poppler
Nevertheless, other Linux distros allow you to use the package manager to install the poppler / poppler-utils package.
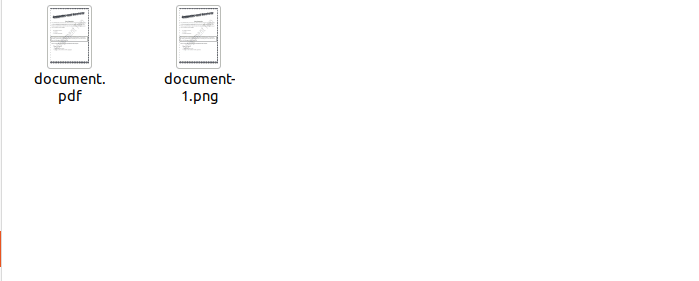
With that being said, let us use pdftoppm to convert our document.pdf to PNG, JPEG, and so on. The following command will help convert this pdf document to png.
pdftoppm -png document.pdf document
from pdf to png
Are you considering a way to convert PDF pages to JPEG instead of PNG? If so, use -jpeg in place of -png. For TIFF, use -tiff. In cases where you don’t specify the image format, pdftoppm will convert the entire page to PPM image files by default.
Note: Remember to replace the “document.pdf” with your file’s name.
Make use of -f N, where N is the page number of the first page to print, and -l N, where N, in this case, is the last page to print to define a page range for the PDF to image conversion with pdftoppm.
For instance, to convert pages 1 to 10 from a PDF document named document.pdf in this case to PNG with pdftoppm, and have each resulting image as document-01.png, document-02.png, and so on, you will use the following syntax:
pdftoppm -png -f 1 -l 10 document.pdf document
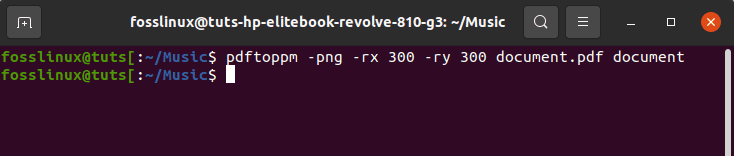
Do you want to add the converted image DPI (Dots Per Inch), commonly used to describe the resolution of an image? By default, pdftoppm converts PDF pages to images with a DPI of 150. But this does not limit you from altering the default setting using -rx and -ry to the command with your custom values.
Take a look at the following syntax that will allow you to use a DPI of 300 for the resulting images:
pdftoppm -png -rx 300 -ry 300 document.pdf document
switch the DPI
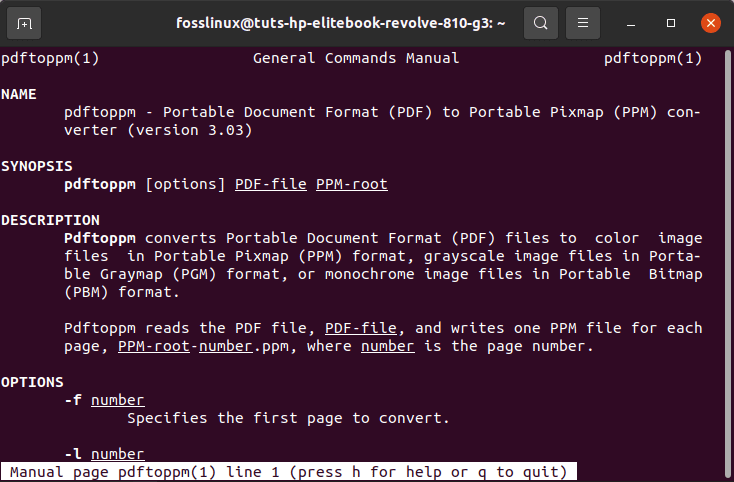
To take a look at all the options given/supported by pdftoppm, run the following command:
“pdftoppm –help and man pdftoppm”
help command
Wrapping Up
This article has gone through various methods. In this case, the methods refer to the Linux command-line and User Interface (UI) utilities to aid in converting PDF files to the different image formats. We saw how one could efficiently transform a pdf to an image using the commands and the GIMP software. To this end, we are sure that you can successfully convert a PDF file to other versions of image formats.
2 comments
Also easy with print : simply use : print to file
GIMP works great. It’s simple to use and does the job very well. Most Linux distributions already have it in their software repository (if it isn’t already installed, such as in Ubuntu Studio).