
Whether it’s the versatile development potential or its multifaceted portability, Java is one of the most popular programming languages in the world. It has many development-friendly features that make it stand out from its competition. For starters, the ability to run compiled Java code on any supported platform without having to recompile it is one of the defining functions that Java boasts.
In this article, we will learn how to install Java (OpenJDK) on Linux Mint version 20. OpenJDK is a free and open-source distribution of Java. There is also another Java distribution called Oracle JDK, but that comes commercially packaged and is not required unless you have specific requirements.
We will be using the Cinnamon edition of Linux Mint 20.2, which is most widely used among the operating system’s three different versions. However, the installation method used here should work on the other two, MATE and Xfce. Let’s get right into the installation now.
Installing Java on Linux Mint
Step 1: Update the software already installed
To check which software needs to be updated, you can run the “sudo apt update” command. After scanning, the Terminal will give you the detailed output that requires an update.
- Note that all “sudo” commands require you to input your password.
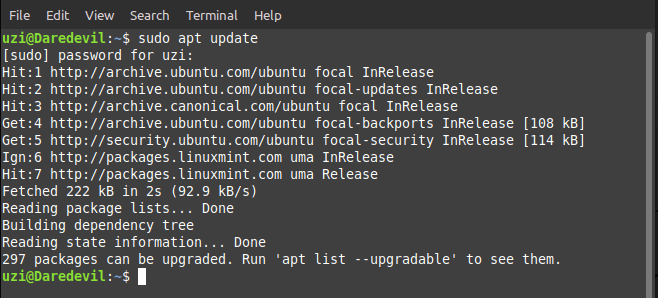
sudo apt update
You can see the list of all the upgradable packages by running “apt list –upgradable.” In addition, it’s easy to both update and upgrade the software installed on your system by combining two different commands. Enter the following in your Terminal and press the “Enter” key to continue.
“sudo apt update && sudo apt upgrade -y”
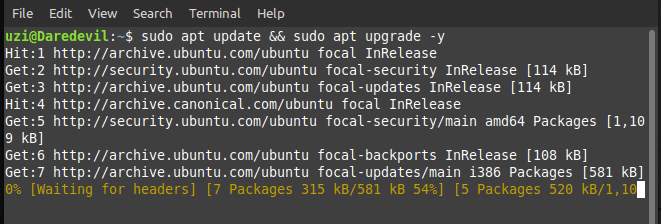
sudo apt update && upgrade -y
Once done, you can run the “sudo apt update” command again to check whether all the packages have been upgraded successfully or not.
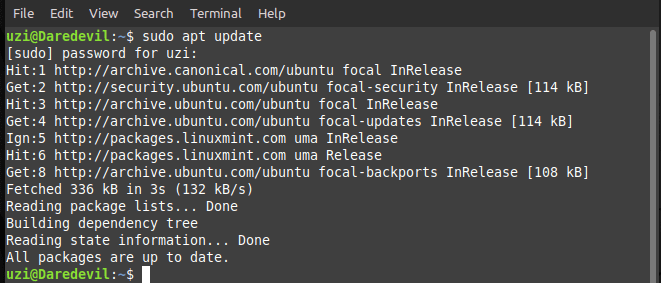
sudo apt update recheck
Step 2: Install Java through Terminal
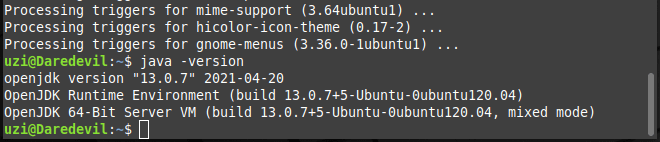
If any version of Java is already installed on Linux Mint, then you can check the currently installed version by simply running “java -version”
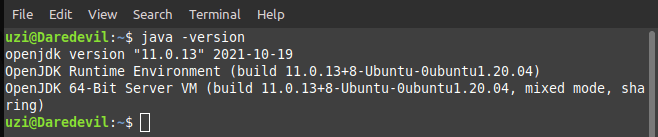
Java version check
If you receive no proper output, Java isn’t installed. As you can comprehend from the screenshot above, Java 11 is already installed on our system, and you can get it on your Linux Mint by using the following command.
“sudo apt install default-jdk”
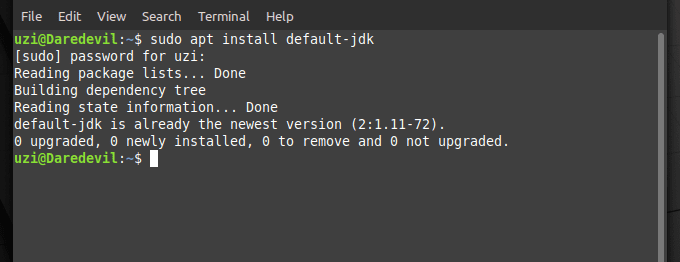
Installing default java
This will install the default Java Development Kit packages into the system. Some applications also require Java Runtime Environment to execute code. If you are not looking to do programming and need to run the applications requiring JRE, then the command above will suffice. If it is not already installed by the above command for some reason, then you can run the following command to install it:
“sudo apt install default-jre”
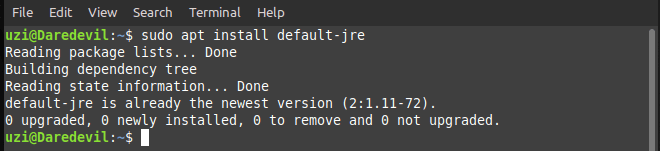
Installing JRE
Step 3: Bypass the default installation and check for alternate versions on the system
Suppose you are not looking for the default installation and instead want to install a different version of Java. In that case, you can bypass the default installation by executing the following command:
“sudo apt install openjdk-<INSERT VERSION>-jdk”
After putting in the required version, the command above will convert into the following:
“sudo apt install openjdk-13-jdk”
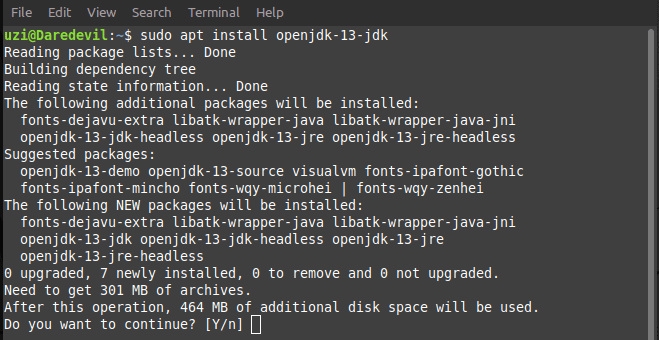
Installing OpenJDK 13
Type “Y” and press the “Enter” key to begin the installation.
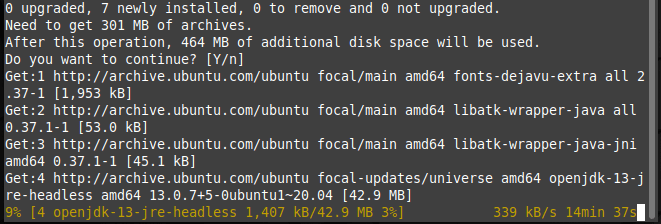
Installation Process of OpenJDK 13
This might take some time, depending on your internet speed. After the Terminal has finished executing, you can now verify that your required version has been installed correctly by running the simple “java -version” command.
Java version recheck
Congratulations! You have now successfully learned how to install the default Java version, bypass it, and install the version of your choice.
Bonus Information
You can also check all the alternate Java versions installed on your system using the following command:
“sudo update-alternatives –config java”
- Note that there are two dashes (-) before config in the above command.
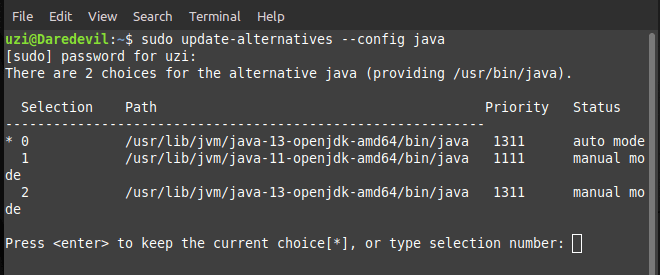
Alternative Java versions
Using the command above will allow you to run different versions of Java. You can easily choose which one to go with by inputting the relevant “Selection” number. Once done, you’ll have to re-verify the selected Java version by running the “java -version” command as shown below.
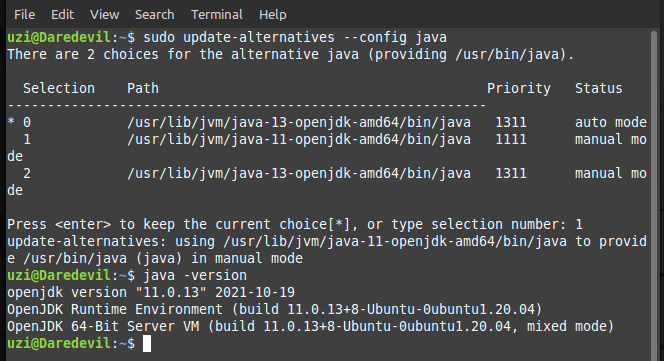
Switching to a different Java version
That’s about it! You now know how to install Java on Linux Mint. Keep in mind that this guide was for the OpenJDK version of Java which is free to use and open-source. Please let us know in the comments section if you found this guide helpful.
3 comments
it wa most useful and more easy to use. Tons of lots of thanks.
Thank you for this
In my case, when i installed openjdk-17-jdk, my ‘java’ version updated to the 17 automatically
“If you receive no proper output, Java isn’t installed. As you can comprehend from the screenshot above, Java 11 is already installed on our system, and you can get it on your Linux Mint by using the following command.” What does this mean??!! If it’s installed why do you need to “get it on your Linux Mint….” for?! And Besides, what to if IT IS NOT INSTALLED?! If you want to help do it in a comprehensible way.