
MongoDB is a well-known open-source NoSQL document-oriented database written in C++. It is a schema-less DB making it easier to add new fields. In MongoDB, files can vary from doc to doc since the stored data is flexible and is presented in JSON-like docs. Besides, MongoDB does not need a predefined schema, and their data structures can be altered over time. Data recovery in Mongo DB is instant and reliable since it is a distributed system.
This article guide is tailored to illustrate step-by-step how to install MongoDB on Ubuntu. as you might already know, Ubuntu is one of the widely known robust Linux-based OS. It is open-source. Hence, you can try it out without fear of incurring additional costs. Before diving into the installation process, please ensure you have all the prerequisites mentioned herein:
Prerequisites
- Ubuntu OS
- General knowledge of terminal/shell commands
- MongoDB Knowledge
- Internet Connectivity
Once you have the above prerequisites, you can continue the installation phase.
Installing MongoDB on Ubuntu
Installing MongoDB on Ubuntu is very easy and direct. For the sake of this guide, we shall be using the terminal to execute the commands needed to install MongoDB on our Ubuntu OS. The commands provided are easy to run, and all required from you is to copy and paste them on your Ubuntu terminal.
Follow the steps provided herein to install MongoDB on Ubuntu.
Step 1: The first step when using the terminal to install any application on Ubuntu is to update and upgrade the system resources and repos. Therefore, to update and upgrade, run the command below on your terminal (use the Ctrl+Alt+T keyboard combination to open the terminal on your Ubuntu).
sudo apt update && sudo apt upgrade
Output:
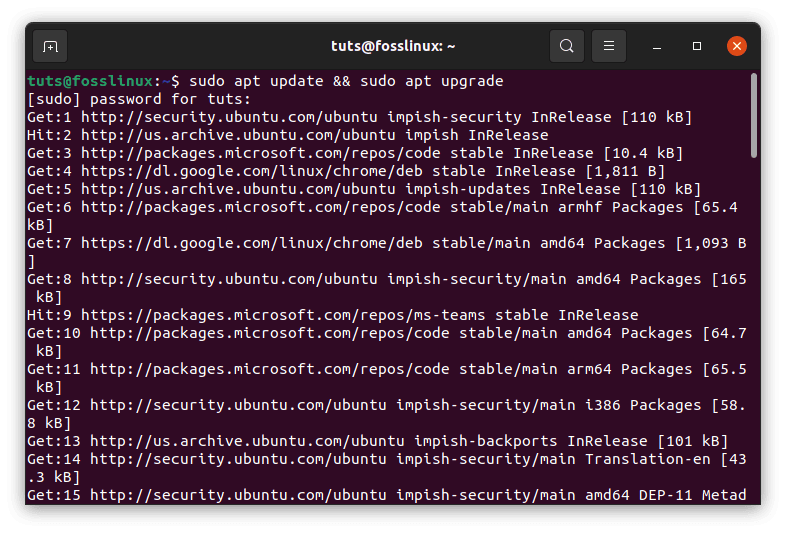
update and upgrade
Step 2: If you want to obtain the recent version of MongoDB, you must include the dedicated package repo to your sources. This will enable you to install the mongodb-org package.
To start, we must first install the required dependencies that will add a new repo over HTTPS by running the command below:
sudo apt install dirmngr gnupg apt-transport-https ca-certificates software-properties-common
Output:
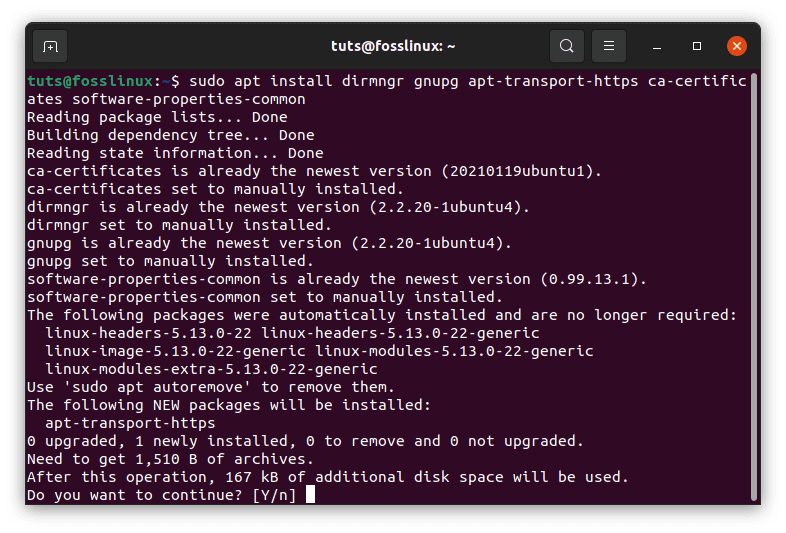
Install required dependencies
Now import the GPG public key to acquire the latest MongoDB version.
wget -qO - https://www.mongodb.org/static/pgp/server-4.4.asc | sudo apt-key add -

sudo add-apt-repository 'deb [arch=amd64] https://repo.mongodb.org/apt/ubuntu focal/mongodb-org/4.4 multiverse'
Output:
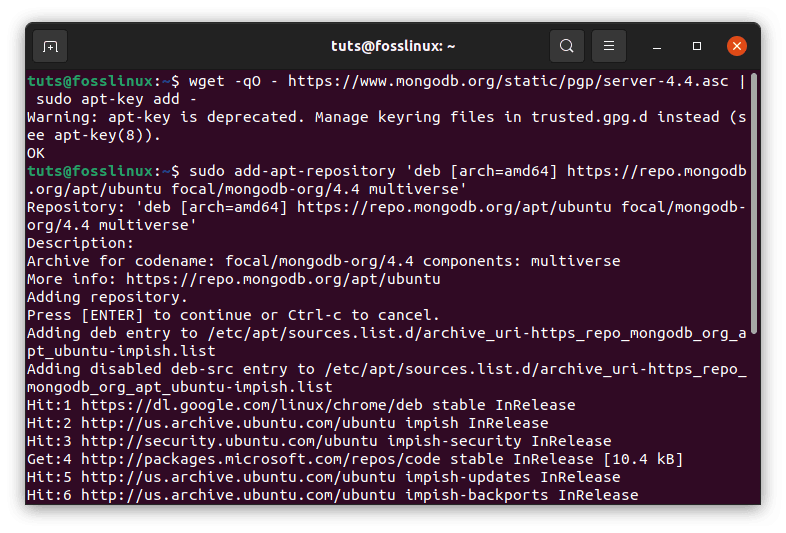
Import Public GPG key
Using the “apt” command, we shall install the MongoDB package using the command below:
sudo apt install mongodb-org
Output:
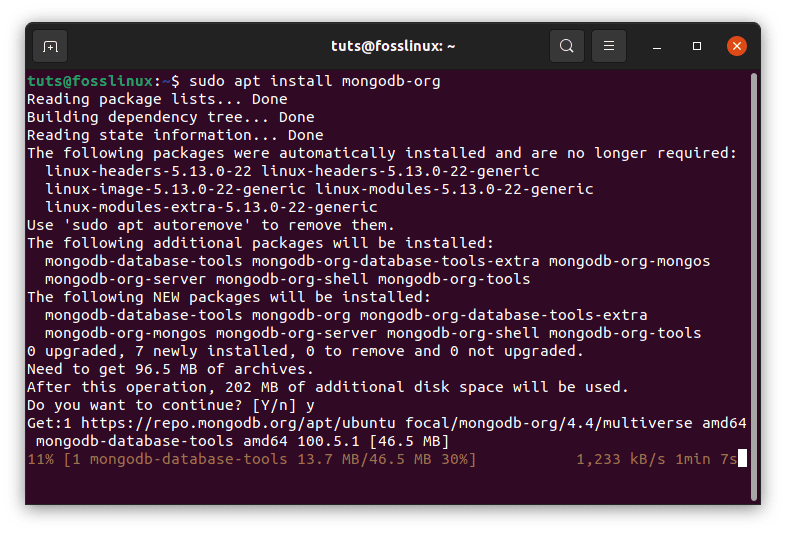
Install MongoDB
The packages named below are installed alongside MongoDB:
- mongodb-org-server – the mongod daemon that corresponds to the configurations and inits scripts.
- mongodb-org-shell – the shell is an interactive MongoDB to JavaScript interface. It is primarily used to perform all administrative tasks via the command line
- mongodb-org-mongos – this is another mongos daemon
- mongodb-org-tools – this package contains various MongoDB tools used to import and export statistics, data, and other unnamed utilities.
Step 3: Now that the MongoDB package has been installed, we can check and ascertain the MongoDB service status with the aid of this command:
sudo systemctl status mongod
Output:
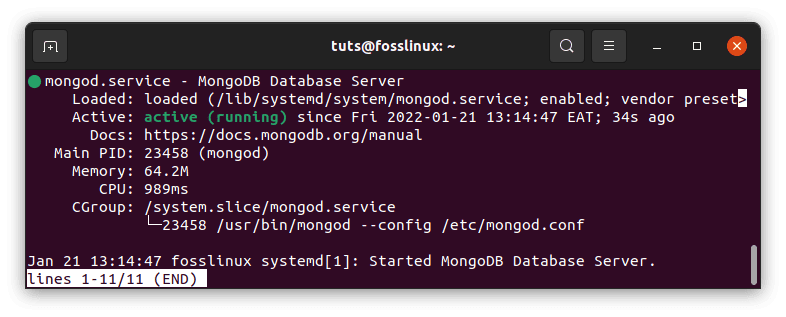
Check MongoDB Status
The systemctl command verifies if the MongoDB server is up and running.
Step 4: After confirming that the server is running seamlessly, we must check if the installation process was done correctly. The command below will assist you with that:
mongo --eval 'db.runCommand({ connectionStatus: 1 })'
Output:
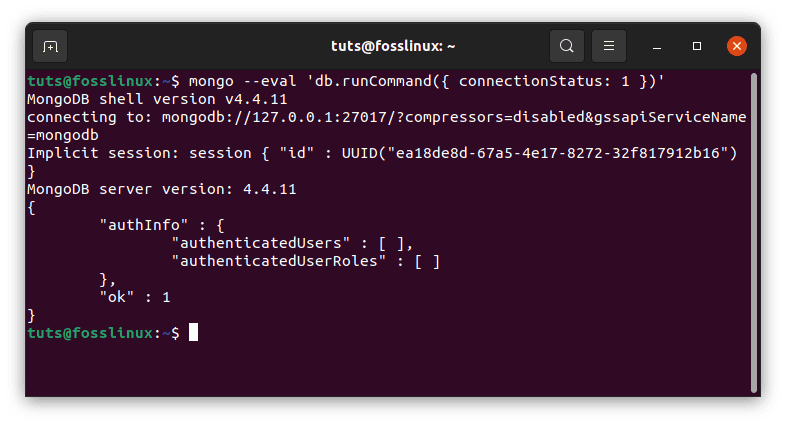
Check if the installation process was successful
Note: the “1” value in the output “ok” field above shows that the server is up and running without any flaws
Step 5: Start, stop and check the MongoDB services using simple commands.
To stop a running MongoDB service, execute the command below:
sudo systemctl stop mongod
Output:
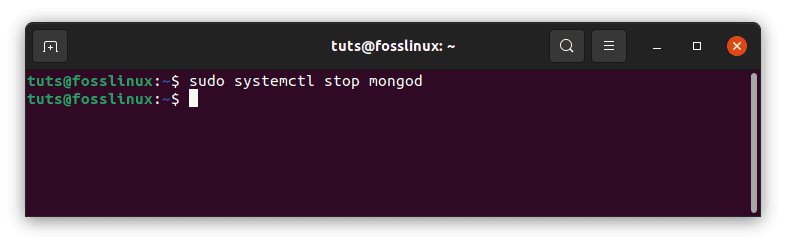
Stop MongoDB
To check the MongoDB status, run the command below:
sudo systemctl status mongod
Output:
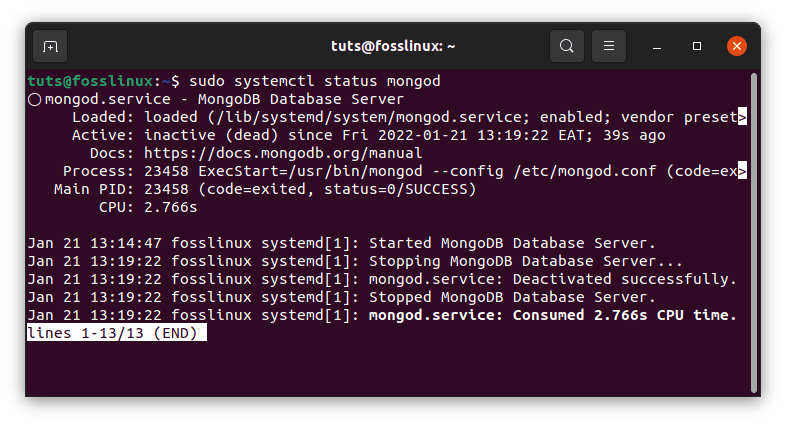
MongoDB Status
To start the MongoDB services, execute the command below:
sudo systemctl start mongod
Output:
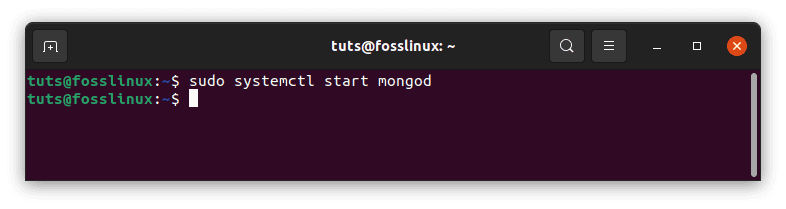
Start MongoDB
MongoDB Configuration
Occasionally, the MongoDB configuration file is “mongod.conf.” The configuration file emulates the YAML format. The configuration dossier is located in the “/etc.” directory.
If you are new to MongoDB, we suggest sticking to the default configuration settings as they are sufficient for a beginner in most cases. However, suppose you plan to explore the settings for other purposes such as production and other immense uses. In that case, it is recommended to uncomment the security section and enable authorization using the command provided below:
sudo nano /etc/mongod.conf
Output:

MongoDB configuration file
Note: Change the configuration file authorization to enabled if it is disabled.
Once authorization is enabled, it enables the RBAC (Role-Based Access Control), which regulates how the users access the database operations and resources. If the authorization option is disabled, any person who has access to the database can perform read and write actions. This is dangerous and might cause a lot of destruction if third-party personnel lays their hand on unauthorized databases.
Note: Always remember to run the MongoDB start service after editing the configuration files for changes to take effect.
Creating an administrative user in MongoDB
Once authorization has been activated in your database, you should create an administrative user who can access and manage the instances. To access the mongo shell, run the command below
mongo
Output:
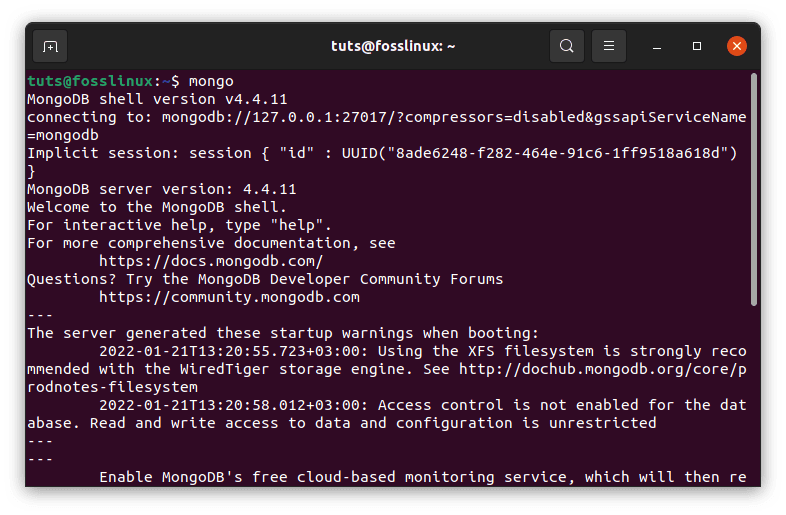
Open MongoDB Shell
From the MongoDB shell, copy and paste the command below to help connect to the primary database:
use admin
Output:

Switch to admin mode
Now proceed and create a new user with the name fossAdmin, password as fossLinux, and role as userAdminAnyDatabase.
db.createUser(

  {

    user: "fossAdmin",

    pwd: "fossLinux",

    roles: [ { role: "userAdminAnyDatabase", db: "admin" } ]

  }

)
Output:
Successfully added user: {
"user" : "fossAdmin",
"roles" : [
{
"role" : "userAdminAnyDatabase",
"db" : "admin"
}
]
}
After creating the admin user successfully, exit the mongo shell using the command line below:
quit()
Now it is time to test the change we made by accessing the mongo shell using the admin user we created in the previous step. This can be done by running the command below:
mongo -u mongoAdmin -p --authenticationDatabase admin
use admin
Check the present users by running this other command:
show users
Output:
{
"_id" : "admin.fossAdmin",
"userId" : UUID("ff3d96a3-9e6c-439a-a78e-67d7db540da7"),
"user" : "fossAdmin",
"db" : "admin",
"roles" : [
{
"role" : "userAdminAnyDatabase",
"db" : "admin"
}
],
"mechanisms" : [
"SCRAM-SHA-1",
"SCRAM-SHA-256"
]
}
If your output resembles the one displayed above, then it means the admin user was created successfully.
Conclusion
This concise guide has provided a quick illustration of installing MongoDB on Ubuntu. All the steps have been seamlessly covered. Therefore, if you have feedback or any question concerning the subject matter above, reach out via the comments section.