
Tmux is a Linux software that allows you to multitask between terminal windows. It is an abbreviation for Terminal Multiplexing, based on the notion of sessions. Tmux is a terminal multiplexer that can replace the GNU screen.
You can create a Tmux session and then launch many windows within it. Each window occupies the entire screen and is separated into rectangular panes. Tmux allows for simple switching between many apps on a single terminal and detaching and reattaching them to a different terminal.
Tmux enables the establishment of persistent terminal sessions even when the SSH connection or the current terminal is closed. Tmux sessions can be continued in the background and subsequently listed and used again. We will cover how to list and attach Tmux sessions in this tutorial.
How to list Tmux sessions
Tmux supports the idea of sessions; a session may be thought of as a workspace for your terminal. This is useful when you’re working on a project and need to move to something else while still working on the project at hand. You may leave this particular session running and return to it later in this scenario. When dealing with numerous sessions, it might be beneficial to keep track of the active ones.
The ls option can be used to list the Tmux sessions. The Tmux ls argument is quite similar to the bash ls command, which displays a list of files and directories. The Tmux ls command displays a list of Tmux sessions in this scenario. While listing Tmux sessions, more information is presented about these sessions. To use this ls argument, execute the line of code below:
tmux ls
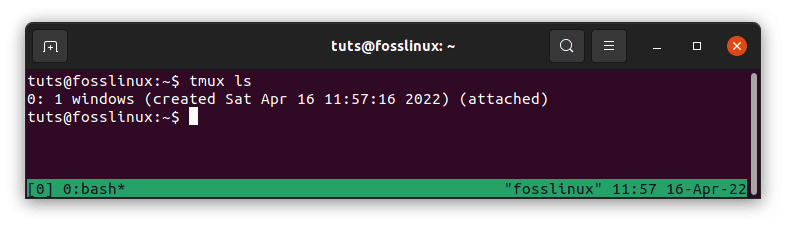
List sessions
Code breakdown
From the above output, here is a breakdown of the listed information about Tmux sessions:
0: is the Tmux-assigned session ID.

1 windows is the default name for the sessions.

(created Sat Apr 16 11:57:16 2022) is the session's creation date and time.

(attached) indicates that the Tmux session is currently attached.
How to attach Tmux sessions
To link a specific event or session to a list of events, you may use the session name or ID. Attaching sessions uses the “attach-session” argument and the “-t” option, which specifies the name or session ID to attach. For instance, the Tmux session with the session ID 1 is attached in the following example:
tmux attach-session -t 1
It’s also possible to attach a session using the session name. The Tmux session named “fosslinux” is attached in the following example.
tmux attach-session -t fosslinux
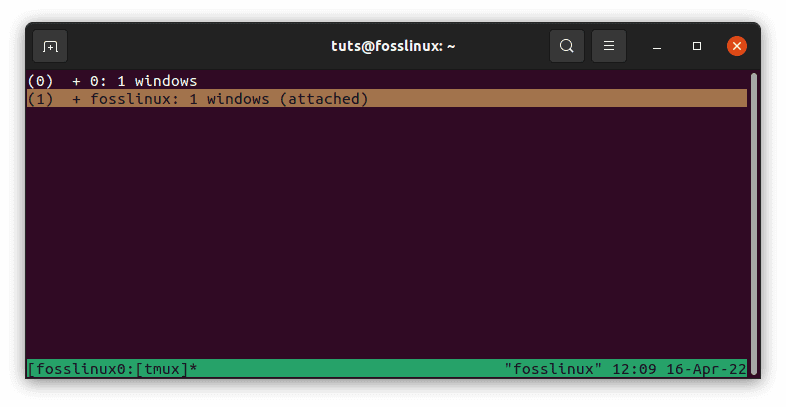
Attach fosslinux
As with many other Tmux commands, list-sessions has a shortcut, tmux ls, that displays the same information.
To enter command mode, type prefix>: followed by list-sessions or ls to view a list of currently active Tmux sessions.
In addition, it may be used to create custom keybindings in the.tmux.conf file. An illustration would be as follows:
bind <key> list-sessions
By default, list-sessions are bound to the prefix> s key combination. With j and k, you may explore the session list and activate one by hitting enter. If your primary goal is to switch sessions, you may use choose-session instead; it is more verbose and allows you to move to a specific window.
How to kill sessions
Once you are done listing sessions, you can now proceed and kill the session. This is unnecessary, but we thought it would be necessary for learning purposes. After listing sessions, we can terminate them if they are no longer required. Sessions can be terminated using the session ID or session name. The command “tmux kill-session” can be used with the -t argument to provide the session name or session ID.
tmux kill-session -t 0
Note: If you check the previous screenshot while attaching fosslinux, there was a session above it, but after running the kill-session command above, the session has been removed as shown below:
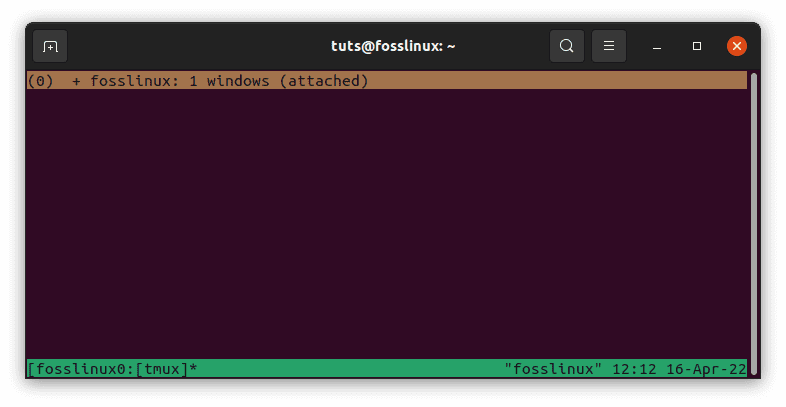
Killed session
Conclusion
That’s all you need to know in this article guide. We hope you found it helpful. If yes, please leave a remark below and let us know your experience and encounter with Tmux listings and sessions. For a more detailed walkthrough, check out our article on How to use and install Tmux on Linux. Thanks again for reading.