
A Live USB is a Linux USB with no persistent storage typically used to replace the previous operating system on the hard disk (either Linux or Windows) with a newer version of the Linux operating system. With a Live USB, you may boot up a computer and do tasks such as installing programs, storing data, and changing settings. However, if you restart your computer, all the changes you made using the Live USB will be lost.
What if you need to continue working and pick up where you left off on a Linux Mint Live USB drive? Introducing the Linux Mint Live USB with persistent storage.
Persistent storage is sometimes known as a “Computer on a Stick” since it functions much like an internal hard drive. Just a keyboard and display are missing from this portable computer. As a result, it utilizes the “host” computer’s display and keyboard. A USB external hard drive can be used instead of the host computer’s hard disk to run applications and save data.
While creating a Live USB drive, Linux Mint Live USB with persistent storage allocates permanent storage. Any modifications you make will be kept permanently on this portable OS. You will also be able to access this permanent storage and all stored data anytime you reboot the Live USB.
Creating a Linux Mint USB drive with persistence
The persistent storage feature of the Linux Mint Live USB is convenient. You may use this USB on as many PCs as you like, and the best part is that you won’t have to reinstall Linux Mint every time you use the Live USB.
There are a few concerns or limits to be aware of:
- You will be unable to make changes to the Linux Mint system files.
- Some system improvements will be impossible to carry out.
- No hardware drivers can be installed.
You may, however, update the most frequently used software. Therefore with the USB stick with persistence, you can ensure that you have the most recent version of your favorite programs.
Using a USB drive with persistence is advantageous as it allows you to run the installed Linux operating system on an external USB and still save data and settings. Stay put as we talk you through the creation process. Also, we shall be providing valuable links to acquire the downloadable software.
This short article guide will illustrate creating a Linux Mint USB drive with persistence. Therefore, to learn more on this subject matter, continue reading this article to the end.
Prerequisites
- Rufus (Conversion software)
- A PC that can boot from a USB
- Linux Mint ISO
- Windows 11, 10, 8, 7 Operating Environment
- Flash Drive
Once you have all the prerequisites mentioned above, follow the steps provided to complete the creation process.
Step 1: Launch Rufus
If you have not obtained the software, download it from the link provided in the prerequisites above and follow the on-screen prompts to install it on your Windows PC. After that, locate it and launch it.
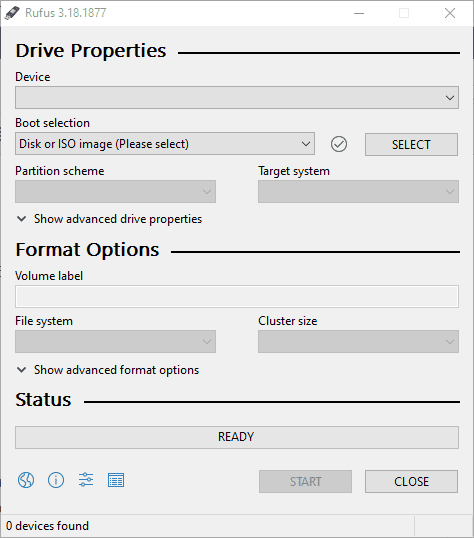
Rufus
Step 2: Select the external USB drive to create the bootable drive with persistence
Now choose the “Device” option and select your external USB drive. It is imperative to note that some operating systems will automatically detect the drive. Hence, if this is the case with you, skip to step 3 below.
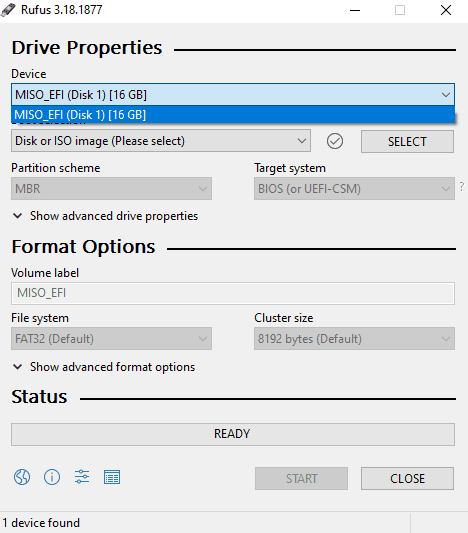
Device
Step 3: Choose the Linux Mint ISO
The next step is to choose the Linux Mint ISO we downloaded from the prerequisites section above. Always ensure you store the ISO file in an easily accessible area to avoid confusion while locating the file. Click the “Select” option to locate the ISO file.
Step 4: Select the persistence storage
This is the most vital step. If you skip it, a bootable drive will be created without persistence. Therefore, you need to ensure you choose the persistence storage before proceeding. You can select the persistent size by dragging the slider highlighted in the image below:
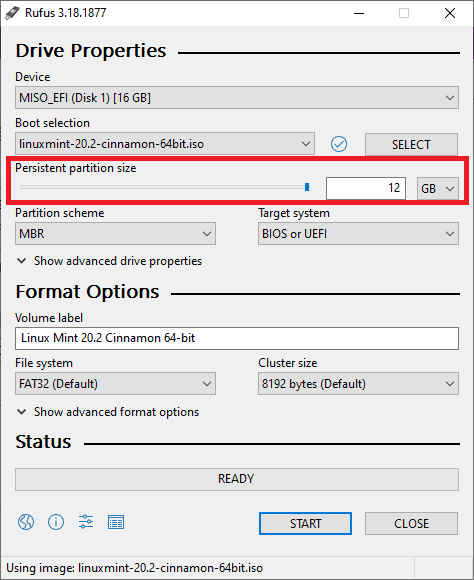
Persistent partition size
Step 5: Start the writing process
Once you have set the persistence storage, click the “Start” button to create the persistent live USB drive.
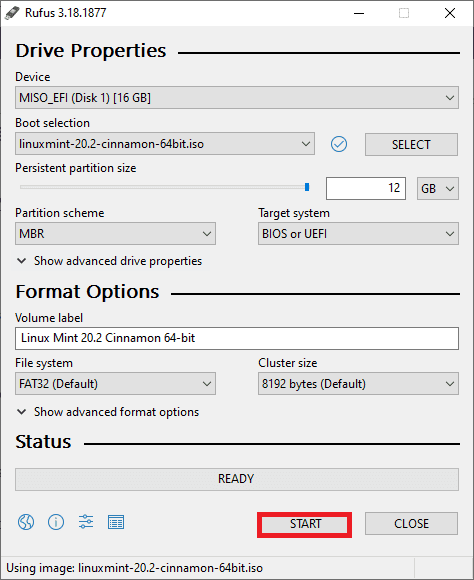
Start the writing process
Ensure to accept all prompts by clicking the “OK” button.
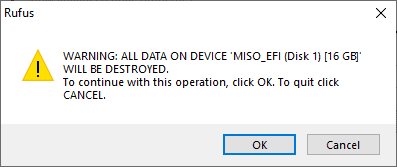
Accept prompt
Be patient as the writing process is executed. Once it is done, you will receive a notification. Click the “Close” button on the Rufus application.
That’s all. You have successfully created a persistent live USB drive.
Alternatively, you can use the method below if you only have a Linux (Ubuntu) operating system.
How to create a live Mint USB drive with persistence using Ubuntu
Step 1: Download the Linux Mint ISO you’ll need for installation from the Linux Mint official website.
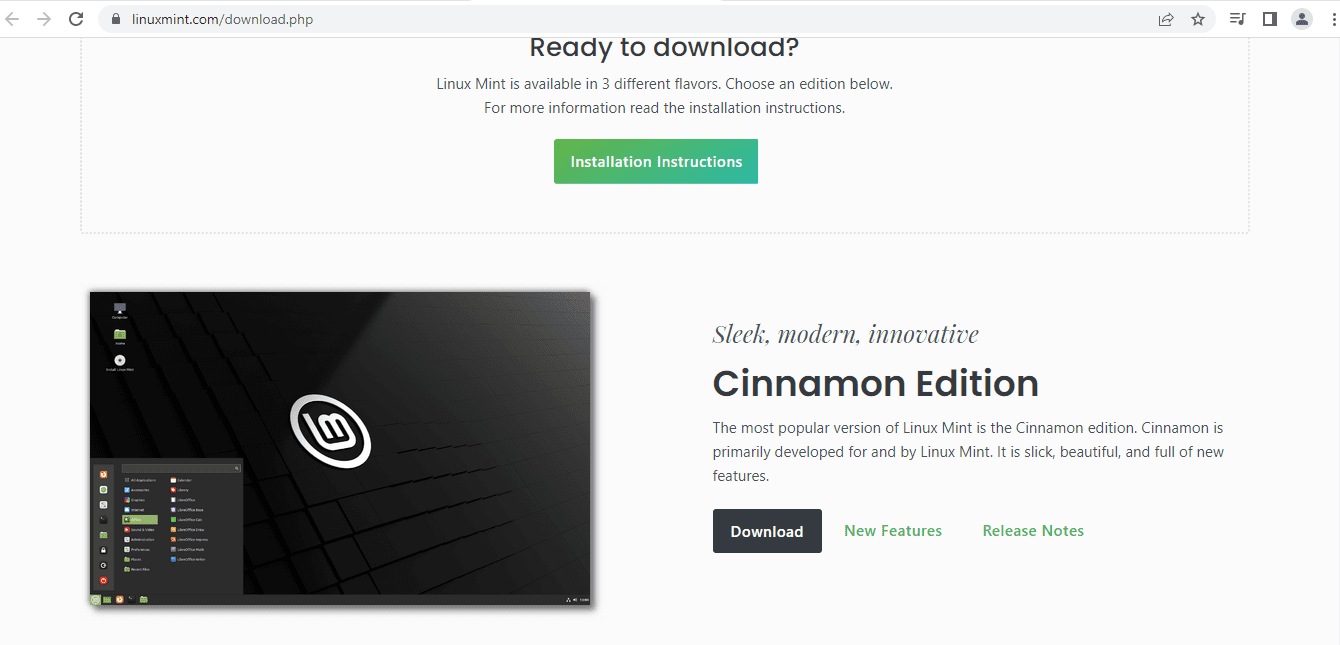
Linux Mint download page
Step 2: We’ll use the mkusb utility to make a Linux Mint Live USB with persistence. Because the mkusb program is not included by default in the Ubuntu installation, we need to add its repository to notify Ubuntu where to find it. You can do so using the line of code below:
sudo add-apt-repository ppa:mkusb/ppa
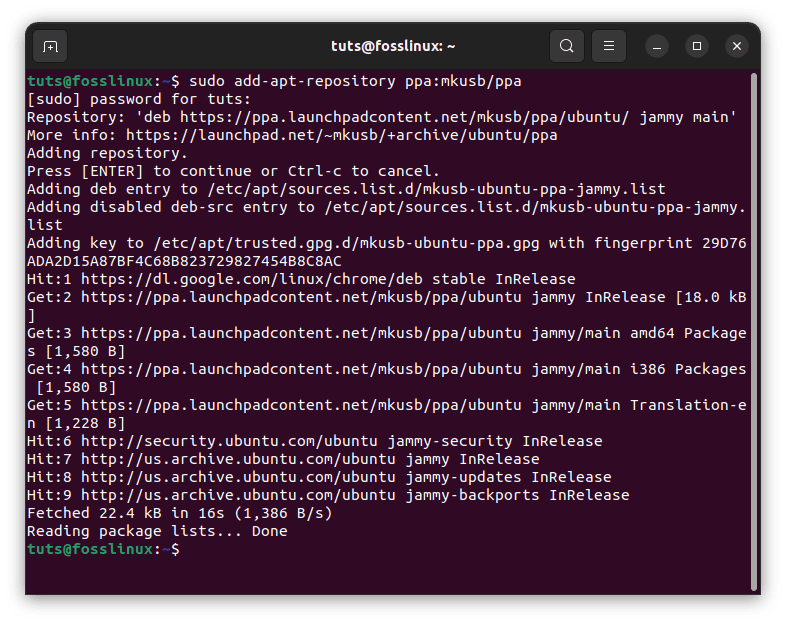
Add repo ppa
Step 3: Run the following command to update your Ubuntu package list.
sudo apt update
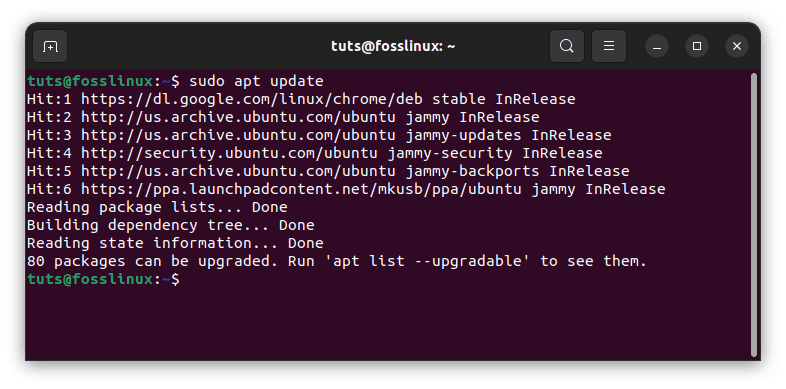
Update system resources
Step 4: Let’s now install the mkusb package.
sudo apt install --install-recommends mkusb mkusb-nox usb-pack-efi
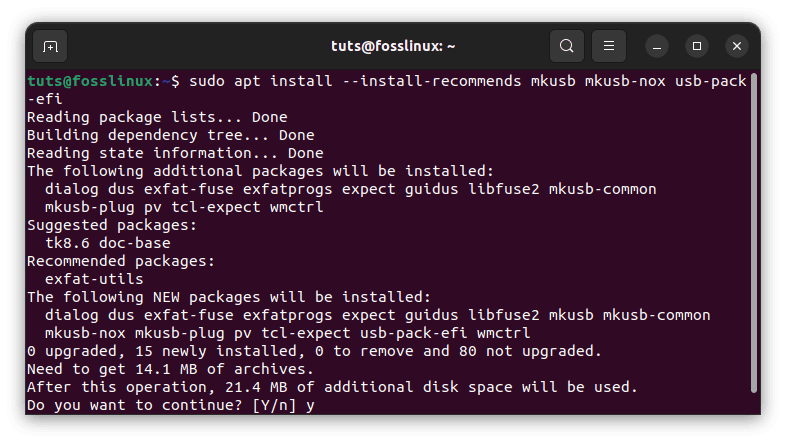
Install mkusb
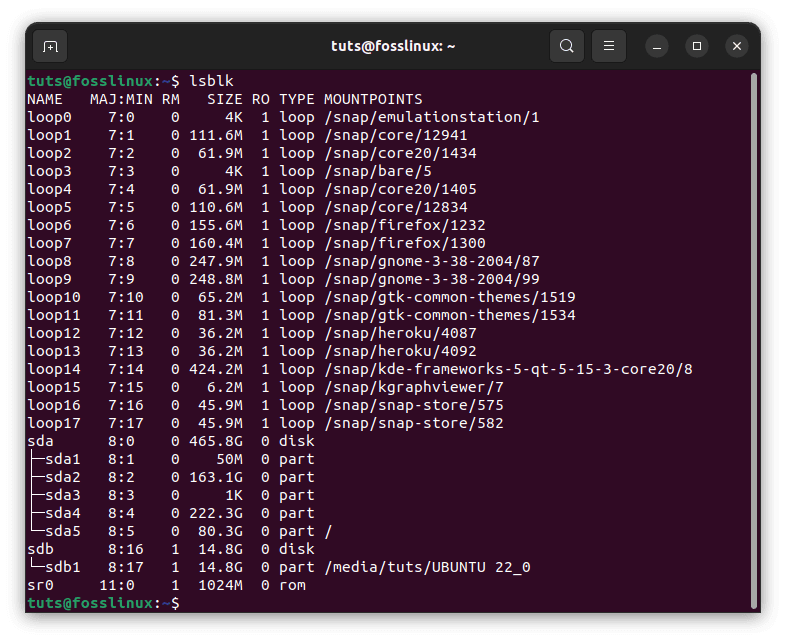
Step 5: Next, we’ll use the lsblk command to list all the block devices connected to your PC.
lsblk

Run lsblk command
Step 6: Insert your USB stick into your PC and run the preceding program once more. You will notice a change as the USB drive will be displayed.
lsblk
Run the lsblk command after inserting the USB
Step 7: Launch the mkusb application
Step 8: A confirmation notice asking if you want to run the mkusb dus will pop up press the “Yes” option to proceed.
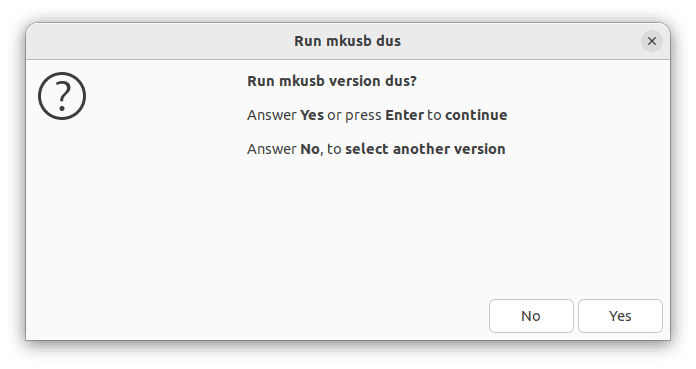
Run mkusb prompt
Step 9: Enter your root password and click “OK” to proceed.
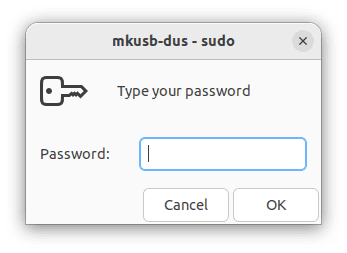
Enter root password
Step 10: A warning notice informs you that your USB will be overwritten. If you’re ready, click OK.
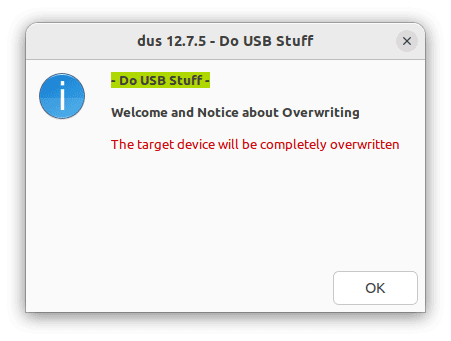
mkusb warning
Step 11: In the following box, select “Install (create a boot device)” and click “OK” to proceed.
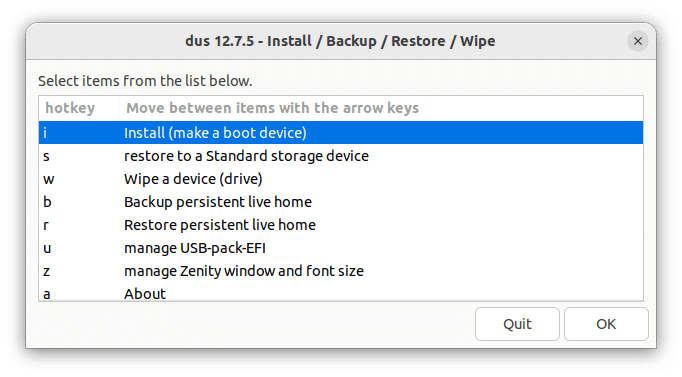
Choose Install (make a boot device)
Step 12: To proceed to the next stage, select “Persistent Live – only Debian and Ubuntu” and hit the OK button.
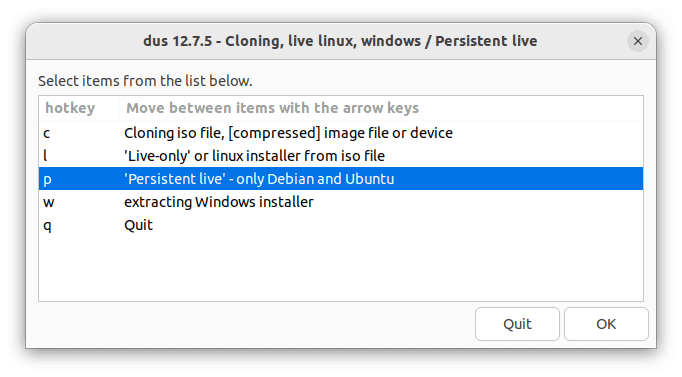
Choose the persistent live option
Step 13: Now, choose the Linux Mint ISO we downloaded previously and click the green “OK” button to proceed.
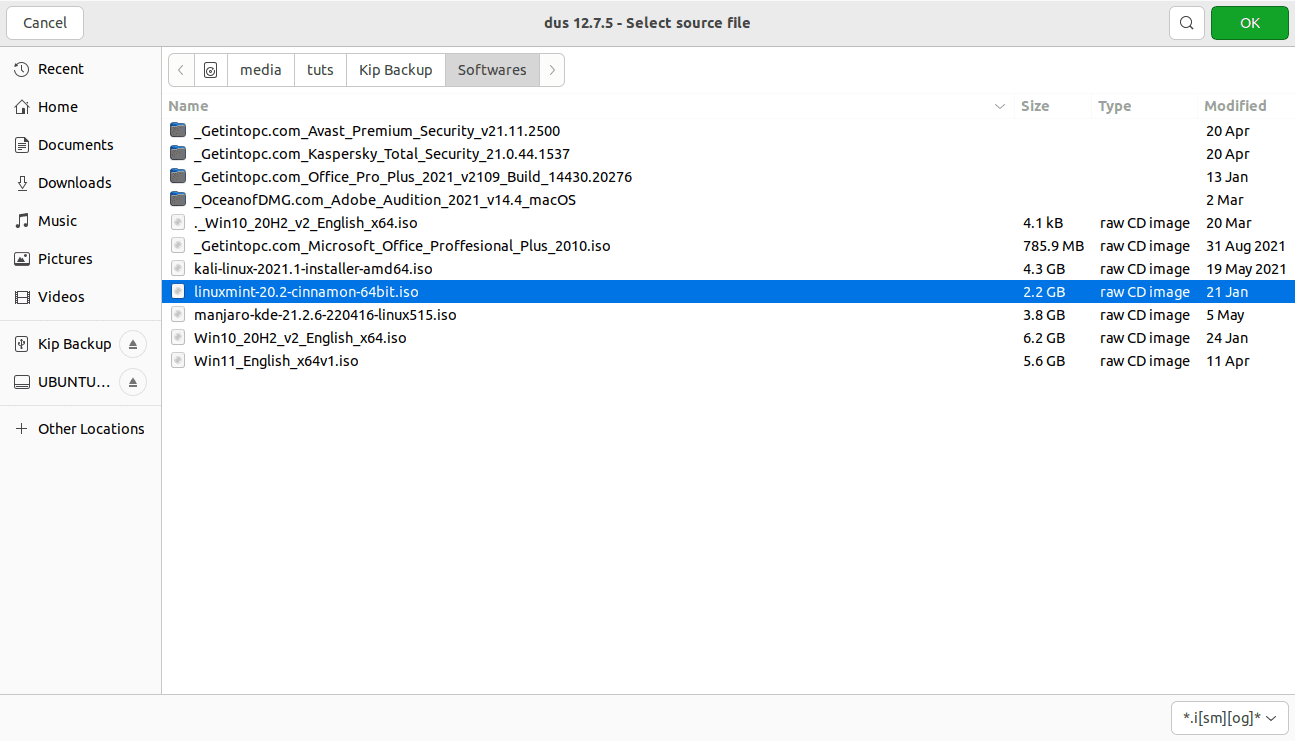
Select Linux Mint ISO
Step 14: On the next screen, a list of attached USBs will be displayed as shown below:
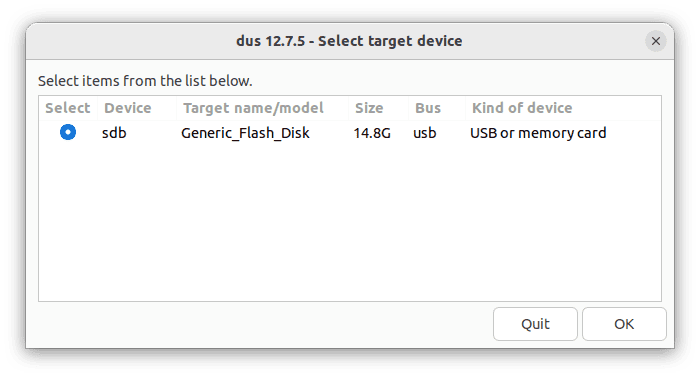
Select target device
Step 15: Then, choose “upefi” and click the OK button.

Choose upefi
Step 16: You will be able to select the percentage of persistent storage you require at this phase. If you’re fine with the default storage, leave it alone and hit the OK button to proceed.
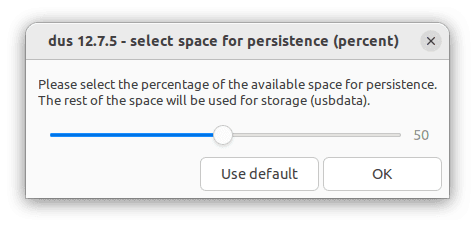
Select persistence space
Step 17: It is strongly advised to proceed with caution in this phase. There is no turning back once you press the Go button. So, if you are confident and at ease with all of your prior selections, proceed and click the Go button.
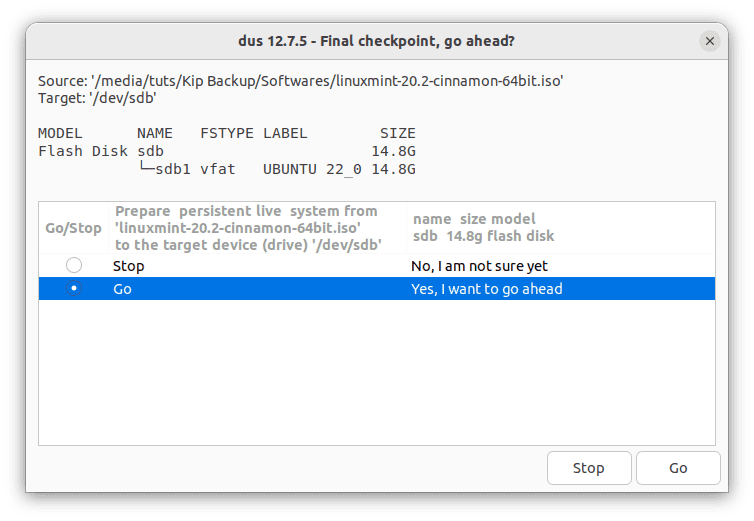
Confirm you intend to proceed
Step 18: The creation process will now commence. You can check the progress bar to see how far it is from completion.
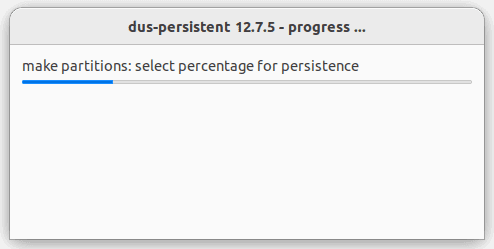
Creation progress
Step 19: The file system will be flushed to the USB stick in this next phase. Be patient as the process is executed. Once it is done, you will have a Live USB drive with persistence.

File system flushing
Quit the mkusb application now and try using the Linux Mint USB drive with persistence on any PC of your choice.
Conclusion
This short article tutorial guide has illustrated the two possible ways one can use to create a Linux Mint USB drive with persistence. We hope you found it helpful. If yes, please let us know the method that worked out flawlessly for you in the comments section below. Thanks for reading.
7 comments
This seems very clear. I wonder why I need a ‘Live’ environment. If I create a USB stick that actually mirrors a real disk drive complete with ESP, boot, / , swap , and home partitions. And I then just do a normal install of a Linux ISO to this usb disk, would this not work?
The advantage that I see is that I am not trying to replicate a ‘Live’ environment, just create a normal environment on a disk drive I can carry with me. Then I would be able to change system files install drivers and whatever.
mapam
I am wondering exactly the same, Pity that there’s no answer…
This depends on your equipment. If you have a USB device that can read and write at USB 3 speeds then a Linux on USB install will still be slow (based on the performance of the USB device), but usable. However, If you are planning on using the USB device on on other systems as an alternate to the OS on that system then you most will be limited by the USB performance of that system particularly. Running any OS on USB 2.0 is two slow to be usable. The reason Linux live environments work well even on slower USB ports is it uses RAM on your system as the OS disk via the Squash (compressed) file system. You then get performance from speed from the RAM at the expense of decompressing files via the CPU and system usable RAM.
Thi’s is the perfect solution for a HP Stream “laptop” wich is actually a tablet on a laptop case, and after the chip with the storage were broken i could only use it with live OS but now i can save configurations and other things, thanks a lot fellows, please keep going you never know who migth have a use for tamazing tricks.
“Persistent storage is sometimes known as a “Computer on a Stick” since it functions much like an internal hard drive. Just a keyboard and display are missing from this portable computer.”
And the actual computer. Actually everything is missing, except the hard drive… x’D . So, I call it a “stick with Linux on it”.
Seems to be exactly what I need to manage transition from malware. The real question is: do I then keep all these updates when I take the plunge and hit the install icon?