
Wine 4.0 was launched a few days ago and comes with a bucketful of cool features and improvements to enhance your experience when running Windows application and games on the Linux platform. For those who are not familiar with Wine, Wine is an application in Linux that allows Windows users to seamlessly run their applications and games on Linux.
Wine is short for Wine Is Not an Emulator. It’s popularly used for running Microsoft Windows applications such as Notepad. It’s a compatibility layer that comes in handy when users want to run applications/games/services that are not available in Linux yet. In this article, we are going to install Wine 4.0 on Ubuntu 18.04 and Linux 19.
Older versions of wine were quite unstable and some Windows application could not run smoothly without hiccups. The latest release offers a myriad of improvements and bug fixes.
Some of the improvements made on Wine 4.0 include
- Vulkan support
- Direct3D 12 support
- Game controllers support
- High-DPI support on Android
- Support for HID game controllers
- Bug fixes
For a comprehensive list of new features and improvements, visit Wine’s changelog
Having seen what’s new on the new release of Wine, Let’s now see how we can install it on Ubuntu 18.04 and Mint 19.
Installing Wine 4.0 on Ubuntu 18.04 and Linux Mint 19
Before you proceed to install Wine 4.0, ensure that you have removed any pre-existing Wine repository or PPA from your system.
Step 1) Adding i386 architecture
If you are running a 64-bit system, you need to add the i386 architecture to your Ubuntu system. To achieve this execute the command:
$ sudo dpkg --add-architecture i386
Step 2) Downloading and installing Wine HQ signing Keys & repository Key
Let’s update our system repositories.
$ sudo apt update
Next, we are going to download the repository keys for Wine.
$ wget -qO- https://dl.winehq.org/wine-builds/Release.key | sudo apt-key add -
Output
install wine 4.0 add wine HQ key
To add the repository run:
$ sudo apt-add-repository 'deb http://dl.winehq.org/wine-builds/ubuntu/ bionic main'
Output
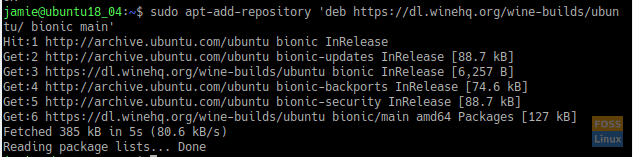
Add wineHQ repositories
If by any chance you are running Ubuntu 18.10, then run:
$ sudo apt-add-repository 'deb https://dl.winehq.org/wine-builds/ubuntu/ cosmic main'
Step 3) Installing Wine 4.0
Two options are available when installing wine
- wineHQ stable
- WineHQ development
WineHQ stable
To set up Wine from WineHQ software packages execute the command
$ sudo apt-get install --install-recommends winehq-stable
Once installed you can verify the version by running
$ wine --version
Output
check wine version
WineHQ development
To install Wine from the development platform run the command below
$ sudo apt-get install --install-recommends winehq-devel
Again, you can verify the version of wine by running
$ wine --version
Output
check the wine version
Step 4) Launching and testing Wine 4.0
Once successfully installed, it’s time now to roll up our sleeves and test our new application.
Run the command below to open up the GUI application:
$ winecfg
This will begin creating a configuration file in your home directory.
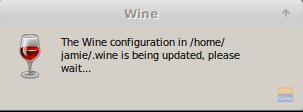
wine configuration setup
Thereafter, Wine’s configuration panel below will be launched as shown.
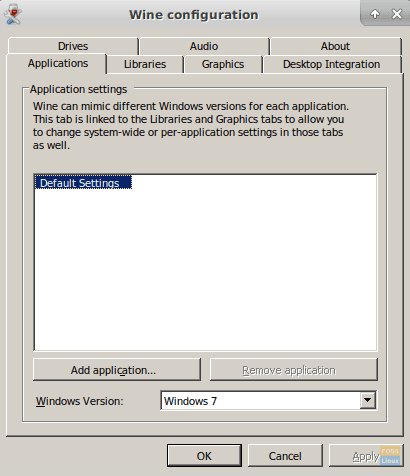
wine GUI
To verify the version of wine, click on the ‘About’ tab located at the far right corner.
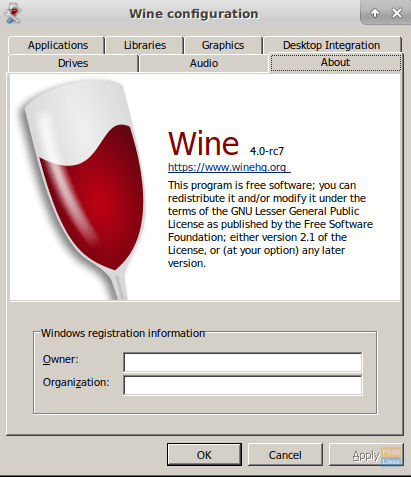
verify wine version
Step 5) Installing a Windows Application with wine
We are going to demonstrate how you can install your favorite Windows application using Wine.
In this example, I have downloaded Notepad ++ Windows set up.
To install it, simply right click on the installer and select ‘Open with Wine Windows Program Loader’.
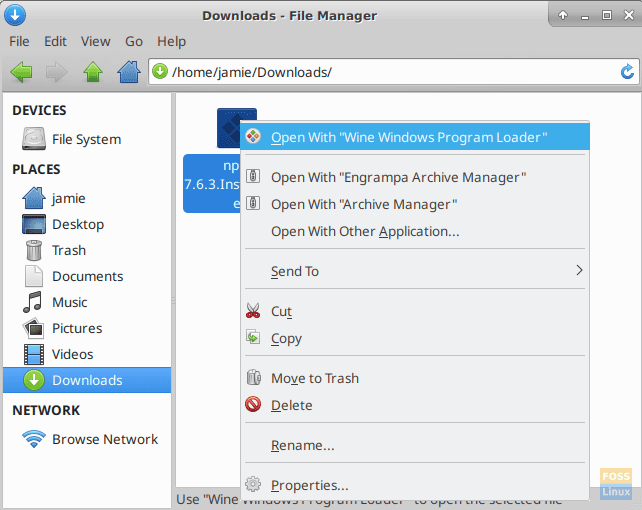
run windows application with wine
Thereafter, the installation process will commence.
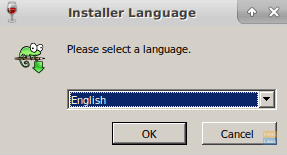
installation of windows app with wine
Follow the wizard all the way through to the end.
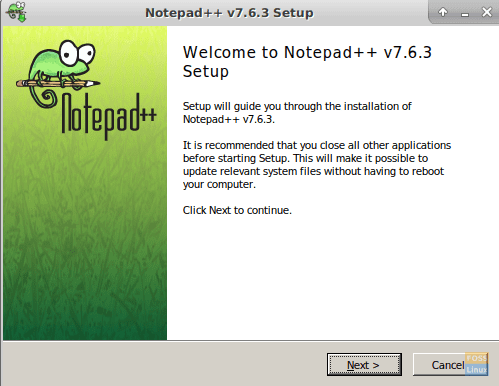
Notepad++ setup in Linux
Finally, we have our Notepad all set up and ready to use!
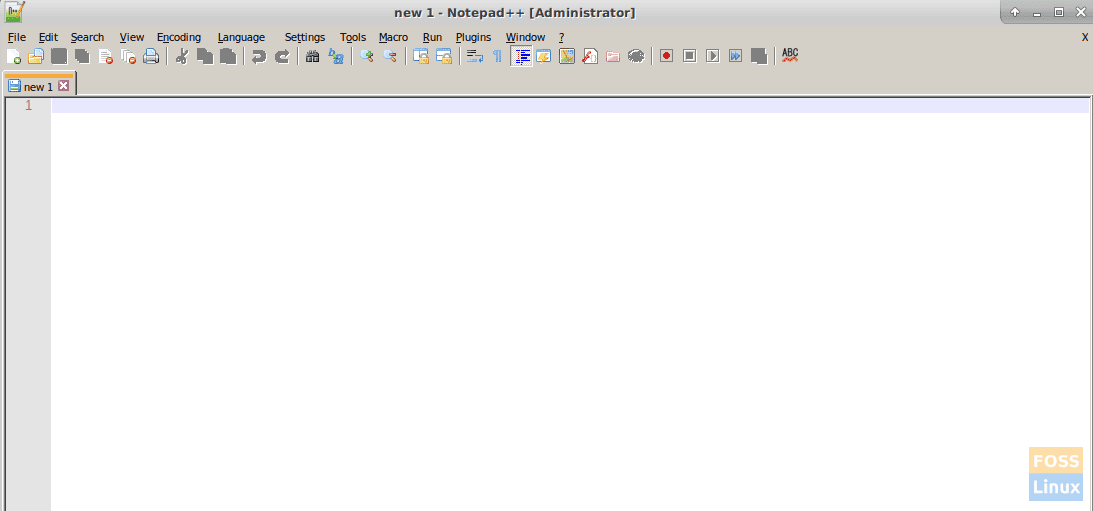
notepad set up with wine 4.0
Conclusion
If you have come this far, congratulations! You have successfully installed Wine 4.0 and deployed a windows application. Remember that while most Windows application will work, some won’t be stable because wine is still in development and developers are working around some bugs affecting operations of some applications.
Feel free to share this article on your social platforms and leave a comment.
1 comment
THX