
In this tutorial, we will show you how to install CentOS 6 on VirtualBox on Windows. For this, you will need to have VirtualBox installed, and download Centos 6 ISO file from the official servers.
Installing CentOS 6 on VirtualBox on Windows
We will be installing a minimal installation, which means that only the terminal will be installed, without the graphics environment. Good thing is that we can still install the graphics environment from the terminal if we ever need it.
Step 1 – Downloading CentOS 6 ISO
To install it, we must first download the CentOS 6. It comes in a form of ISO file (virtual CD), which can be downloaded from multiple locations, called mirrors. You can enter this link, and see a list of mirrors around the world. Make sure to click on the “Minimal ISO” button. Choose the one that is geographically nearest to you, we chose the first one, proposed by the site itself.
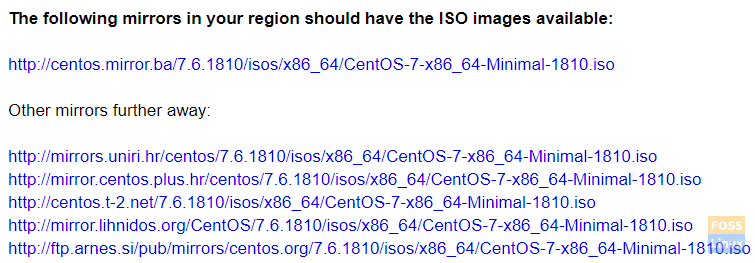
CentOS Download locations
Once clicked, it offers us the following options:
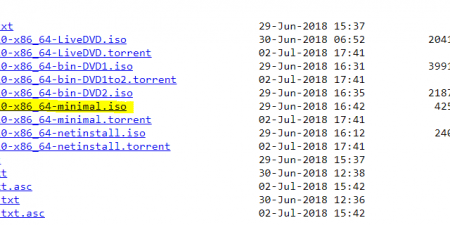
Centos-6.10-downloads
You can download the torrent file as well. The latest version of CentOS 6 at the moment is 6.10, and we should download the minimal ISO file now.
Wait for it to download, and we can move on to VirtualBox setup.
Step 2 – Creating a New Virtual Machine in VirtualBox
We assume that you have VirtualBox installed. VirtualBox is a great virtualization platform, and besides that, it is free.
So let’s open VirtualBox, go to New virtual machine, and select these options
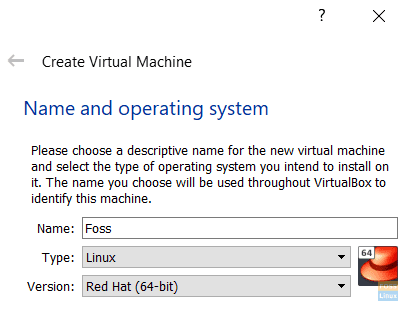
VM-name-type
You can call it whatever you want, we called mine FOSS. The type must be Linux, and since there is no option for CentOS, you can use RedHat (32 or 64-bit version, depending on your system).
After all, CentOS is a clone of Red Hat Enterprise Linux.
Click Next, and you are taken to the screen where you must decide how much memory guest will take. The default is 1GByte, and it is a reasonable value for a terminal-only installation.
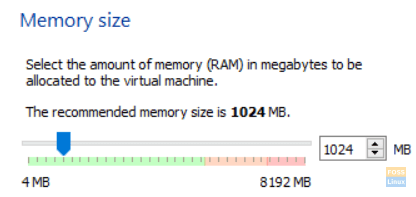
memory-size
We will choose to create a new hard disk on the next screen

We will choose to create a new hard disk on the next screen
Next, we can leave the virtual disk type as VDI, other options are useful if we are working with other virtualization software.

virtual-HD-type
Now, we must choose whether to use fixed-size or dynamically expanding disk space. The first choice takes as much disk space as we define virtual disk space. The second option takes only a small amount of disk space, and it grows as data is added to virtual disks.

disk-size-allocation
The default option is dynamically allocated, and it is a good choice, although a little bit slower one. Click next, and your virtual machine is created.![]()
It is in a powered off state. Before we turn it on, we must do two things: specify the ISO file from which an operating system will be installed, and specify network type.
Step 3 – Specifying the Installation Media
First, let’s specify the ISO file by right-clicking on a virtual machine, choose Settings, and then Storage. Click on the disk icon right of Optical Drive, it will allow you to choose an ISO file that will serve as a virtual disk. Choose the CentOS ISO that you downloaded previously.
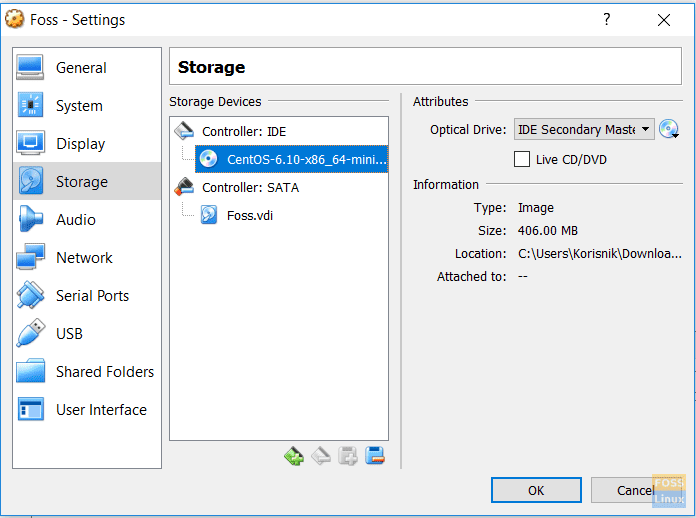
specify CentOS-ISO
Click on the disk icon right of Optical Drive, it will allow you to choose an ISO file that will serve as a virtual disk. Choose the CentOS ISO that you downloaded previously.
Step 4 – Configuring Network Type
We still need to configure the network. I am using my laptop with Windows 10 to run VirtualBox. It connects to the internet via an ADSL modem, which gives it automatic (via DHCP) or static address (if you configure one yourself). By default, virtual machines use NAT or Network Address Translation, which uses the same IP address as my laptop. I will do something else I will use something called Bridged Networking, which will allow my VirtualBox CentOS to have a separate IP address, in the same subnet.
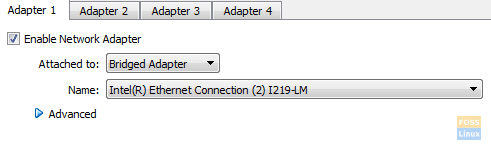
bridged adapter
For that, let’s choose Network form the same settings window that we opened, and instead of the default NAT, use Bridged Adapter.
During the installation process, we will assign a static IP address manually for the CentOS virtual machine. We need to know what our laptop’s IP is, so we can choose an address in that same subnet. Open the command prompt by entering cmd in the windows search box, and enter the ipconfig command
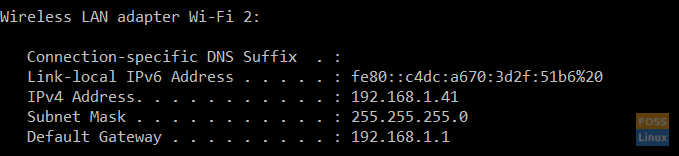
ipconfig
We can see that the IP of a laptop is 192.168.1.41, so we will assign a random address like 192.168.1.111 for our Linux installation. Your IP may be different, just make sure that you choose Linux IP in the same subnet. It is wise to choose a higher last number, like 111, or 188, because there is less chance that it will be taken by some other device on your network. Write this address somewhere, you will need it during the installation process.
Step 5 – The Installation
The installation itself begins with the right-clicking on the virtual machine and selecting Start->Normal Start. Soon, you are prompted to choose what to do next. Click inside a window and choose Install or upgrade an existing system.
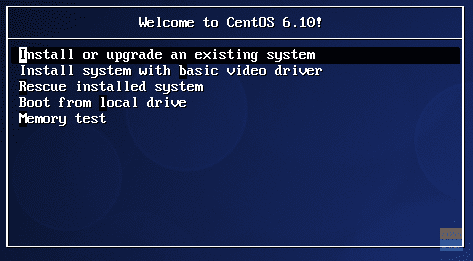
installation welcome screen
You may notice that your mouse pointer is “captured” inside a window. To get out, press right CTRL key.
Next screen that appears asks you if you want to check installation media. I usually skip that and move forward.
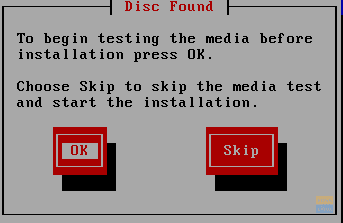
skip-installation-media
We need to choose the installation language and the keyboard layout. Choose appropriate options and proceed.
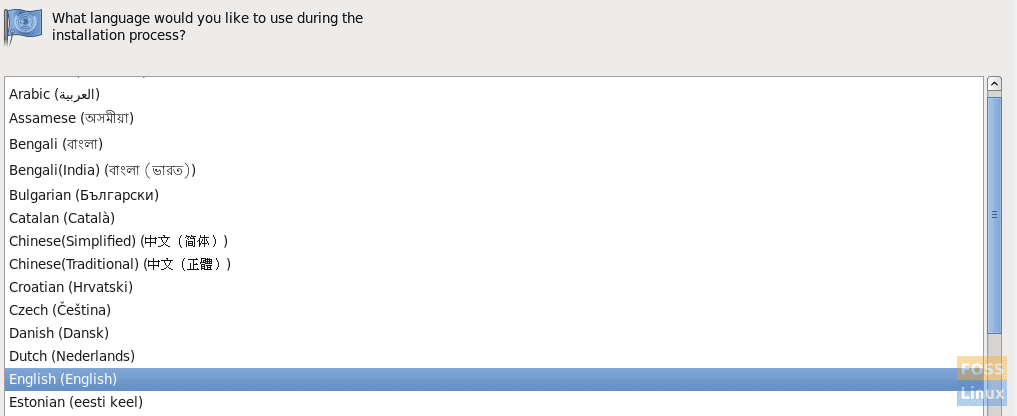
language selection
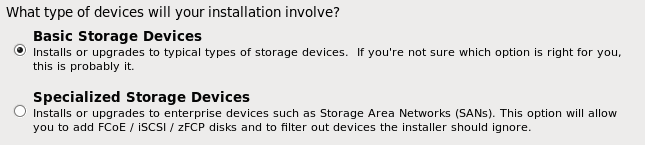
storage devices
Virtual hard disk must be initialized, so accept Yes, discard any data.
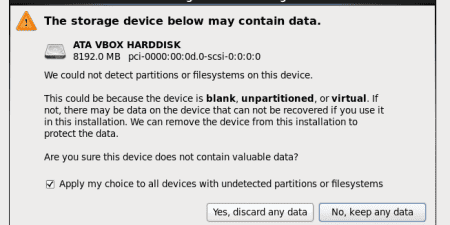
Discard Previous Data
Next screen allows us to specify the hostname of the Linux virtual machine. I choose centos7.fosslinux.com. It is only local and does not apply across the Internet, of course.
Don’t click Next yet, because on this screen there is an option Configure Network. Choose it, and a window appears, where you should select System etho and click Edit.
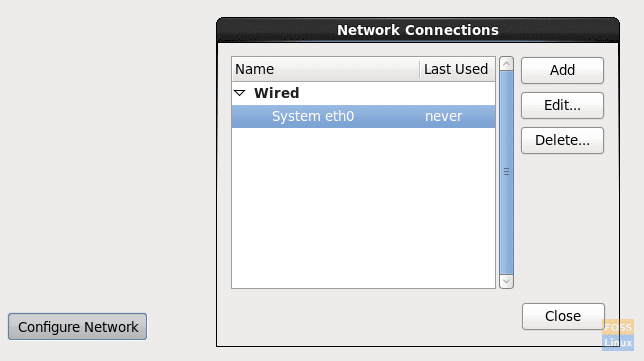
Configure Network
In the window that appears, check Connect Automatically, otherwise, the network will not work when you start the virtual machine. Select tab IPv4 settings.
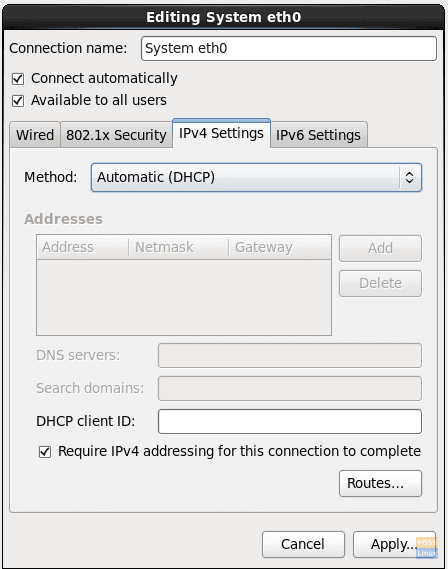
Ethernet Settings
In Method drop-down list, instead of the default Automatic(DHCP), choose Manual, click Add and in the fields that appear, insert the IP address for our virtual machine(you wrote it down, right?), netmask (usually 24),and gateway (the address of my ADSL gateway). For DNS server, if you are using ADSL as I am, it is the same as gateway, 192.168.1.1, if you are in some kind of LAN that has a dedicated DNS server, you should put the IP address of that DNS.

IPV4 Settings
Click Apply, close Configure Network and click Next.
We need to set the time zone on the next screen, and we can do it either by clicking on a map to choose our location or from a drop-down list below.
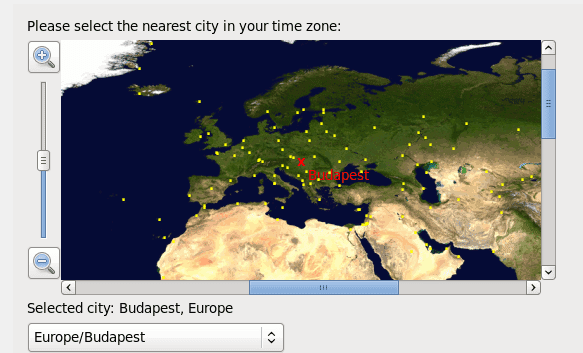
Time Zone Selection
We also need to set the root password. Select something that can not be easily guessed, and which preferably includes an uppercase and lowercase letter, numbers, and special characters.
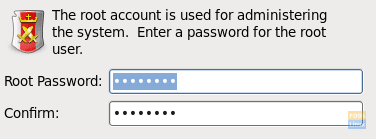
Root Password
On the next screen, choose to use all space, since we don’t need to keep any data or previous partition layout.

Storage Usage
Now everything is ready for the installation. You can still go back to review something or Write changes to disk.
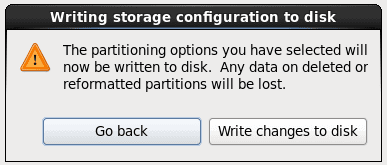
Write Changes
The installation will now begin – creating a filesystem and installing necessary packages. Based on your processor, disk speed and available memory, it will take a few minutes at most. At the end of the installation, you will get a message that the installation is finished and you must reboot the virtual machine.
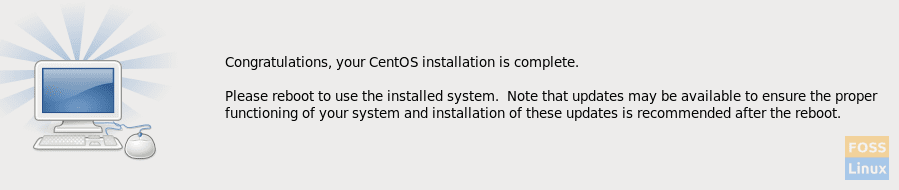
Installation Finished
Reboot the system by either right-clicking virtual machine and choosing Reset or by choosing Input->Keyboard->Send CTRL+ALT+DEL in virtual machine window.
Once a virtual machine resets, you are presented with a login screen. Congratulations, you have successfully installed Centos 7 on VirtualBox.
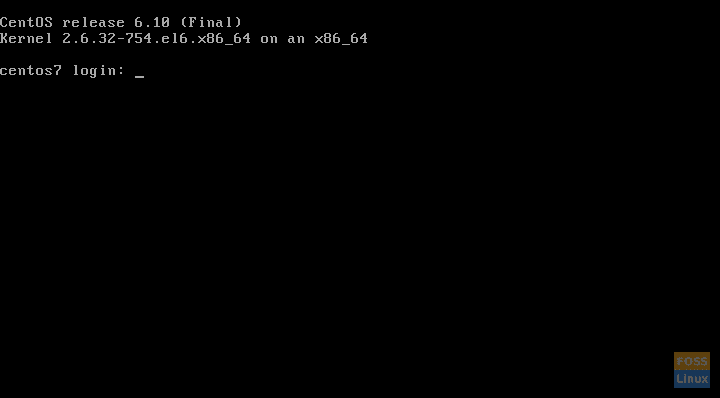
CentOS 6 Login Screen
1 comment
very good, go ahead