
Cassandra is a free and open-source distributed NoSQL database used for managing voluminous amounts of data across multiple servers, while at the same time providing high availability and zero points of failure.
Apache Cassandra provides linear scale performance, fault tolerance, high availability and seamless data distribution across multiple servers and cloud availability zones. In this tutorial, you will learn how to install Apache Cassandra on Ubuntu 18.04 LTS.
Installing Apache Cassandra in Ubuntu 18.04 LTS
Let’s begin.
Step 1. Installing Oracle Java 11
To start off, install Java by following the simple commands outlined below.
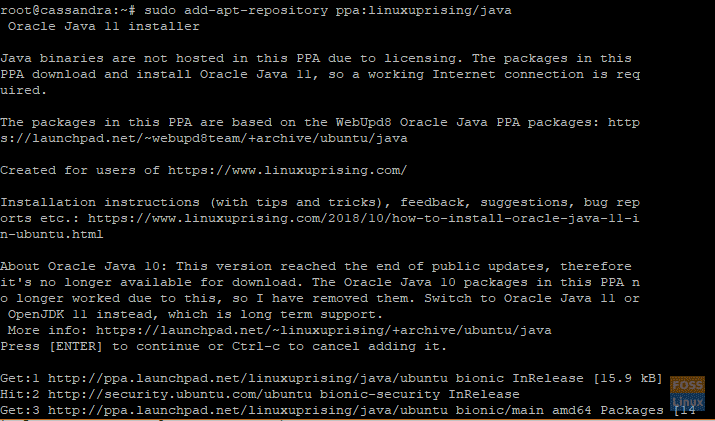
Add the Oracle Java 11 PPA repository as shown below:
sudo add-apt-repository ppa:linuxuprising/java
Sample output
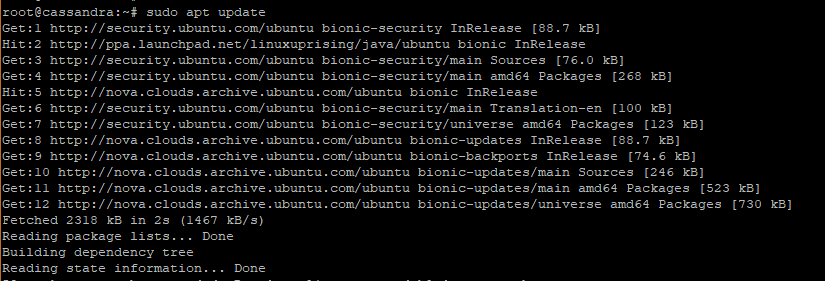
Next, update the software repositories:
sudo apt update
Sample output
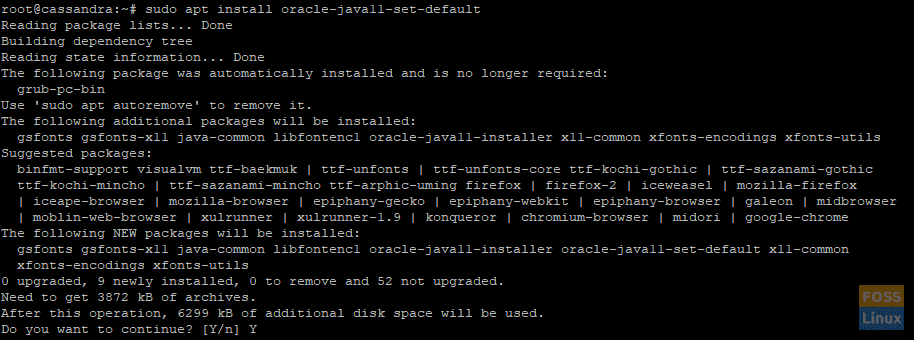
After adding the Java PPA and updating the system, you can proceed to install Java by running the command below.
sudo apt install oracle-java11-set-default
Sample output
Now you can go ahead and verify the version of Java installed by running:
java --version
Output

The output above is concrete proof that you have installed Java 11 on your system. Proceed to the next step.
Step 2. Adding Cassandra repository to the Ubuntu Source list
In this step, you will add Cassandra’s repository to Ubuntu’s sources list as shown in the command below:
echo "deb http://www.apache.org/dist/cassandra/debian 311x main" | sudo tee -a
/etc/apt/sources.list.d/cassandra.sources.list
Output

Step 3. Add Apache Cassandra’s repository Keys
Next, add Cassandra’s repository keys using the command below
curl https://www.apache.org/dist/cassandra/KEYS | sudo apt-key add -
Output

Step 4. Install Apache Cassandra
After appending Cassandra’s repository keys, update the system repositories for the changes to be registered.
sudo apt update
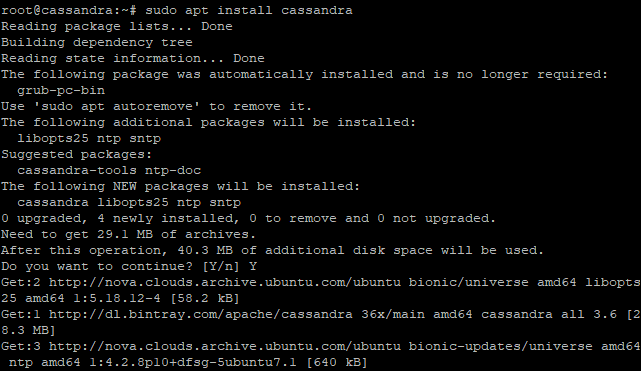
Run the command below to install Cassandra:
sudo apt install cassandra
Sample Output
To check if Cassandra is running execute:
systemctl status cassandra
Sample Output
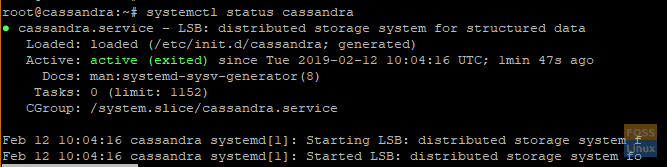
Awesome! From the output above, we can clearly see that Cassandra is up and running.
Step 5. Connecting to Apache Cassandra
With the installation of Cassandra on your system, a cluster is automatically set up with a single node as part of the cluster. To check if the cluster is running, execute:
sudo nodetool status
Sample Output
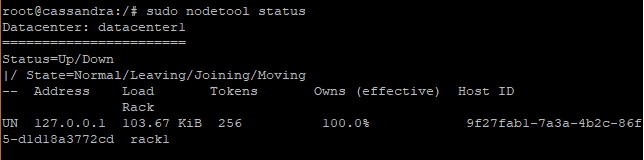
The UN in the output is a strong indicator that Cassandra is up and running. To connect to the Cassandra cluster run the following command:
cqlsh
Output

Great! Now you can proceed and execute your commands on this prompt.
Thank you for coming this far. Feel free to share and leave your feedback on this post.