
Ubuntu’s package management system makes it very simple to install, upgrade, or remove the software from the system. However, some software packages have many configuration directories and need extra effort to uninstall.
The MySQL Server is one such piece of software frequently used in Ubuntu. We cannot use the standard apt purge command to remove the MySQL server from the system entirely. Certain actions must be taken to ensure that MySQL and its components are appropriately removed from the Ubuntu system.
We may frequently encounter problems while attempting to start the MYSQL server on a Linux system. There might be several explanations for this. First, sometimes an old configuration file exists in the system and is not correctly erased after uninstalling. Therefore, we must manually remove the MYSQL server and configuration file in that scenario.
Today, we’ll show you how to remove the MYSQL server and configuration file from your Ubuntu OS.
Note: Before continuing, back up all your MySQL Server databases. All files and directories related to MySQL Server will be wiped after completing this operation. Thus if you want to save your databases, you must first establish a backup.
Properly uninstall MySQL Server in Ubuntu
To completely uninstall MySQL Server and all its dependencies from your system, perform the actions listed below in order:
- Close MySQL Server
- Uninstall MySQL Server
- Uninstall MySQL Databases and Log Files
- Uninstall Dependencies
We shall review all the steps mentioned above in detail; therefore, no need to worry. All you require is to sit back, relax and follow the guide closely to understand how to correctly uninstall MySQL Server and its dependencies from your Ubuntu OS. For the sake of this guide, I will be using Ubuntu 22.04, which at the time of writing this guide, is the latest stable release of Ubuntu.
1. Close MySQL Server
The first step is to determine whether or not the MySQL Server is operating on our machine. Because attempting to remove it while it is currently running may result in an error.
Run the following command to verify the status of the MySQL server on your PC.
sudo systemctl status mysql
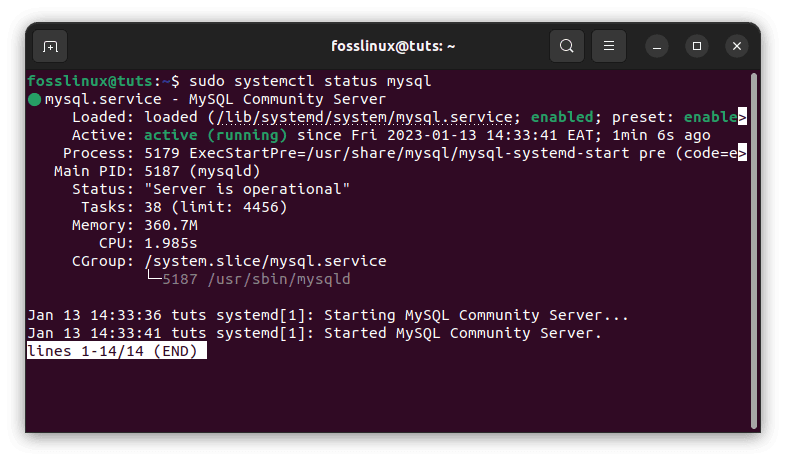
MySQL status
If the report indicates that MySQL Server is operating on the machine, we must stop it before proceeding. To terminate the process, use the following command:
sudo systemctl stop mysql
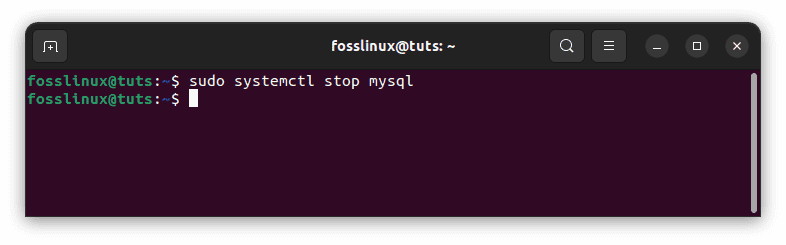
Stop MySQL server
To see if the service has been halted, use the systemctl status mysql command. After ensuring that the program is not running, we may remove the MySQL Server without mishap. We may also remove any dependencies that were installed during the server setup process:
sudo systemctl status mysql
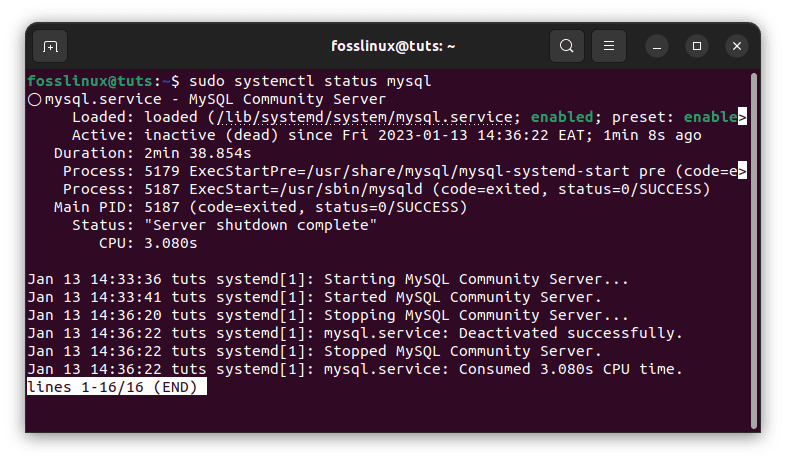
Confirm MySQL status
2. Uninstall MySQL Server
Removing MySQL Server packages is the next stage in the uninstallation procedure. Because all MySQL Server packages in Ubuntu begin with mysql-server, we may remove them all at once with the apt-purge command.
To uninstall MySQL packages from your system, use the command below:
sudo apt purge mysql-server*
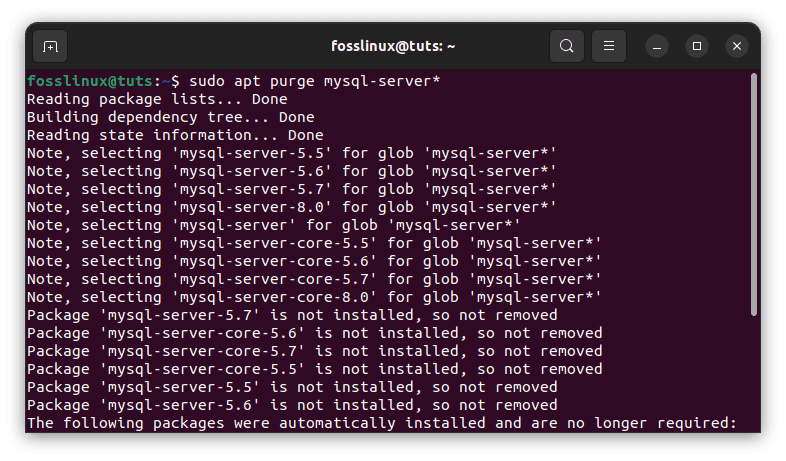
Uninstall MySQL
OR
You may use this command to ensure that any kind of MySQL installed on your system is uninstalled.
sudo apt purge mysql-server mysql-client mysql-common mysql-server-core-* mysql-client-core-*
Note: We could have deleted the MySQL package using the remove command. However, the remove command just removes/deletes the program binaries, but the purge command also deletes the application’s configuration data.
3. Uninstall MySQL Databases and Log Files
Even though we used the purge command to eliminate program binaries and configuration files, specific databases, security keys, and configuration files must be purged individually.
The configuration files that must be deleted are located in /etc/mysql. The security keys that must be deleted may be found at /var/lib/mysql.
We must ensure that these files are entirely removed. Otherwise, they will remain on your system and create problems when reinstalling MySQL Server.
Run the instructions below to see whether there are any files in the folders listed above.
ls /etc/mysql

sudo ls /var/lib/mysql
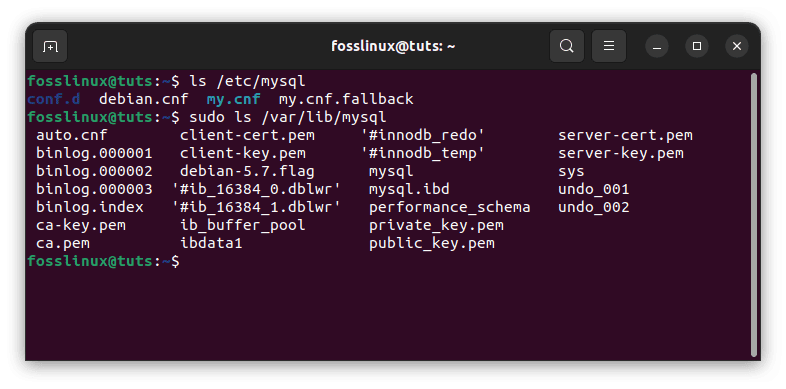
Confirm if there are files in the listed folders
Execute the following command to delete these configuration files, security keys, and database files.
sudo rm -r /etc/mysql /var/lib/mysql
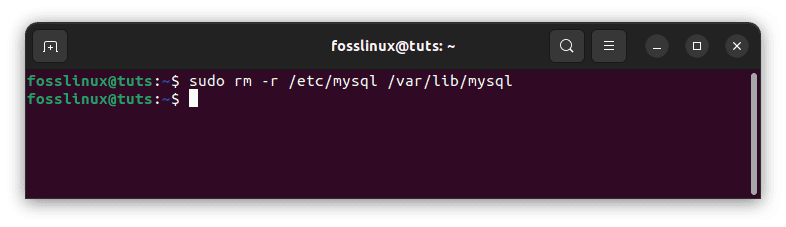
Delete the listed folders
Note: We recommend renaming these folders rather than deleting them since the data contained within them may be helpful in the future if you need to restore data.
If you enabled logging for MySQL Server, we would also need to erase the log files. Use the following command to erase any log files produced by MySQL Server.
sudo rm -r /var/log/mysql
Note: If the file does not exist, you will see an output similar to the one displayed below:
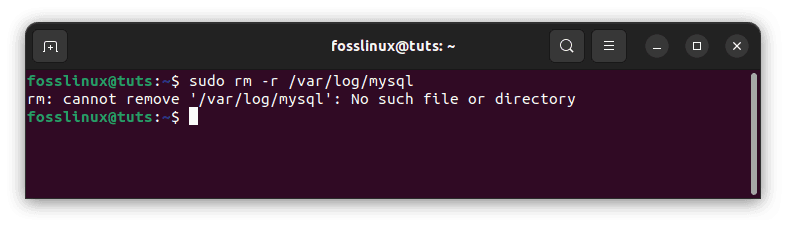
Log files produced by MySQL server
4. Uninstall Dependencies
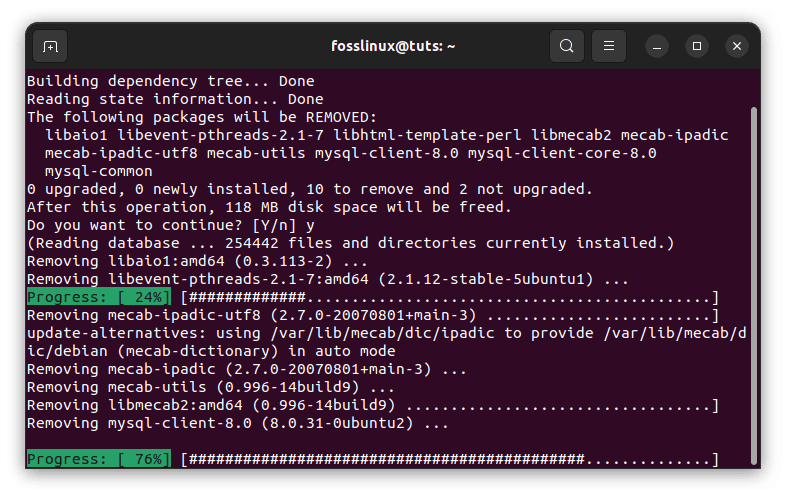
When we install MySQL Server, the package manager also installs several additional dependencies necessary to run the server. However, because we deleted the core package, MySQL Server, these dependencies are no longer required and should be uninstalled.
Dependencies like these are sometimes known as Orphaned Packages since their parent package has been deleted, and these packages are no longer helpful.
Run the following apt command to remove any such dependencies.
sudo apt autoremove
Remove MySQL dependencies
It’s important to remember that the autoremove command removes all orphaned packages from the system. As a result, the above command will delete MySQL Server’s residual dependencies and remove other orphaned packages. We may also use the apt autoclean command to eliminate any remaining dependencies.
That’s it. The MySQL server has been completely uninstalled from your Ubuntu operating system.
Conclusion
To summarize, the article taught us how to properly remove/uninstall MySQL Server and its related components from Ubuntu. You first need to close any active MySQL services to completely remove the MySQL server from your machine. Next, uninstall the MySQL server. After you are done, uninstall MySQL databases and log files, then finish by uninstalling dependencies. Following those guides to the latter will permanently remove the MySQL server from your Ubuntu OS.
Database operations should be conducted with extreme caution to avoid data loss. Making backups of your databases is a standard practice in the business and can prevent you or your company from catastrophic data loss.
2 comments
thank you
Thanks a million!