
MySQL is one of the ancient and most reliable open-source RDBMS( relational database management systems) trusted by many users daily. If you are wondering, RDBMS is a service or, say, the software utilized in creating and managing databases based on a relational model. By saying open-source, we mean this software can be downloaded, used, and modified by anyone. It is, therefore, free to use and easy to understand.
Then again, its source code can be studied and changed based on the requirements. This relational database management system runs as a server providing multi-user access to several databases. MySQL offers database services for keeping and managing data. With it comes the following commercial products:
- MySQL Enterprise Edition.
- MySQL Standard Edition.
- MySQL Cluster Carrier Grade Edition.
All the mentioned editions come with a price tag and are often suitable for commercial use. However, in our case, we will use the MySQL Community Edition, freely made available under the GPL, i.e., GNU (General Public License). This guide will focus on installing the latest version, 8.0, on our Fedora system.
Important MySQL features
Quick and reliable
MySQL is a unique DB that stores data efficiently in the memory, ensuring data consistency and not redundancy. As such, it enhances data manipulation and access using MySQL more quickly.
Scalability
When it comes to scalability, we refer to the capability of the system to work seamlessly with large amounts of data, small pieces of data, clusters of machines, and more. MySQL server was created to work with vast DBs.
Data types
MySQL has multiple data types like signed integers, float(FLOAT), double(DOUBLE), character(CHAR), timestamp, blob, year, time, date, unsigned integers, variable character(VARCHAR), DateTime, and much more.
Character sets
MySQL supports several character sets, including latin1 (cp1252 character encoding), Ujis, Gernan, and other Unicode character sets.
Secure
This tool provides a secure interface with a flexible password system that ensures it is verified based on the host before accessing the database. The password is encoded while connecting to the server.
It has support for an extensive database
MySQL ships with support for large DBs, which could contain up to 40 to 50 million records, up to 5,000,000,000 rows, and 150,000 to 200,000 tables.
Client and utility programs
This RDBMS comes with many utility and client programs that comprise command line programs like “mysqladmin” and graphical programs like “MySQL Workbench.” MySQL client programs are coded in several languages. Client library (code encapsulated in a module) can be coded in C++ or C and would be available for users with C bindings.
Setting up MySQL on Fedora
This post will take you through setting up the MySQL community edition on Fedora Linux. Let’s get the article underway.
Step 1: Add MySQL repo
The first step is downloading the official yum repo for our Fedora Linux, which MySQL provides. This can be downloaded using the wget tool on Linux, as shown below:
wget https://dev.mysql.com/downloads/file/?id=515465
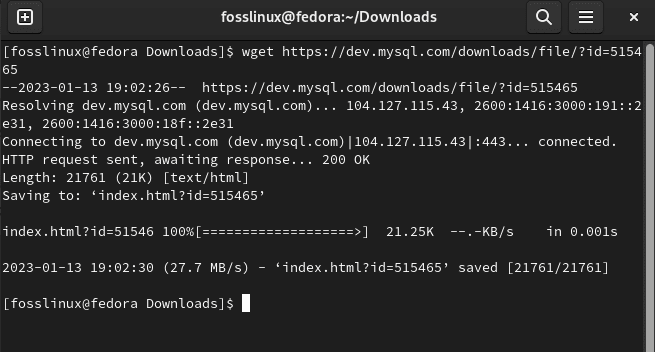
Download rpm file
Note: Please remember that the download link may change with time; if the above-given link does not work in your time of trial, you should manually copy the link from MySQL’s official website.
On the flip side, you can get the yum repo directly to your system from this link:
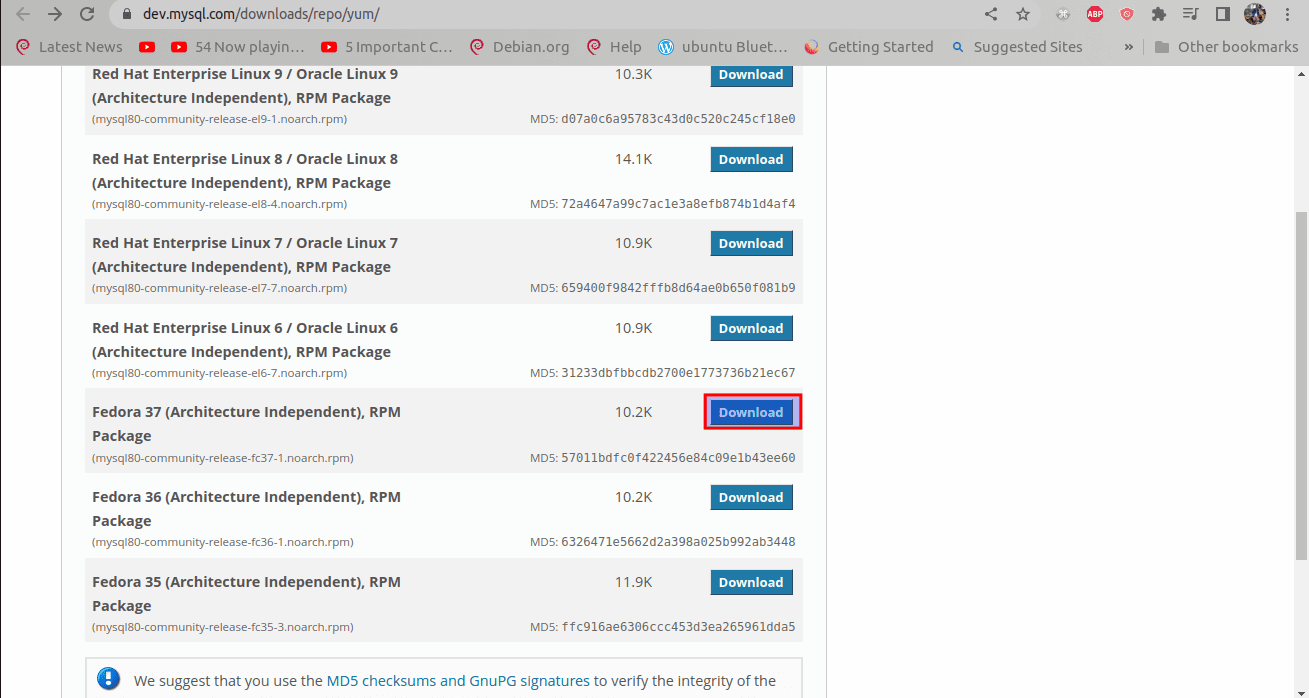
Alternative download method
Step 2: Install MySQL
After the file download is complete, we can proceed further and install it with the following command:
sudo yum localinstall mysql80-community-release-fc37-1.noarch.rpm
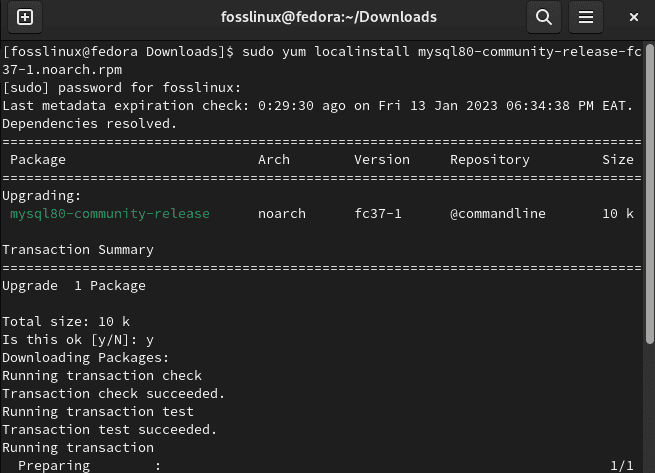
Install MySQL using yum
When you issue the above command, it will append the MySQL Yum repo to your system’s repo list. Remember to type in “y/Y” on your keyboard when it prompts you to verify the packages’ integrity with the downloaded GnuPG key.
Step 3: Verification
Now, let us verify if indeed the MySQL is added to our system repo list or not using this command:
yum repolist
The output of the above-displayed command will give you all the repos configured on your system under YUM:
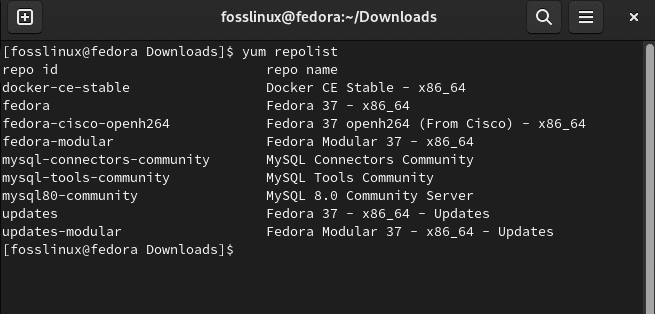
Verification
Alternatively, we can use the dnf command in place of yum.
Install MySQL using dnf
We can also use the dnf command to install MySQL instead of yum. To do this, start the installation instance of the MySQL community release using this command:
sudo dnf install mysql-community-server
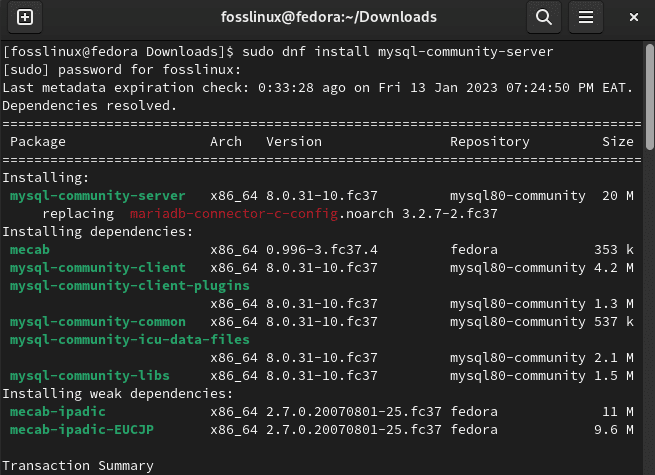
Install MySQL
And that should do with the installation phase.
Step 4: Fire up the MySQL server
After the MySQL server is set up, we are now in a position to start it with this command:
service mysqld start
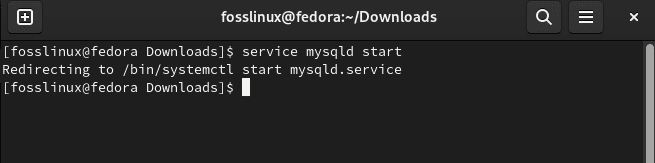
Start service
Or use this alternative:
systemctl start mysqld.service

Alternative start service
Note: If it takes time to start the MySQL service, it is recommended to stop the above command by hitting the “Ctrl+C.” After that, run the “dnf update” command and start the MySQL service again.
Step 5: Status check
Then, check the status of the MySQL service by issuing this command:
service mysqld status
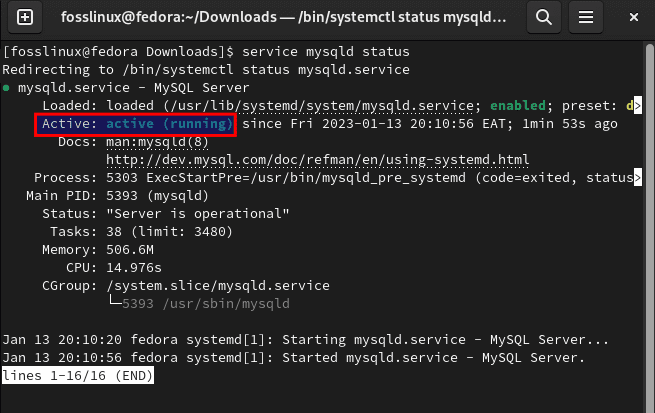
Status check
A green highlight of an active(running) message tells you the status of the MySQL service.
You can verify the status of the MySQL server with the following command:
mysql --version
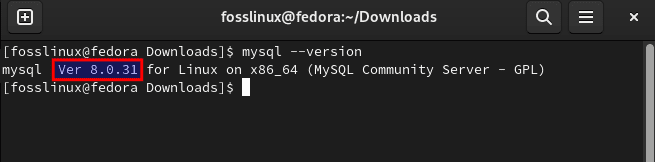
MySQL version
The command above tells that we have set up the current version of MySQL available in the yum repo.
Step 6: Secure MySQL
After setting up our MySQL and ensuring it works well, we need to secure it. But before that, we need to get a root password generated by MySQL during the setup process. This temporary password is required during the configuration of the MySQL server.
To get a hold of this password, open up your terminal and execute the following command:
cat /var/log/mysqld.log | grep "temporary password"
The password will then be displayed on your terminal as shown in the snapshot below:
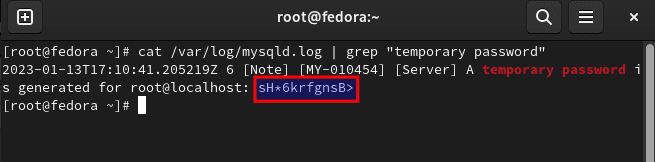
Temporary password creation
Step 7: Securing MySQL server
Now when it comes to securing the MySQL server, we are required to modify some settings. To do this, run the following command to enter the MySQL secure installation.
mysql_secure_installation
It will then request the temporary password, which you remember we created in step 6. Input that here. You will then be prompted for a password change for the root user. Ensure that you key in a strong password that satisfies all the requirements. Otherwise, you will get an error on the password policy stuff. This is as displayed below:
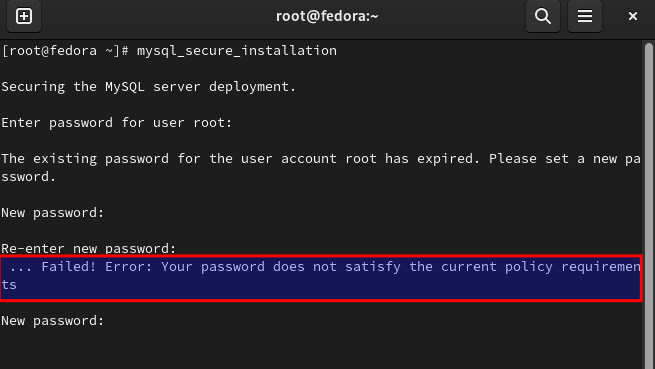
Password error
Once you meet the password creation threshold, you will see some instructions on your screen, as follows:
The first screen question will be to change the root password. Change the password for root? ((Press y/Y to select Yes, any other key for No) : Here, type “y/Y.”
Next is the anonymous user. MySQL, by default, comes with an anonymous user, allowing anyone to log into MySQL without generating a user account. This is purely intended for testing and is designed only for testing and to make the setup smoother. It is therefore recommended that you do away with them before deploying them.
Remove anonymous users? (Press y|Y to select Yes, any other key for No) : Here, type “y/Y.”
To prevent users from guessing their root password while on the network, root users are strictly permitted to connect from localhost.
Disallow root login remotely? (Press y|Y to select Yes, any other key for No) : Here, type “y/Y.”
MySQL has a ” test ” database that permits anyone to access it without authentication. This is also designed only for testing and should be deleted before deployment.
Remove the test database and access to it? (Press y|Y to select Yes, any other key for No) : Here, type “y/Y.”
– Dropping test database
– Removing privileges on the test database
Next up is reloading the privilege table, ensuring that all the changes made take effect as soon as possible.
Reload privilege tables now? (Press y|Y to select Yes, any other key for No) : Here, type “y/Y.”
Success.
All done!
[root@fedora ~]#
And that should do it, guys!
Step 8: Log in to the MySQL database server
After you are done completing the steps above, we are now ready to log in to the MySQL database server. Here, use the password you have generated during MySQL secure installation in step 7:
mysql -u root -p
Upon running the above command, you will see an output that asks you to input the root password. After which, you will be welcomed to the MySQL monitor:

Login to MySQL server
How to use the RDBMS
Once you are done with that, you can gain access to the shell and then run the following command to check the currently running version of the software:
mysql> SELECT version();
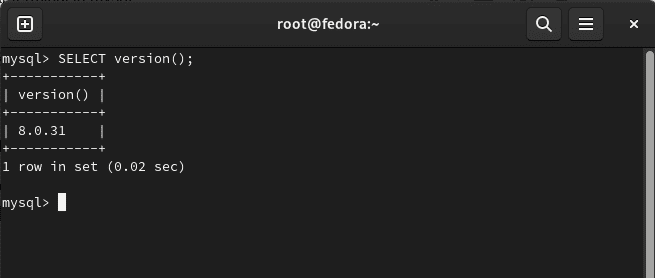
Check version
You can then create a database by running this command:
mysql> create schema fosslinux;
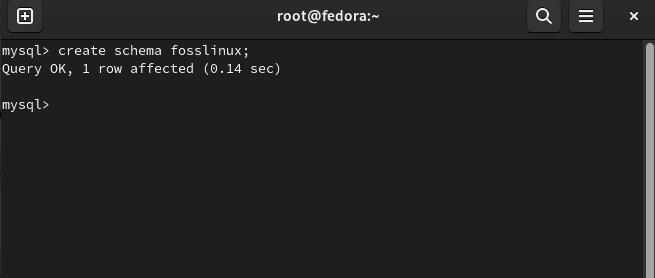
Create database
Note: Ensure you replace “fosslinux” with your intended database name.
To create a user, do this:
CREATE USER 'fosslinux'@'localhost' IDENTIFIED WITH mysql_native_password BY '{Hakuna001.}';
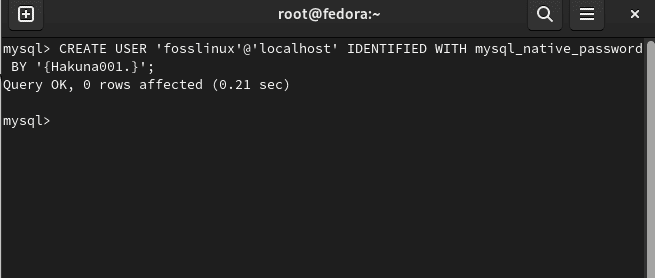
Create user
Note: Replace “fosslinux” and “Hakuna001.” with what you prefer the username and password to be.
Allow Access
GRANT ALL ON `fosslinux`.* TO 'fosslinux'@'localhost';
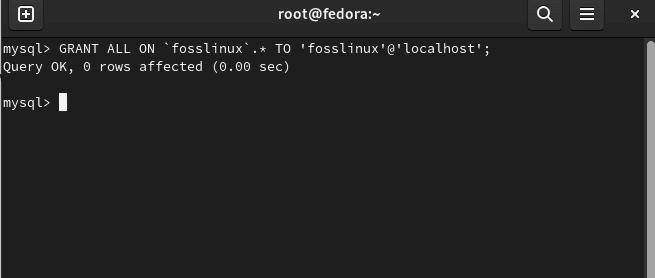
Grant all to the user
Run the following command to direct the server to reload the grant tables by performing a flush-privileges operation:
FLUSH PRIVILEGES;
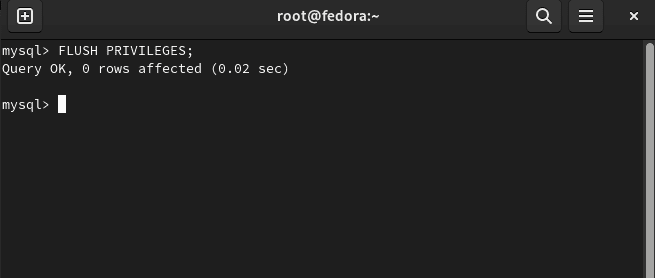
Flush privileges
Connecting
mysql -u [USER] -h [IP] -p
To list all the available databases, run the following command:
mysql> show schemas;
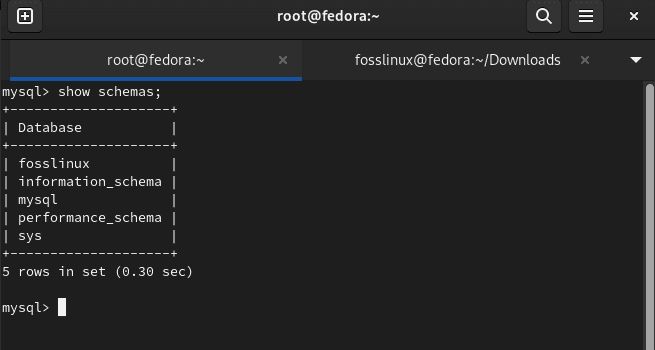
Show databases
Files location
The database disk storage is located in /var/lib/mysql.
Let us now see how we can allow remote access to MySQL
How to allow remote access to MySQL
Many websites and apps start with their web server and DB backend hosted on the same machine. However, this changes with time because such a setup can become cumbersome and challenging to scale. A tried and tested solution is to separate these functionalities by erecting a remote database, allowing the database and server to grow at their own pace on their sole machines.
One common problem or error users ram into when setting up a remote MySQL DB is that their MySQL instance is designed only to take care of and listen to local connections. This is MySQL’s pre-existing setting, but it won’t function for a remote DB setup because MySQL must be able to listen to an external IP Internet Protocol (IP) address where the server can be reached. To attain/enable this, open up your mysqld.cnf file using the following command:
nano /etc/my.cnf

Open nano editor
Go to the line that starts with the bind-address directive. It should look like this:
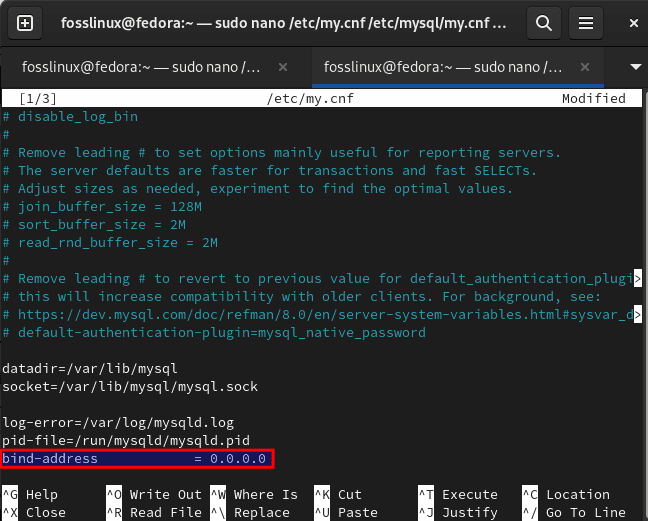
Add bind-address
This value is, by default, set to 127.0.0.1, meaning that the server will only look for a local connection. But this directive has to change to reference an external IP address. For troubleshooting, you could set this directive to a wildcard IP address, either “::, *, or 0.0.0.0:”
Note that in some versions of MySQL, the bind-address directive may not be in the mysqld.cnf file by default, like in our case. In such cases, add the following italicized line to the bottom of the file:
. . .
[mysqld]
pid-file = /var/run/mysqld/mysqld.pid
socket = /var/run/mysqld/mysqld.sock
datadir = /var/lib/mysql
log-error = /var/log/mysql/error.log
bind-address = 0.0.0.0
After modifying the bind-address, save the file using “Ctrl+x.”
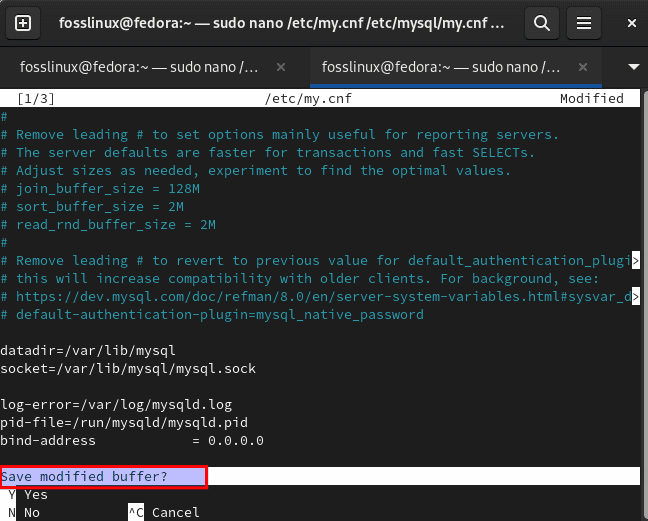
Ctr+x
Then “Y” and press “enter” to save and exit the nano editor.
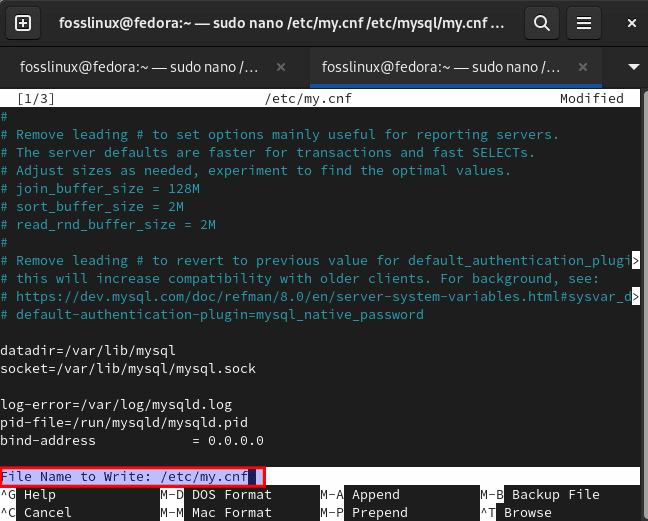
Y to save and exit
After that, restart the MySQL service to ensure the changes made to mysqld.cnf take effect using the following command:
systemctl restart mysqld.service
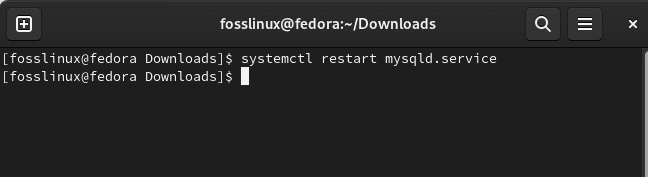
Restart service
Then you can exit the MySQL client using this command:
exit
Final Thoughts
In conclusion, by setting up MySQL on Fedora by following the steps outlined in this article, you will have a fully functional MySQL server up and running in no time. Note to secure your installation by setting a strong root password and only granting necessary permissions to users. Additionally, regular backups and updates are essential for maintaining the security and stability of your MySQL server. With the right setup, MySQL can be a powerful and reliable tool for managing your data.
1 comment
Your link to the mysql repo is wrong in step 1 it should be:
https://dev.mysql.com/get/mysql80-community-release-fc37-1.noarch.rpm