
iptables is a well-known program that permits system administrators to customize the tables supplied by the Linux kernel firewall and the chains and rules they hold. It is the most frequent and commonly used Linux firewall for IPv4 traffic and has an IPv6 variant named ip6tables. Both versions must be set independently.
As the internet continues to evolve, more and more devices connect to the network, leading to a massive increase in IP addresses. In response, IPv6 was introduced to provide a much larger address space, allowing for an almost infinite number of unique addresses. However, this also means that IPv6 networks need a different approach when it comes to firewall configuration. In this article, we will be discussing how to configure iptables for IPv6 networks.
It is worth noting that when it comes to IPv6 networks, there are often multiple addresses associated with a single device. This is because IPv6 allows for multiple addresses per interface, including link-local addresses, global unicast addresses, and more. When configuring firewall rules for IPv6 networks, it is important to consider all possible addresses a device may use.
Netfilter in Linux may filter the next-generation IPv6 IP (Internet protocol) if the iptables-ipv6 package is present. ip6tables is the command used to alter the IPv6 netfilter. Except for the nat table, most commands for this program are identical to those for iptables. This implies that IPv6 network address translation operations like masquerading and port forwarding are not yet possible. IPv6 eliminates NAT, which acts as a firewall inside IPv4 networks despite not being built for that purpose. With IPv6, a unique firewall is required to guard against the internet and other network assaults. For this reason, Linux has the ip6tables utility.
A firewall policy is a filtration system that permits or refuses traffic based on a matched tuple of source, destination, and service addresses. Firewall policy rules are discrete in nature: if client-to-server communication is permitted, the session is recorded in a state table, and response traffic is permitted.
Installing iptables on Linux
Check this section to install iptables if it is not yet installed on your Linux distro.
Installing on Ubuntu/Debian
Install the iptables product, which includes v4 and v6 commands, then update the apt cache by executing the following commands:
sudo apt-get update && sudo apt-get install iptables
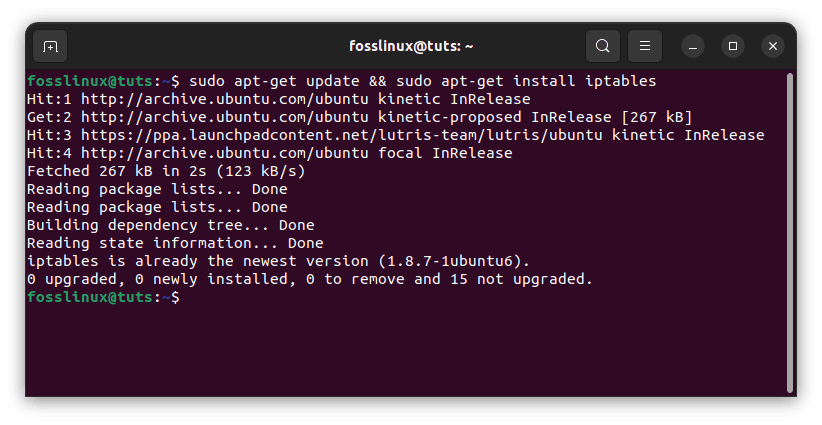
Update and install iptables
Installing on CentOS
Installing on CentOS/RPM-based systems is a little more complicated. Iptables is still used in CentOS 7. However, setting rules is now done with firewalld as a wrapper/frontend. To revert to iptables, uninstall firewalld and reinstall iptables:
sudo yum remove firewalld             # uninstall

sudo yum install iptables-services    # install iptables

sudo systemctl start iptables         # launch iptables v4

sudo systemctl start ip6tables        # launch iptables v6
Ensuring IPv6 is supported
Make sure your system supports IPv6 before configuring ip6tables. To test, enter the following command:
cat /proc/net/if_inet6
If you see something like this, your server supports IPv6. Please remember that your IPv6 address and port name will differ.
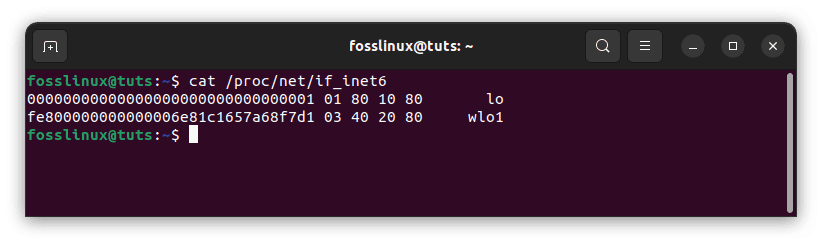
Ensure your system supports IPv6
If the /proc/net/if the inet6 file is missing, try loading the IPv6 module using modprobe ipv6.
The current state of the firewall
The firewall chains are blank by default on a newly installed Ubuntu system. To view the chains and rules, use the following command (-L to display rules in chains, -n to output IP ports and addresses in numeric format):
sudo ip6tables -L -n
You will see something similar to the following output:
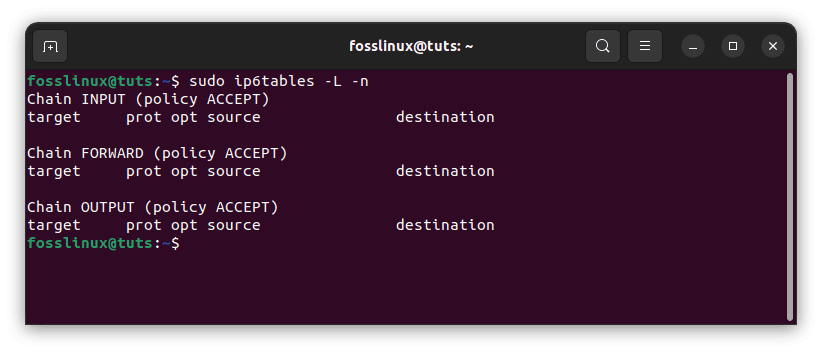
Check the current state of your firewall
If you see the above output, all the chains (INPUT, FORWARD, and OUTPUT) are empty, and the primary policy for the chains is ACCEPT.
Let’s start with the basics of IPv6 addressing.
Basics of IPv6 addressing
Before we dive into configuring Iptables for IPv6 networks, let’s first understand some basics about IPv6 addressing. IPv6 is the next generation of IP (Internet Protocol), designed to replace the aging IPv4 protocol. IPv6 addresses are 128 bits long, compared to the 32 bits used by IPv4 addresses. This allows for a vastly increased number of unique addresses, which is essential as more and more devices connect to the internet. IPv6 addresses are represented in hexadecimal notation, with each 16-bit segment separated by a colon. Here is an example of an IPv6 address:
2001:0db8:85a3:0000:0000:8a2e:0370:7334
In addition to the larger address space, there are some other key differences between IPv6 and IPv4 addressing. For example, IPv6 addresses can have multiple addresses per interface, including link-local addresses, global unicast addresses, and more. It’s also worth noting that IPv6 addresses can be dynamically assigned, which means that they may change over time.
Now, let’s talk about the structure of IPv6 firewall rules.
Structure of IPv6 firewall rules
The basic structure of an IPv6 firewall rule is similar to that of an IPv4 firewall rule. The main difference is the use of the “ip6tables” command instead of “iptables.” Here is the basic structure of an IPv6 firewall rule:
sudo ip6tables -A [chain] [rule options] -j [target]
In this command, the “-A” option adds a rule to the end of the specified chain. The “chain” specifies the name of the chain to which the rule will be added, such as “INPUT” or “FORWARD.” The “rule options” specify the criteria that must be met for the rule to apply, such as the source and destination IPv6 addresses, the protocol, and the port number. Finally, the “-j” option specifies the target for the rule, such as “ACCEPT” or “DROP.”
The structure of IPv6 firewall rules is similar to that of IPv4, with a few key differences. Instead of using the -p option to specify the protocol, you will use the -m option with the ipv6header module. This allows you to match various IPv6 header fields, such as the source and destination address, the protocol, and more. Here’s an example of a simple IPv6 firewall rule:
sudo ip6tables -A INPUT -s 2001:db8::/32 -p tcp --dport 22 -j ACCEPT
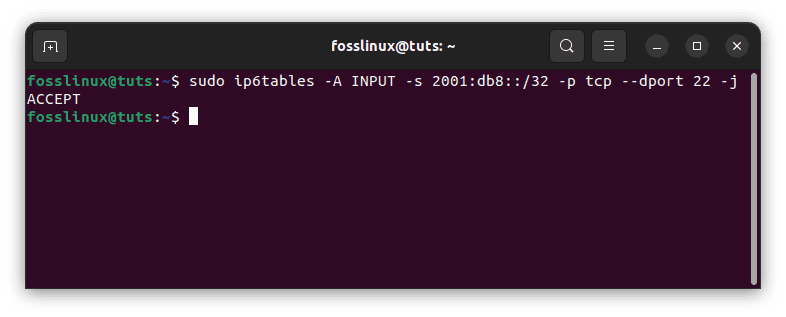
IPv6 firewall rule
This rule allows incoming TCP traffic on port 22 (SSH) from any address in the 2001:db8::/32 subnet. Besides, you can use the -j option to specify the action to take if the rule matches, such as ACCEPT, DROP, or REJECT.
In addition to basic firewall rules, you can also use iptables to configure more advanced network policies for your IPv6 network. For example, you can use the conntrack module to keep track of the state of network connections, allowing you to create more complex rules based on the connection status.
Here’s an example of a more complex IPv6 firewall rule that uses the conntrack module:
sudo ip6tables -A FORWARD -m conntrack --ctstate RELATED,ESTABLISHED -j ACCEPT
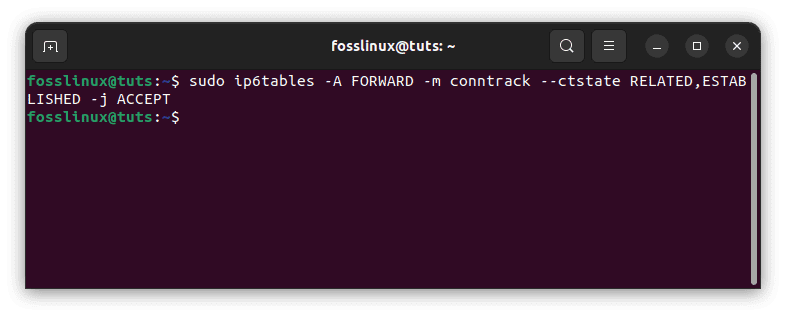
IPv6 complex rule
This rule allows traffic related to or part of an existing network connection to pass through the firewall.
The first IPv6 rule
Let us start with the first rule. To add a rule (the ‘-A option’ is used to add a rule) to our INPUT chain, run the following command:
sudo ip6tables -A INPUT -m state --state ESTABLISHED,RELATED -j ACCEPT
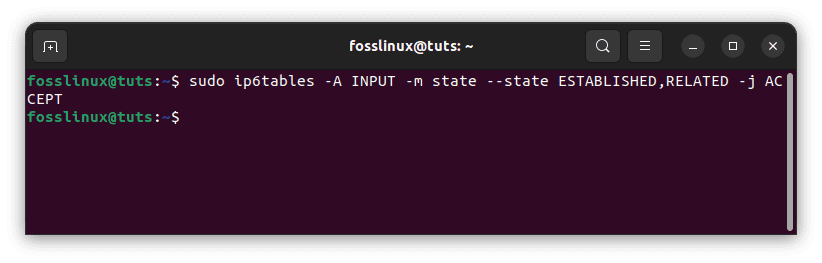
Add first ip6tables rules
This will enable established, related connections, which will be helpful if we modify the default INPUT chain policy to DROP to avoid disconnecting our SSH session. To view the rule, run sudo ip6tables -L -n and look for the difference
Adding rules
Let’s update our firewall with some more IPv6 rules.
sudo ip6tables -A INPUT -p tcp --dport ssh -s HOST_IPV6_192.168.0.1 -j ACCEPT

sudo ip6tables -A INPUT -p tcp --dport 80 -j ACCEPT

sudo ip6tables -A INPUT -p tcp --dport 21 -j ACCEPT

sudo ip6tables -A INPUT -p tcp --dport 25 -j ACCEPT
The first rule allows SSH access from a specific IPv6 address. The second, third, and fourth rules will accept incoming traffic from HTTP(80), FTP(21), and SMTP(25).
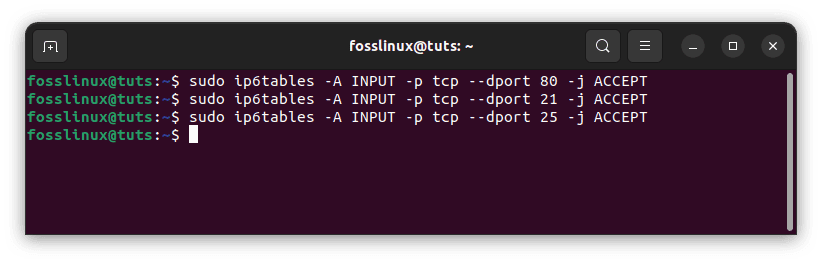
Update firewall rules
Let us now go through the IPv6 firewall rules.
Examine the IPv6 rules
Type the following command to examine the IPv6 rules with line numbers:
sudo ip6tables -L -n --line-numbers
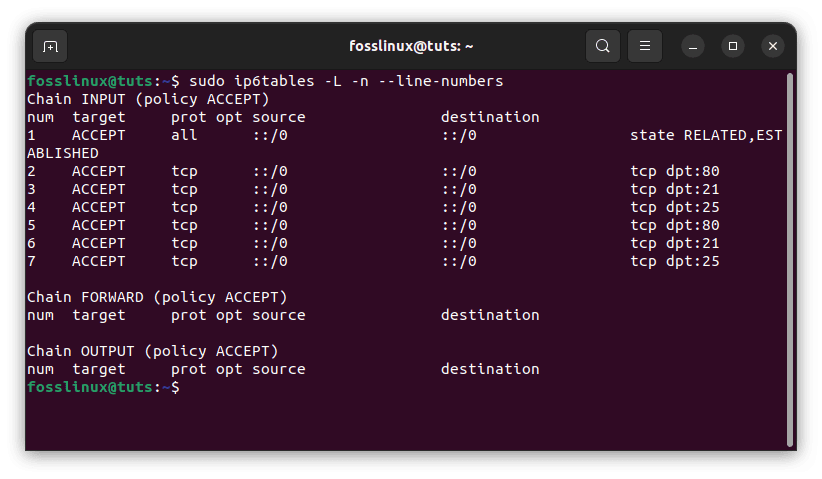
Examine IPv6 rules
These are known as line or rule numbers and may be used to insert or delete rules.
Rules insertion
Ip6tables rules, like iptables rules, are examined sequentially, and if a match is discovered, the rest of the rules are skipped. If you wish to rearrange your rules or add a new rule in a certain place, list the rules using the line-numbers option first, then run the following command:
sudo ip6tables -I INPUT 2 -p icmpv6 -j ACCEPT
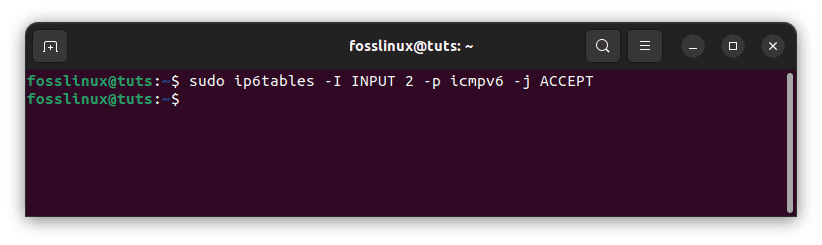
Rule insertion
The rule (-I option) will be inserted in the second place of the INPUT chain.
Deleting rules
In some circumstances, you may need to remove one or more entries from your iptables chains. You can eliminate rules from the chain in two ways: by rule specification and by rule number.
To delete rules by rule specification, use the following command: For example, delete the FTP (21) rule:
sudo ip6tables -D INPUT -p tcp --dport 21 -j ACCEPT
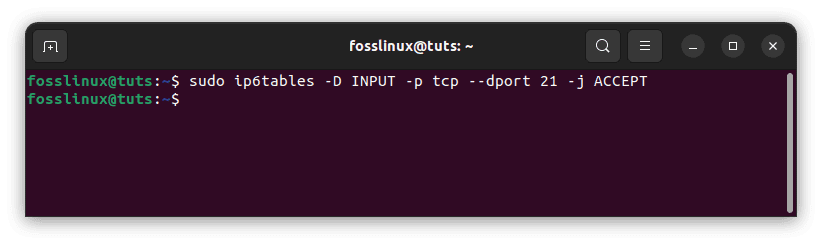
Delete FTP 21 rule
To remove a rule, use the command APPEND (A) and replace the A with D.
The same rule can be removed by rule number (assuming the FTP rule has not been deleted), as shown below. First, number the rules as follows:
sudo ip6tables -L --line-numbers
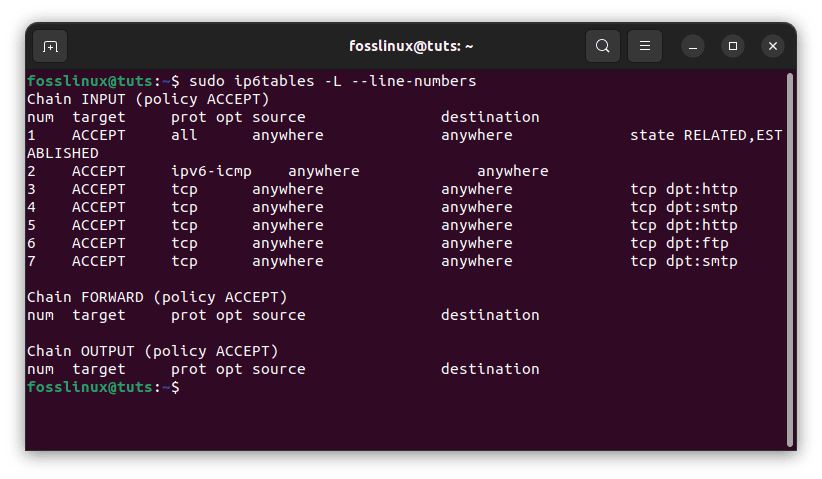
Check appended rules
The regulations will be labeled with numbers. Type the following command to remove the rules from a chain:
sudo iptables -D INPUT RULES_LINE_NUMBER
Example:
sudo iptables -D INPUT 1
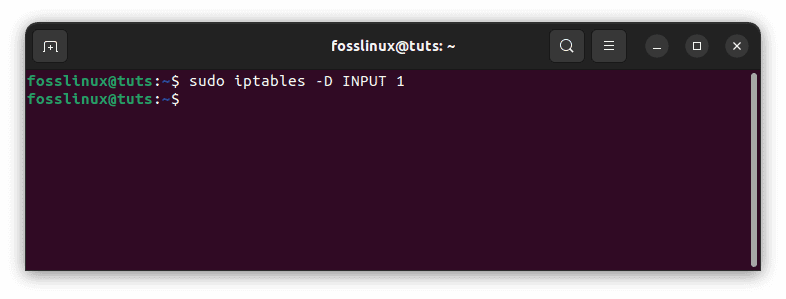
Delete a rule
Note: When removing rules by rule number, remember that the order of the rule values in the chain changes after deleting one rule.
Making new chains
In ip6tables, you may make your own chain. Type the command below to create a new chain with the name NEW_CHAIN or any other name you choose (no spaces like FOSS_LINUX for this example).
sudo ip6tables -N FOSS_LINUX

Make a new chain
When you run sudo ip6tables -L -n, you’ll see the newly established chain with existing chains. Use the command below to remove the chain:
sudo ip6tables -X FOSS_LINUX
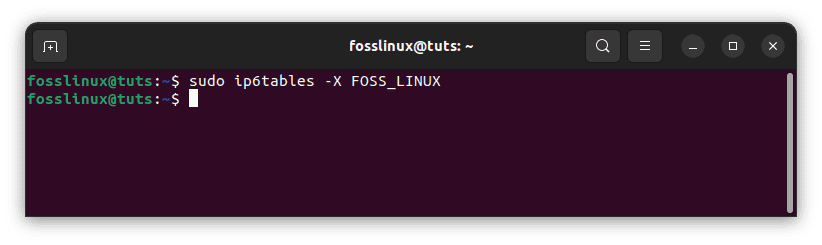
Remove the newly added new chain
Policy alteration
If you need to alter a chain’s default policy, use the following command:
sudo ip6tables -P INPUT DROP
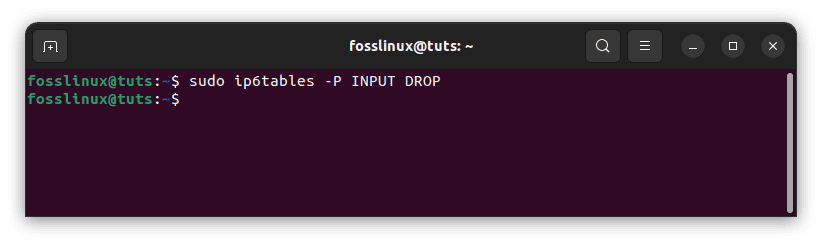
Alter a chain’s default policy
In this example, I’m altering the ACCEPT chain policy to DROP. Use caution when altering the default policies since you may lock yourself out of a remote computer if the necessary access rules are not defined.
Now, let’s look at some practical examples of IPv6 firewall rules.
Practical examples of IPv6 firewall rules
Below are some examples of IPv6 firewall rules that can be run on the command line:
Example 1: Allow incoming SSH traffic from a specific IPv6 address:
sudo ip6tables -A INPUT -s 2001:0db8:85a3:0000:0000:8a2e:0370:7334 -p tcp --dport 22 -j ACCEPT

Allow incoming traffic from a specific address
In this example, we are allowing incoming traffic from the IPv6 address 2001:0db8:85a3:0000:0000:8a2e:0370:7334 on port 22 using the TCP protocol. This rule would typically be added to the “INPUT” chain.
Example 2: Block all incoming traffic from a specific IPv6 address:
sudo ip6tables -A INPUT -s 2001:0db8:85a3:0000:0000:8a2e:0370:7334 -j DROP
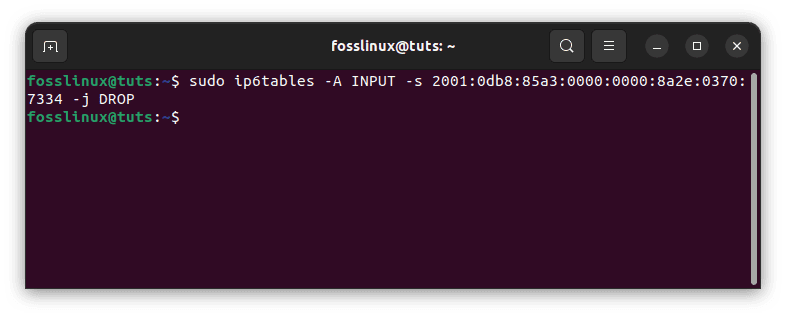
Block incoming address from a specific IPv6 address
In this example, we are blocking all incoming traffic from the IPv6 address 2001:0db8:85a3:0000:0000:8a2e:0370:7334. This rule would also be added to the “INPUT” chain.
Example 3: Allow all incoming traffic from a specific IPv6 network range:
sudo ip6tables -A INPUT -s 2001:0db8:85a3::/48 -j ACCEPT
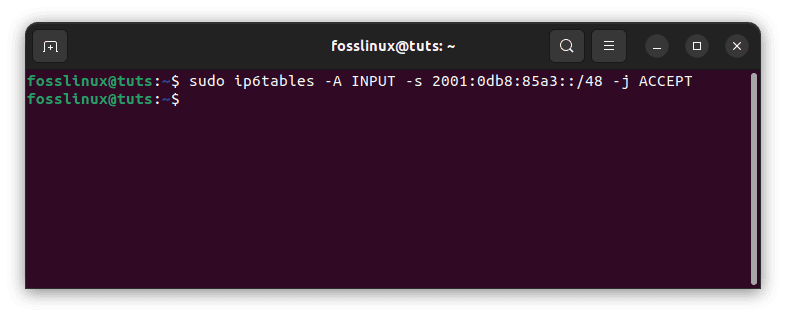
Allow incoming traffic from a specific network range
In this example, we are allowing all incoming traffic from the IPv6 network range 2001:0db8:85a3::/48. This rule would be added to the “INPUT” chain.
Example 4: Block all incoming traffic on a specific port:
sudo ip6tables -A INPUT -p tcp --dport 80 -j DROP
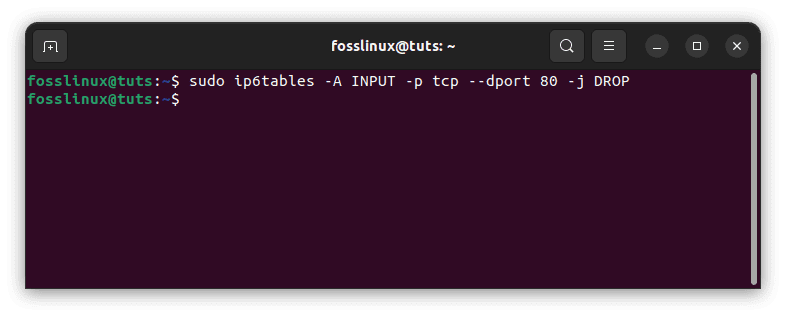
Block all incoming traffic from a specific port
In this example, we are blocking all incoming traffic on port 80 using the TCP protocol.
These are just a few examples of rules that can be configured using iptables for IPv6 networks. As with any firewall configuration, it is important to carefully consider the specific needs of your network and the potential threats you are trying to protect against.
When configuring firewall rules for IPv6 networks, there are a few best practices that you should keep in mind. First, it is important to always test your rules before implementing them in a production environment. This can help you catch any errors or omissions before they become a problem.
Another best practice is to use descriptive names for your firewall rules. This can help you remember what each rule is for and make it easier to manage your firewall configuration over time.
It’s also important to regularly review your firewall rules and make any necessary updates as your network evolves. This can help ensure your network is always protected against the latest threats.
Save changed rules
The ip6tables rules will be activated immediately; however, if you restart your server, all rules will be erased. You must save the rules to be activated after a reboot.
There are numerous approaches to accomplish this; the simplest is to use the iptables-persistent module. To run the iptables-persistent package, use the following command:
sudo apt-get install iptables-persistent
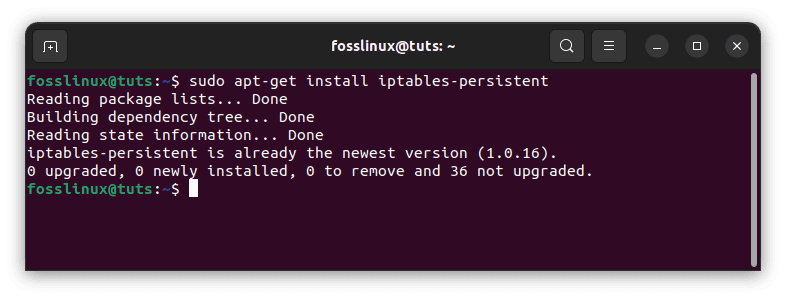
Install iptables-persistent
When asked, select ‘Yes’ for both IPv4 and IPv6 rules. Following installation, you will discover two files named IPv4 and IPv6 in the /etc/iptables directory. You may edit the file here by opening it. You can also start|restart|reload|force-reload|save|flush from here; for example, to save the currently loaded iptables rules, type the following command:
sudo /etc/init.d/iptables-persistent save
Both IPv4 and IPv6 rules will be saved.
Conclusion
iptables and ip6tables are user-space utility software that enables a system administrator to customize the Linux kernel firewall’s IP packet filter rules, which are implemented as various Netfilter modules. The filters are structured into tables with chains of rules governing how network traffic packets are treated. In conclusion, configuring Iptables for IPv6 networks is an essential part of network security in the modern era. By understanding the basics of IPv6 addressing and the structure of iptables firewall rules for IPv6 networks, you can take the first steps toward securing your network against potential threats.
Whether you are an experienced network administrator or a beginner just getting started, this article provides a valuable introduction to the world of IPv6 network security. By following the practices outlined in this article and carefully considering the specific needs of your network, you can help ensure that your network is always protected against potential threats. This article has illustrated how to configure firewall rules for IPv6 networks using ip6tables. I hope you are now able to configure your IPv6 firewall rules.