
Nagios is a powerful and versatile open-source monitoring tool that allows you to keep a vigilant eye on your infrastructure. In this article, we will delve into the intricacies of installing Nagios on Ubuntu 22.04, exploring various methods and providing step-by-step guidance to ensure your monitoring setup is smooth and efficient.
Monitoring systems are not new to IT professionals, but Nagios remains a top choice due to its robust capabilities and flexibility. By the end of this guide, you will not only have Nagios up and running on your Ubuntu 22.04 OS but will also understand its features, pros, and cons, enabling you to make informed decisions about its suitability for your specific monitoring needs.
Understanding Nagios and its Features
Some of the critical features of Nagios include:
- Host and Service Monitoring: Nagios allows you to monitor hosts, which can be physical or virtual machines, and services such as HTTP, SSH, and SMTP using plugins that provide real-time data on their status. This capability enables you to have a comprehensive view of the health and availability of your entire infrastructure.
- Notification and Alerting: Customizable alerting criteria and notification methods ensure that you receive real-time alerts via email, SMS, or other channels when problems occur. This timely response allows you to address issues promptly and prevent potential disruptions to your services.
- Web Interface: Nagios provides an intuitive web interface for easy configuration and monitoring. This user-friendly interface makes it accessible from any device/machine with a browser, allowing you to manage your monitoring setup conveniently.
- Plugin Architecture: One of Nagios’ strengths lies in its extensibility through its plugin architecture. This enables you to add extra functionality and adapt Nagios to your specific monitoring requirements, making it a versatile solution for diverse IT environments. Nagios’ plugin architecture, therefore, plays a vital role as it permits users to extend its functionality and adapt it to their specific monitoring needs.
Pros and Cons of Nagios
Before diving into the installation process, evaluating the pros and cons of using Nagios for your monitoring needs is essential.
Pros
- Versatility: Nagios supports a wide range of plugins, making it adaptable to various environments and technologies. Whether you need to monitor network devices, applications, or cloud services, Nagios has the flexibility to handle different scenarios.
- Active Community: With a vast and vibrant community of users and contributors, Nagios benefits from continuous updates, improvements, and support. This ensures that the tool remains relevant and reliable in the ever-changing landscape of IT monitoring.
- Extensive Monitoring: Nagios offers a comprehensive monitoring solution, allowing you to keep track of hosts, services, network devices, and more. This holistic approach provides a vivid picture of your infrastructure’s overall health.
- Customizable Alerts: Nagios’ flexible alerting system allows you to tailor notifications and alerts based on specific criteria. You can set up escalation policies, define downtime periods, and precisely configure thresholds to suit your monitoring requirements.
Cons
- Steeper Learning Curve: Setting up and configuring Nagios may require more effort and knowledge compared to some other monitoring tools. The various configuration options and plugins available can be overwhelming for beginners.
- Resource Consumption: Running Nagios with numerous active checks can consume considerable system resources, especially in large-scale environments. Proper resource management is crucial to ensure Nagios operates smoothly.
- Web Interface Limitations: While the Nagios web interface is user-friendly for most tasks, some complex configurations may still require editing configuration files directly. This could be challenging for less experienced users.
Installing Nagios on Ubuntu 22.04
Now, let’s get to the heart of the matter – installing Nagios on your Ubuntu 22.04 OS. We’ll explore multiple installation methods to cater to different preferences and scenarios.
Method 1: Using APT (Advanced Package Tool)
Using APT is the most straightforward method to install Nagios on Ubuntu 22.04, as it leverages the official Ubuntu repositories.
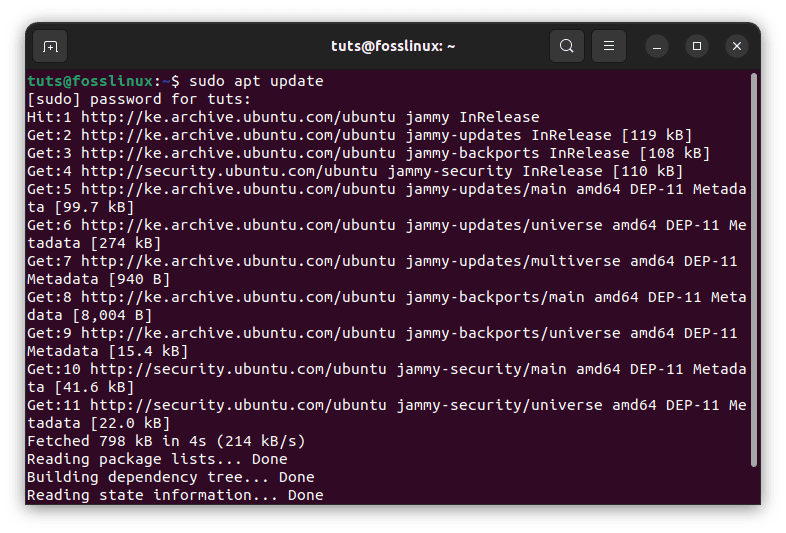
Step 1: Update system packages
Before proceeding with the installation, updating the system packages to ensure you have the latest software versions is essential. Open a terminal and run the following lines of code:
sudo apt update

sudo apt upgrade -y
Update and upgrade system resources
The apt update command updates the package lists, and apt upgrade -y upgrades all the installed packages to their latest versions.
Step 2: Install Nagios and the required dependencies
Now, install the necessary packages using APT:
sudo apt install nagios4 nagios-plugins
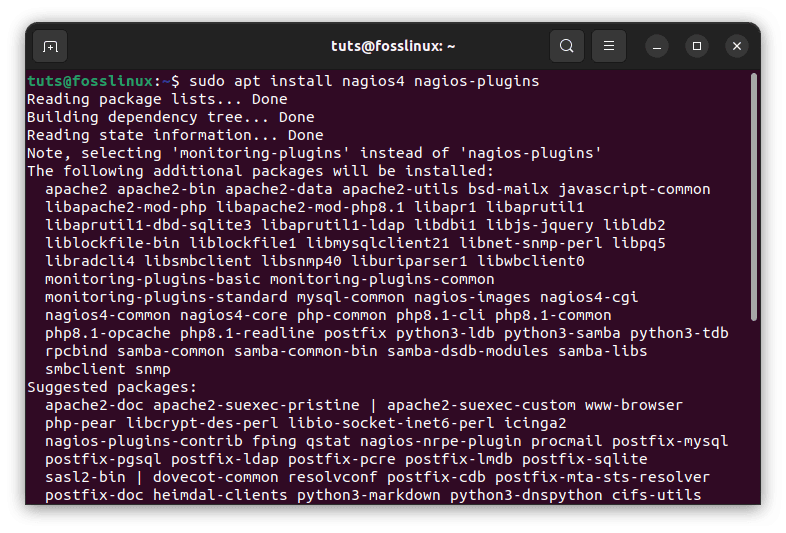
Install necessary packages
During installation, you will be prompted to set the administrative password for the Nagios web interface. Choose a strong password and keep it secure, as it grants access to the Nagios configuration.
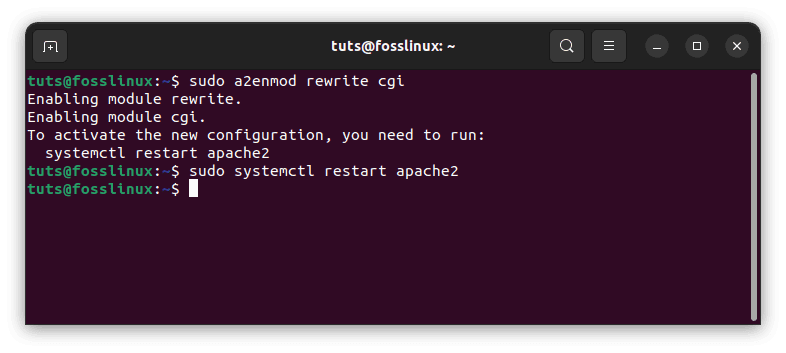
Step 3: Configure Apache Web Server
Nagios uses Apache as its web server. Enable Apache modules and restart the service:
sudo a2enmod rewrite cgi

sudo systemctl restart apache2
Configure Apache Web Server
The a2enmod command enables the required Apache modules for Nagios, and systemctl restart apache2 restarts the Apache service to apply the changes.
After installing Nagios on Ubuntu, you can start the Nagios service using the following command:
sudo systemctl start nagios
Start nagios
This command will start the Nagios service, and it will begin monitoring your configured hosts and services.
However, starting Nagios is just the first step. To ensure that Nagios starts automatically on system boot and remains active even after a reboot, you need to enable the Nagios service using the following command:
sudo systemctl enable nagios
Enable nagios at boot
Enabling the Nagios service will set it to start automatically whenever your Ubuntu system boots up.
Additionally, if you also installed Apache as part of the Nagios installation (which is typical), you need to start the Apache web server as well to access the Nagios web interface:
sudo systemctl start apache2

Start Apache service
And to ensure Apache starts automatically on system boot:
sudo systemctl enable apache2

Start Apache at boot
By executing these commands, you’ll have both Nagios and Apache running on your Ubuntu system, allowing you to access the Nagios web interface and start monitoring your infrastructure.
Step 4: Access Nagios web interface
To access the Nagios web interface, you will need to use a web browser on your local machine. Follow the steps below to access the Nagios web interface after installing it on your Ubuntu system:
Ensure that the Nagios and Apache services are running. You can start them using the following commands:
sudo systemctl start nagios

sudo systemctl start apache2
Ensure Nagios and Apache are running
Open a web browser on your local machine.
In the address bar of the web browser, enter the IP address or hostname of your Ubuntu server, followed by “/nagios”. For example:
http://your_server_ip_or_hostname/nagios
Replace “your_server_ip” with the actual IP address or hostname of your Ubuntu server where Nagios is installed.
http://fosslinux/nagios
You will be presented with the Nagios login page. Enter the username and password you set during the Nagios installation process. By default, the username is “nagiosadmin.”
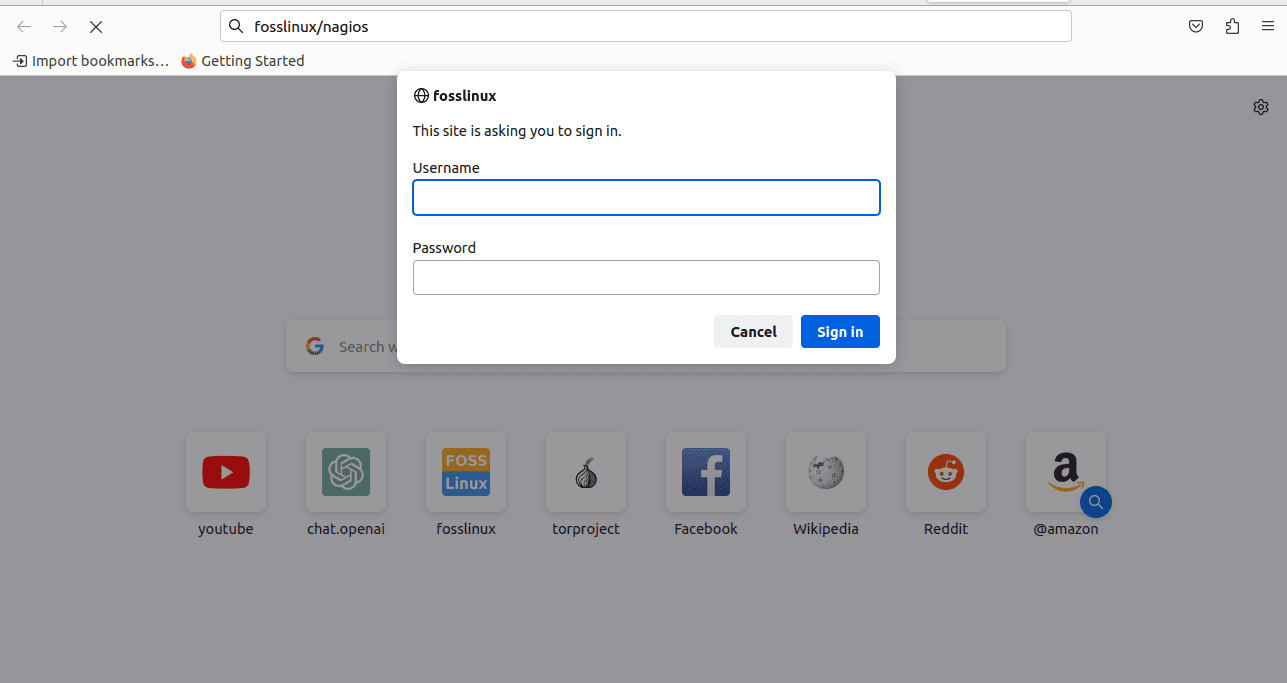
Nagios login page
After successful authentication, you will gain access to the Nagios web interface dashboard. From here, you can navigate through the various sections to configure, monitor, and manage your hosts, services, and notifications.

Nagios successful login
Keep in mind that accessing the Nagios web interface requires you to be on the same network as the Ubuntu server or have network access to the server’s IP address or hostname, depending on your network setup.
Please note that for security reasons, it’s essential to secure the Nagios web interface using SSL/TLS encryption and restrict access to authorized users only. By default, the web interface doesn’t use encryption, so if you plan to access it over the internet or in an untrusted network, consider implementing SSL/TLS.
Alternatively you can use the ip address. In the example above we used our hostname to connect to nagios. To do so using the ip address we shall follow the same procedure. Open your web browser and enter your server’s IP, followed by “/nagios” (e.g., http://your_server_ip/nagios). You should see the Nagios login page. Log in with the username “nagiosadmin” and the password you set during the installation.
Example:
http://192.168.159.128/nagios
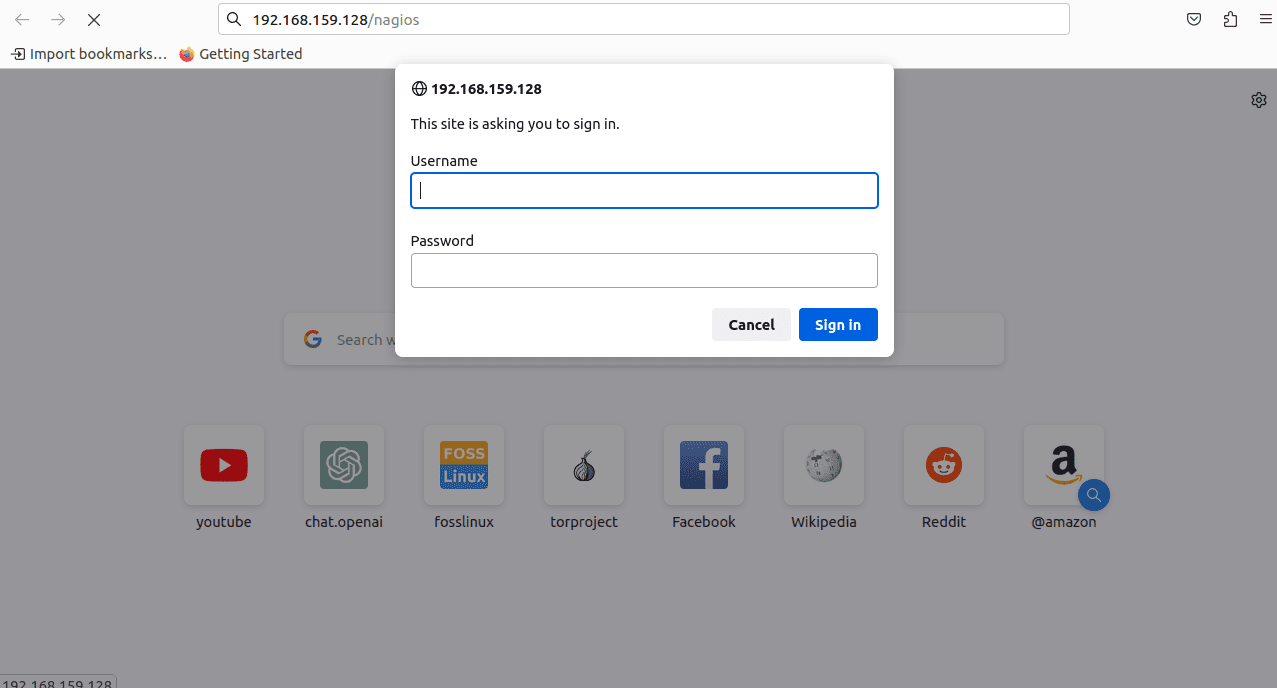
Login using ip address
Once you have logged in successfully you should have a screen similar to the one shown below. If you check the address bar you will notice it uses the IP address while the first one used the hostname ‘fosslinux’:
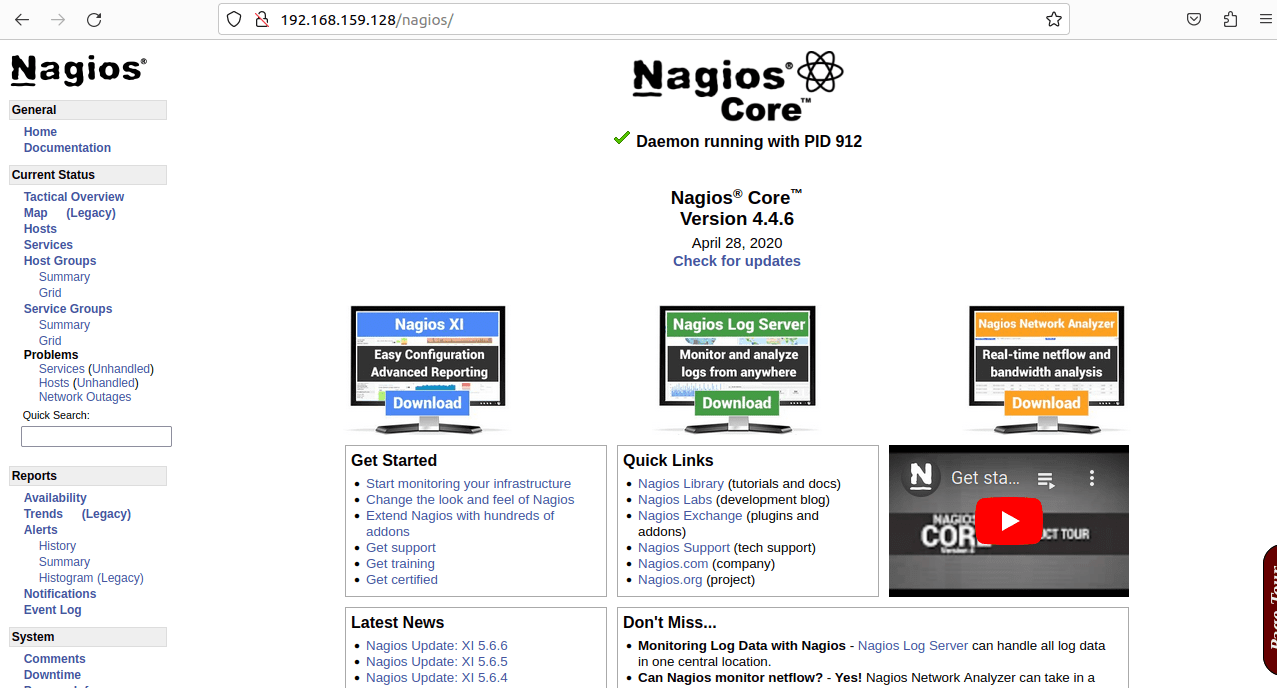
Successful login using ip address
Method 2: Manual installation from source
Installing from the source is an option for greater control over Nagios’ configuration and staying up-to-date with the latest version.
Step 1: Prerequisites
Install essential dependencies and compilers:
sudo apt install build-essential apache2 php libgd-dev libapache2-mod-php libperl-dev libssl-dev daemon wget
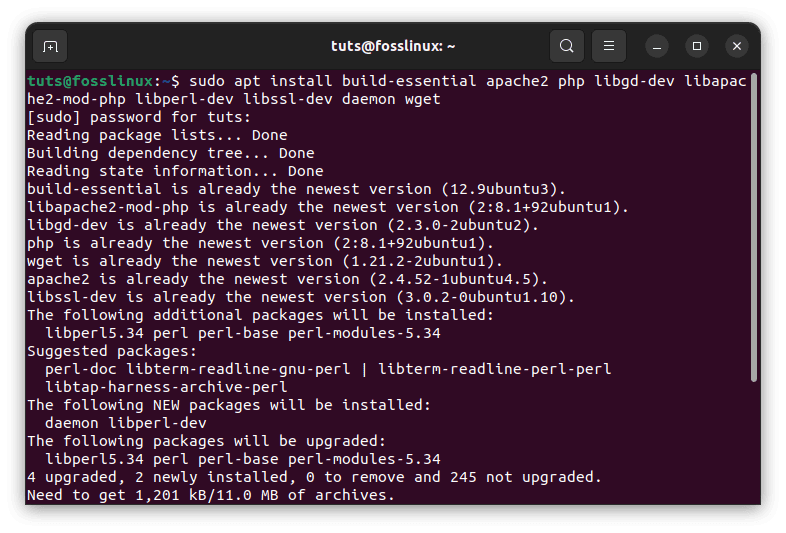
Install required dependencies
These packages provide the necessary tools and libraries required to compile Nagios from the source.
Step 2: Download and extract Nagios source
Create a directory to download and extract the source:
mkdir ~/nagios-src cd ~/nagios-src

wget https://github.com/NagiosEnterprises/nagioscore/releases/download/nagios-<version>/nagios-<version>.tar.gz

tar -xzf nagios-<version>.tar.gz

cd nagios-<version>
Example:
mkdir ~/nagios-src cd ~/nagios-src

wget https://github.com/NagiosEnterprises/nagioscore/releases/download/nagios-4.4.6/nagios-4.4.6.tar.gz

tar -xzf nagios-4.4.6.tar.gz

cd nagios-4.4.6
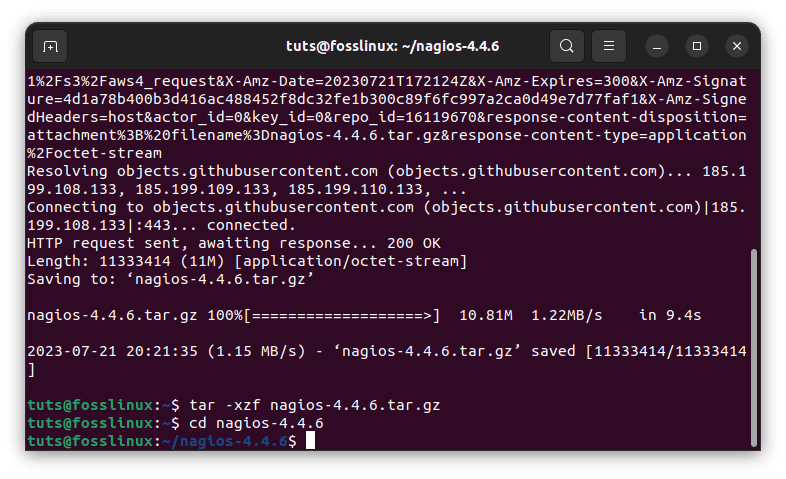
Download nagios, create a new directory, extract and navigate into it
In this step, we created a new directory called “nagios-src,” navigated into it, downloaded the Nagios source tarball, and extracted it.
Step 3: Compile and install Nagios
Now, let’s configure, compile, and install Nagios:
./configure --with-httpd-conf=/etc/apache2/sites-enabled

make all

sudo make install

sudo make install-init

sudo make install-commandmode

sudo make install-config

sudo make install-webconf
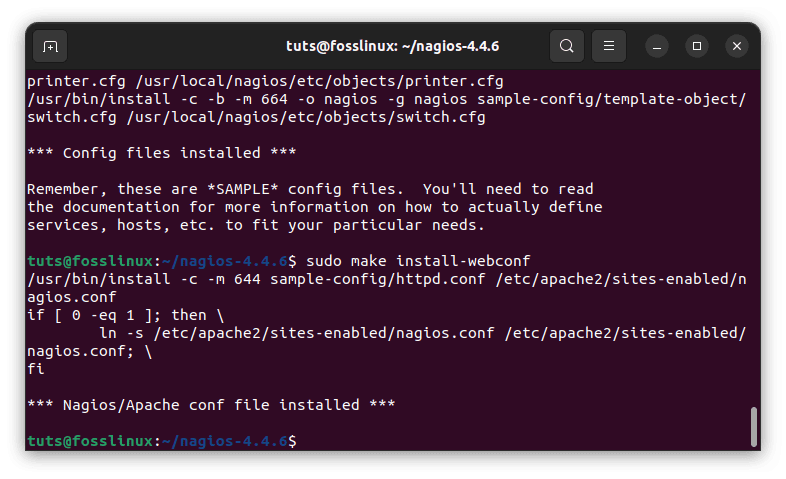
Compile and install Nagios
The ./configure script checks your system for dependencies and configures the necessary configuration files. The make all command compiles Nagios, and the subsequent sudo make install commands install it on your system.
Step 4: Start Nagios and Apache
Start the Nagios service and Apache:
sudo systemctl start nagios

sudo systemctl enable nagios

sudo systemctl restart apache2
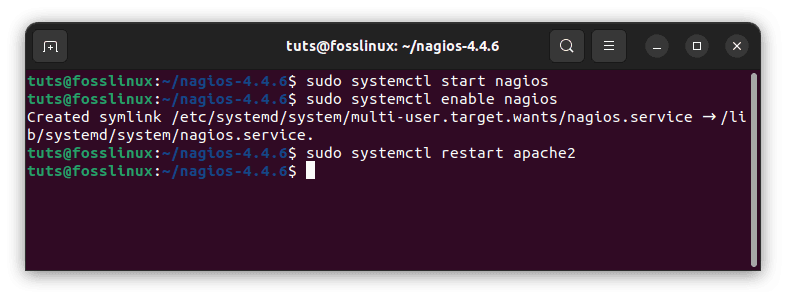
Start Nagios and Apache
The systemctl start and systemctl enable commands start the Nagios service and configure it to start automatically on boot. The systemctl restart apache2 command restarts Apache to apply the changes made during the Nagios installation.
How to use Nagios on Ubuntu 22.04
Now that Nagios is up and running on your Ubuntu server let’s explore how to use this powerful monitoring tool.
Configuring Hosts and Services: In the Nagios web interface, navigate to the “Configuration” section to define hosts and services to monitor. You can use predefined templates or create custom configurations as per your requirements.
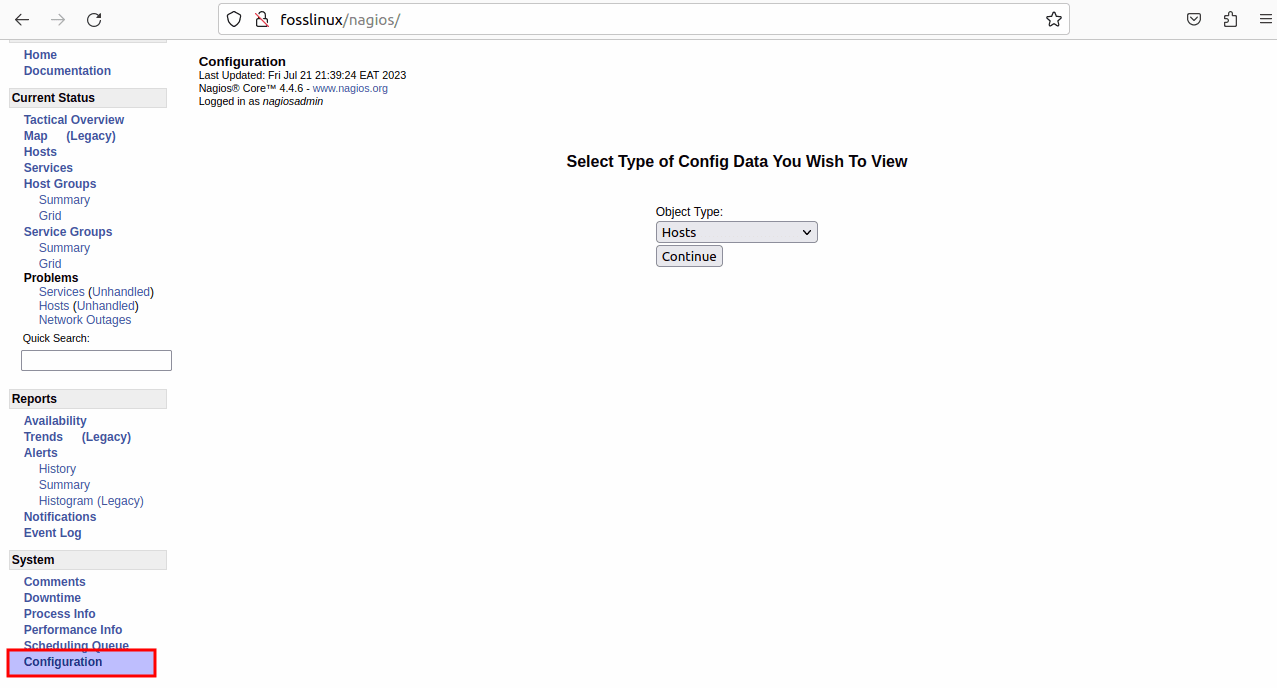
Configure hosts and services
Setting Up Notifications: Configure the notification settings in the “Contacts” section to receive alerts via email, SMS, or other methods when issues arise. This ensures that the right people are promptly notified when critical events occur.
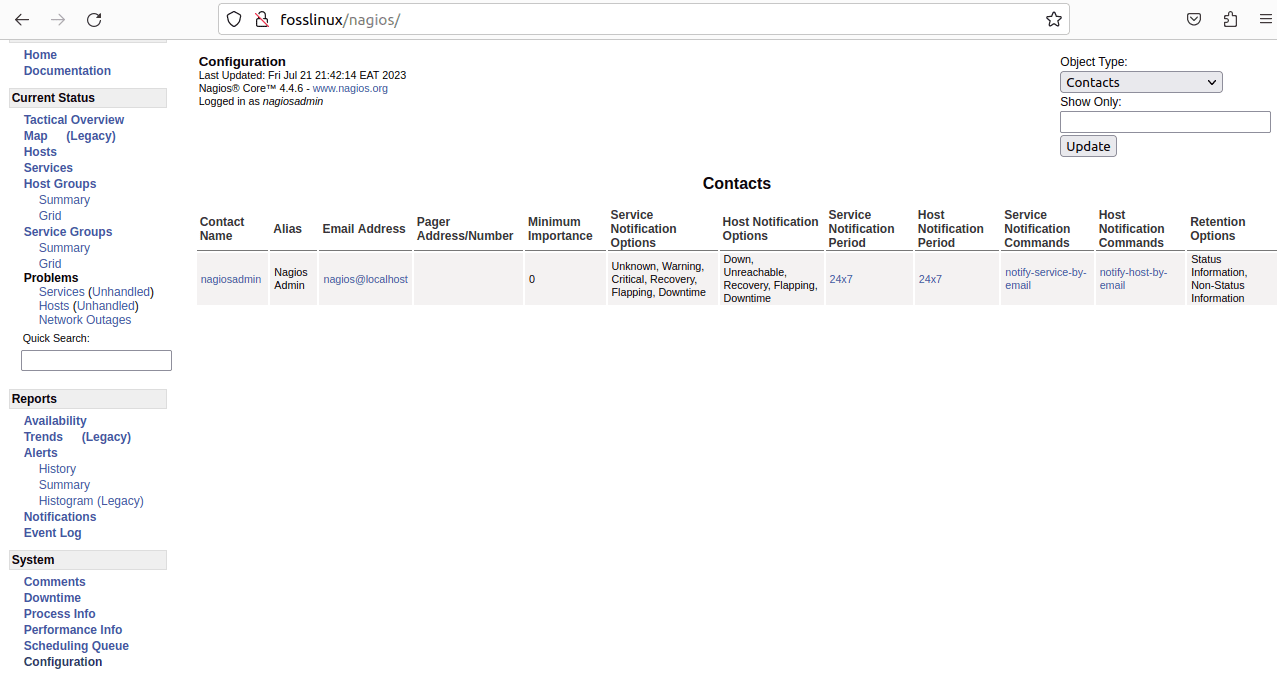
Set contact configuration
Viewing Monitoring Status: Use the “Status” section to get real-time updates on the status of your hosts and services. This section also displays performance graphs and historical data, permitting you to identify trends and patterns in your infrastructure’s behavior.
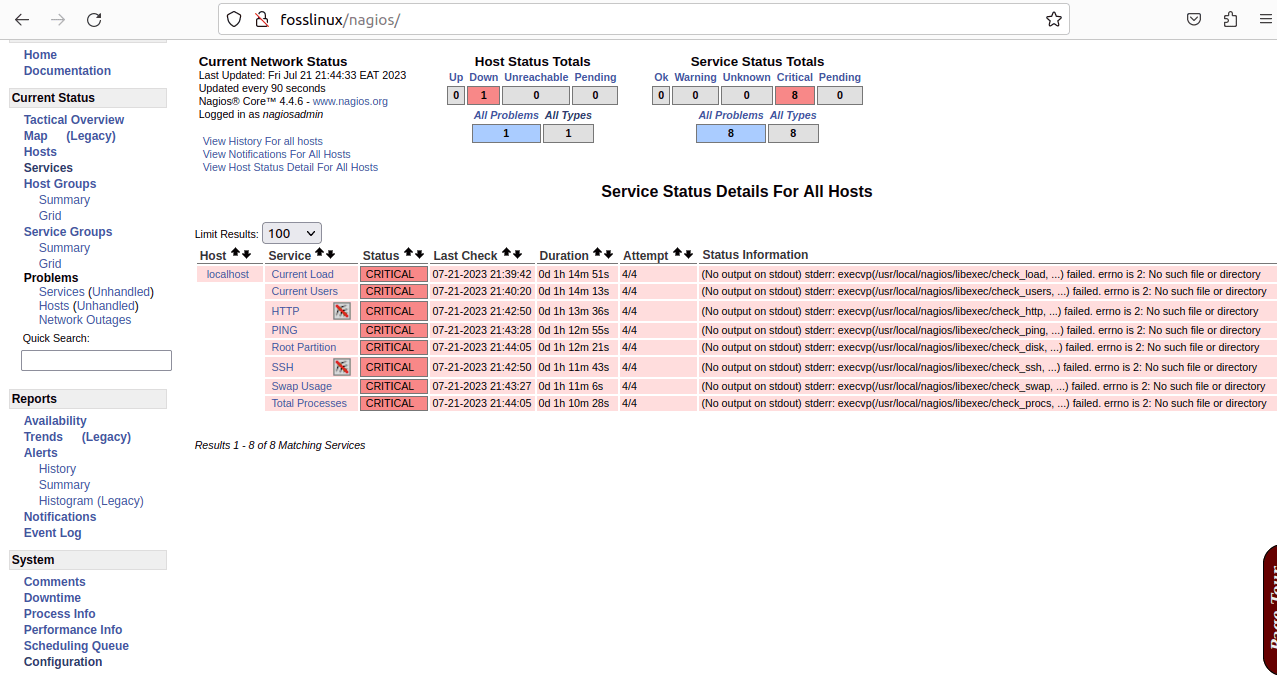
Status
Customizing Dashboards: Nagios offers dashboard customization options, enabling you to tailor the monitoring information display to suit your preferences. This personalization enhances your monitoring experience and allows you to focus on the most critical aspects of your infrastructure.
How to remove Nagios from Ubuntu 22.04
If, for any reason, you need to uninstall Nagios from your Ubuntu 22.04 server, follow these steps:
Step 1: Stop Nagios and Apache
Disable and stop the Nagios and Apache services:
sudo systemctl stop nagios

sudo systemctl disable nagios

sudo systemctl stop apache2
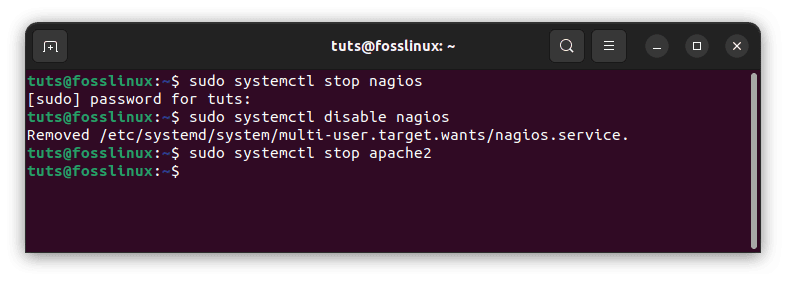
Stop nagios and apache2
These commands stop the Nagios service and disable it from starting on boot, ensuring that it no longer runs on your system.
Step 2: Remove Nagios packages
Uninstall the Nagios packages:
sudo apt remove nagios4 nagios-plugins
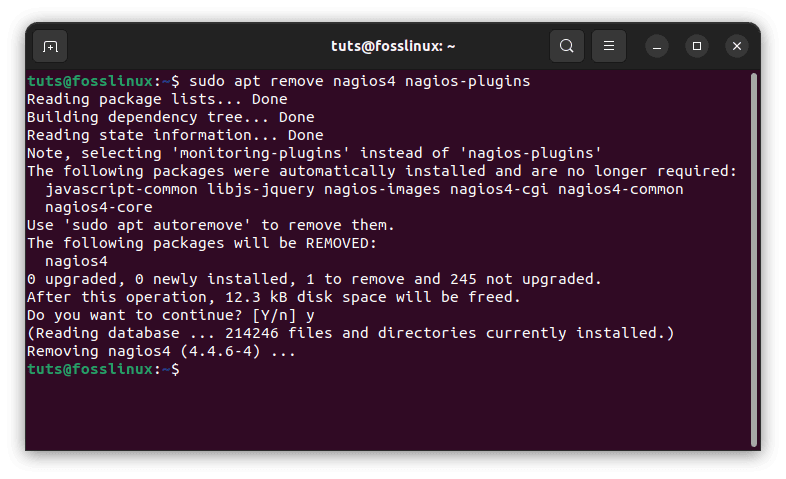
Remove nagios packages
The apt remove command removes the Nagios packages from your system, including any configuration files and data associated with them.
Step 3: Remove configuration and data
Remove any residual configuration files and data:
sudo rm -rf /usr/local/nagios

sudo rm -rf /etc/nagios
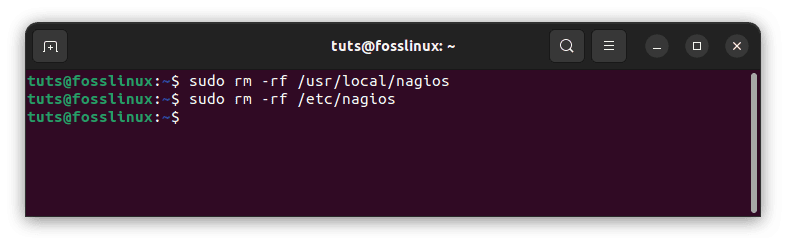
Remove nagios configuration and data
These commands delete the Nagios installation directory and configuration files, ensuring a clean removal.
Conclusion
Congratulations! You have successfully installed Nagios on your Ubuntu 22.04 OS and learned how to use this powerful monitoring tool. By monitoring the health of your infrastructure in real time, you can ensure its stability, enhance performance, and minimize downtime.
Nagios remains a top choice for IT professionals seeking a comprehensive and reliable monitoring solution. This comprehensive guide explored various methods to install Nagios on Ubuntu 22.04, from using APT for a simple installation to compiling from source for greater customization.
Additionally, we highlighted Nagios’s features, pros, and cons, empowering you to make an informed decision about its suitability for your monitoring needs. By understanding Nagios’ capabilities, you can leverage its flexibility and adaptability to monitor your infrastructure effectively.
1 comment
Using the first method. This command gives an error:
sudo systemctl start nagios
Failed to restart nagios.service: Unit nagios.service not found.
But if:
sudo systemctl start nagios4
OK
and then everywhere instead of nagios -> nagios4