
The user-space application software iptables allows you to configure the tables supplied by the Linux distro firewall and the chains and rules stored in them. The iptables kernel module only applies to IPv4 traffic; to create firewall rules for IPv6 connections, use ip6tables, which corresponds to the same command structures as iptables.
The iptables program is a Linux-based firewall that is included with various Linux distributions. It is a prominent software-based firewall solution. It’s an essential tool for Linux system administrators to learn and comprehend. For security reasons, any publicly accessible server on the Internet should have a firewall activated. In most cases, you would only expose ports for services you want to be available through the Internet. All other ports would stay blocked and Internet-inaccessible. You might want to open ports for your web services in a standard server, but you probably don’t want to make your database publicly available!
Iptables is an excellent firewall that is included in the Linux Netfilter framework. For the uninitiated, manually configuring iptables is difficult. Fortunately, several setup tools are available to help, such as fwbuilder, bastille, and ufw.
Working with iptables on a Linux system necessitates root access. The remainder of this article will presume you are logged in as root. Please be cautious since instructions given to iptables take instant effect. Because you will be modifying how your server is available to the outside world, you may be able to lock yourself out of your server!
Note: When working with firewalls, do not block SSH communication; lock yourself out of your own server (port 22, by default). If you lose access due to firewall settings, you may need to connect to it through the console to regain access. After connecting via the terminal, you may modify your firewall rules to enable SSH access (or allow all traffic). Rebooting your server is another option if your stored firewall rules enable SSH access.
Let us get in and learn more about iptables and their configurations without further ado.
Installing Iptables on Ubuntu
Most Linux distributions include Iptables by default. However, if it is not installed by default on your Ubuntu/Debian system, proceed as follows:
- Use SSH to connect to your server.
- One by one, execute the following commands:
sudo apt-get update

sudo apt-get install iptables

Install iptables
- Run the following command to see the status of your existing iptables configuration:
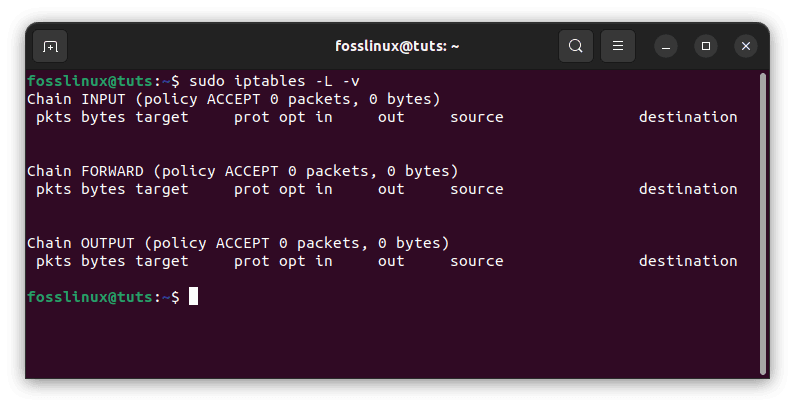
sudo iptables -L -v
Output:
Chain INPUT (policy ACCEPT 0 packets, 0 bytes)
pkts bytes target prot opt in out source destination

Chain FORWARD (policy ACCEPT 0 packets, 0 bytes)
pkts bytes target prot opt in out source destination

Chain OUTPUT (policy ACCEPT 0 packets, 0 bytes)
pkts bytes target prot opt in out source destination
The -L option is used to highlight all the rules, while the -v option is used to display the information in a more specific style. The following is an example output:
List rules
The Linux firewall will now be deployed. You can see that all chains are set to ACCEPT and have no rules at this stage. This is not secure since any packet can pass through without being filtered.
Don’t be concerned. The following step in our iptables tutorial will show you how to define rules.
Basic iptables Commands
Now that you understand the fundamentals of iptables, we should go through the essential commands used to create complicated rule sets and administer the iptables interface in general.
First, you should know that iptables commands must be executed as root. To get a root shell, you must sign in with root privileges, use su or sudo -i, or precede all commands with sudo. In this instruction, we will utilize sudo because it is the preferred technique on an Ubuntu machine.
A brilliant place to start is by listing all of the present iptables rules. That is possible using the -L flag:
sudo iptables -L

List iptables rules
As you can see, we have three standard chains (INPUT, OUTPUT, and FORWARD). We can also view the default policy for each chain (each chain has ACCEPT as its default policy). Finally, we can also see some column headings but no fundamental rules. This is because Ubuntu does not include a default rule set.
By using the -S flag, we can see the output in a manner that represents the instructions required to enable each rule and policy:
sudo iptables -S
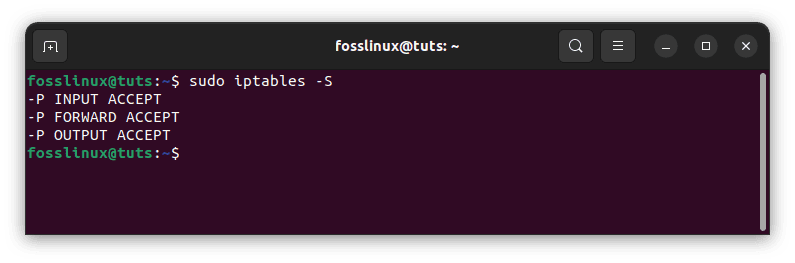
Instructions needed to enable each rule and policy
To reproduce the setup, enter sudo iptables followed by each output line. (Depending on the settings, it may be slightly more involved if we connect remotely to avoid instituting a default drop policy before the rules to catch and ensure our present connection are in place.)
If you already have rules in place and want to start afresh, you can flush the current rules by typing:
sudo iptables -F
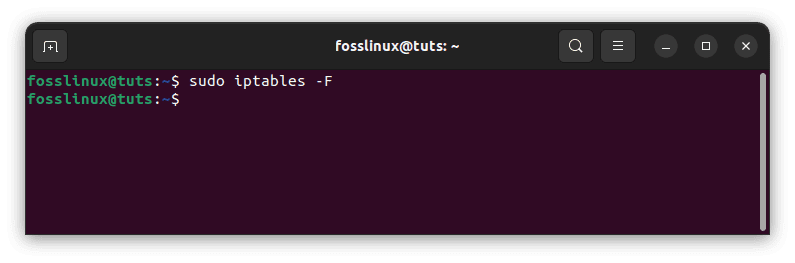
Flush iptables rules
The default policy is crucial because, while all the rules in your chains are destroyed, this operation does not change the default policy. If you are connecting remotely, ensure the default policy on your INPUT and OUTPUT chains is set to ACCEPT before flushing your rules. You may accomplish this by typing:
sudo iptables -P INPUT ACCEPT

sudo iptables -P OUTPUT ACCEPT

sudo iptables -F
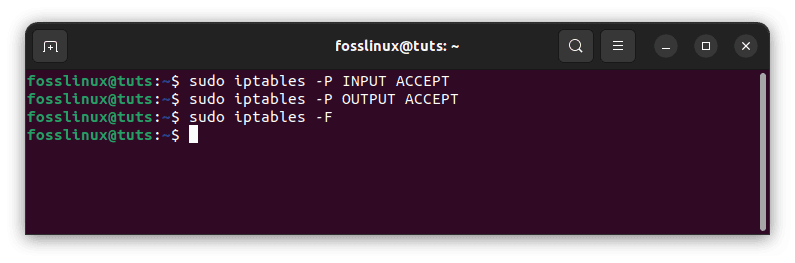
Set iptables rules
After you’ve defined rules that expressly allow your connection, you may modify the default drop policy back to DROP. We’ll go over how to achieve that later in this article.
Listing current rules
Ubuntu servers do not have any limitations by default; however, you may inspect the current iptable rules using the following command for future reference.
sudo iptables -L
This will display a list of three chains, input, forward, and output, similar to the result of the empty rules table.
List iptables rules
The chain names define which traffic the rules in each list will apply to. Input is for any connections arriving at your cloud server, the output is for any exiting traffic, and forward is for any pass-through. Each chain has its policy setting that governs how traffic is treated if it does not fit any specified requirements; by default, it is set to accept.
Introducing new rules
Firewalls are often set up in two ways: by setting the default rule to accept all traffic and then blocking any undesired traffic with particular rules or by utilizing the rules to specify authorized traffic and blocking everything else. The latter is a frequently advised strategy since it enables proactive traffic blocking rather than reactively rejecting connections that should not be attempting to contact your cloud server.
To begin using iptables, add the rules for authorized inbound traffic for the services you need. Iptables can keep track of the connection’s state. Therefore, use the command below to enable established connections to continue.
sudo iptables -A INPUT -m conntrack --ctstate ESTABLISHED,RELATED -j ACCEPT
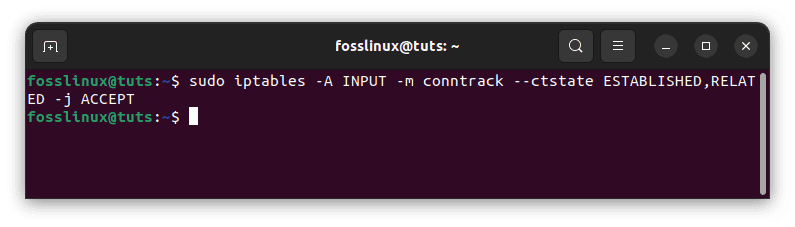
Add iptables rules
You may confirm that the rule was added by running sudo iptables -L again.
sudo iptables -L
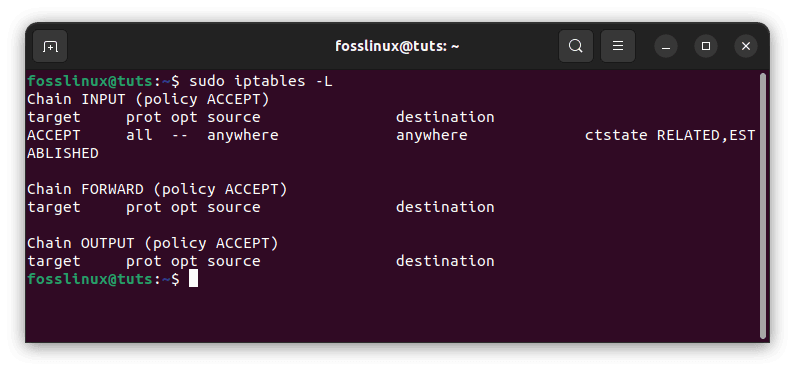
List current iptables rules
Allow traffic to a specific port to permit SSH connections by doing the following:
sudo iptables -A INPUT -p tcp --dport ssh -j ACCEPT
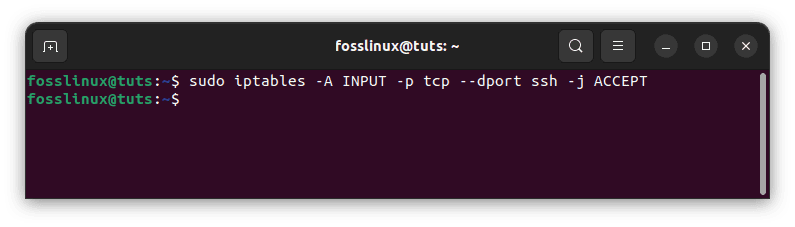
Allow traffic to a particular port
The ssh in the command corresponds to port number 22, the protocol’s default port. The same command structure can also permit traffic to other ports. Use the following command to allow access to an HTTP web server.
sudo iptables -A INPUT -p tcp --dport 80 -j ACCEPT
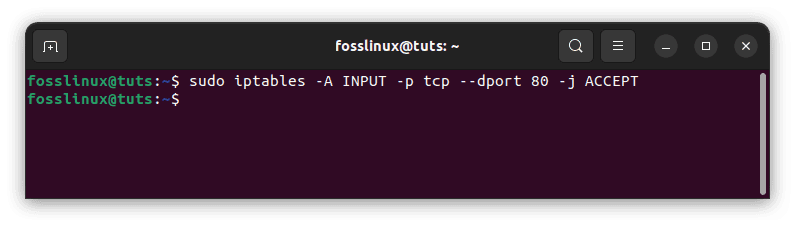
Allow access to an HTTP web server
Change the input policy to drop once you’ve added all the required authorized rules.
Note: Changing the default rule to drop will allow only specially allowed connections. Before modifying the default rule, ensure you’ve enabled at least SSH, as stated above.
sudo iptables -P INPUT DROP
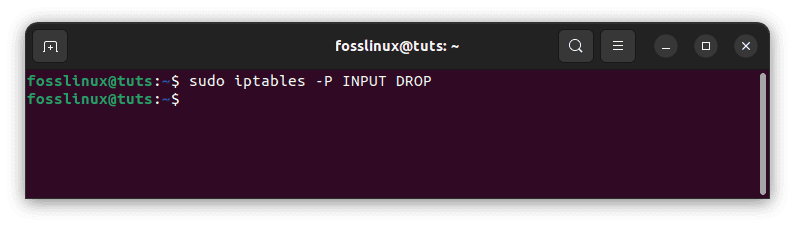
Drop iptables
The same policy rules may be applied to other chains by providing the chain name and choosing DROP or ACCEPT.
Rules for saving and restoring
If you restart your cloud server, all these iptables configurations will be lost. Save the rules to a file to avoid this.
sudo iptables-save > /etc/iptables/rules.v4
You may then just read the stored file to restore the saved rules.
# Overwrite the existing rules

sudo iptables-restore < /etc/iptables/rules.v4

# Append new rules while retaining the existing ones

sudo iptables-restore -n < /etc/iptables/rules.v4
You may automate the restore procedure upon reboot by installing an extra iptables package that handles the loading of stored rules. Use the following command to do this.
sudo apt-get install iptables-persistent
After installation, the first setup will prompt you to preserve the current IPv4 and IPv6 rules; choose Yes, and press Enter for both.
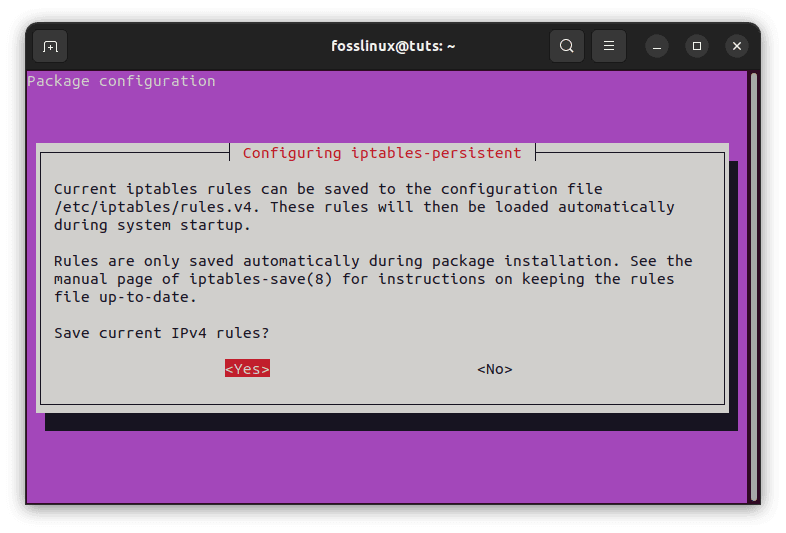
Install and configure iptables-persistent
If you modify your iptables rules, remember to save them using the same command as before. The iptables-persistent command searches /etc/iptables for the files rules.v4 and rules.v6.
These are only a handful of the basic commands available with iptables, which are capable of much more. Continue reading to learn about other choices for more sophisticated control over iptable rules.
Advanced rule configuration
The rules are read in the appropriate order; they are stated on each chain according to fundamental firewall behavior. Therefore you must place the rules in the correct order. New rules are appended at the end of the list. You can add additional rules to a specified location in the list by using the iptables -I index> -command, where index> is the order number in which the rule should be inserted. Use the following command to determine the index number to input.
sudo iptables -L --line-numbers
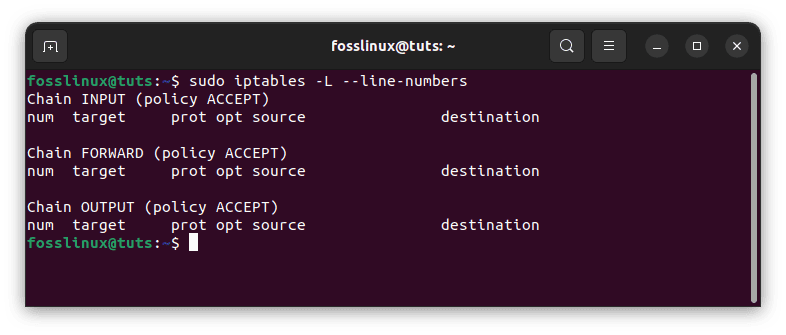
Determine the index number to input
The number at the start of each rule line indicates where you are in the chain. Use a specific current rule’s index number to put a new one above it. For example, to add a new rule to the top of the chain, execute the following command with index number 1.
sudo iptables -I INPUT 1 -p tcp --dport 80 -j ACCEPT
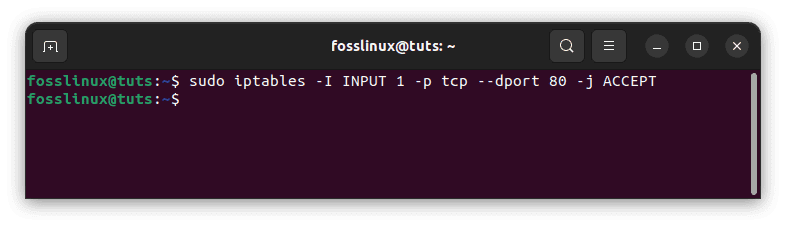
Add new rule
To remove an existing rule from a chain, use the delete command with the -D argument. The index numbers above are the most straightforward approach to picking the delete rule. Use this command, for example, to remove the second rule from the input chain.
sudo iptables -D INPUT 2
Note: If your input does not match the indexes you have, you will receive an error denoting “Index of deletion too big”
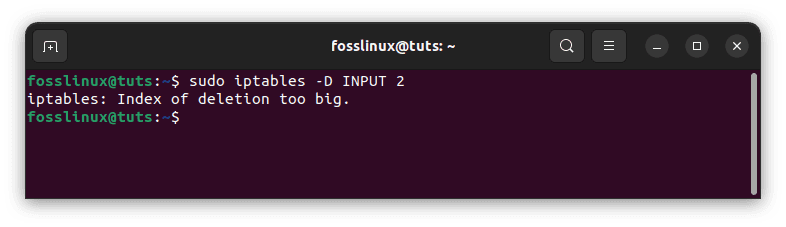
Out of deletion range
Using the -F -parameter, you may flush all rules in a specific chain or even the whole iptables. This is handy if you feel iptables are interfering with your network traffic or want to start setting from scratch.
Note: Before flushing, any chain, ensure the default rule is set to ACCEPT.
sudo iptables -P INPUT ACCEPT
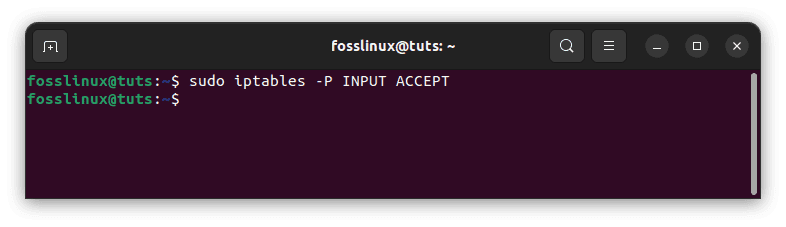
Confirm the default rule is set to accept
Following that, you can proceed with clearing additional rules. Before flushing the table, save the rules to a file in case you need to restore the configuration later.
# Clear input chain

sudo iptables -F INPUT

# Flush the entire iptables

sudo iptables -F

Clean input chain and flash entire iptables
Your server may be exposed to assaults if the iptables are flushed. Therefore, safeguard your system using an alternative technique like temporarily deactivating iptables.
Accept Other Required Connections
We told iptables to keep any existing connections open and to allow new connections connected to those connections. However, we need to define specific ground rules for accepting new connections that do not satisfy those criteria.
We especially want to keep two ports available. We want to preserve our SSH port open (we’ll assume in this article that it’s the standard port 22. Modify your value here if you’ve altered it in your SSH settings). We’ll also presume that this PC runs a web server on standard port 80. You do not need to add that rule if this is not true for you.
These are the two lines we’ll need to add these rules:
sudo iptables -A INPUT -p tcp --dport 22 -j ACCEPT

sudo iptables -A INPUT -p tcp --dport 80 -j ACCEPT
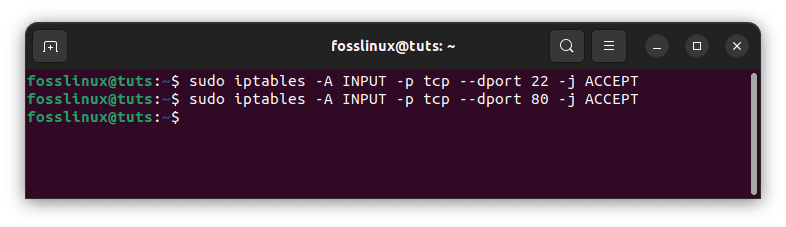
Add rules to keep ports available
As you can see, these are comparable to our first rule, although possibly more straightforward. The new options are as follows:
- -p tcp: If the protocol is TCP, this option matches packets. Most apps will employ this connection-based protocol since it enables reliable communication.
- -dport: If the -p tcp flag is used, this option is accessible. It adds a criterion for the matching packet to match the destination port. The first restriction applies to TCP packets meant for port 22, while the second applies to TCP traffic destined for port 80.
We need one more accept rule to guarantee that our server functions appropriately. Services on a computer frequently connect via sending network packets to one another. They do this by employing a loopback device, redirecting traffic to themselves rather than to other computers.
So, if one service wishes to interact with another service listening for connections on port 4555, it can send a packet to the loopback device’s port 4555. We want this sort of activity to be permitted since it is required for many applications to function correctly.
The rule that must be added is as follows:
sudo iptables -I INPUT 1 -i lo -j ACCEPT
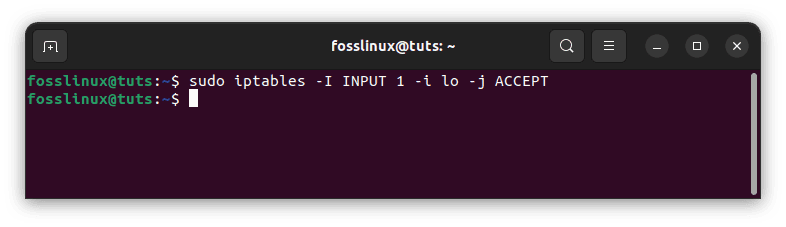
Interact with another service
This appears to be different from our previous instructions. Let us go through what it does:
- -I INPUT 1: The -I option instructs iptables to insert a rule. This differs from the -A flag, which adds a rule at the end. The -I flag accepts a chain and the rule location where the new rule should be inserted.
In this situation, we’re making this the first rule in the INPUT chain. The remainder of the regulations will be lowered as a result. This should be at the top since it is essential and should not be changed by future regulations.
- -i lo: This rule component matches if the interface used by the packet is the “lo” interface. The loopback device is sometimes known as the “lo” interface. This indicates that every packet communicating across that interface (packets created on our server, for our server) should be allowed.
The -S option should be used to see our current regulations. This is due to the -L flag omitting some information, such as the interface to a linked rule, which is a vital aspect of the rule we just added:
sudo iptables -S
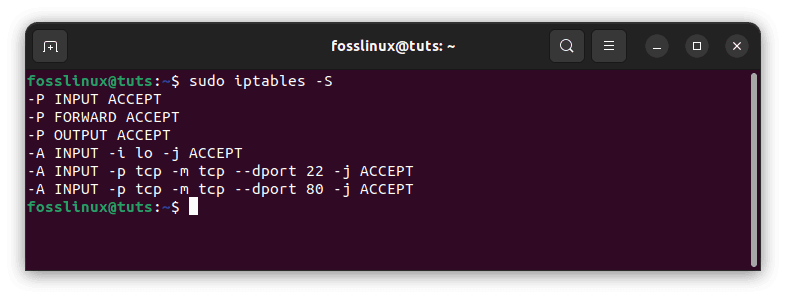
See current regulations
Saving Iptables configuration
The rules you add to iptables are temporary by default. This implies that your iptables rules will be removed when you restart your server.
This benefits some users since it allows them to re-enter the server if they unintentionally lock themselves out. However, most users will want a means to automatically store and load the rules they’ve generated when the server boots up.
There are other methods to accomplish this, but the simplest is to use the iptables-persistent package. This is available via Ubuntu’s default repositories:
sudo apt-get update

sudo apt-get install iptables-persistent
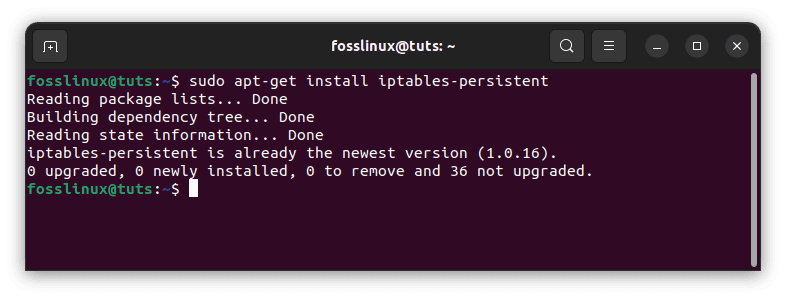
Install iptables-persistent
You will be prompted during the installation if you want to save your current rules to be automatically loaded. If you are satisfied with your current setup (and have demonstrated your ability to generate independent SSH connections), you may choose to save your existing rules.
It will also ask if you want to keep the IPv6 rules you have set up. These are configured using ip6tables, a different tool that regulates the flow of IPv6 packets similarly.
When the installation is finished, a new service named iptables-persistent will be created and configured to run at boot. When the server is started, this service will load your rules and apply them.
Saving Updates
If you ever think of updating your firewall and want the changes to be durable, you must save your iptables rules.
This command will help save your firewall rules:
sudo invoke-rc.d iptables-persistent save
Conclusion
A system administrator can use iptables to create tables that contain chains of rules for packet processing. Each table corresponds to a specific type of packet processing. Packets are processed by traversing the rules in chains sequentially. Iptables can prevent unwanted traffic and malicious software from infiltrating the system. It is a popular firewall in the Linux ecosystem that interacts with the Linux kernel’s Netfilter framework. Most modern Linux systems include these tools pre-installed. You should now have a decent starting point for creating a firewall that meets your requirements. There are many different firewall tools, some of which may be easier to learn. But still, iptables are a valuable learning aid since they expose part of the underlying Netfilter structure and are available in many systems.