
Have you ever wished you could access your Ubuntu desktop or server from another location, such as your home or office? With remote access tools, you can easily and securely connect to your Ubuntu system from anywhere in the world. In this article, we will guide you through the process of setting up and using remote access on Ubuntu. We’ll cover various tools such as VNC, TeamViewer, SSH, and RDP and show you how to use them to control your Ubuntu system remotely.
Remote access is essential for several reasons:
Increased productivity: Remote access enables you to work from anywhere, making you more productive and efficient. You can access your work files, applications, and emails from home or on the go, saving you time and increasing productivity.
Accessibility: Remote access allows people with disabilities to access computers and work from home, increasing their accessibility and ability to participate in the workforce.
Cost savings: Remote access can help organizations save money on office space and equipment, as employees can work from home or remote locations.
Technical support: Remote access allows IT support personnel to remotely access and troubleshoot computers and devices, reducing the need for costly and time-consuming onsite visits.
Accessing your Ubuntu system remotely
Setting up remote access to your Ubuntu system requires configuration and setup, depending on your chosen method. There are multiple ways to access your Ubuntu system remotely. They include.
- SSH
- VNC
- Teamviewer
- RDP
Method 1: How to use SSH to connect to Ubuntu remotely
SSH is a network protocol that enables users to access a system remotely over a network. Although there are other alternative protocols, SSH stands out as it provides a secure connection.
Install SSH on Ubuntu
To use SSH to connect to a Ubuntu system remotely, you first need to install the SSH server on the Ubuntu system by following these steps:
1. Open the Terminal on your Ubuntu system. You can launch it from the applications menu or using the keyboard shortcut Ctrl + Alt + T.
2. Ensure your system is up-to-date by executing the command below.
sudo apt update
sudo apt upgrade
3. Install the SSH server using the command below.
sudo apt install openssh-server
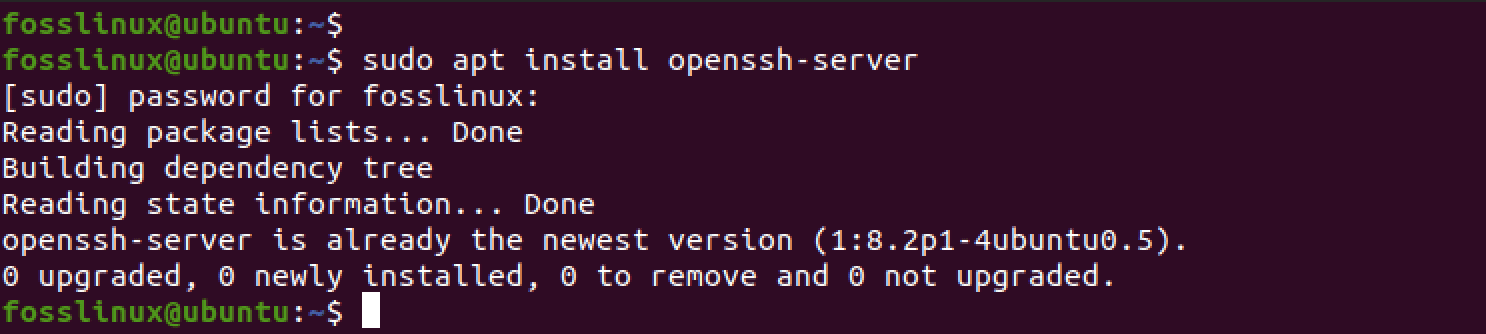
Install SSH server
4. After successfully installing the SSH server, you must start the SSH service using the command below.
sudo systemctl start ssh
You can verify whether the service is running by running the command below
sudo systemctl status ssh
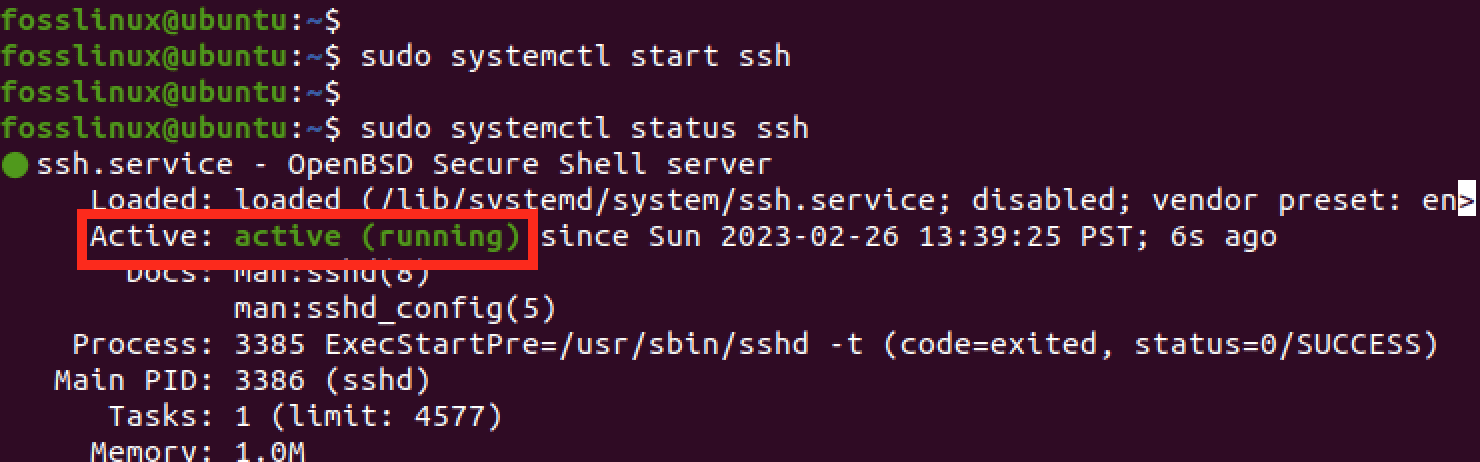
SSH service status
5. Now that the SSH server is installed and running on your Ubuntu system, you must get the IP address to access it from another PC. Use any of the commands below.
ip a s
or,
ifconfig
In our case, the IP is 192.168.1.27.
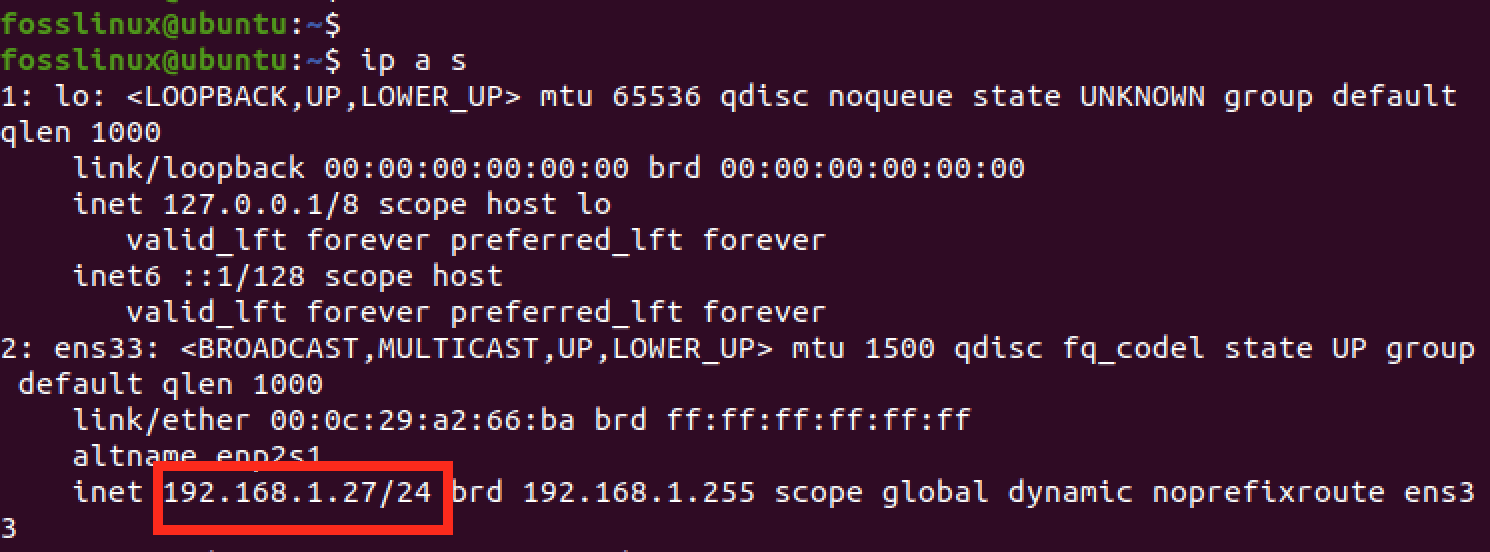
IP address
Connect to Ubuntu using SSH
Once the SSH server is installed, you can connect to your Ubuntu system from another computer via SSH by following these steps:
1. Open the Terminal on the computer you want to use to connect to your Ubuntu system. If you are on Windows, you can use an application like Putty.
2. Enter the command ssh username@ip_address in the Terminal, where “username” is the username you use to log in to your Ubuntu system, and “ip_address” is the IP address of your Ubuntu system.
ssh fosslinux@192.168.1.27
You will see a prompt to enter the password. Enter your Ubuntu system’s password.
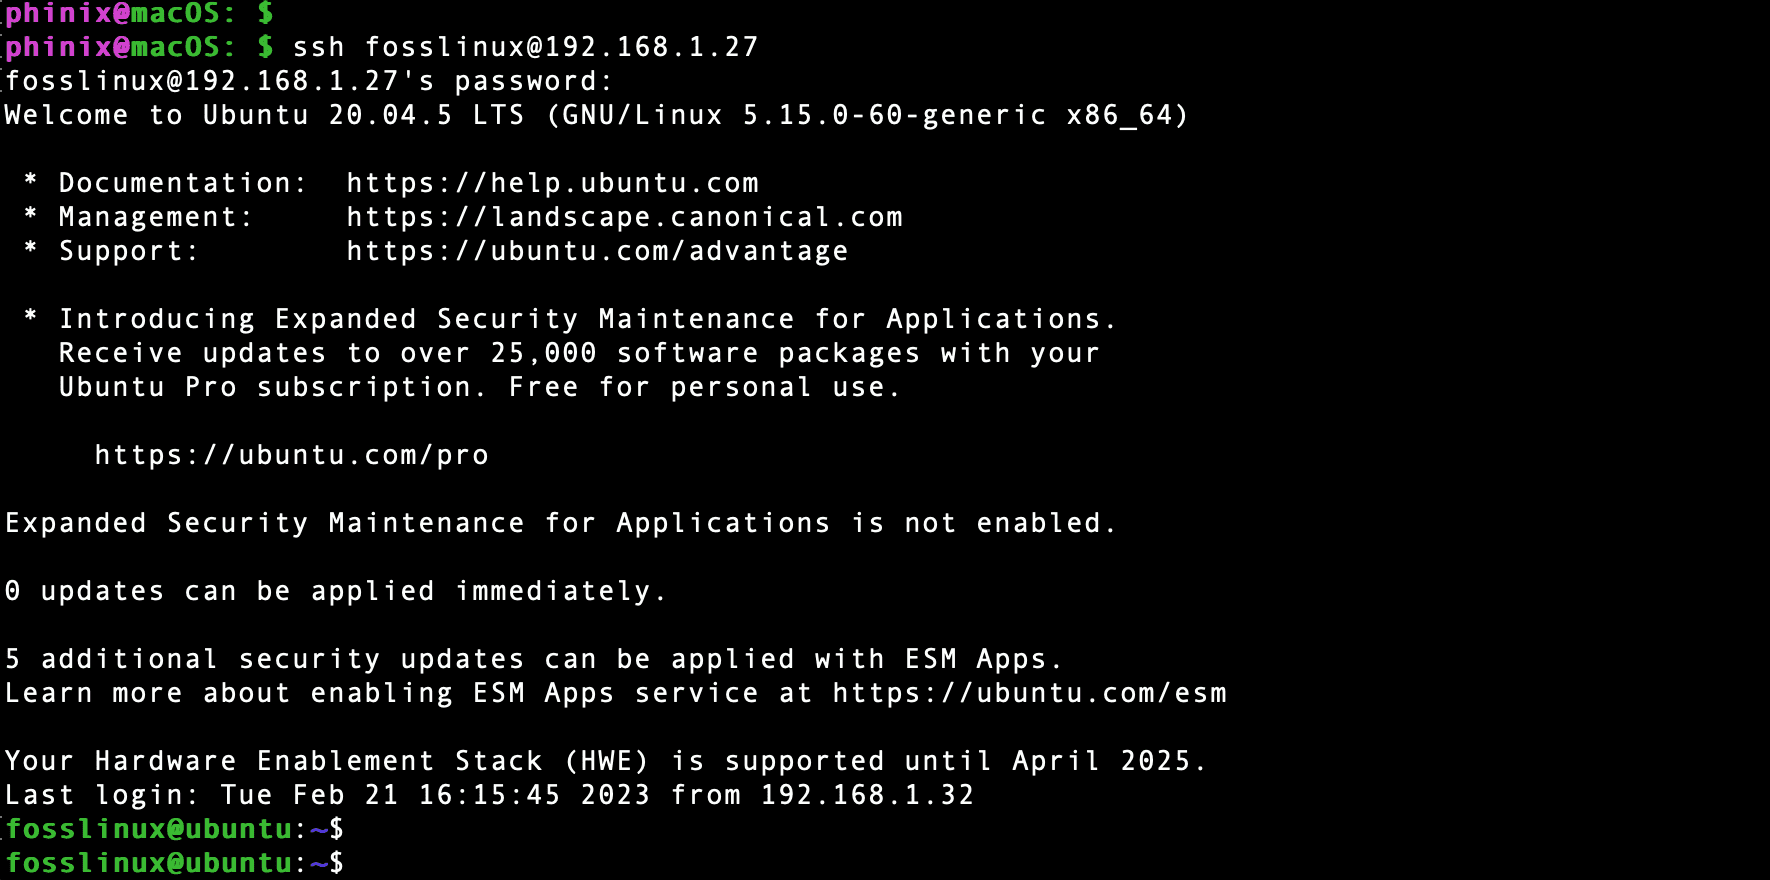
Connect to Ubuntu
You should now be connected to your Ubuntu system via SSH and can run commands on the command line.
Note: To connect to your Ubuntu system via SSH from outside your network, you may need to set up port forwarding on your router to allow SSH traffic to reach your Ubuntu system. Additionally, disabling SSH access for the root user and using SSH keys for authentication instead of passwords is recommended for added security.
Method 2: How to use VNC to connect to Ubuntu remotely
VNC (Virtual Network Computing) is a desktop-sharing system allowing you to remotely access and control your Ubuntu system’s graphical user interface (GUI). Ubuntu includes a built-in VNC server, accessed through the default Screen Sharing feature in the Settings app.
Enable Screen Sharing on Ubuntu
To use VNC to connect to a Ubuntu system remotely, you first need to enable the Screen Sharing feature on the Ubuntu system by following these steps:
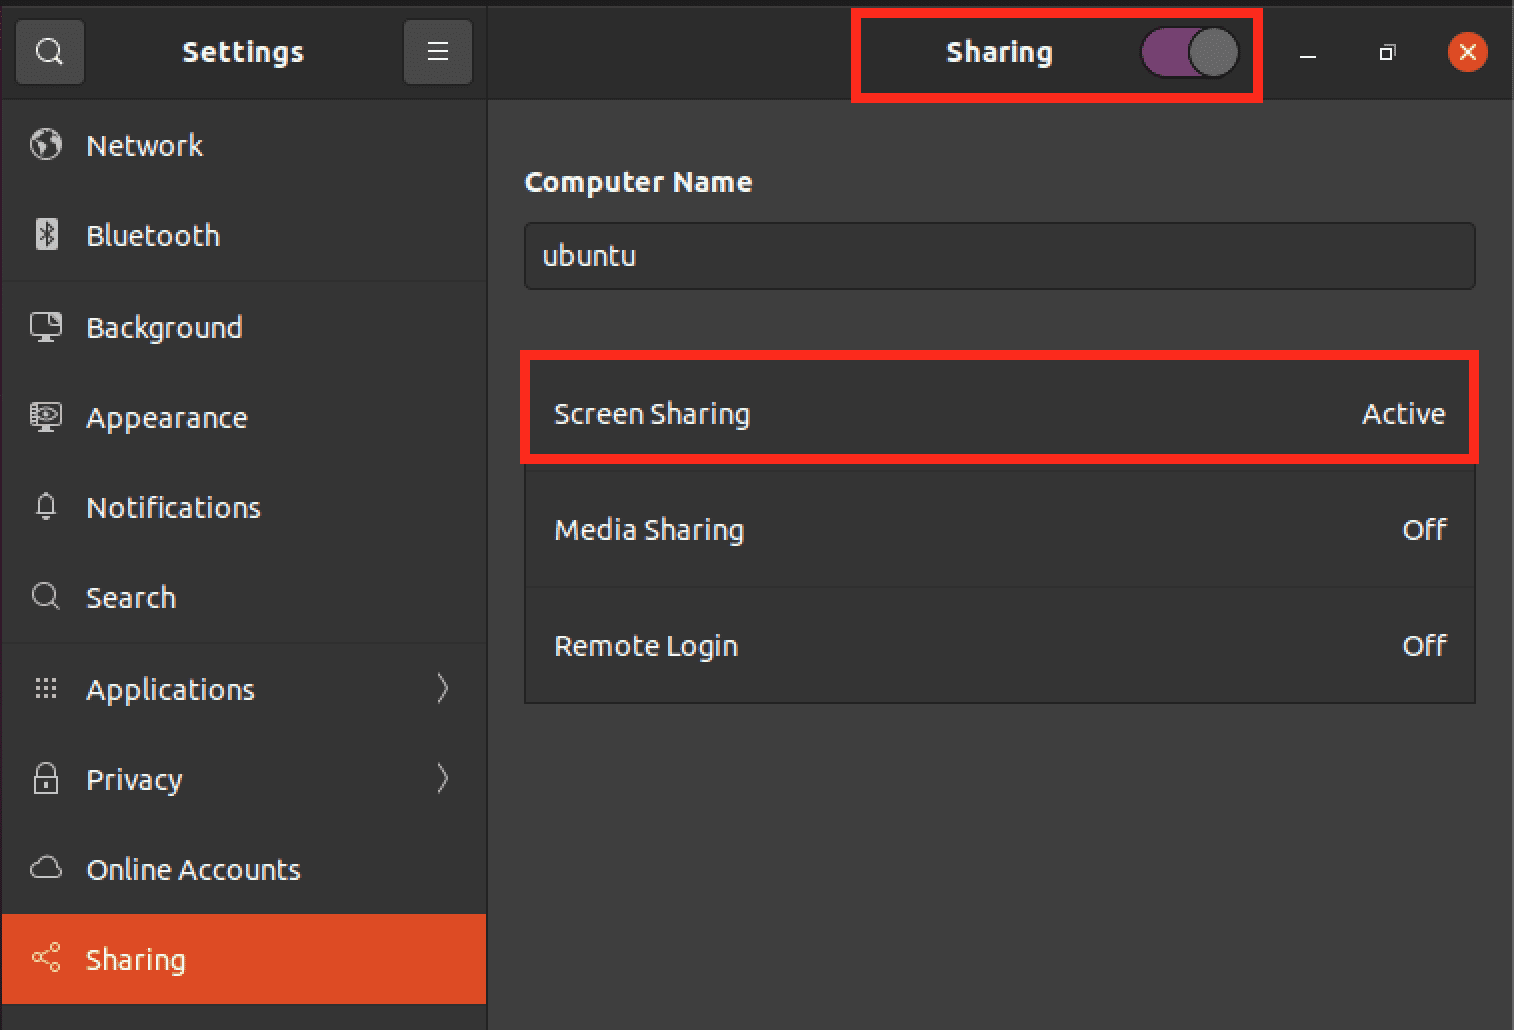
1. Click on the “Activities” button in the top left corner of the Ubuntu desktop and search for “Settings.” Hit “Enter” to launch the application.
2. In the Settings app, click “Sharing” in the sidebar.
3. Toggle the switch at the top of the window to “ON.” Next, toggle the button next to the “Screen Sharing” option to “ON.”
Screen sharing
Tip: If you don’t see the “Screen Sharing” option in the Settings app, you may need to install the Vino VNC server on your Ubuntu system by running the following command in the Terminal:
sudo apt install vino
Once Vino is installed, you can enable the Screen Sharing feature and connect to your Ubuntu system remotely using a VNC client.
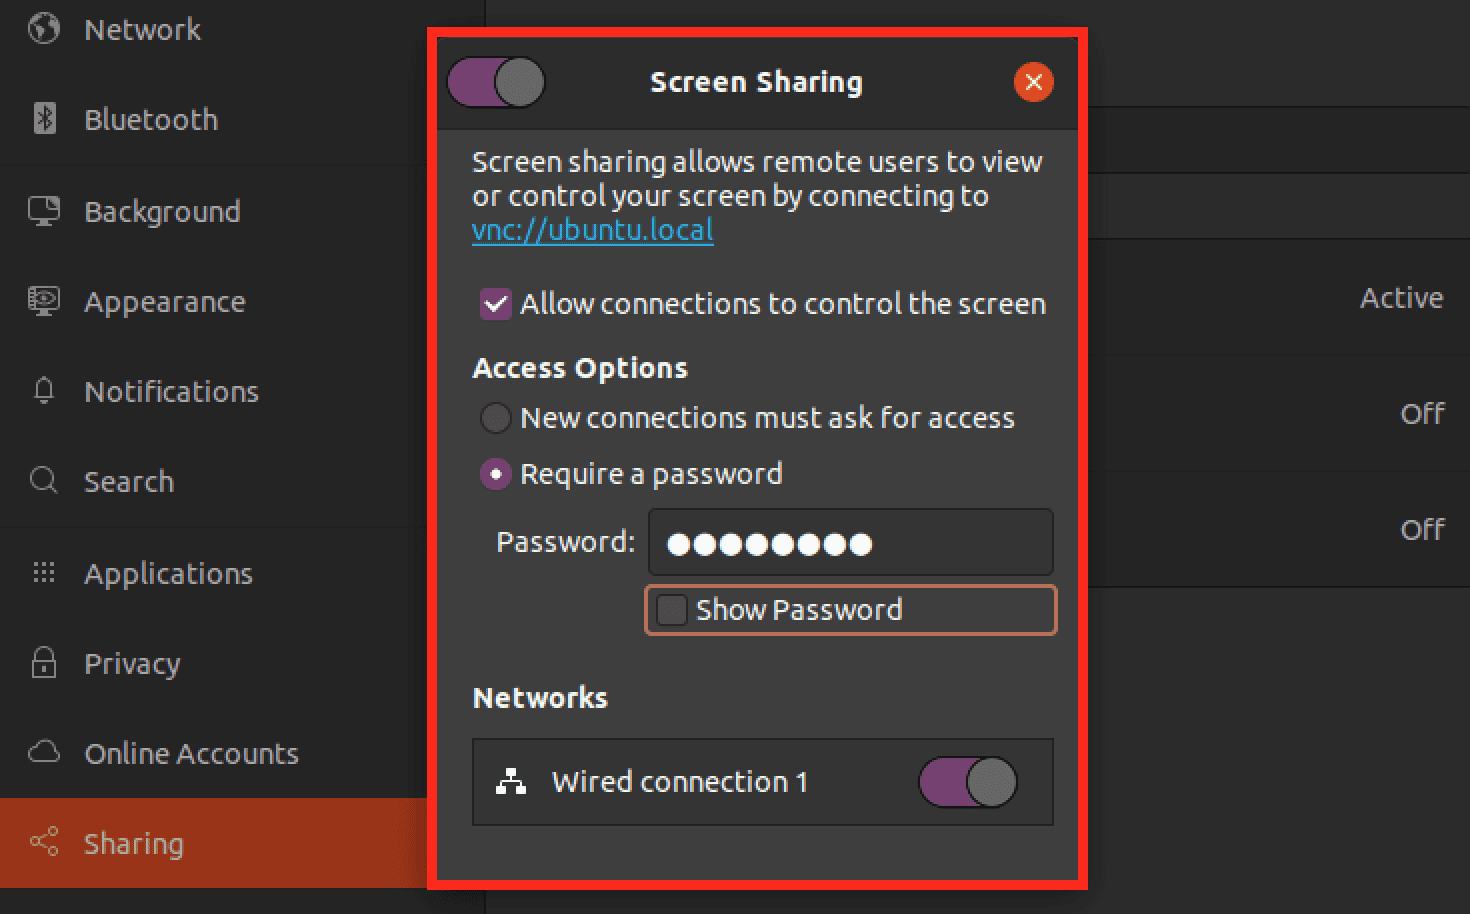
When you click the “Screen Sharing” option, you will see a pop-up window with several security configurations.
- Allow connections to control the screen: This option, when enabled, will allow users who access your Ubuntu system to have control over the screen. That means they can open and close applications.
- Access options: If connecting from an untrusted network, choose “Require a password” and set a strong password.
- Under the “Network Options,” enable screen sharing on the network connection of your choice. For this post, we ate using a wired connection.
Enable Screen Sharing
Use a VNC client to access Ubuntu remotely
Once the Screen Sharing feature is enabled, you can connect to your Ubuntu system from another computer via VNC by following these steps:
1. Install a VNC client on the computer you want to use to connect to your Ubuntu systems, such as RealVNC or TigerVNC.
2. Open the VNC client and enter your Ubuntu system’s IP address in the connection settings.
3. If prompted, enter the password you set for the Screen Sharing feature on your Ubuntu system.
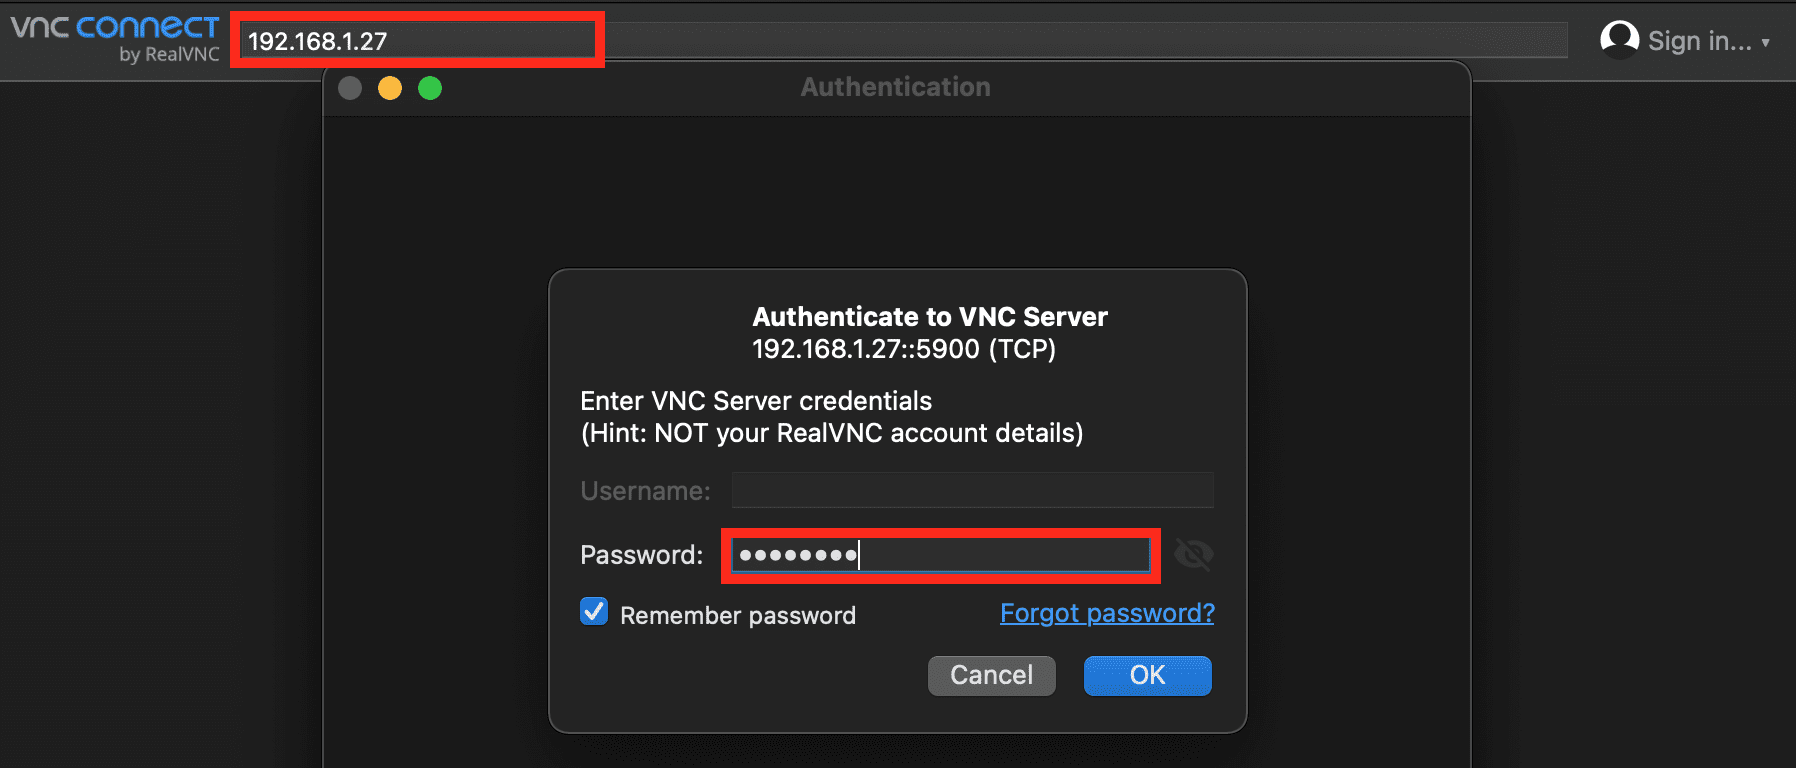
RealVNC client
You should now be connected to your Ubuntu system via VNC and can control the graphical user interface.
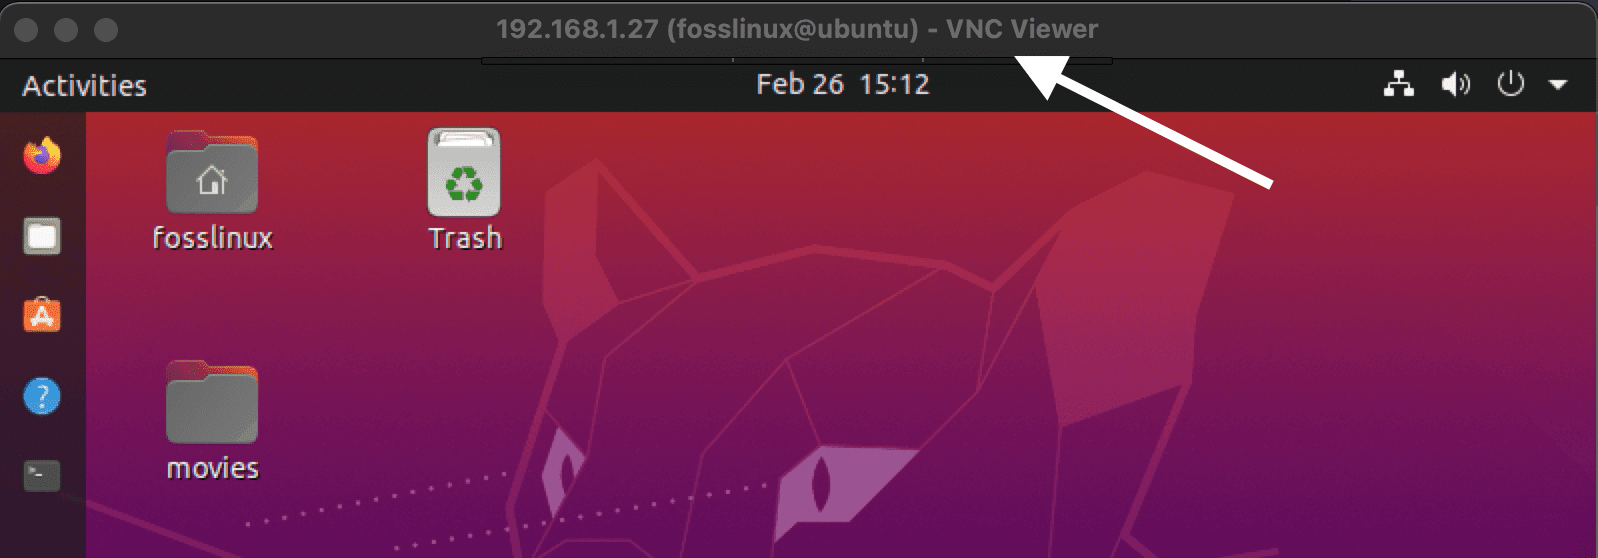
Ubuntu Desktop
Note: For added security, using a VNC client that supports encryption and only allows VNC connections from trusted networks or via a VPN is recommended. Additionally, it’s essential to ensure that your Ubuntu system’s firewall is configured correctly to allow VNC traffic.
Method 3: How to use Teamviewer to connect to Ubuntu remotely
TeamViewer is a proprietary remote desktop software that allows you to access and control a remote Ubuntu system from another computer or mobile device. It uses encryption and authentication methods to ensure secure and reliable remote access.
Install Teamviewer on Ubuntu
To use TeamViewer to connect to a Ubuntu system remotely, you first need to install the TeamViewer client on the computer or device you want to use to connect to your Ubuntu system.
1. Visit the official Teamviewer website, and under Linux packages, download the DEB package for Ubuntu/Debian. You must select the appropriate package for your platform, as they have 32-bit and 64-bit.
2. After downloading the package, launch the Terminal and use the commands below to install Teamviewer.
sudo chmod +x teamviewer.deb #Make the package executable
sudo apt install ./teamviewer.deb
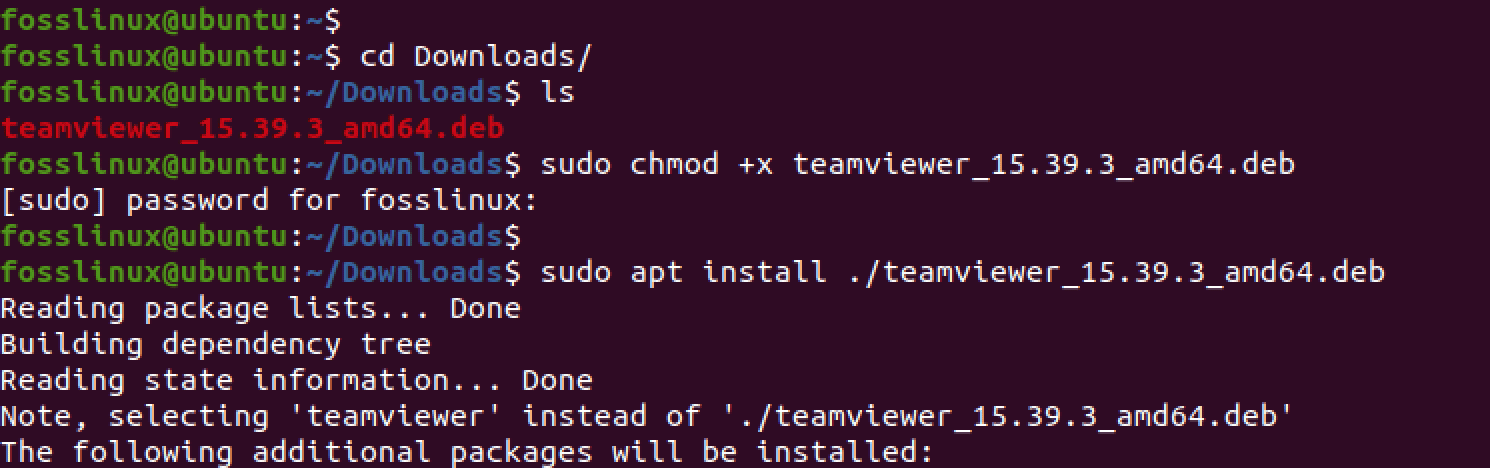
Install Teamviewer
3. Launch the app from the applications menu after successfully installing Teamviewer.
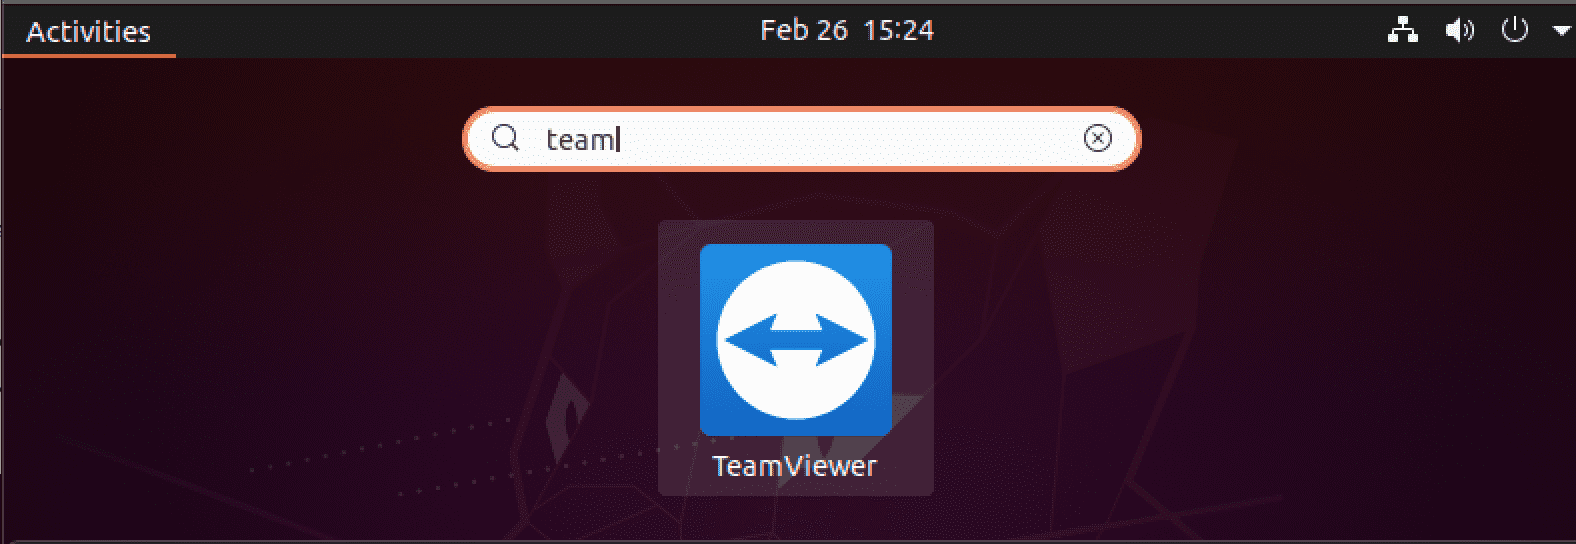
Launch Teamviewer
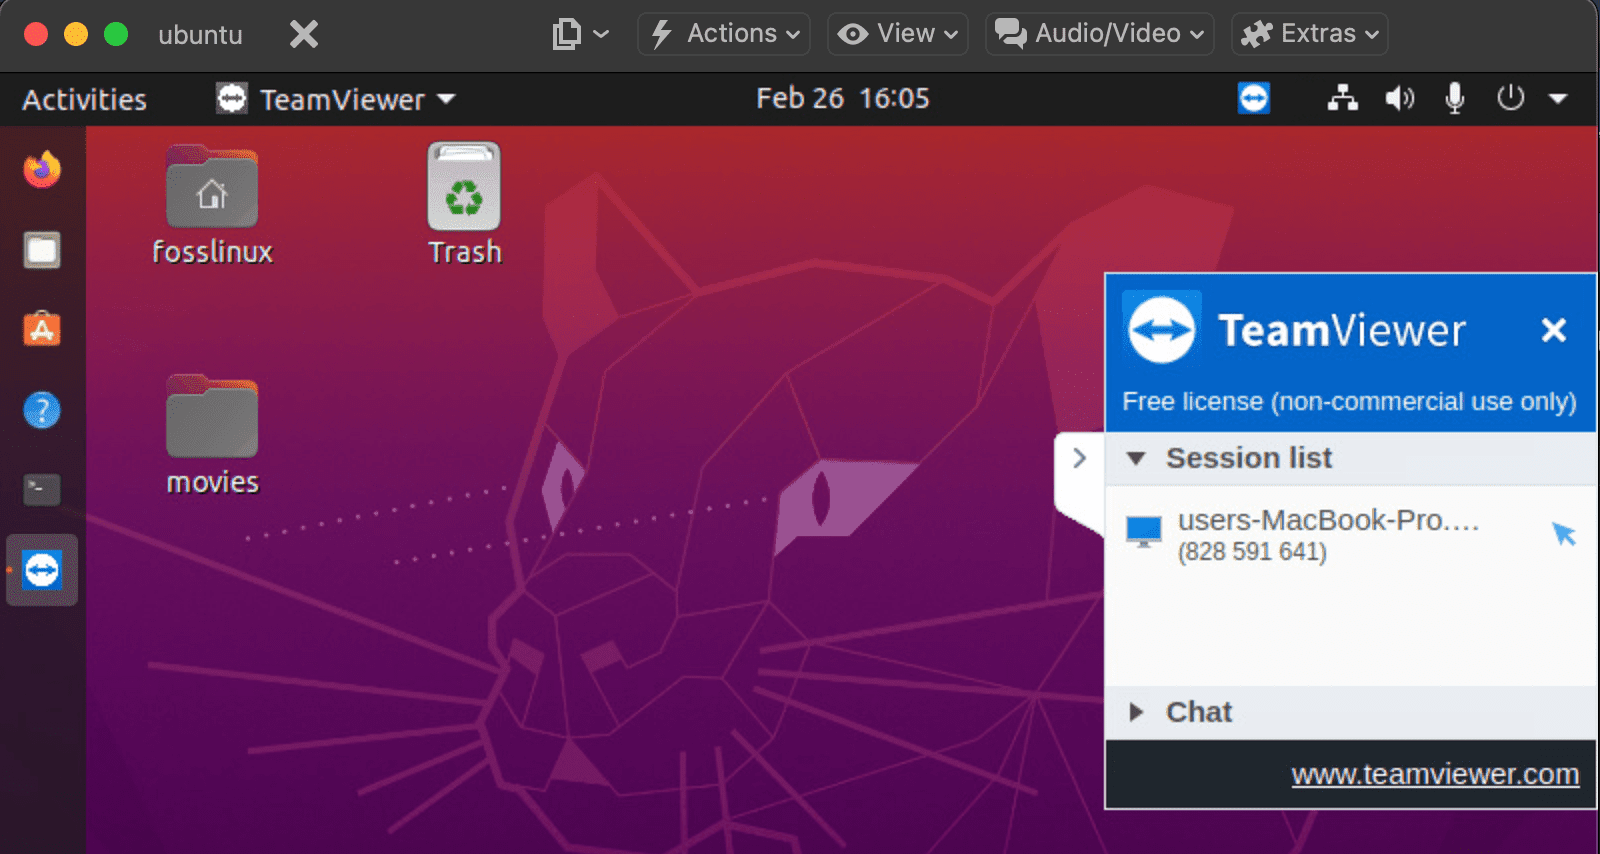
4. After opening Teamviewer, you will see a prompt to “accept the EULA.” Click “Accept” to continue. On the next window, you will see “Your ID” and “Password.” You need to note these two values as you will need them to access your Ubuntu system remotely from another PC.
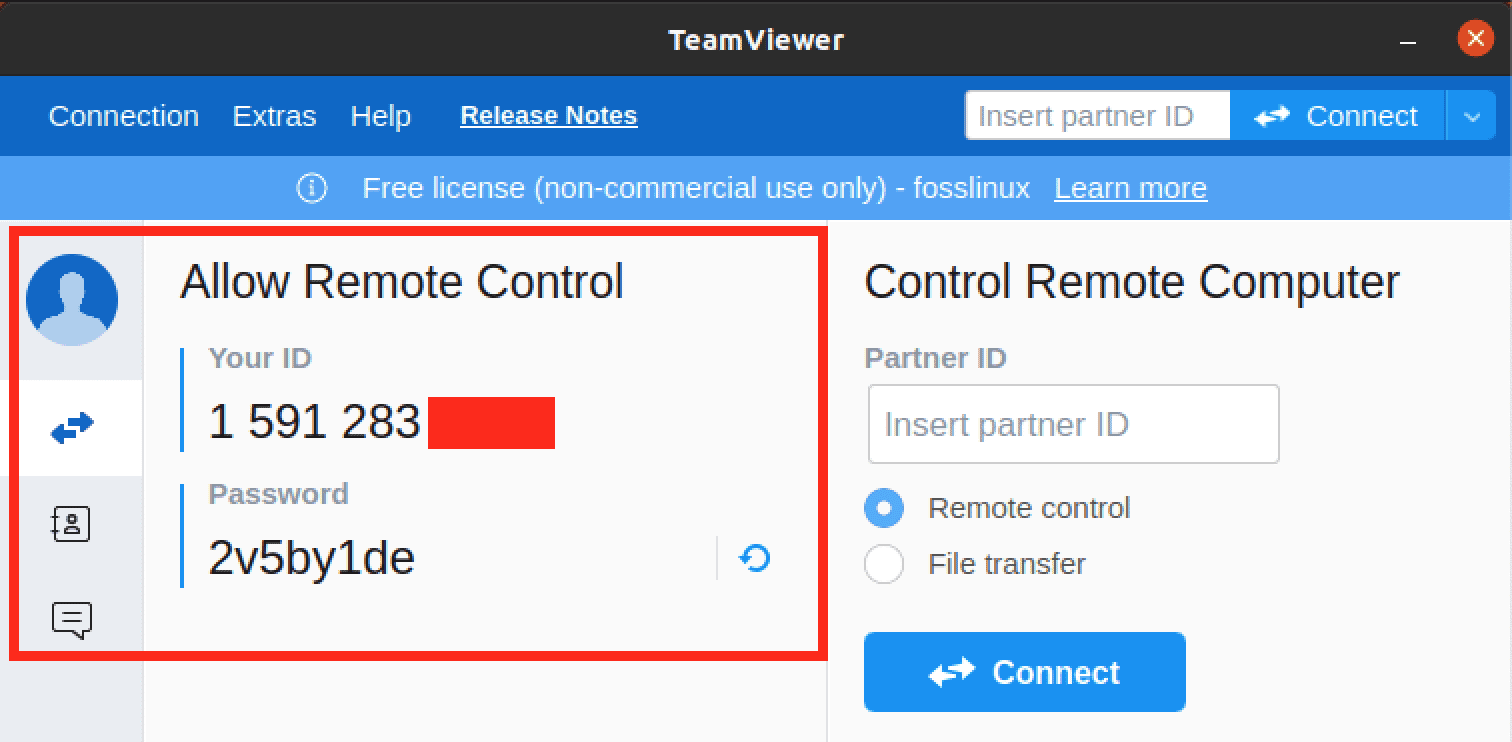
Teamviewer main window
Access Ubuntu remotely using Teamviewer
Now that you have Teamviewer running on your Ubuntu system, the steps below will guide you on connecting to a Ubuntu system remotely using TeamViewer.
1. Install the TeamViewer client on the computer you want to use to connect to your Ubuntu system. In our case, we want to access Ubuntu from macOS. Therefore, we will download Teamviewer for macOS.
2. Open the TeamViewer client and enter the ID for your Ubuntu system in the “Partner ID.”
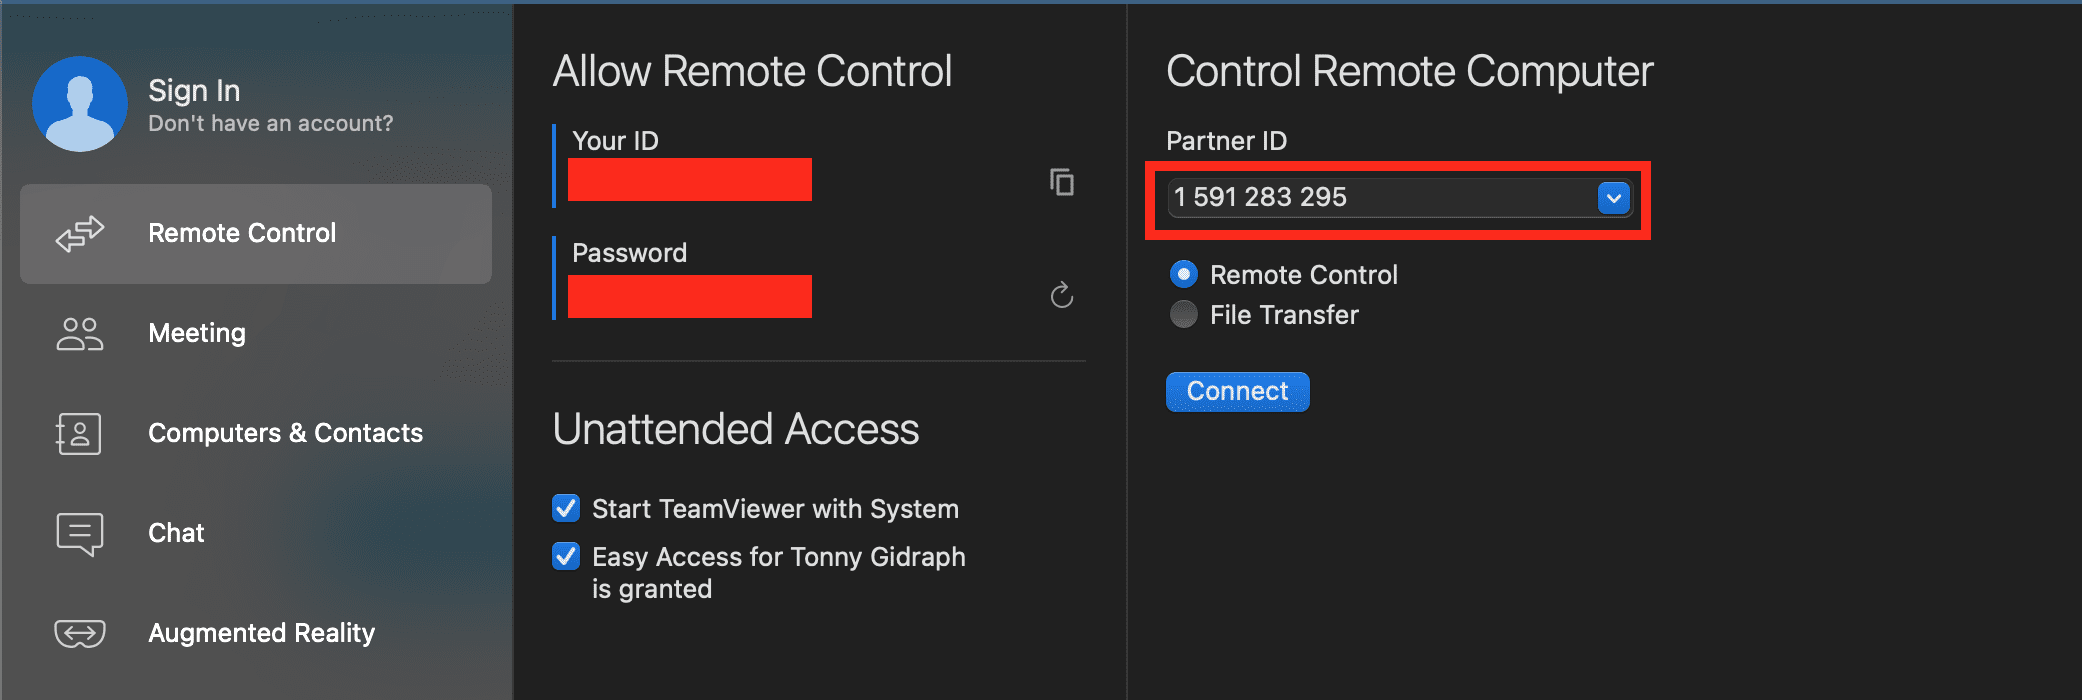
Connect Teamviewer
3. Click the “Connect to partner” button to establish a connection to your Ubuntu system. You will see a prompt to enter the password for your Ubuntu system.
4. Once the connection is established, you should be able to see and control your Ubuntu system’s desktop in a window on your computer.
Teamviewer Remote Access
Note: While TeamViewer offers a convenient and user-friendly remote access solution, proprietary software relies on a third-party server to establish connections, which may raise security and privacy concerns. Additionally, if you’re connecting to your Ubuntu system from a computer behind a firewall or router, you may need to configure port forwarding or enable UPnP (Universal Plug and Play) on your router to allow incoming connections to your Ubuntu system.
Method 4: How to use RDP to connect to Ubuntu remotely
RDP will be the best option to access Ubuntu from your Windows PC. Follow the steps below to use RDP to connect to Ubuntu remotely.
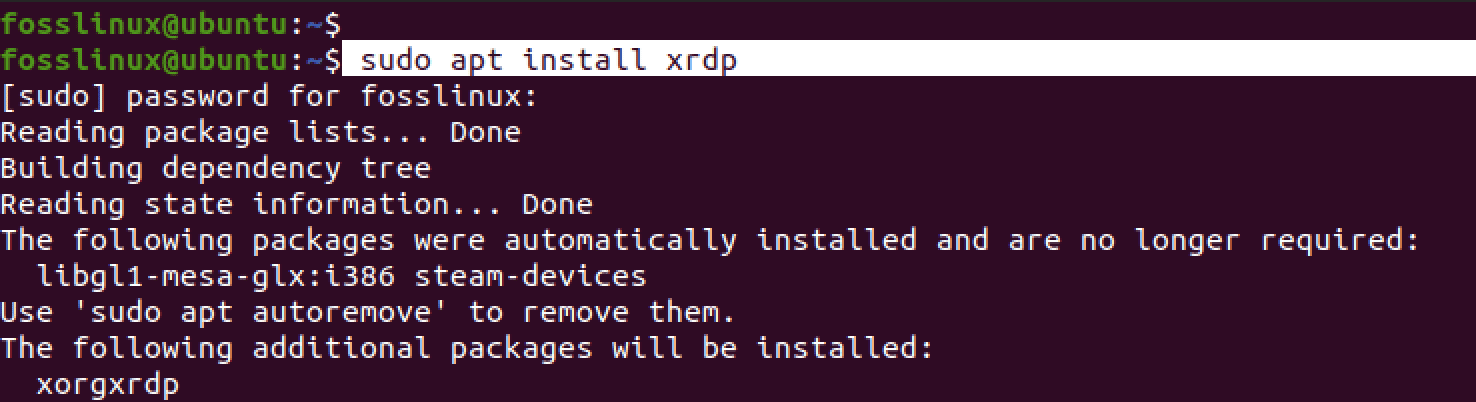
1. Use the commands below to install XRDP.
sudo apt-get update
sudo apt-get install xrdp
XRDP is an open-source implementation of the RDP protocol that allows you to connect to a Linux desktop from a Windows machine.
Install xrdp
2. Configure the Firewall:
If a firewall is enabled on your Ubuntu machine, you must allow incoming connections on port 3389, the default port used by XRDP. You can do this by running the following command in the terminal:
sudo ufw allow 3389/tcp

Configure firewall
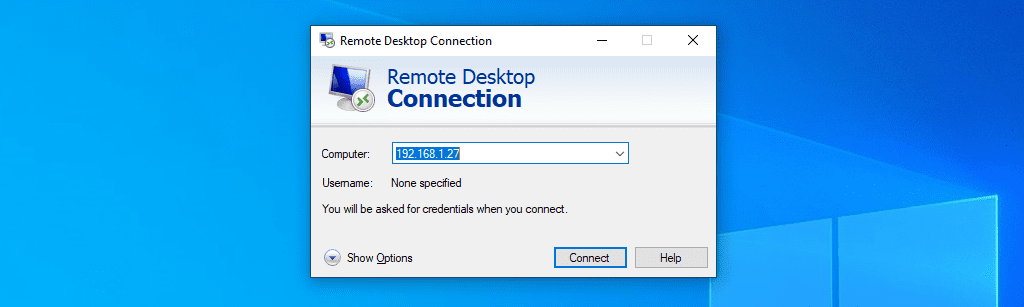
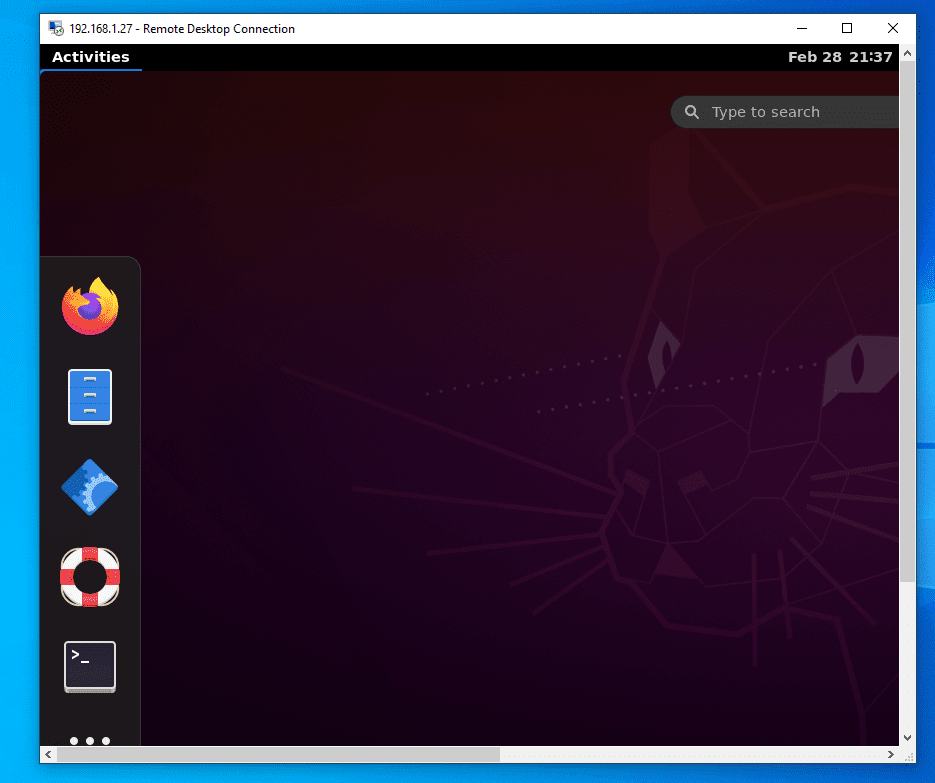
3. Connect to the Ubuntu machine from a Windows machine:
On your Windows machine, open the Remote Desktop Connection application and enter the IP address of the Ubuntu machine in the Computer field. Then, click Connect.
Enter IP
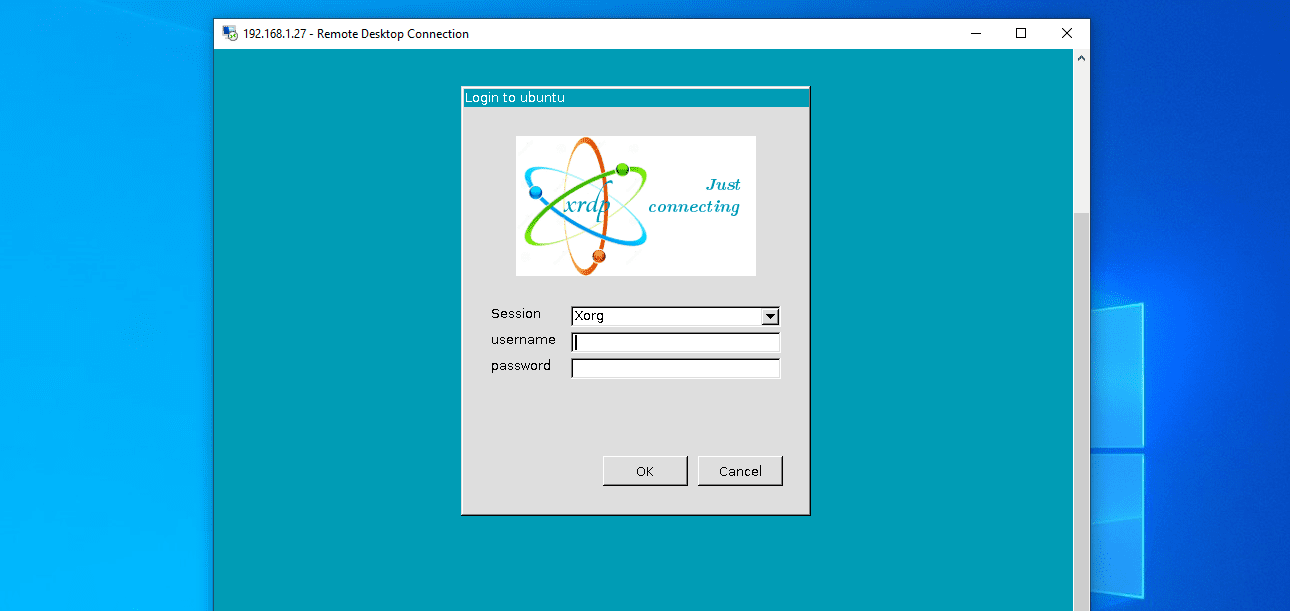
You will see a prompt to enter your credentials on the next screen. Enter your Ubuntu machine’s username and password to log in.
That’s it! You should now be able to use your Ubuntu machine remotely from your Windows machine via RDP.
Ubuntu on RDP
Solution: Windows 10 Remote Desktop connects with a black screen
If you get a black screen after logging on to RDP, you must log out on the main Ubuntu PC.
Black screen RDP
A new session is created by default when you connect to a remote Ubuntu machine with RDP. However, if you are already logged in to the same account on the Ubuntu PC, the new session may not be able to start correctly, resulting in a black screen or other issues.
Logging out of the Ubuntu PC allows the new session created by the RDP connection to start fresh and should resolve the issue you were experiencing.
Note: It’s a good practice to use a separate user account for remote connections to avoid conflicts like this.
Conclusion
Remote access is essential for many Ubuntu users who need to access their systems from different locations. With the tools and methods discussed in this article, users can easily set up and configure remote access on their Ubuntu systems. Whether it’s through the built-in SSH server, the VNC desktop sharing, or Teamviewer,
Ubuntu provides a range of options to suit different use cases and preferences. However, it’s essential to ensure the security of the remote access setup by using strong passwords, encrypted connections, and other security measures. By following best practices and staying up-to-date with the latest security patches, Ubuntu users can enjoy the benefits of remote access without compromising their system’s integrity or privacy.