
Whether you are a system administrator or a regular user, you might need to access/manage remote systems once in a while. Maybe you are configuring a server hosted on the cloud or just accessing a friend’s computer remotely. There are three main methods that you can use to access/ manage systems remotely. They include:
- SSH
- RDP
- VNC
However, instead of setting up these protocols individually, you can use Remmina. Remmina is an open-source remote desktop client software for Linux-based operating systems. It lets users connect to and control remote desktops or servers from their local machine.
Remmina
Remmina provides a graphical interface that supports various remote desktop protocols, including RDP (Remote Desktop Protocol), VNC (Virtual Network Computing), and SSH (Secure Shell). In this post, you will learn how to install Remmina on your Ubuntu system and also how you can use it to connect to other remote systems using any of the supported protocols (RDP, VNC, SSH).
Installing Remmina on Ubuntu
There are different methods that you can use to install Remmina on Ubuntu. These include:
- Install the Remmina Snap package
- Install Remmina via Ubuntu PPA
- Install Remmina via Flatpak
This post will look at all the ways listed above.
Method 1: Install the Remmina via Snap
This is one of the easiest ways to install Remmina on Ubuntu. Snap is a distribution-independent package format and software deployment system designed to work across different Linux distributions, providing a consistent experience for both developers and users. Snap packages are containerized software packages that include all the dependencies and libraries required to run an application.
One way of installing the Remmina Snap package is by launching the Ubuntu Software Center and searching for “Remmina,” as shown below. In our case, we already have Remmina installed.
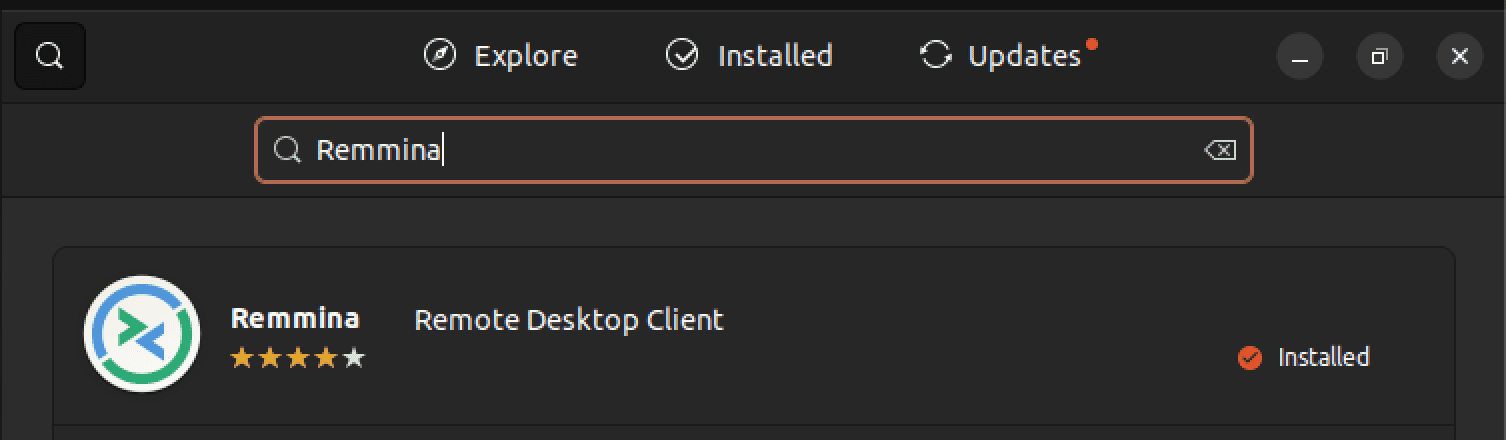
Install Remmina via Ubuntu Software Center
Alternatively, you can install the Remmina Snap package from the command line. Follow the steps below.
- Install the Snapd package manager, which is required to work with Snap packages:
sudo apt install snapd
- Once Snapd is installed, you can install Remmina using the Snap package. Run the following command to install Remmina:
sudo snap install remmina
This will download and install Remmina on your Ubuntu system. The process might take some time, depending on your internet connection.
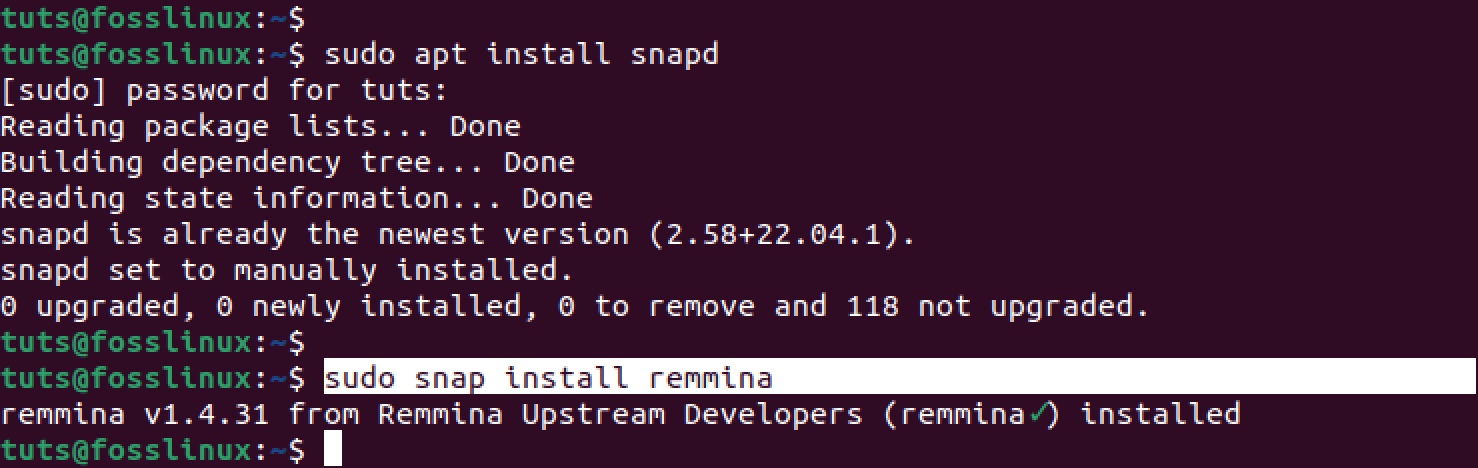
Install Remmina with Snap
- Once done, execute the commands below to enable advanced features on Remmina.
sudo snap connect remmina:avahi-observe :avahi-observe
sudo snap connect remmina:cups-control :cups-control
sudo snap connect remmina:mount-observe :mount-observe
sudo snap connect remmina:password-manager-service :password-manager-service
After a successful installation, you can launch Remmina from the applications menu.
Remmina
Method 2: Install Remmina via Ubuntu PPA
Another way of installing Remmina on Ubuntu is via Ubuntu PPA. This is a good option for people who prefer a tighter system integration and trust in the Ubuntu community’s packaging efforts. Follow the steps below.
- The first step is to add the Remmina PPA repository to your system. Execute the command below.
sudo add-apt-repository ppa:remmina-ppa-team/remmina-next
- Once done, run the command below to refresh the local package lists on your system.
sudo apt update
- Finally, install Remmina using the command below.
sudo apt-get install remmina
This command will fetch the necessary packages and dependencies and prompt you to confirm the installation. Type ‘Y’ and press Enter to proceed with the installation.
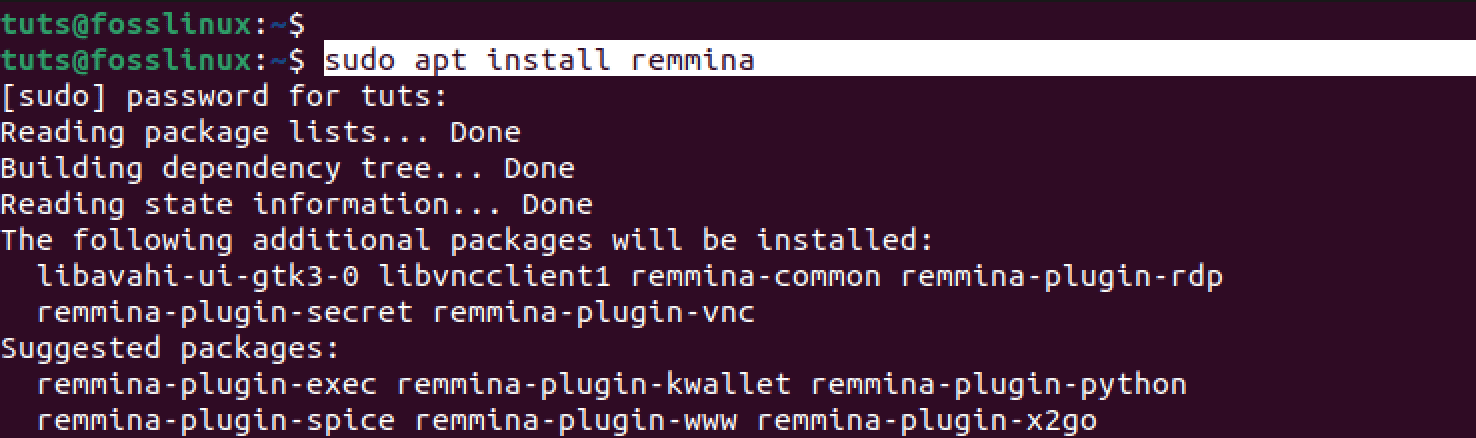
Install Remmina with APT
After a successful installation, you can launch Remmina from the applications menu, as shown below.
Remmina
Method 3: Install Remmina via Flatpak
Flatpak is another distribution-independent package format that aims to simplify the distribution, installation, and app usage on Linux systems. Follow the steps below to install Remmina on Ubuntu with Flatpak.
- Launch the Terminal from the applications menu and use the command below to install Flatak and its dependencies if you don’t have it yet.
sudo apt install flatpak
- Use the command below to add the Flathub repository, a central repository for Flatpak packages.
flatpak remote-add --if-not-exists flathub https://flathub.org/repo/flathub.flatpakrepo
- After successfully adding the Flathub repository, you can install Remmina using the command below.
flatpak install flathub org.remmina.Remmina

Install Remmina with Flatpak
After a successful installation, you can launch Remmina from the applications menu, as shown below.
Remmina
Using Remmina on Ubuntu
You can connect to your remote hosts now that you have Remmina installed on your system. As of writing this post, Remmina supports three protocols that you can use to access other systems remotely. These include:
- SSH
- VNC
- RDP
Let’s look at each method listed above.
SSH: Using Remmina to connect to remote hosts via SSH
SSH (Secure Shell) is a widely used network protocol that allows secure remote access and control of a computer or server over an unsecured network. It is widely supported across multiple platforms, making it a versatile protocol for secure remote access. It is available for various operating systems, including Linux, Windows, macOS, BSD, and Unix-like Systems. It is also available for mobile platforms, such as iOS and Android, through dedicated SSH client apps on their respective app stores.
Let’s dive into the steps to using SSH to connect to a remote host using Remmina.
1. Click on the “Add new connection” button at the Remmina window’s top-left. See the image below.
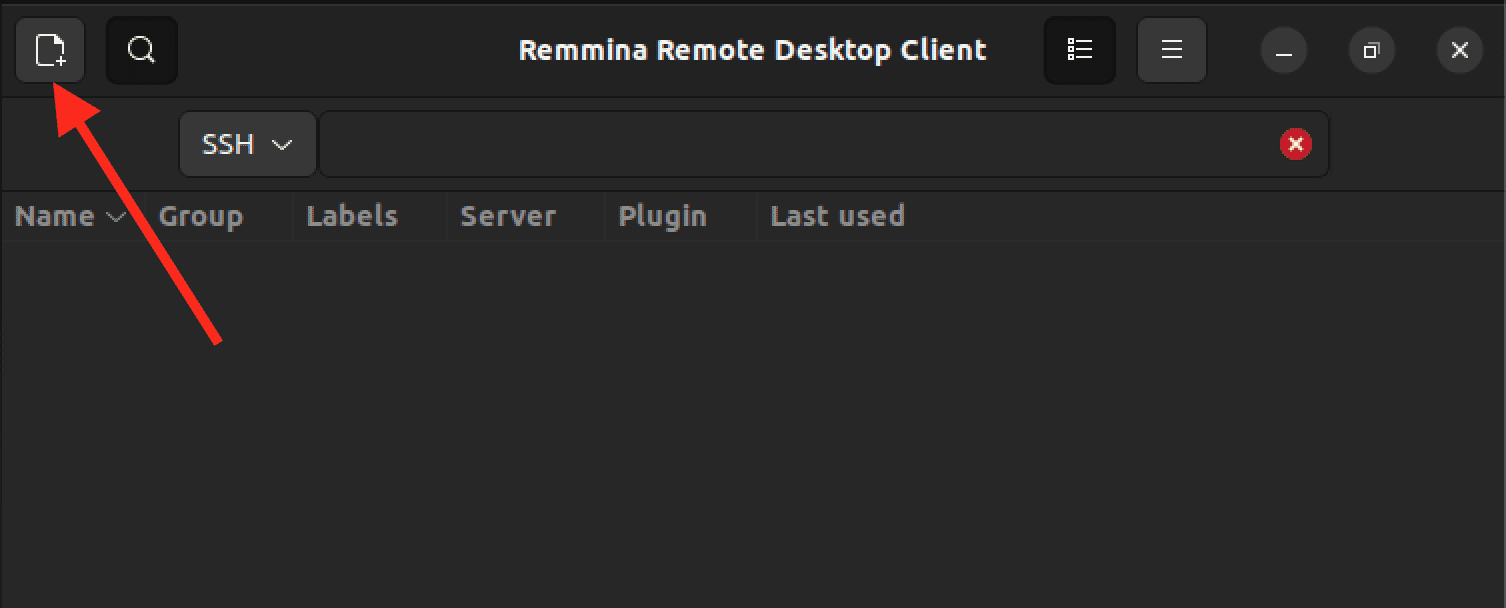
Add new connection
That action will open a new window for setting up a new connection profile. You can decide to fill or leave various fields like Name, Group, Labels, etc. However, there are three fields that you need to fill.
2. The first field is “Protocol.” This is a dropdown menu where you can select the protocol you want to use for the connection. In this case, choose SSH.
3. The other field is “Server.” Here, you will need to enter the IP address of the remote host if you want to establish a connection.
4. Another crucial field is the “Authentication Type.” There is a dropdown menu with all available SSH authentication options for connecting to a remote host. Let’s discuss them one by one.
- Password: This option allows you to authenticate using a password. You must enter the password associated with the SSH user account on the remote host.
- SSH Identity file: This option enables authentication using an SSH key pair. You can specify the path to the private key file (.pem, .ppk, or other formats) associated with the SSH user account.
- SSH agent: This option utilizes an SSH agent, a program that securely stores private keys and provides them to the SSH client when requested. The agent manages the key authentication process, eliminating the need to manually enter passwords or specify key files.
- Public key (automatic): This option allows Remmina to attempt authentication automatically using available public key files associated with the SSH user account. It tries to match the public key with the corresponding private key stored on the local machine or provided by an SSH agent.
- Kerberos (GSSAPI): This option enables authentication using the Kerberos network authentication protocol. Kerberos provides secure authentication for client-server applications over untrusted networks.
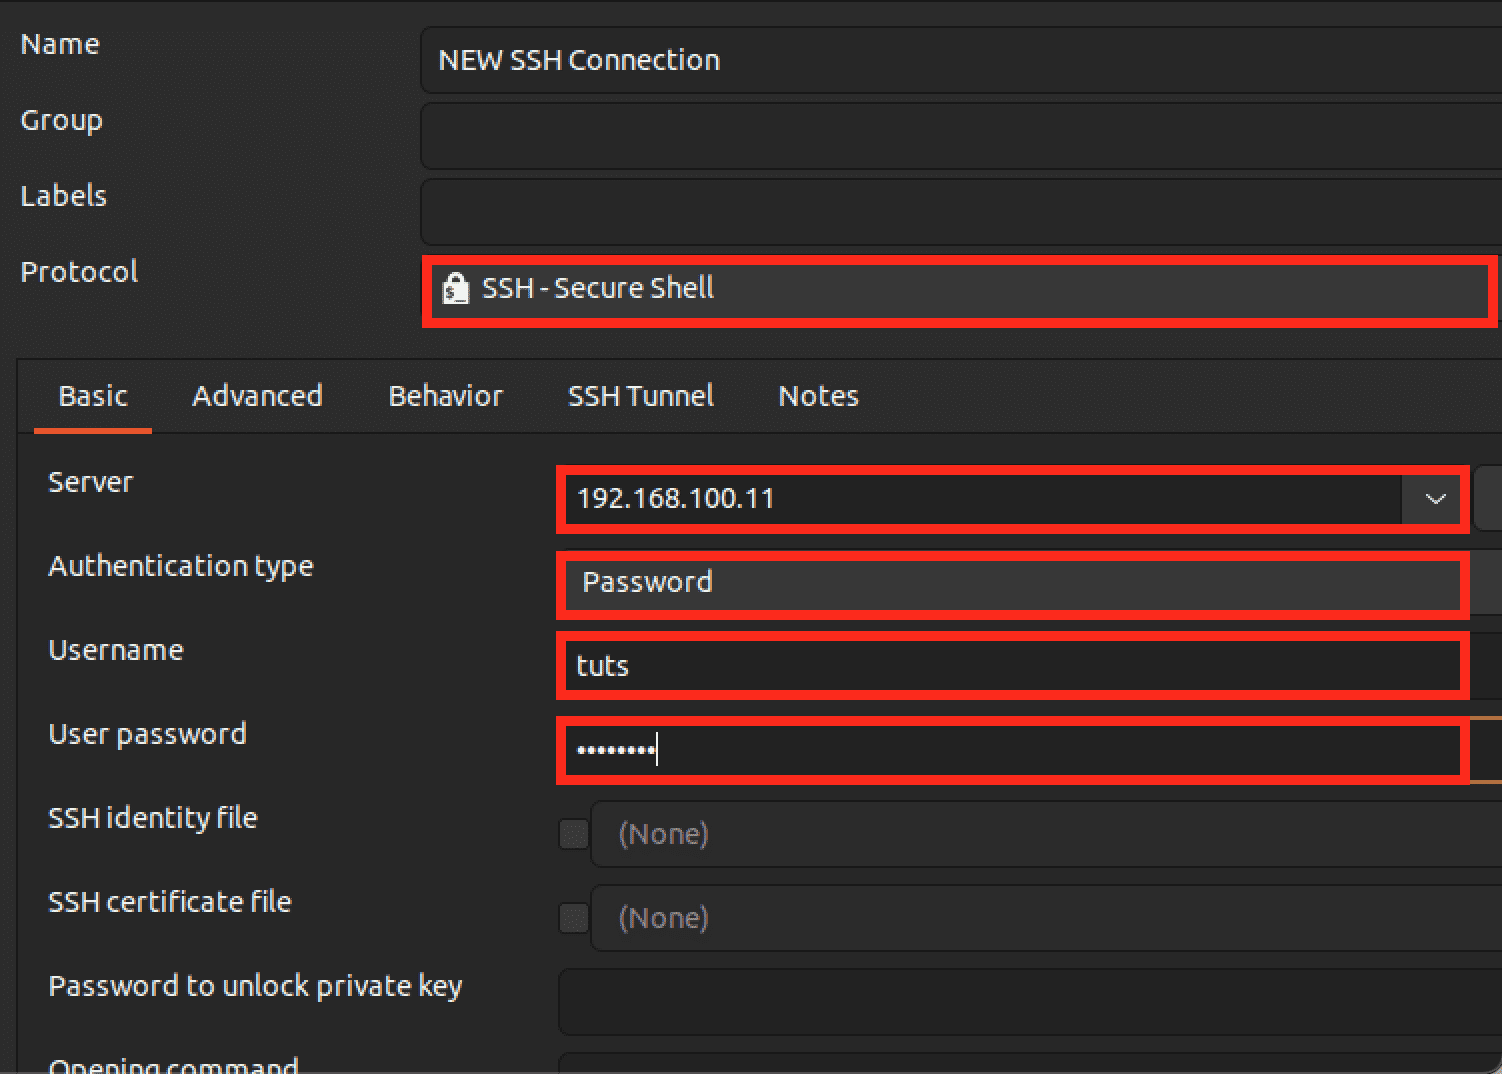
Setup SSH connection
Tip: For this post, we will use the “Password” option, one of the commonly used SSH authentication methods.
5. Next, you must enter the remote host’s “Username” and “User Password”.
6. After filling in all the required fields, click the “Connect” button at the bottom of the window to start a new SSH session. Alternatively, you can also use the “Connect and Save” option to save your authentication details, and you wouldn’t need to enter them again.
This will open a new window with a terminal prompt of the remote machine, as shown in the image below.

SSH session
RDP: Using Remmina to connect to remote hosts via RDP
RDP (Remote Desktop Protocol) is a proprietary protocol developed by Microsoft that enables remote access and control of a Windows-based computer or server from a remote device. RDP allows users to connect to a remote host and interact with its graphical user interface (GUI) as if they were physically present on the machine. It provides a secure and efficient way to remotely access and manage Windows systems, making it an essential tool for remote administration, technical support, and remote collaboration.
Now, let’s proceed with how to connect to a remote host using RDP in Remmina.
1. Click on the “Add new connection” button at the Remmina window’s top-left. See the image below.
Add new connection
That will open a new window for setting up a new connection profile. There are various fields that you need to fill.
2. The first field is “Protocol.” This is a dropdown menu where you can select the protocol you want to use for the connection. In this case, choose RDP – Remote Desktop Protocol.
3. The other field is “Server.” Here, you will need to enter the IP address of the remote host if you want to establish a connection.
4. Next, you must enter the remote host’s “Username” and “User Password”.
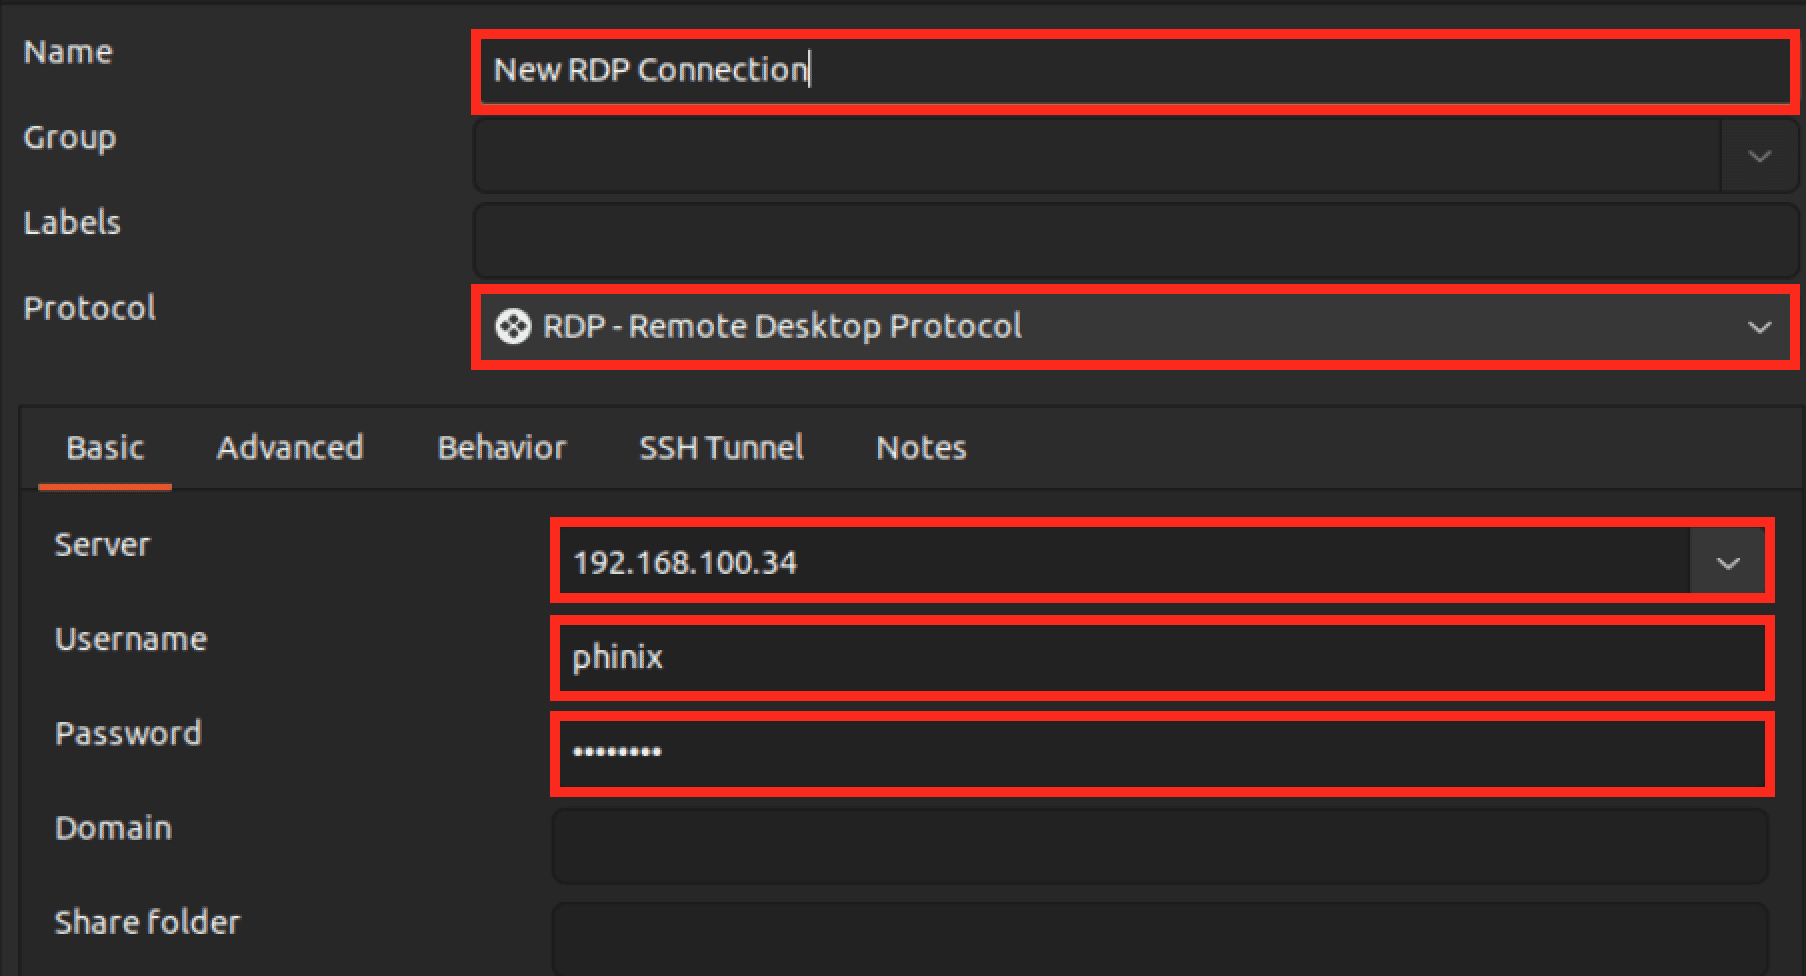
Setup RDP
5. After filling in all the required fields, click the “Connect” button at the bottom of the window to start a new RDP session.
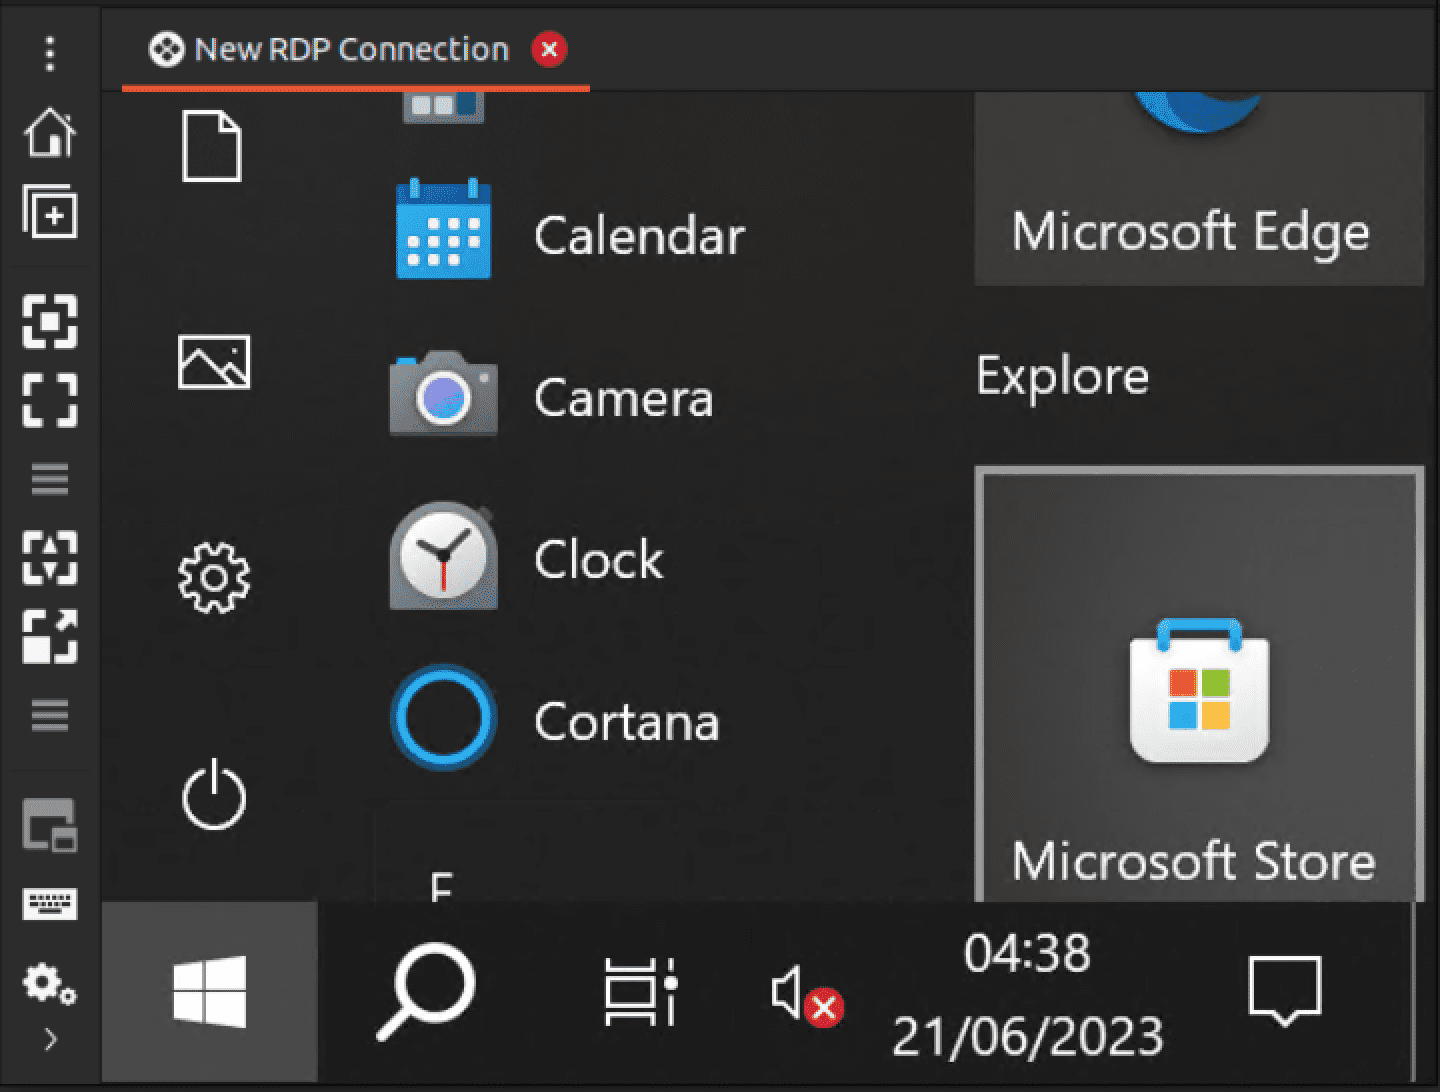
RDP session
VNC: Using Remmina to connect to remote hosts via VNC
VNC (Virtual Network Computing) is a remote desktop sharing protocol allowing users to remotely access and control another computer’s desktop environment. It provides a graphical interface for interacting with a remote system, allowing users to view and control the remote desktop as if sitting in front of it.
Let’s proceed with connecting to a remote host using VNC in Remmina.
1. Click on the “Add new connection” button at the Remmina window’s top-left. See the image below.
Add new connection
That will open a new window for setting up a new connection profile. There are various fields that you need to fill.
2. The first field is “Protocol.” This is a dropdown menu where you can select the protocol you want to use for the connection. Here you will see two VNC options.
- Remmina VNC plugin: This allows Remmina to act as a VNC client, enabling you to connect to a remote VNC server or host. If you want to connect to a remote VNC server using Remmina, you will select the “Remmina VNC plugin” option.
- Remmina VNC Listener plugin: This plugin enables Remmina to act as a VNC server, allowing other devices or clients to connect to your Remmina session as a VNC client. If you want to set up your computer as a VNC server to share your desktop with others, you will select the “Remmina VNC Listener plugin” option.
In this case, we will select the “Remmina VNC plugin” as the other PC is a VNC server.
3. The other field is “Server.” Here, you will need to enter the IP address of the remote host if you want to establish a connection.
4. Next, you must enter the remote host’s “Username” and “User Password”. Click the connect button at the bottom of the window when done.
After successful authentication, you should be connected to the remote host’s desktop. You can interact with the remote desktop as if you were physically present, using your mouse and keyboard.
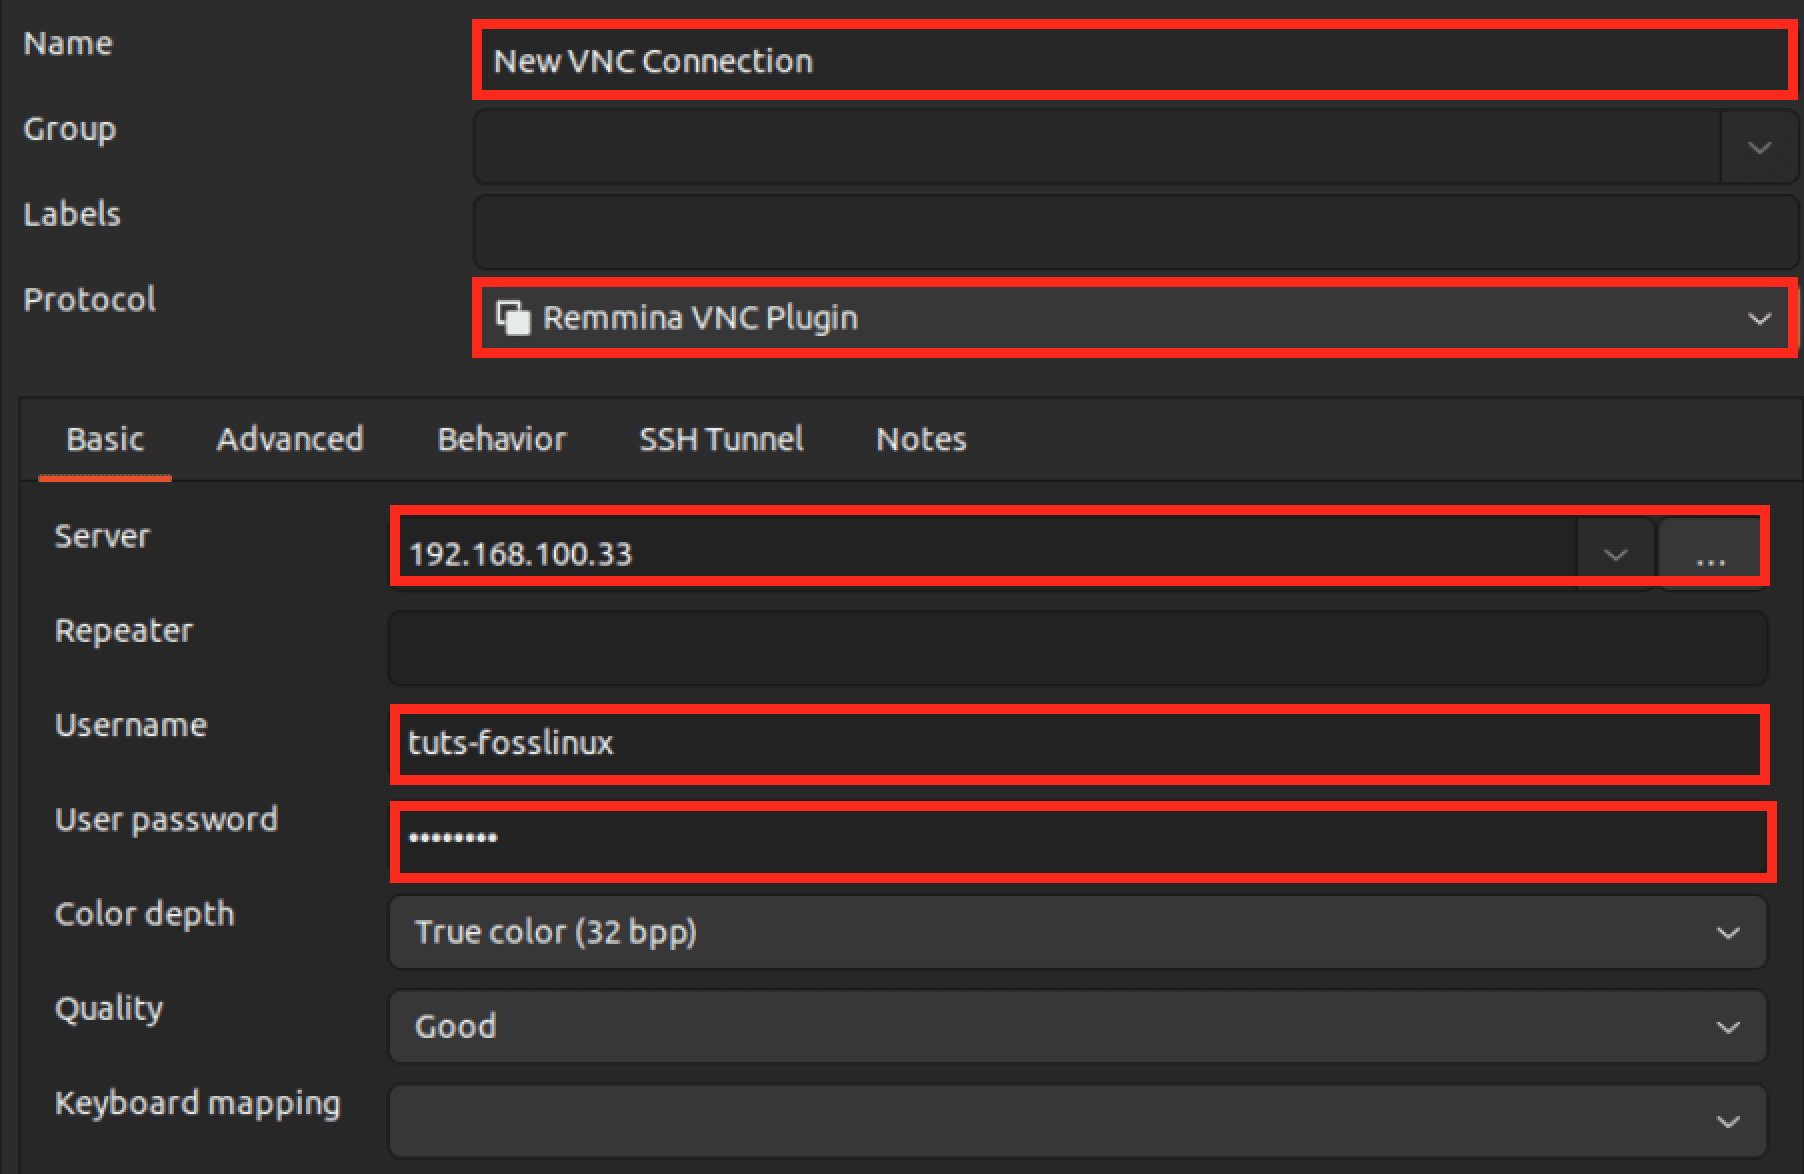
Setup VNC connection
Wrapping up
Remmina is a versatile and user-friendly remote desktop client for Ubuntu, allowing you to connect and manage remote systems effortlessly. With support for SSH, RDP, and VNC protocols, Remmina eliminates the need for separate applications and provides a unified solution for remote access. Following the installation procedures outlined in the article, you can quickly set up Remmina on your Ubuntu system and enhance your remote management capabilities.