
The kernel is the core element of any Linux-based OS that provides some mediation between the hardware and software of the computer system. That implies on any hardware device running with some software.
The kernel manages processes, filesystems, I/O disks, and much more. The kernel is the foundation on which all the different versions of Linux operate. It is also open-source software that anyone can compile, decompile, examine and modify code to their preference.
As tech advances, DevOps continue discovering patches and updates to the Linux kernel. These patches improve the security, append functionality, and even boost the speed at which the OS functions.
If you are running a Linux OS (like Ubuntu), it’s a great idea to always check and update the kernel regularly. But if you have no idea how to carry out the process, then you don’t need to worry since this post will, in detail, teach you how to do so. Linux kernel updates are released bit by bit, and it is best practice to keep your Linux kernel updated from time to time to have security fixes, bug fixes, and the latest functionality.
Installing the latest Linux Kernel in Ubuntu
Here are the methods to do so:
- First, upgrade the Linux kernel in Ubuntu using the terminal.
- Then, upgrade the Linux kernel in Ubuntu using Ukuu (a GUI tool).
Let us start!
Prerequisites
- A server running Ubuntu Linux.
- The update manager is usually built into Ubuntu (Optional).
- A user account with sudo privileges.
- The apt tools are usually built into Ubuntu.
- Access to the terminal.
Method 1: Upgrade the Linux kernel in Ubuntu using the terminal
Step 1: Check the currently installed kernel version
First, check the now set up kernel version using the following command:
uname -r

Check kernel version
The snapshot above shows that we have a kernel version 5.15.0-47. So, to get to the next section, we first need to ensure our apt database is up to date.
Step 2: Update the repositories
To update your PC repos, run the following command on the terminal:
sudo apt-get update

update system
This command ideally refreshes your local list of software, making a note of any newer revisions and updates. In the case of a more recent kernel release, the command will find it and highlight it for download and installation. Next, upgrade the local list.
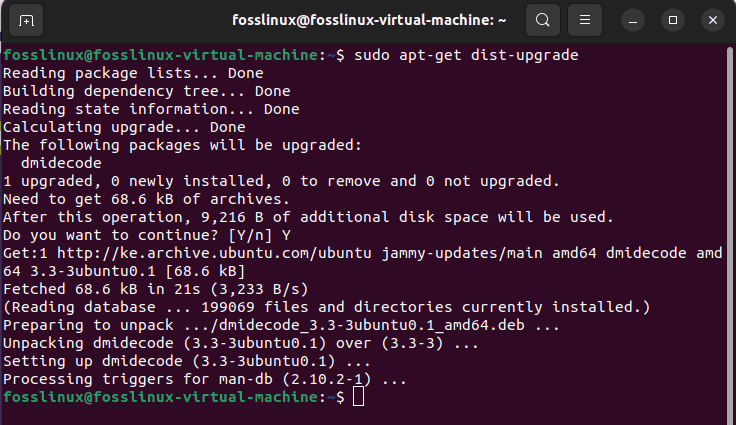
Step 3: Run the upgrade
While still on your console, type in the following command:
sudo apt-get dist-upgrade
dist upgrade
The “dist-upgrade” switch requests Ubuntu to handle any dependencies intelligently. If a specific software package is dependent on another software package to run, this command will ensure that the second package is upgraded before upgrading the first one.
Step 4: Download the Linux kernel Bash script
Now download the Linux kernel bash script and set up the latest kernel via this script. You can download it either from the console or from the official website. If you wish to manually download Linux kernel version 5.19 generic files via the website, then visit the Ubuntu kernel official website and click on the links as highlighted in the snapshot below:
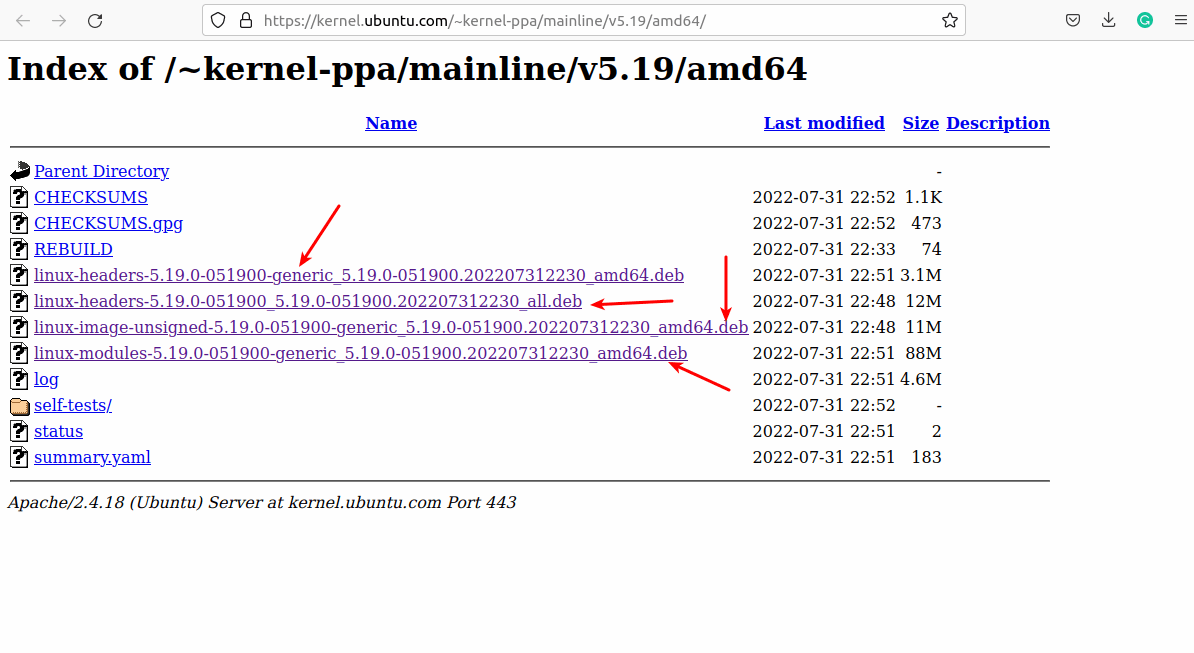
Manually download the files.
The files from the snapshot are as mentioned below:
- https://kernel.ubuntu.com/~kernel-ppa/mainline/v5.19/amd64/linux-headers-5.19.0-051900-generic_5.19.0-051900.202207312230_amd64.deb
- https://kernel.ubuntu.com/~kernel-ppa/mainline/v5.19/amd64/linux-headers-5.19.0-051900_5.19.0-051900.202207312230_all.deb
- https://kernel.ubuntu.com/~kernel-ppa/mainline/v5.19/amd64/linux-image-unsigned-5.19.0-051900-generic_5.19.0-051900.202207312230_amd64.deb
- https://kernel.ubuntu.com/~kernel-ppa/mainline/v5.19/amd64/linux-modules-5.19.0-051900-generic_5.19.0-051900.202207312230_amd64.deb
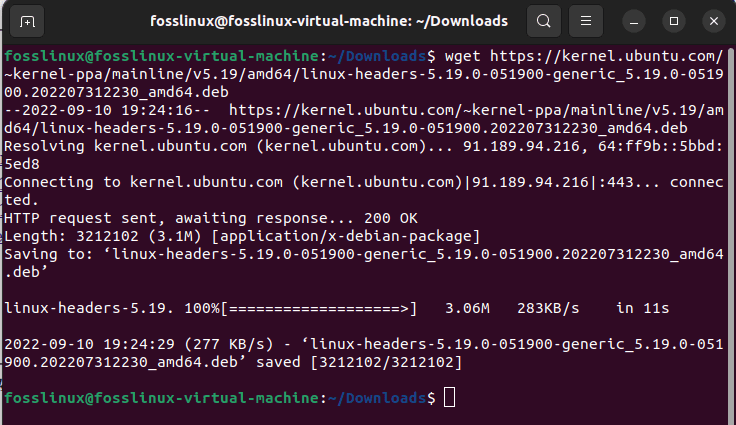
On the flip side, you can download the Linux kernel files from the console using the wget command. To do this, run the following pattern of commands:
wget https://kernel.ubuntu.com/~kernel-ppa/mainline/v5.19/amd64/linux-headers-5.19.0-051900-generic_5.19.0-051900.202207312230_amd64.deb
download 1
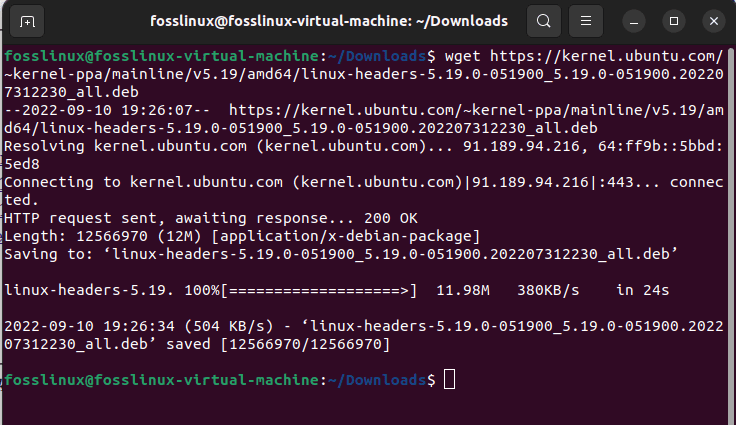
wget https://kernel.ubuntu.com/~kernel-ppa/mainline/v5.19/amd64/linux-headers-5.19.0-051900_5.19.0-051900.202207312230_all.deb
download 2
wget https://kernel.ubuntu.com/~kernel-ppa/mainline/v5.19/amd64/linux-image-unsigned-5.19.0-051900-generic_5.19.0-051900.202207312230_amd64.deb
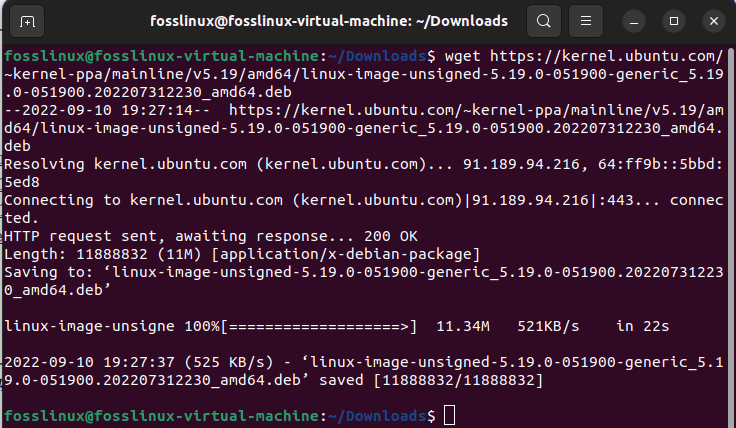
download 3
wget https://kernel.ubuntu.com/~kernel-ppa/mainline/v5.19/amd64/linux-modules-5.19.0-051900-generic_5.19.0-051900.202207312230_amd64.deb
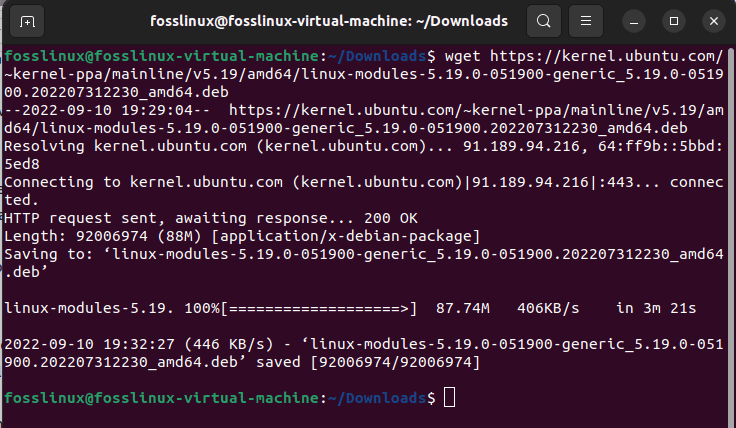
download 4
Once all the Debian files for the generic version, in this case, 5.19, are downloaded, navigate to the directory where the downloaded files were saved using the following syntax:
cd directory/path
Where:
cd Downloads

Navigate to Downloads
Note: if the downloaded files are saved in the Home directory, you can skip the above step.
Step 3: Install the Linux kernel from the downloaded Debian files
Here, we will install all the downloaded .deb files using the following command:
sudo dpkg -i *.deb
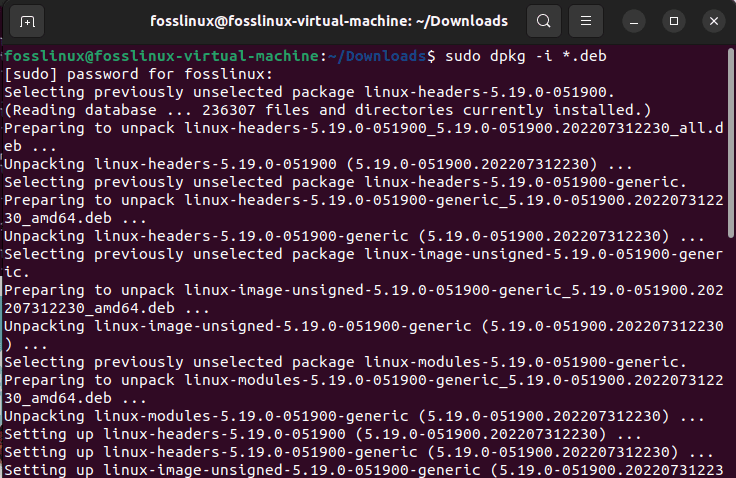
install files
Step 4: Restart the system
After the Linux kernel is successfully installed, restart the system using the subsequent command:
reboot

Reboot the system
Step 5: Verify the latest kernel version
Once the system is rebooted, you can proceed and verify the installation of the latest kernel version using the following command:
uname -r

version 5.19 installed
The output above clearly shows that the Linux kernel 5.19.0 is successfully installed in our Ubuntu system.
Method 2: How to Upgrade the Linux kernel in Ubuntu using the Ukuu GUI tool
Alternatively, you can carry out the same upgrade process in a much easier and more convenient way (GUI) using a tool called Ukuu(an Ubuntu kernel update utility). To do this, follow the next steps.
Step 1: Install Ukuu in Ubuntu
First, download the deb files for the old Ukuu version 18.9, which is free to use but has not been updated lately.
Visit the above link and select the Ukuu-v18.9.1-amd.deb file to download the Debian file. After that, navigate to your Downloads location using the following command:
cd Downloads

Navigate to Downloads
Then run the installation command as shown here:
sudo dpkg -i ukuu-v18.9.1-amd64.deb
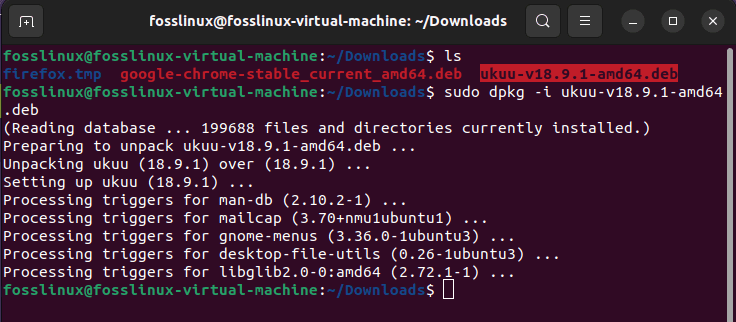
install ukuu
Step 2: Install kernel with Ukuu
Once you have set up Ukuu, start it. It will automatically refresh the list of the available Linux kernels for Ubuntu.
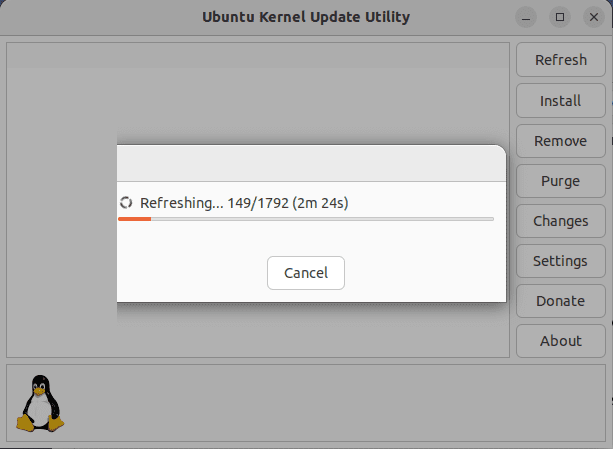
Refreshes
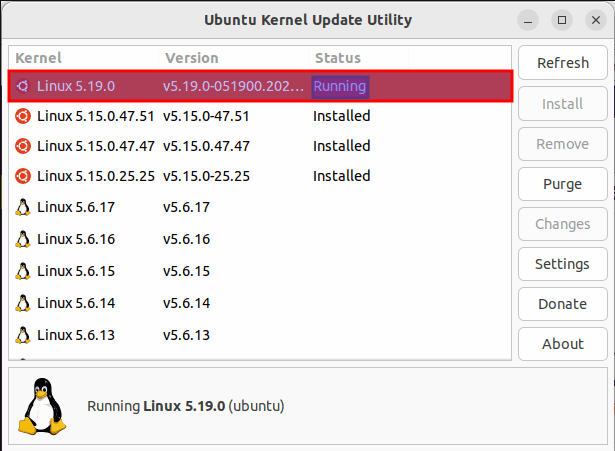
After refreshing, the software will, by default, show all the available kernels, including the unstable release kernel tagged with RC and a red Tux icon. Kernel versions from the distros are labeled with the logo, and the other versions have just the good old Tux logo.
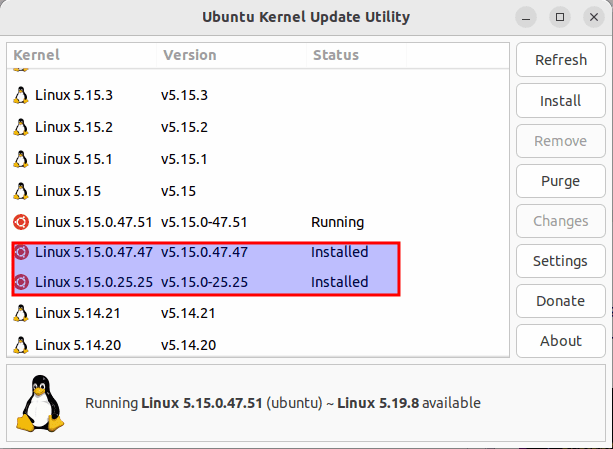
installed version
As seen in the snapshot above, we already have kernel 5.15.0-47.47; now, we will proceed and install kernel 5.19 using Ukuu.
First, choose the desired kernel version and then go ahead and click on “install” to set up the newer Linux kernel version.

Install new version
After hitting the “install” button, you will be requested to input the admin authentication for this action. Just type in your PC’s password, and hit the authenticate button.
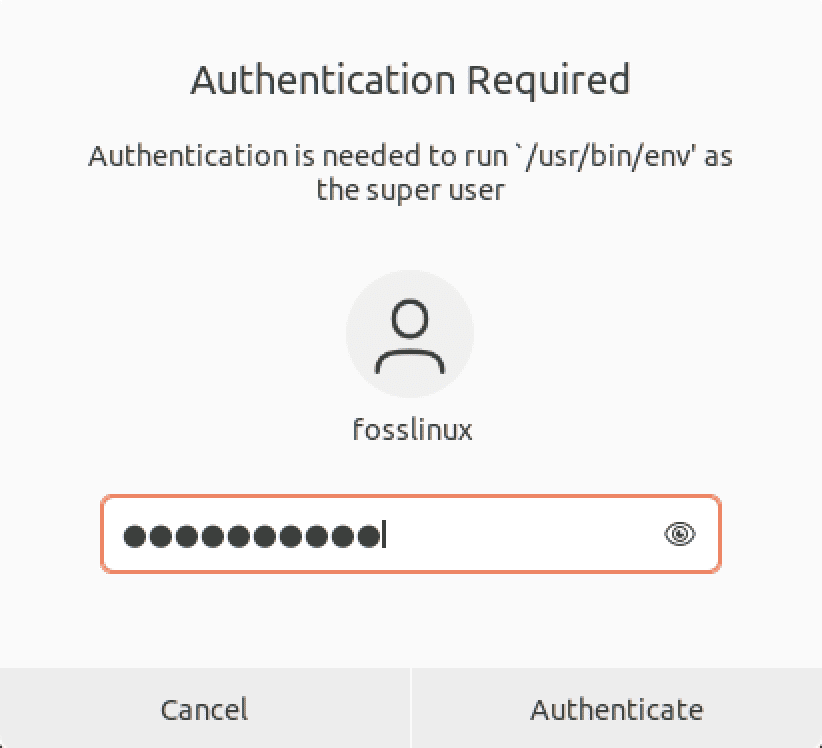
Authentication window
After that, you will see the setup progress in the app itself. Try to concentrate on the result to understand whether or not the new Linux kernel was successfully installed.
For a successful installation, you will see such a snapshot:

confirmation
Note: It is critical to understand that the installation may fail; if it does, you don’t need to panic since nothing is wrong with your system. You only need to try out a different kernel version, which might work.
Once the setup is concluded, you will see a helpful screen showing you if something unexpected happens with the new Linux kernel; you can always select to boot into the older kernel from the grub menu.
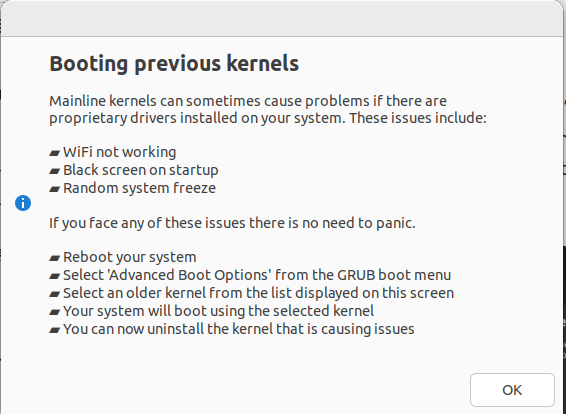
helpful screen
When you boot into the system next, your machine will automatically run the specific Linux kernel you had just installed.
Newer version running
While still at it, we would like to point out a few more features of Ukuu. This app has a settings option that permits you not to show release candidates of kernels in the list. Also, you can hide Linux kernel versions older than 4.0. Furthermore, the utility permits the display of a desktop notification in case a new Linux kernel is available.
Conclusion
The kernel is a significant element of any operating system. It performs all the core responsibilities assigned to it. Also, it enables the communication between the hardware and all other apps. This guide has covered some of the simplest and workable ways to update to the latest kernel on your Ubuntu machine. We hope this came in handy; Otherwise, keep it locked to FOSSLinux for more.
3 comments
32bit
LOL! Thanks. Corrected it.