
If you’re a developer or system administrator who works with the terminal, you might have heard about Tmux. Tmux is a powerful terminal multiplexer that enables you to split your terminal screen into multiple panes, each of which can run a separate command or shell. By splitting your screen, you can multitask and work more efficiently. This article will dive deeper into Tmux and explain how to split panes vertically and horizontally.
Understanding Tmux
Tmux is an open-source terminal multiplexer that allows you to access multiple terminals from a single window. You can use Tmux to create and manage multiple sessions, and each session can have multiple windows. Within each window, you can split the screen into multiple panes, which can run different commands or shells. This functionality is handy when running various commands or performing multiple tasks simultaneously.
Tmux uses a client-server architecture, where the server runs in the background and manages the sessions and windows. The client connects to the server and sends commands to create or modify sessions, windows, and panes. By default, Tmux uses a control key combination to issue commands to the server, which can be customized according to your preferences.
Splitting Tmux panes vertically and horizontally is an essential feature of Tmux that can significantly enhance your productivity and workflow. There are several reasons why splitting Tmux panes can be helpful:
- Multitasking: By splitting your terminal screen into multiple panes, you can run multiple commands or shells simultaneously without switching between different windows or tabs. This can be particularly useful when working on a complex project requiring running multiple processes simultaneously.
- Screen real estate: Splitting your terminal screen can also help you make the most of your screen real estate. If you have a large monitor or multiple monitors, you can use Tmux to divide your screen into different sections and display different information in each section. This can be particularly useful when working with large amounts of data or monitoring multiple processes simultaneously.
- Context switching: Tmux panes can also switch between different contexts quickly and easily. For example, you can have one pane dedicated to a database console, another for a text editor, and a third for running tests. Switching between different panes allows you to work more efficiently and avoid losing context.
- Customization: Tmux panes can be customized to your liking, including their size, position, and content. This can be particularly useful when working on a project requiring a specific layout or configuration.
Splitting Tmux panes vertically and horizontally is an essential feature of Tmux that can significantly enhance your productivity and workflow. Using Tmux panes, you can multitask, make the most of your screen real estate, switch between different contexts quickly and easily, and customize your Tmux setup.
Now let us delve deeper into splitting Tmux panes vertically and horizontally in the next section:
Splitting Tmux Panes Vertically
When you split a Tmux window vertically, you create two panes side by side. Each pane runs a separate command or shell; you can resize them. Here’s how to split a Tmux pane vertically:
Start Tmux by typing the following line of code in the terminal:
tmux
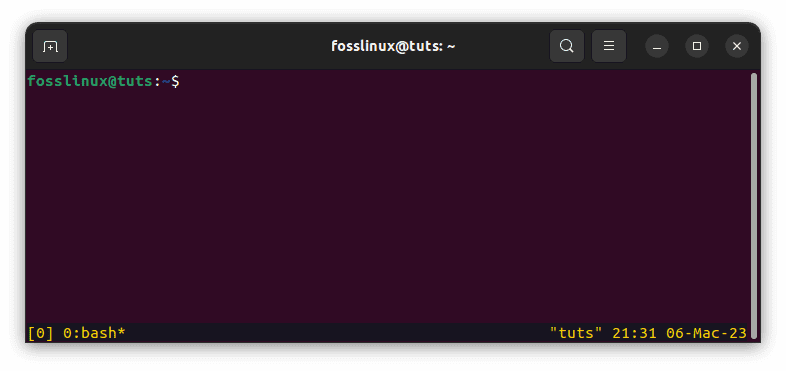
tmux new screen
Once Tmux is up and running, create a new window by pressing Ctrl-b c (the default keybinding). You should see a new window at the bottom of the screen.
Split the window vertically by pressing:
Ctrl-b %
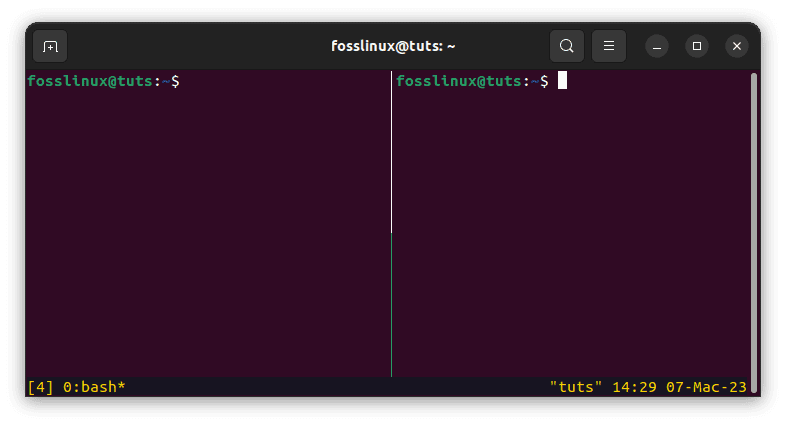
Split pane vertically
This command will split the window into two panes: the left pane on the left and the right pane on the right.
You can now run a command or shell in each pane by typing the command or shell and pressing Enter.
Resize the panes as needed by pressing Ctrl-b <arrow key> to move the cursor to the pane you want to resize and then pressing Ctrl-b : resize-pane -L 10 to resize the left pane by 10 characters. You can replace -L with -R to resize the right pane, -U to resize the top pane, and -D to resize the bottom pane.
Splitting Tmux Panes Horizontally
When you split a Tmux window horizontally, you create two panes stacked on each other. Each pane runs a separate command or shell; you can resize them. Here’s how to split a Tmux pane horizontally:
Start Tmux by typing the following line of code in the terminal:
tmux
tmux new screen
Create a new window by pressing Ctrl-b c (the default keybinding). You should see a new window at the bottom of the screen.
Split the window horizontally by pressing Ctrl-b “. This command will split the window into two panes, with the top pane on top and the bottom pane on the bottom.
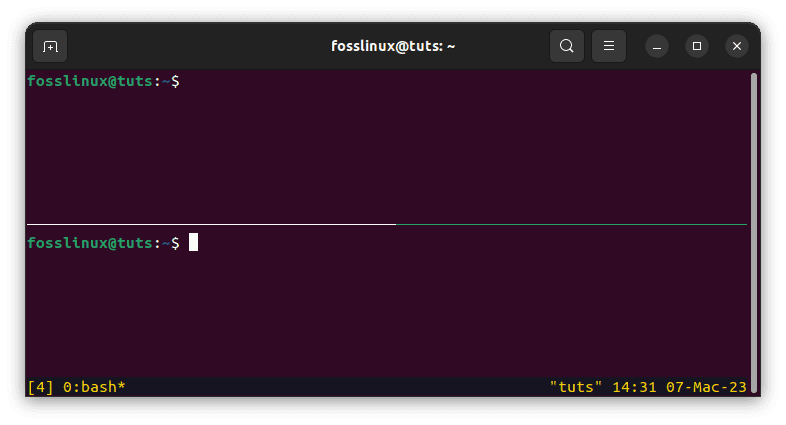
Split the window horizontally into panes
You can now run a command or shell in each pane by typing the command or shell and pressing Enter.
If you intend to resize the panes, press Ctrl-b <arrow key> to move the cursor to the pane you want to resize, then press Ctrl-b : resize-pane -U 5 to resize the top pane by 5 characters. You can replace -U with -D to resize the bottom pane, -L to resize the left pane, and -R to resize the right pane.
Customizing Tmux Keybindings
While Tmux comes with default keybindings, you can customize them to your liking. This can be particularly useful if you use specific commands frequently and want to assign them to a more convenient key combination. Here’s how to customize Tmux keybindings:
Create a configuration file for Tmux by typing the following line of code in the terminal:
touch ~/.tmux.conf
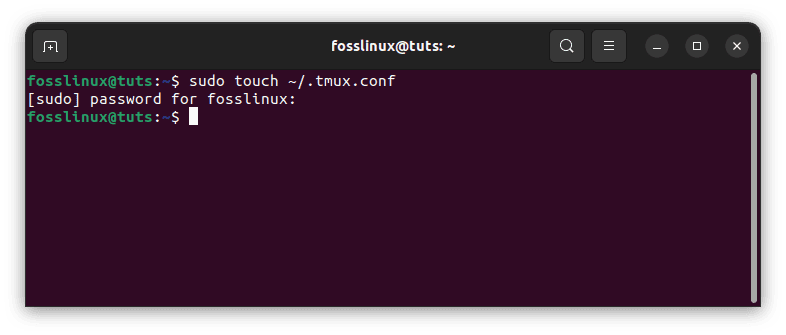
Create configuration file
Once you have executed the line of code above, open the configuration file in a text editor by typing:
vim ~/.tmux.conf
Open config file using vim
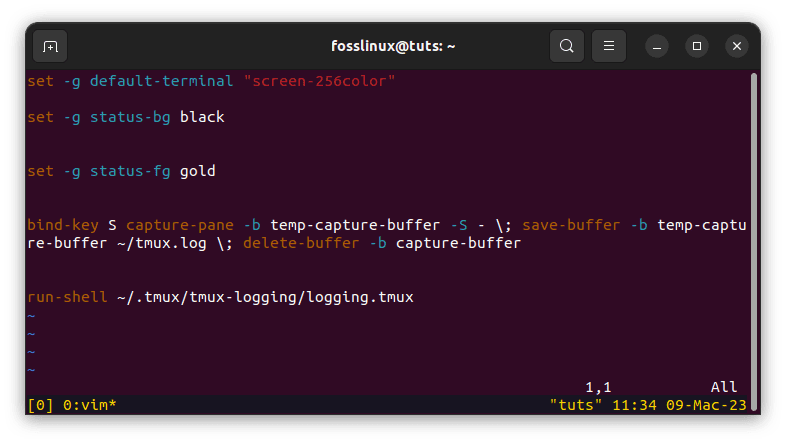
Now add the following line to the file to define a new keybinding:
bind-key <key> <command>
Note: Replace <key> with the key combination you want to use and <command> with the Tmux command you want to run.
Save the file and quit/exit the text editor.
Reload the Tmux configuration by executing the following line of code:
tmux source-file ~/.tmux.conf
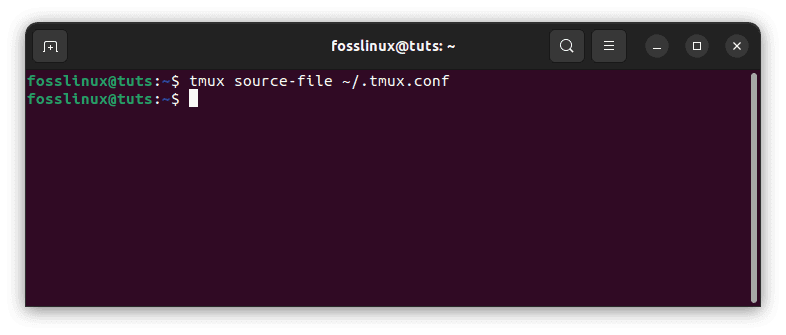
Reload the Tmux config file
Test the new keybinding by pressing the key combination you defined.
For example, if you want to define a new keybinding to split a window vertically using Ctrl-b |, you would add the following line to the configuration file:
bind-key | split-window -h
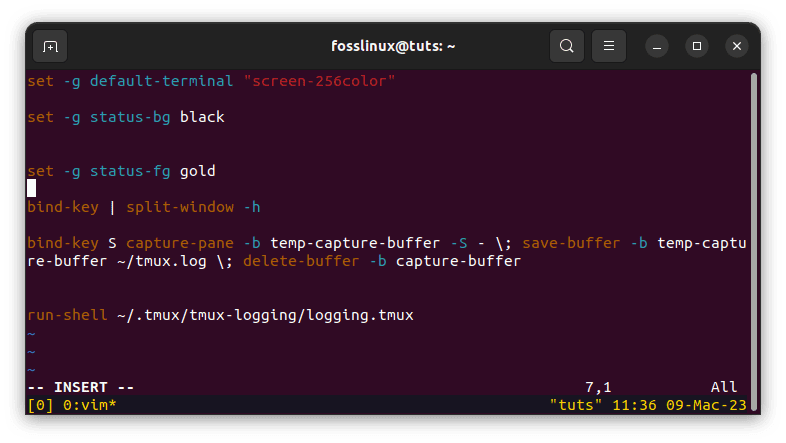
Bind new configurations
This line maps the | key to the split-window -h command, which splits the current window horizontally.
Similarly, if you want to define a new keybinding to resize a pane to the full height of the window using Ctrl-b f, you would add the following line to the configuration file:
bind-key f resize-pane -y 100
This line maps the f key to the resize-pane -y 100 command, which resizes the current pane to the full height of the window.
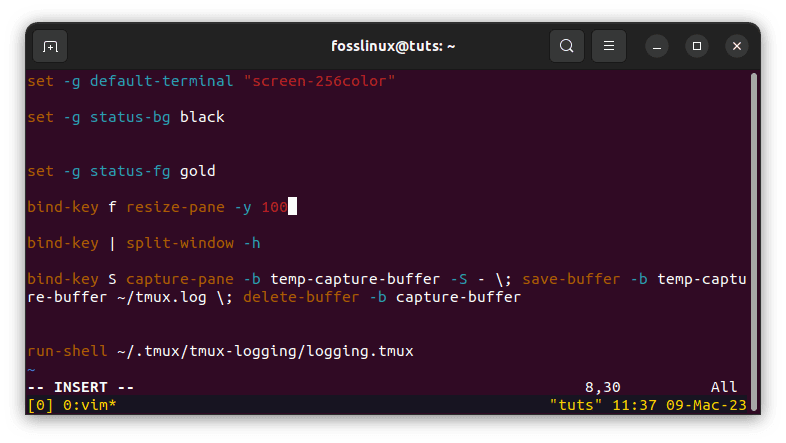
Resize pane to full height
While the article provides a comprehensive guide to splitting Tmux panes vertically and horizontally and customizing Tmux keybindings, there are a few additional tips and tricks that can enhance your Tmux experience:
- Use Tmux plugins: Tmux plugins are third-party scripts that can be added to your Tmux configuration to extend functionality. Plugins can be used to add new features, customize the look and feel of Tmux, and automate everyday tasks. To use Tmux plugins, install a plugin manager, such as Tmux Plugin Manager or Tmux Plugin Pack, and then add the desired plugins to your Tmux configuration.
- Use Tmux sessions: Tmux sessions allow you to save and restore your Tmux setup, including the layout of panes and windows, the working directory, and the environment variables. Sessions can be used to switch between different projects or contexts quickly and easily without losing your current work. To create a new Tmux session, type tmux new-session -s <name> in the terminal, where <name> is the session’s name. To list all available Tmux sessions, type tmux list-sessions.
- Use Tmux copy mode: Tmux copy mode allows you to scroll through the output of a command or search for a specific text string within the output. To enter copy mode, press Ctrl-b [ and then use the arrow keys or the mouse to navigate the output. To exit copy mode, press q.
- Use Tmux windows: Tmux windows are similar to panes but occupy the entire terminal screen instead of a part of it. Windows can run multiple commands or shells simultaneously without interfering with each other. To create a new Tmux window, type Ctrl-b c. To switch between Tmux windows, type Ctrl-b <window number>, where <window number> is the number of the window.
Using these tips and tricks, you can take your Tmux skills to the next level and become even more productive and efficient in your workflow.
Conclusion
Tmux is a powerful tool that allows you to split your terminal screen into multiple panes, each of which can run a separate command or shell. By splitting your screen, you can multitask and work more efficiently. In this article, we explained how to split Tmux panes vertically and horizontally and customize Tmux keybindings to your liking.
Whether you’re a developer, system administrator, or power user, Tmux can help you work more effectively and save time. By mastering the basics of Tmux, you can streamline your workflow and become more productive. We hope this article has been helpful and informative, and we encourage you to experiment with Tmux and explore its full potential. Thank you for reading!
1 comment
thanks