
Sharing files between two operating systems can be pretty tricky at times. While Linux Mint and Windows use different file systems, several methods are still available to share files between them. In this article, we will provide step-by-step instructions on transferring files using Samba, a widely-used file-sharing protocol that allows Windows and Linux systems to communicate with each other.
We will also explore how to set up shared folders on Windows computers and connect to them from Linux Mint. By the end of this article, you will clearly understand how to seamlessly share files between these two systems, making your work easier and more productive. Linux Mint has always been known for its simple interface and ease of use. One of its many benefits is its ability to share files and folders across a network, which can be helpful for businesses or individuals who need to collaborate on projects or transfer data between computers. Learn how to share files and folders on a Linux Mint network easily.
Sharing files between Linux Mint and Windows
Setting up Samba on Linux Mint
Samba is an open-source software suite that allows Linux and Windows computers to share files, printers, and other resources. Samba uses the SMB/CIFS (Server Message Block/Common Internet File System) protocol to communicate with Windows systems. Let us look at the step-by-step procedure for setting up Samba on Linux Mint.
Open the terminal on your Linux Mint system. Run the following command to install Samba:
sudo apt-get install samba
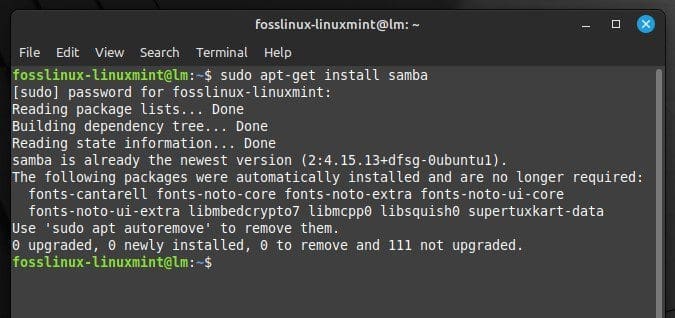
Installing Samba on Linux Mint
After the installation is complete, run the following command to create a backup of the Samba configuration file:
sudo cp /etc/samba/smb.conf /etc/samba/smb.conf.bak

Creating a backup of the Samba configuration file
Now, open the Samba configuration file in a text editor with the following command:
sudo nano /etc/samba/smb.conf
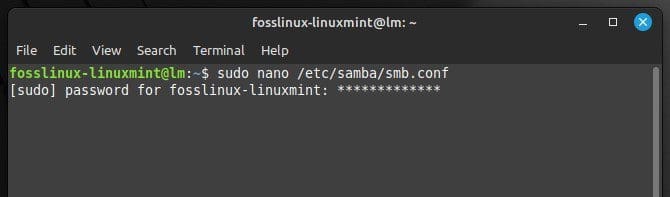
Opening the Samba configuration file
Scroll down to the bottom of the file and add these lines:
folder1

    path = /home/desktop/folder1

    available = yes

    valid users = fosslinux

    read only = no

    browseable = yes
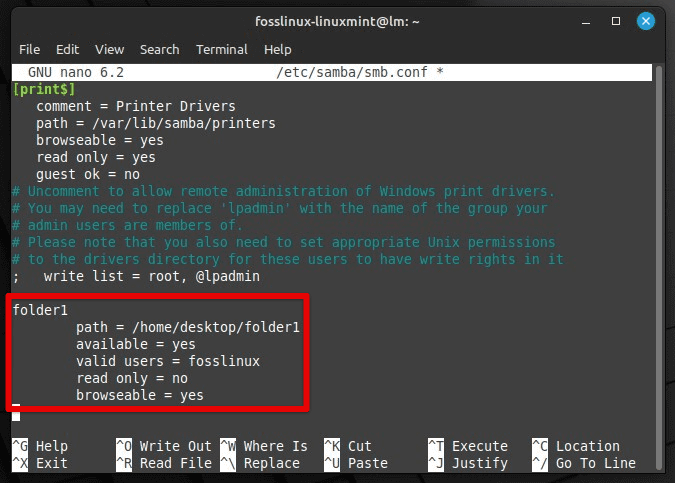
Replace “folder1” with the name you want to give the shared folder, “/home/desktop/folder1” with the actual path, and “fosslinux” with the username of the account that needs to have access to the shared folder. Save and close the file by pressing “Ctrl + O” and “Ctrl + X.”
Restart the Samba service by running the following command in the terminal:
sudo service smbd restart

Restarting the Samba service
Now, Samba is set up on your Linux Mint system, and you can proceed to configure it to share files with Windows computers. Did you know that sharing your Mint’s internet connection with other devices on the same network is also possible? Learn how to configure Linux Mint for internet connection sharing in this detailed guide.
Configuring Samba to share files
Now that you have installed Samba, it’s time to configure it to share files with Windows. Open the Samba configuration file in a text editor by running the following command:
sudo nano /etc/samba/smb.conf

Opening the configuration file
Scroll down to the bottom of the file and add these lines:
foldername

    path = /home/desktop/foldername

    available = yes

    valid users = fosslinux

    read only = no

    browseable = yes
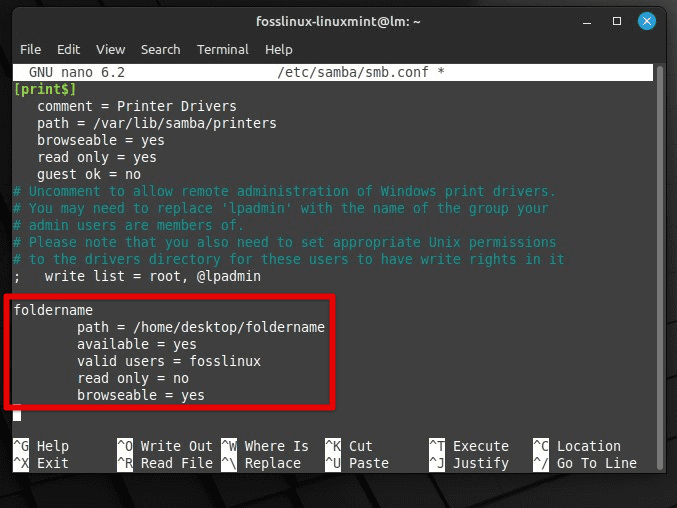
Editing the configuration file
Replace “foldername” with the name you want to give the shared folder, “/home/desktop/foldername” with the actual path, and “fosslinux” with the username of the account that needs to have access to the shared folder. Save and close the file by pressing “Ctrl + O” and “Ctrl + X”.
Set a Samba password for that user by running the following command:
sudo smbpasswd -a fosslinux
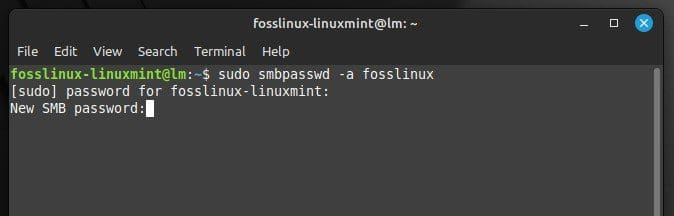
Setting a new password for Samba
Again, do not forget to replace “fosslinux” with the username on your end. You will be prompted to enter a password as soon as you run the above command.
Once the password is set, restart the Samba service with the following command:
sudo service smbd restart
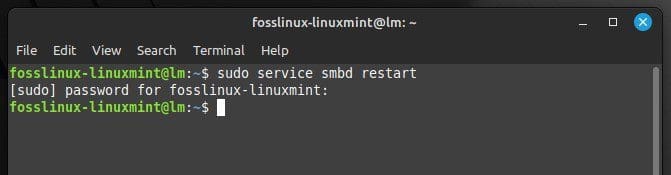
Restarting Samba
Open the Linux Mint firewall to allow Samba traffic.
sudo ufw allow samba

Enabling firewall to allow Samba traffic
Now, the Linux Mint system is fully configured to share files. You can proceed to connect with the shared folder from Windows.
Connecting with Samba from Windows
After you have set up Samba on Linux Mint and configured it to share files, you can connect to the shared folder from a Windows computer. This section will provide step-by-step instructions on how to do so. Launch Windows on your device and go to the file explorer. In the address bar, type the following:
\\10.0.2.13
Replace “10.0.2.13” with the actual IP address of your Linux device. Next, you will be prompted to enter the username and password you created in the Samba configuration file. Enter the username and password and click on “OK” to proceed.
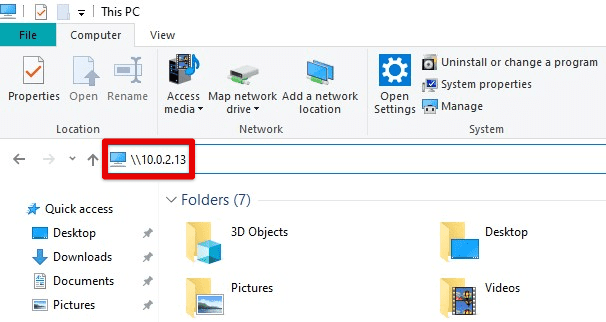
Connecting to Linux Mint from Windows file explorer
You should now see the shared folder inside the file explorer on your Linux Mint computer. To access the shared folder in the future, create a shortcut by right-clicking on it and selecting “Pin to Quick Access” or “Add to Favorites”. Now, you can easily share any files copied into that folder from Linux Mint.
Configuring sharing setup on Windows
In addition to configuring Samba on Linux Mint, you may need to set up a shared folder from the Windows side. Doing so would complete a two-way transfer connection between these systems. Right-click on the folder you want to share and select “Properties.”
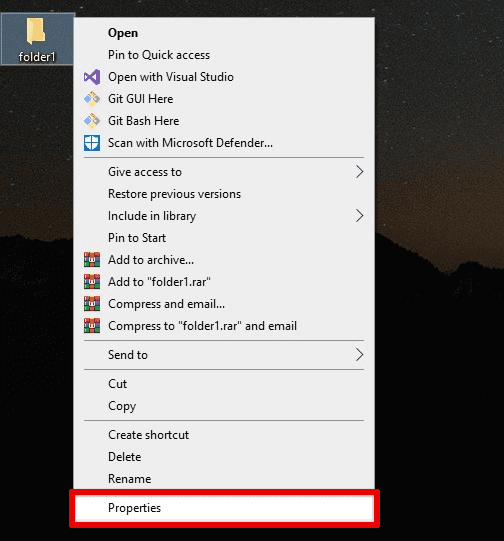
Opening folder properties
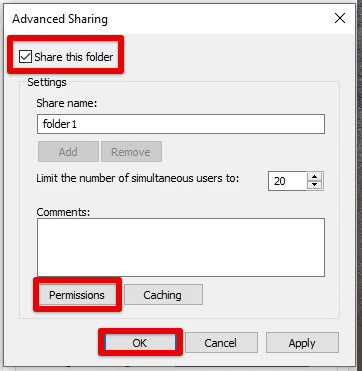
Go to the “Sharing” tab and click the “Advanced Sharing” button. Check the box next to “Share this folder” and enter a name to be used for that shared folder.
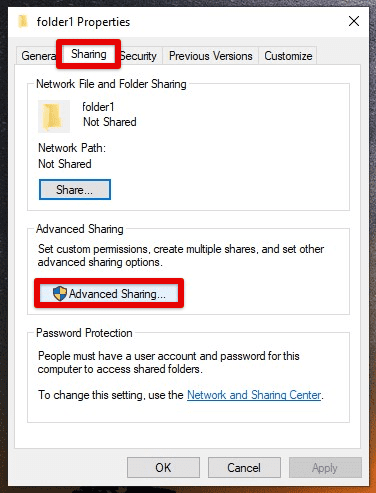
Advanced sharing options in sharing tab
Click on the “Permissions” button and set the appropriate permissions for the users with access to its contents. Finally, click on “OK” to save these changes.
Setting appropriate permissions
Go to “Security” and set the appropriate permissions. Click on “OK” to save these changes as well.
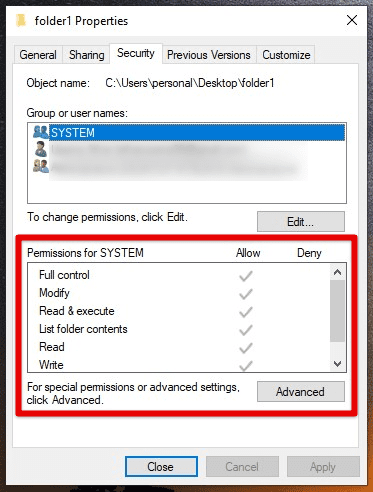
Setting security permissions
If the Windows device is behind a firewall, you will have to allow inbound traffic for file sharing explicitly. Go to the Control Panel, click “System and Security,” and then click “Windows Firewall.” Next, go to “Advanced settings” and then select “Inbound Rules.” Next, click “New Rule” and select “File and Printer Sharing” from the list. From there onwards, follow the on-screen prompts to complete the process.
Connecting to Windows from Linux Mint
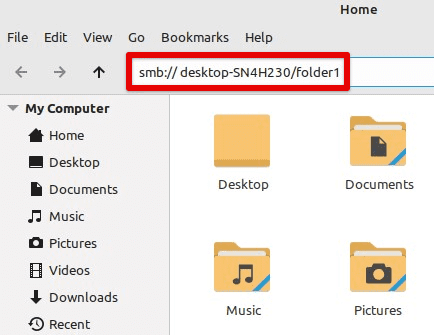
After configuring the sharing setup on Windows, the last step would be to connect to the Windows shared folder from Linux Mint. In this section, there are step-by-step instructions to do so using Samba. Open the file manager on Linux Mint. Click on the address bar at the top and type the following:
smb:// desktop-SN4H230/folder1
Connecting to Windows from Linux Mint
Replace “desktop-SN4H230” and “folder1” with the name of your Windows computer and the shared folder, respectively. You will be prompted to enter the username and password you created when setting up the shared folder on Windows. Enter the credentials and then click on “OK” to proceed.
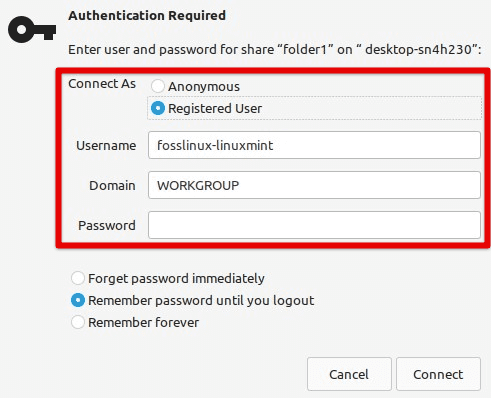
Entering credentials
You should now be able to see the shared folder on both devices simultaneously. Anything you copy into one directory will also appear on the other side. To access the shared folder easily, create a bookmark by right-clicking on it and selecting “Add Bookmark”.
Troubleshooting common issues
While sharing files between Linux Mint and Windows is generally straightforward, there may be some common issues that you might encounter. This section will discuss some of these problems and provide troubleshooting steps to resolve them.
Unable to connect with Samba from Windows
Check that Samba is running on Linux Mint by running the following command in the terminal:
sudo service smbd status
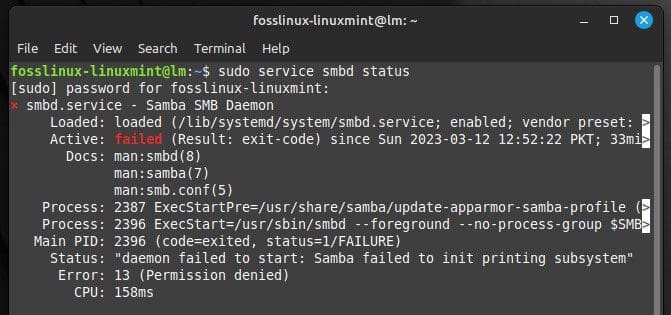
Checking Samba service status
Make sure that your firewall is not blocking Samba traffic. Try disabling the firewall temporarily to see if the connection can be established.
sudo ufw disable
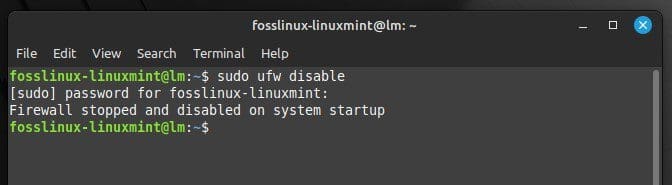
Disabling the firewall on Linux Mint
Verify that the shared folder on your Linux Mint device has the correct permissions. If not, change the permissions to give everyone with the credentials direct access to its contents. Also, validate that the username and password entered when connecting to Samba from Windows are correct.
Unable to connect with shared folder from Linux Mint
Ensure the Windows computer is powered on and connected to the network. Also, check to see if the folder has the correct permissions enabled from the control panel. Try changing them to allow general access.
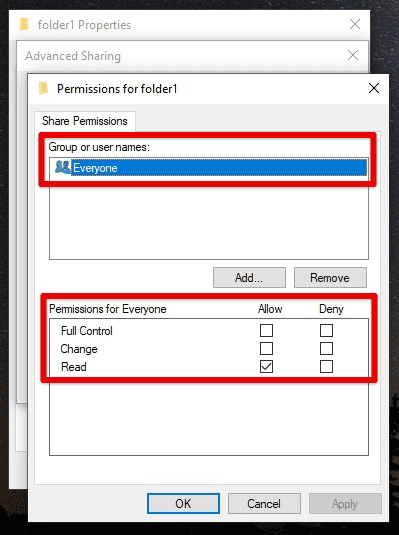
Share permissions on Windows
It is also important to ensure that both Linux Mint and Windows devices are connected to the same wired or wireless network. Very commonly, users end up using the wrong IP address when configuring the connection. Therefore, ensure that the hostname or IP address used to connect to the other device is correct and validated. For verification, try pinging the Windows computer from Linux Mint.
Unable to see shared folder in Linux Mint file manager
In most cases, this problem arises when the folder to be synced is not shared correctly from the Windows side. Try re-sharing it and double-checking the configuration settings. Once again, ensure the computer is powered on and connected to the same network.
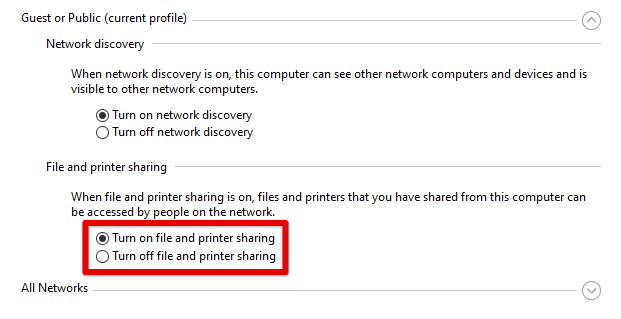
Enabling file and printer sharing
Another critical thing is to confirm that your Windows computer is configured to allow file sharing in general. Go to Control Panel > Network and Sharing Center > Change advanced sharing settings. Here, you can verify whether file and printer sharing is enabled.
Slow transfer speeds
If you can form a connection, but the file sharing is taking longer than expected, try connecting the systems through a wired connection. Doing so will reduce latency. Although, this can only be done if both devices are nearby.
Also, ensure that the network you transfer the files through is not congested. You may try sharing files at a different time when the traffic is lower than usual. Another crucial factor to consider here is that both Linux Mint and Windows must have enough resources to handle the file transfer. Close any unnecessary programs or processes to free up system memory on both ends.
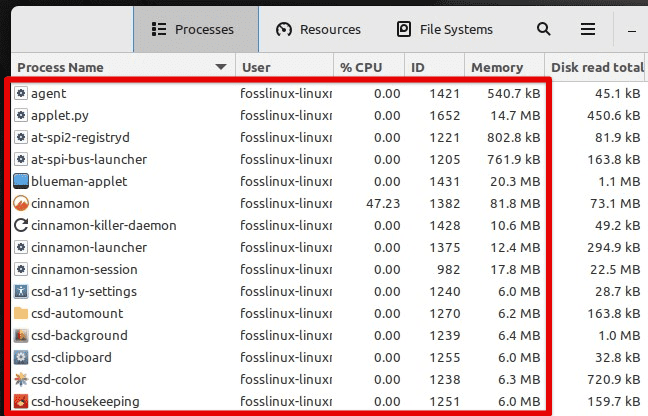
Linux Mint processes
By following these troubleshooting steps, you should be able to resolve the most common issues you may encounter when sharing files between Linux Mint and Windows.
Conclusion
Samba is a powerful tool that can make sharing files between different operating systems seamless and hassle-free. With some configuration and troubleshooting, you can make the most out of your file-sharing experience. In this article, we discussed how to share files between Linux Mint and Windows using Samba.
Detailed instructions on how to set up Samba on Linux Mint, configure it to share files, and connect to it from Windows were included. Finally, we provided troubleshooting steps for common issues when sharing files in such a setup. Are you looking for a way to wirelessly transfer files between your Android phone/tablet and your Linux PC? Here is a detailed guide on how to share files between Android and Linux wirelessly.
2 comments
folder1 or foldername should be [folder1] or [foldername] to work properly. The paragraphs about adding folder1 or foldername is duplicates and one of them can be removed.
You missed a step before the… sudo smbpasswd -a fosslinux.
When I tried this (I initially tried using NetAccess as the user name) it kept failing!! Cross referencing another page I realised that the before this I had to do…
sudo adduser NetAccess
…because there was no NetAccess user to give a smb password! I didn’t want to use the default user on the Mint PC I’d just converted, instead I wanted a generic user and password to use from the Windows PCs. Maybe I didn’t have to. I only just re-formatted two Win 10 PCs to Mint and my knowledge of Liniux is limited.