
Have you ever found yourself needing to access files on a remote server, but the thought of using traditional file transfer methods like FTP or SCP seems daunting? If so, you’re in luck because SSHFS provides a simple solution to this problem.
SSHFS, short for Secure Shell File System, is a network file system that allows you to mount a remote file system over SSH. This means you can access files on a remote server as if on your local machine.
Using SSHFS has many benefits over traditional file transfer methods. For one, it provides a more secure way to transfer files since all data is encrypted. It also allows you to work with remote files as if they were local, meaning you can edit, copy, and delete files just as you would with local files.
A beginner’s guide to SSHFS on Ubuntu
In this tutorial, we’ll show you how to install SSHFS on Ubuntu and how to use it to mount a remote file system. Whether you’re a developer, system administrator, or just someone who needs to access files on a remote server, SSHFS is a tool that can make your life easier. So, let’s get started!
Prerequisites
Before you can start using SSHFS on Ubuntu, there are a few prerequisites you need to have in place. Here are some of the key ones:
- A remote server: You need a remote server to access files. This server should have SSH access enabled.
- Ubuntu installed on your local machine: You need to have Ubuntu installed on your local machine, and it should be up to date.
- Root access: You need root access to your local machine to install and configure SSHFS.
By ensuring these prerequisites are in place, you’ll be ready to install and use SSHFS on Ubuntu.
Setup a Remote Server
If you plan to use SSHFS to access files on a remote server, you must first set up a remote server. There are two main ways to do this:
- Using a cloud server
- Setting up a Linux server on your local machine using virtualization.
Cloud servers are virtual servers hosted by cloud service providers like Amazon Web Services (AWS), Google Cloud Platform, or Microsoft Azure. They allow you to quickly provision and configure a server in the cloud, which can then be accessed remotely via SSH. Setting up a cloud server can be a great option if you need a server that is always available and accessible from anywhere with an internet connection.
Alternatively, you can set up a Linux server on your local machine using virtualization software like VirtualBox or VMware. Virtualization allows you to create a virtual machine that runs a separate instance of an operating system, which can then be accessed remotely via SSH. This can be a great option if you want to experiment with different server configurations or need a server that is not always online.
To set up a virtual server, install virtualization software on your local machine and create a new one. During the virtual machine setup process, you must select an operating system and configure its settings, such as the amount of RAM and storage allocated. Once the virtual machine is created, you can install and configure an SSH server for remote access.
Note: In this post, we will use a Debian virtual machine as our remote machine to access Ubuntu using SSHFS.
Installing SSHFS on Ubuntu
Installing SSHFS on Ubuntu is a simple process that involves a few steps. In this tutorial, we’ll show you how to install SSHFS on Ubuntu and how to configure it for remote file access.
Step 1: Update your system
Before installing SSHFS, ensuring your Ubuntu system is up-to-date is essential. You can do this by running the following command in your terminal:
sudo apt-get update
sudo apt-get upgrade
This will update your system packages and ensure you have the latest versions of all installed software.
Step 2: Install SSHFS
Once your system is up to date, you can install SSHFS by running the following command in your terminal:
sudo apt-get install sshfs
This will download and install the SSHFS package and any necessary dependencies.
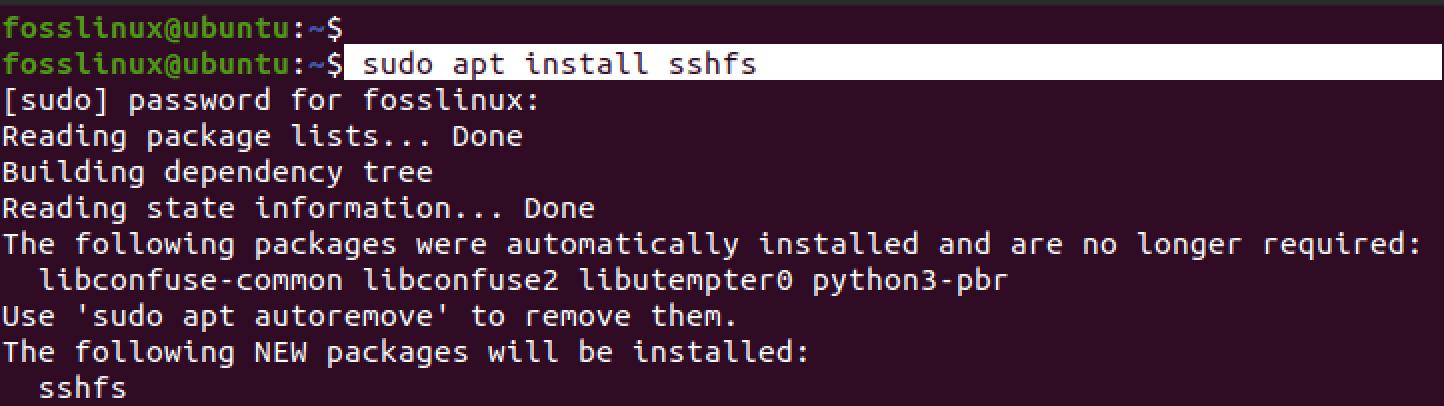
Install SSHFS
Create a mount point on Ubuntu
Before you can mount a remote file system using SSHFS, you must create a mount point on your local machine. A mount point is a directory where the remote file system will be mounted. To make a mount point, run the following command in your terminal:
mkdir /path/to/mount/point
e.g
mkdir /home/fosslinux/remote_mount
Replace “/path/to/mount/point” with the path to the directory where you want to mount the remote file system. For example, you might create a mount point at “/mnt/remote.” For this post, we will make a mount point in our home directory and call it “remote_mount.”
Mount the remote file system
After successfully creating a mount point on your Ubuntu system, you can now mount the remote file system. First, you must identify the directory on the remote system you want to mount. For this post, we will mount the home directory of our remote Debian system.
Launch the Terminal and execute the command below.
sshfs username@remote_host:/remote/directory /path/to/mount/point
Replace “username” with your remote server username, “remote_host” with the IP address or hostname of the remote server, and “/remote/directory” with the path to the remote directory you want to access. For example, you might run the following command to mount the “/home/user/files” directory on the remote server:
sshfs debian@192.168.1.29:/home/debian /home/fosslinux/remote_mount/
You will see a prompt to enter the password of the remote system. This command will mount the remote file system at the specified mount point on your local machine. You can now access and work with remote files as if they were local files.
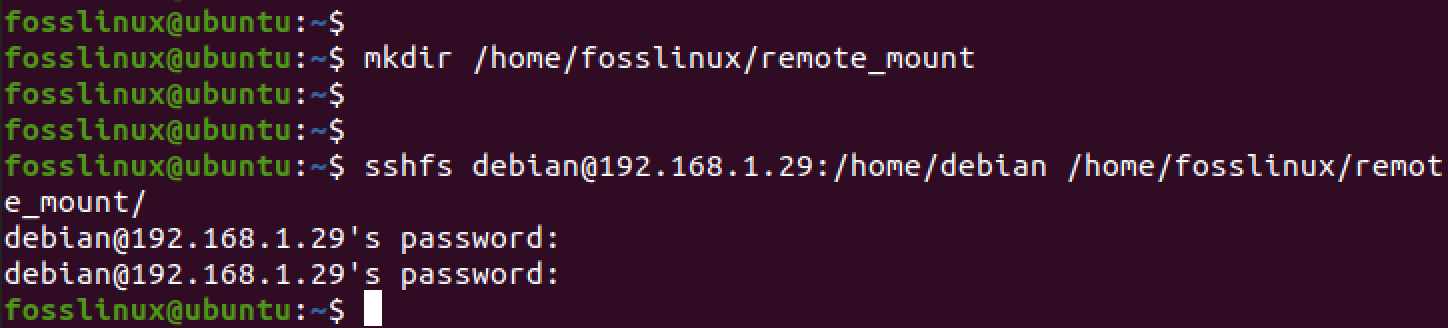
Mount remote system
Now when you navigate to the mount point you created above and run the ls command, you should see all the files on the remote system. See the image below.
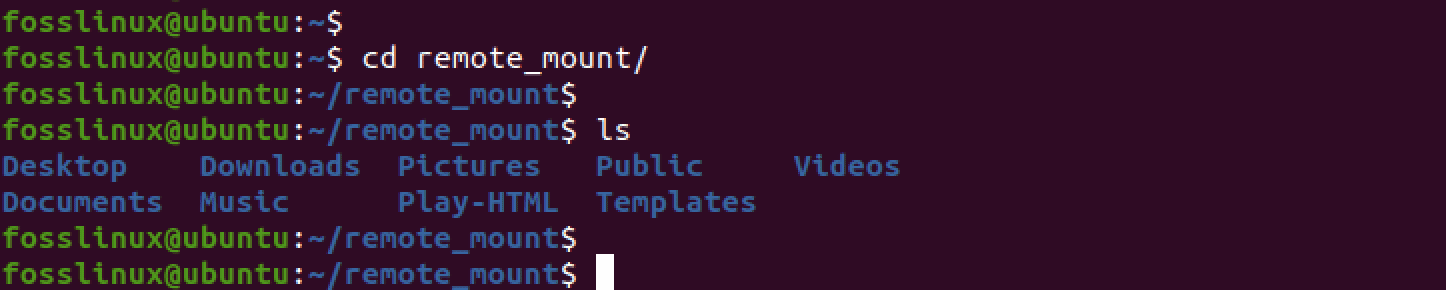
Remote system
You can also access these files on the graphical file manager. See the image below.
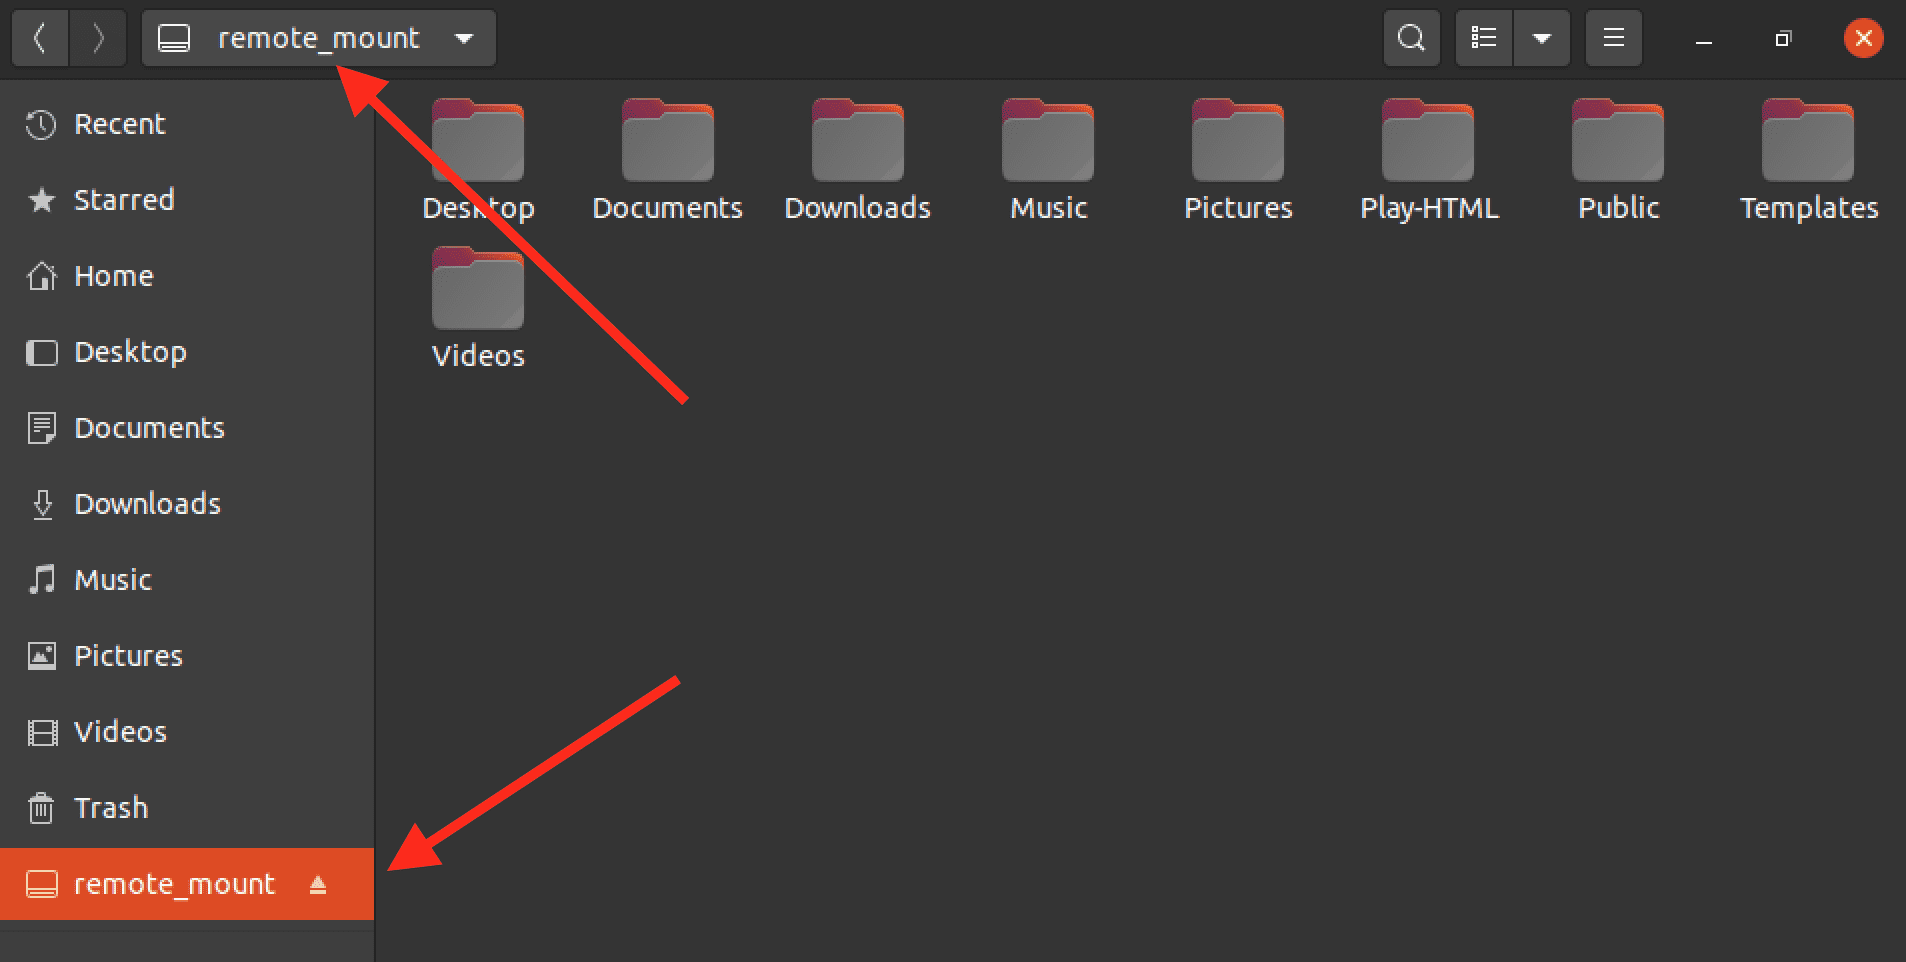
Mount point
That’s it! You can now access the files on the remote system, similarly to how you would access local folders on your system. You can also create or delete files, which will automatically happen on the remote system.
Permanently mount the remote file system
Permanently mounting a remote filesystem can be helpful when you need to access remote files regularly. Instead of manually mounting the remote filesystem whenever you need access, you can automatically configure your system to mount it at startup. In this section, we’ll show you how to permanently mount a remote filesystem using SSHFS on Ubuntu.
Step 1: Create an SSH key pair
To mount the remote filesystem permanently, you need to set up an SSH key pair on your local machine and add the public key to the remote server’s authorized keys file. This will allow your local device to authenticate with the remote server without a password.
To create an SSH key pair, run the following command in your terminal:
ssh-keygen
This will generate a public and private key pair in the ~/.ssh directory. You can leave the default options by pressing Enter when prompted.
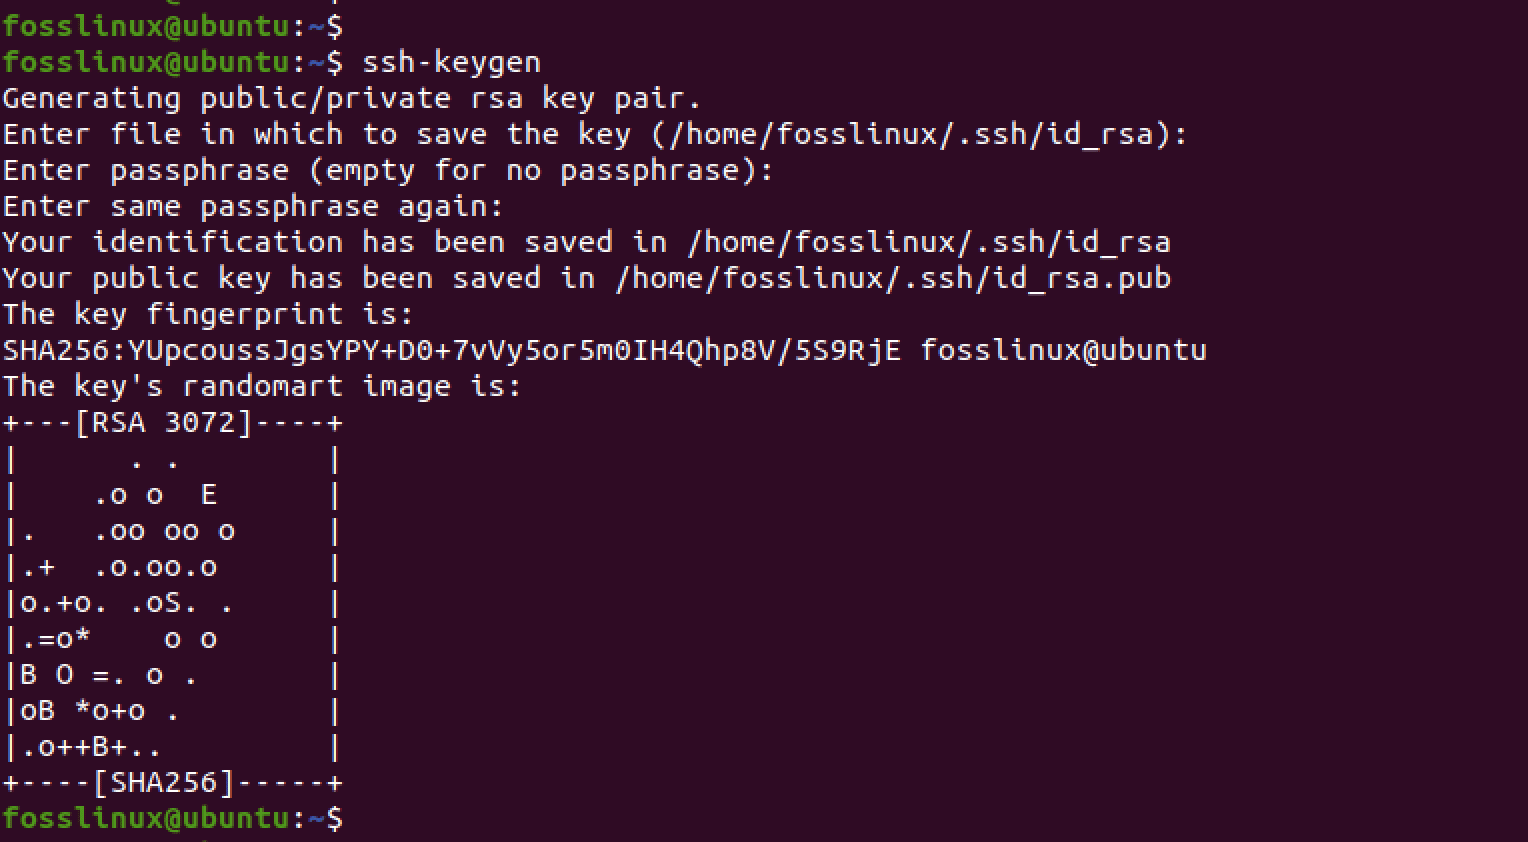
Generate SSH keys
Step 2: Copy the public key to the remote server
To copy the public key to the remote server, run the following command in your terminal:
ssh-copy-id username@remote_host
e.g,
ssh-copy-id debian@192.168.1.29
Replace “username” with your remote server username and “remote_host” with the IP address or hostname of the remote server. You will be prompted to enter your remote server password.
Copy public key
Step 3: Test SSHFS with the key pair
Before we can permanently mount the remote filesystem, we need to test SSHFS with the key pair to ensure that the authentication works as expected. Run the following command in your terminal:
sshfs -o IdentityFile=~/.ssh/id_rsa username@remote_host:/remote/directory /path/to/mount/point
e.g,
sshfs -o IdentityFile=~/.ssh/id_rsa debian@192.168.1.29:/home/debian /home/fosslinux/remote_mount/
This will mount the remote filesystem using SSHFS and the key pair. Replace “username,” “remote_host,” “/remote/directory,” and “/path/to/mount/point” with your own values. If the mount is successful, you will not see any error messages. Additionally, you should be able to access the remote files from the mount point on your local machine.
See the image below.
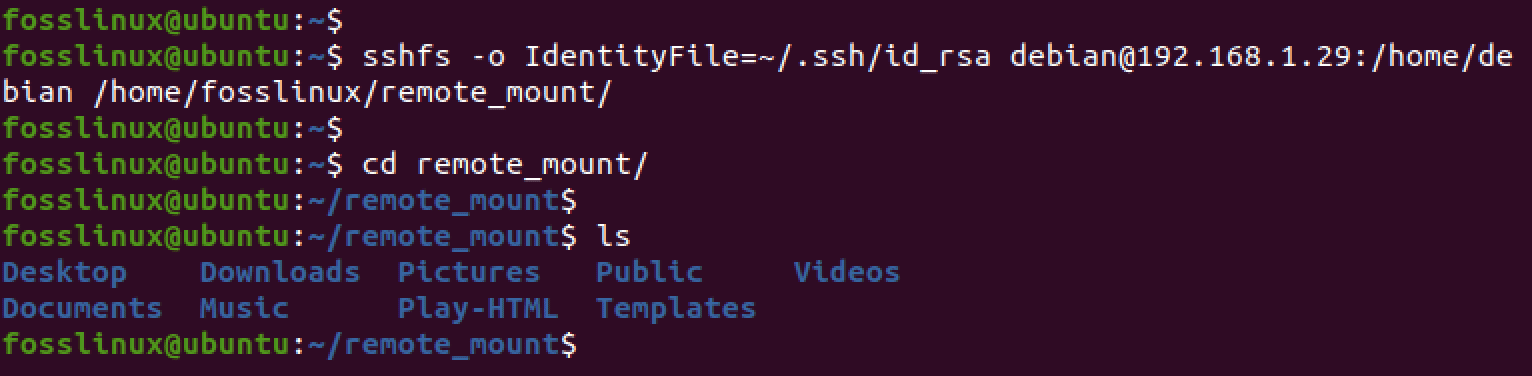
Mount remote system
Step 4: Add the mount point to fstab
We must add the mount point to the /etc/fstab file to permanently mount the remote filesystem. This file contains information about the file systems that should be mounted at startup.
Open the /etc/fstab file in a text editor:
sudo nano /etc/fstab
Add the following line at the end of the file:
sshfs#username@remote_host:/remote/directory /path/to/mount/point fuse
IdentityFile=/home/user/.ssh/id_rsa,_netdev,user,noauto 0 0
Tip: The above command is a one-liner command. They are not two lines.
Replace “username,” “remote_host,” “/remote/directory,” and “/path/to/mount/point” with your own values. The options “IdentityFile=/home/user/.ssh/id_rsa,_netdev,user,noauto” specify the private key file’s location, allowing non-root users to mount the filesystem and prevent the filesystem from being mounted at boot.
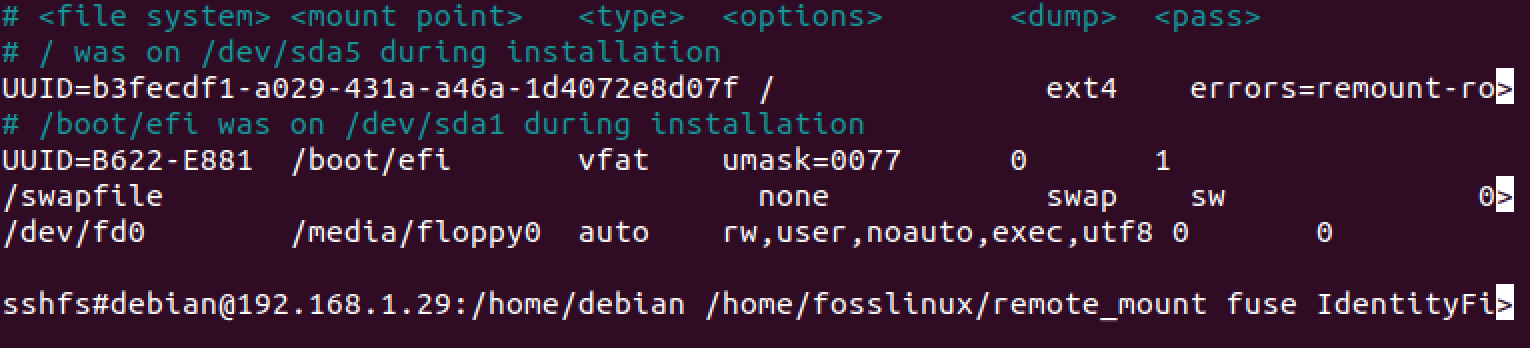
Configure :etc:fstab
Save (Ctrl + O, then Enter) and close (Ctrl + X) the file.
Step 5: Test the permanent mount
To test the permanent mount, reboot your system by running the following command in your terminal:
sudo reboot
After rebooting the system, check if the remote filesystem is mounted by running the following command in your terminal.
df -h
You have successfully set up a permanent mount if the remote filesystem is listed in the output.
Unmount the remote file system
When you’re done working with the remote file system, you can unmount it by running the following command in your terminal:
sudo umount /path/to/mount/point
Replace “/path/to/mount/point” with the path to the mount point you created in Step 3. For example, you might run the following command to unmount the “/mnt/remote” mount point:
sudo umount /home/fosslinux/remote_mount
This will disconnect the remote file system from your local machine.
Congratulations! You’ve successfully installed and used SSHFS on Ubuntu. With this powerful tool at your disposal, you can now access and work with remote files more securely and efficiently.
Conclusion
Accessing files on a remote server can be daunting, but SSHFS provides a simple solution to this problem. SSHFS is a secure and easy-to-use tool that allows you to access remote files as if they were on your local machine, and it provides a more secure way to transfer files. Whether you are a developer, system administrator, or just someone who needs to access files on a remote server, SSHFS is a tool that can make your life easier.
So, follow the steps outlined in this tutorial to install and use SSHFS on Ubuntu and experience the benefits of this fantastic tool. Have you used SSHFS before? Let us know your thoughts in the comments section below, or feel free to ask any questions you may have.