
Deepin Desktop Environment (DE) is an elegant and modern desktop interface that has gained popularity for its visually appealing design and user-friendly features. Originally designed for the Deepin Linux distribution, it can also be installed on other Linux distributions, such as Ubuntu.
This guide will provide clear, step-by-step instructions on installing Deepin DE on your Ubuntu system, allowing you to transform your desktop experience with its sleek design and intuitive functionality. By following this guide, you’ll be able to enjoy the benefits of the Deepin Desktop Environment on your Ubuntu system and elevate your Linux experience to new heights.
Deepin desktop environment
Deepin DE, also known as Deepin Desktop Environment, is a sleek and intuitive desktop environment initially developed for the Deepin Linux distribution. However, it can be installed on other Linux distributions, such as Ubuntu, allowing users to enjoy the stunning visuals and user-friendly features of Deepin without switching to a different Linux distribution.
Deepin Desktop Environment has many features that make it an attractive choice for Linux users looking to switch up their desktop environment. Below are some of them.
- Modern and visually stunning user interface with a minimalist design.
- Dock-style panel for easy access to frequently used applications.
- Smooth animations and translucent effects.
- It includes a range of useful applications and tools, such as a file manager, system settings, a screenshot tool, and a software center.
- The Software Center (Deepin Store) offers an extensive collection of high-quality applications tested and curated by the Deepin team.
- It provides a seamless and user-friendly experience for Linux users who want to try a different desktop environment.
Installing Deepin DE on Ubuntu
Now that you know what Deepin Desktop Environment offers, it’s time to install it on your Ubuntu system. With just a few simple steps, you can have the sleek and intuitive desktop experience of Deepin up and running on your machine in no time.
Step 1: Add the Deepin Linux repository to Ubuntu
To install Deepin Desktop Environment on Ubuntu, the initial step is to add the Deepin Linux repository to your system. This repository comprises the necessary packages to install Deepin DE on your Ubuntu device. To do so, follow these steps:
1. Launch a terminal window on your Ubuntu system. You can achieve this by pressing Ctrl + Alt + T on your keyboard or searching for “Terminal” in the Applications menu. When the terminal window appears, execute the following command to include the Deepin Linux repository in your system’s software sources list:
sudo add-apt-repository ppa:ubuntudde-dev/stable
2. You will be prompted to enter your system’s password. Type in your password and press Enter.
3. After entering your password, you will be asked to confirm that you want to add the repository. Type “Y” and press Enter to confirm.
4. Ubuntu will download the necessary package information from the Deepin Linux repository and add it to your software sources list.
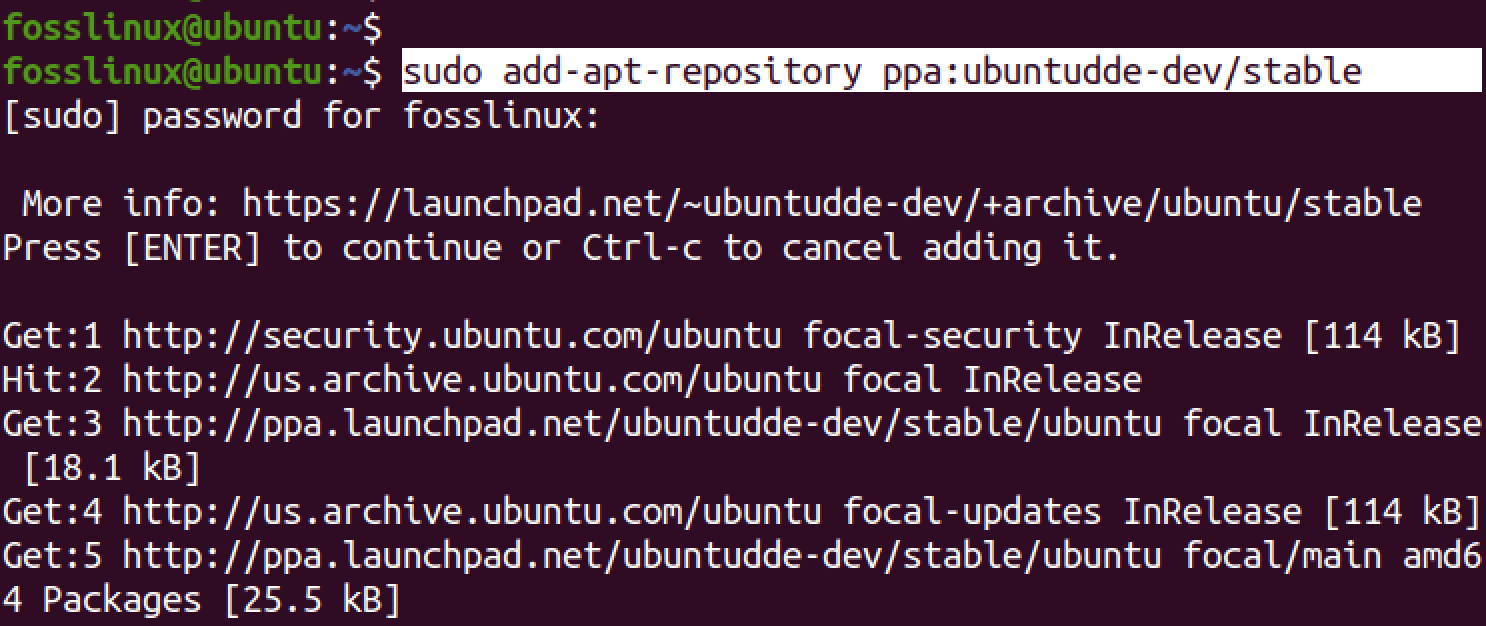
Add the Deepin Linux repository.
With the Deepin Linux repository added to your Ubuntu system, you’re one step closer to installing the Deepin Desktop Environment. Let’s move on to the next step.
Step 2: Update your system package manager
Now that you’ve added the Deepin Linux repository to your Ubuntu system, the next step is to update your system’s package manager. That will ensure your system is updated with the latest package information from the repository you added. To update your system’s package manager, follow these steps:
Launch the terminal and run the following command to update your system’s package manager:
sudo apt update
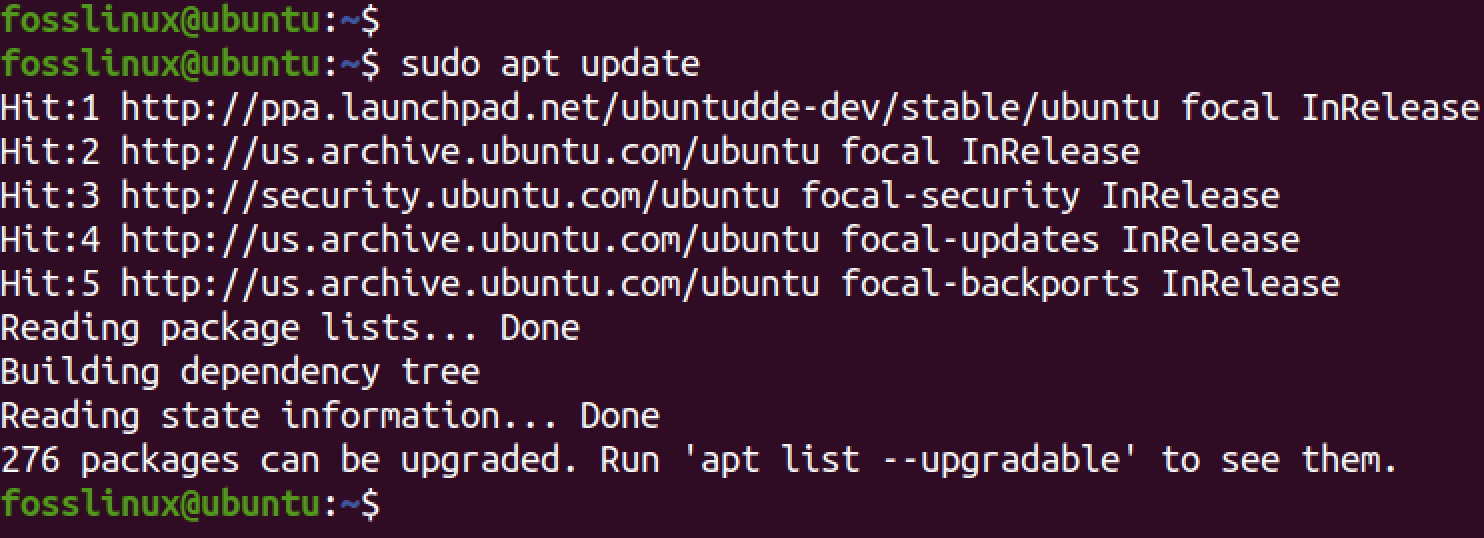
Update – Upgrade your system
Your system will now check for any updates available for your installed packages, including the newly added Deepin Linux repository. Use the command below to install any necessary updates.
sudo apt upgrade
Tip: Updating your system’s package manager ensures your system has the latest package information from the Deepin Linux repository.
Let’s move on to the next step and install Deepin Desktop Environment on your system.
Step 3: Installing Deepin desktop environment
Now that you have added the Deepin Linux repository and updated your system’s package manager, it’s time to install Deepin Desktop Environment on your Ubuntu machine. Follow these steps to install Deepin DE:
1. Open a terminal window on your Ubuntu system.
2. Once the terminal window is open, run the following command to install Deepin Desktop Environment:
sudo apt install ubuntudde-dde
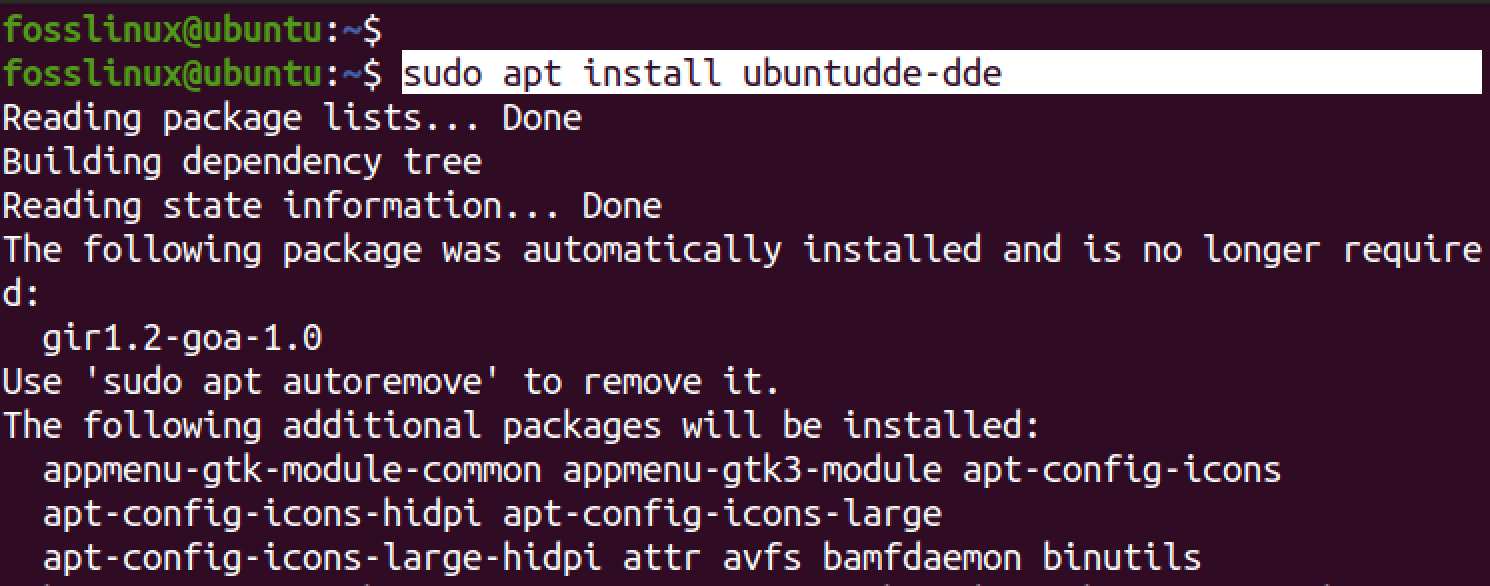
Install Deepin Desktop Environment
Your system will now download and install the necessary packages to install Deepin DE.
Tip: Like any other Desktop Environment, the Deepin DE is a huge package and might take a few minutes to download and install, depending on your internet connection. Please be patient.
During installation, you will be prompted to choose a display manager. The display manager is responsible for starting the graphical login screen when you boot up your system.
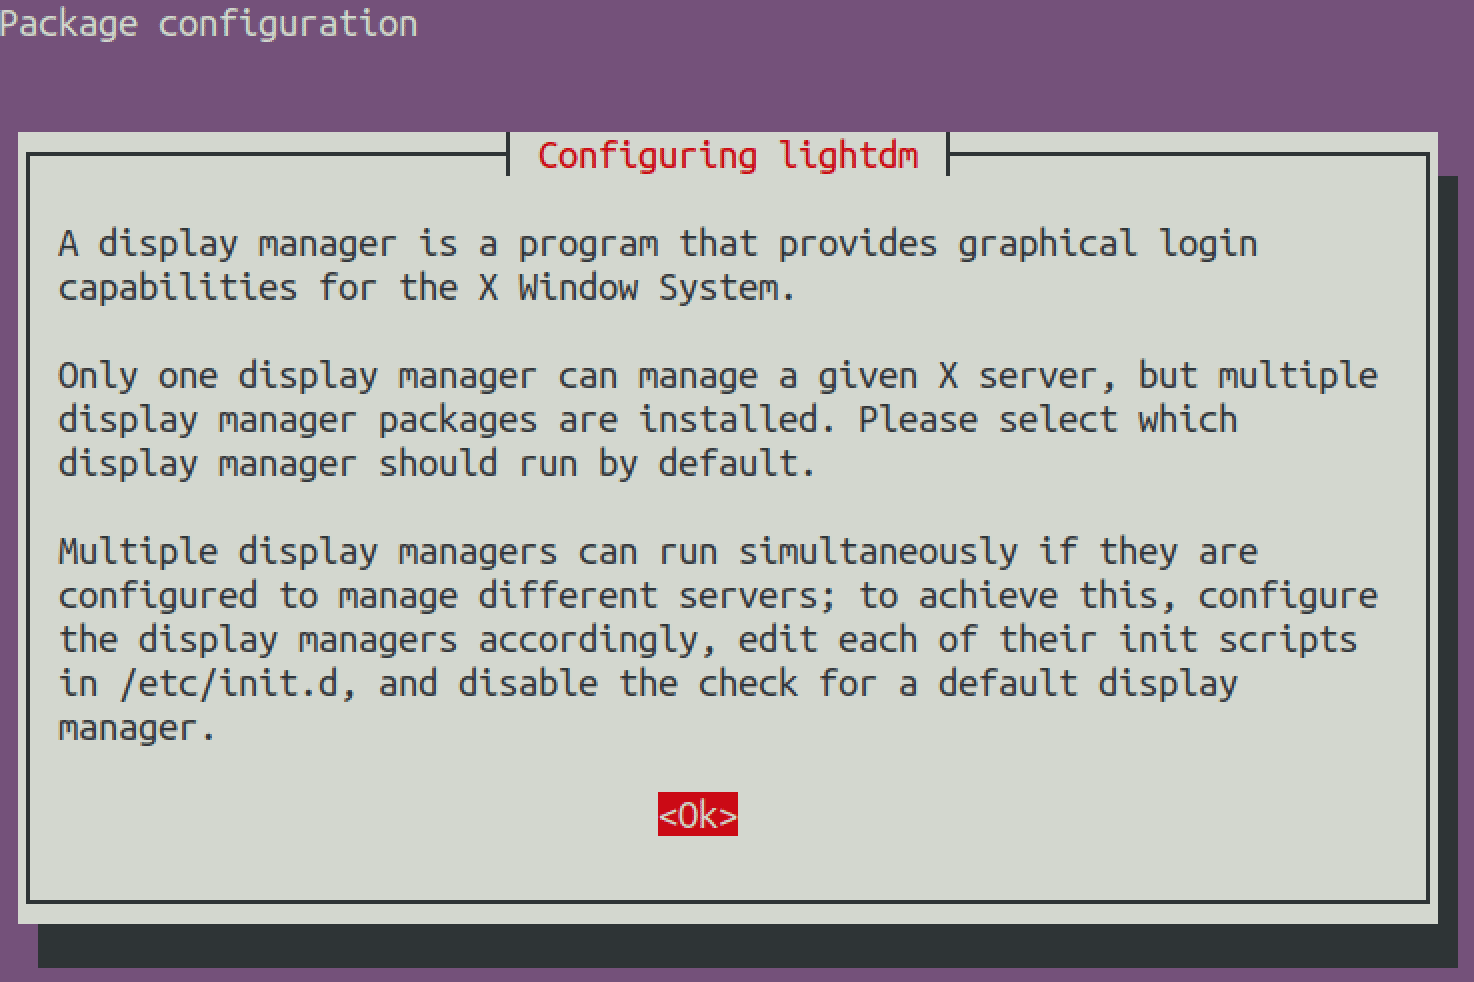
Configure a display manager
You will see two options:
- gdm3
- lightdm
gdm3 is the default display manager for GNOME desktop environments. It is a full-featured display manager that provides a graphical login screen and handles the user authentication process. It also provides features like user switching, accessibility options, and power management.
lightdm is a lightweight display manager designed to be fast and customizable. It provides a simple and intuitive graphical login screen and is widely used in Ubuntu-based Linux distributions. It also supports a variety of desktop environments, including Unity, GNOME, Xfce, Deepin, and LXDE.
Select “lightdm” using the arrow keys and hit enter.
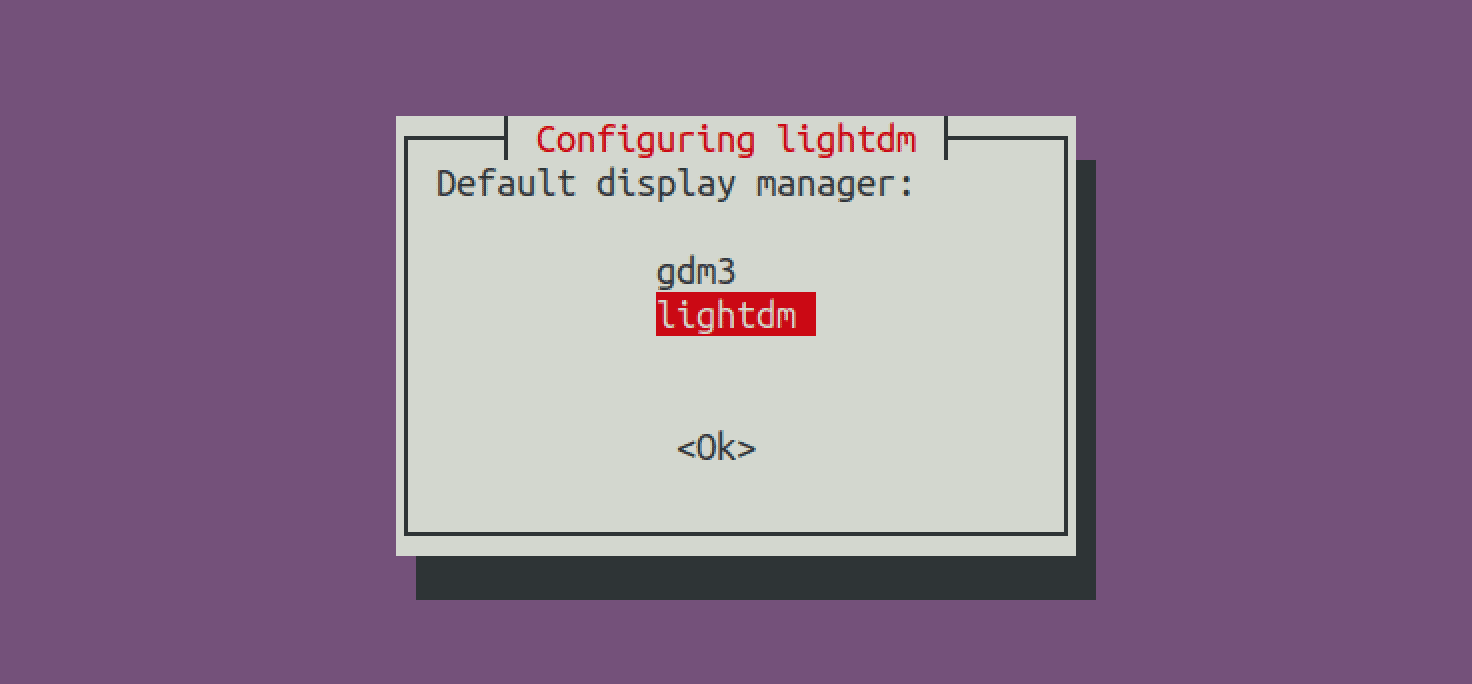
Configure lightdm
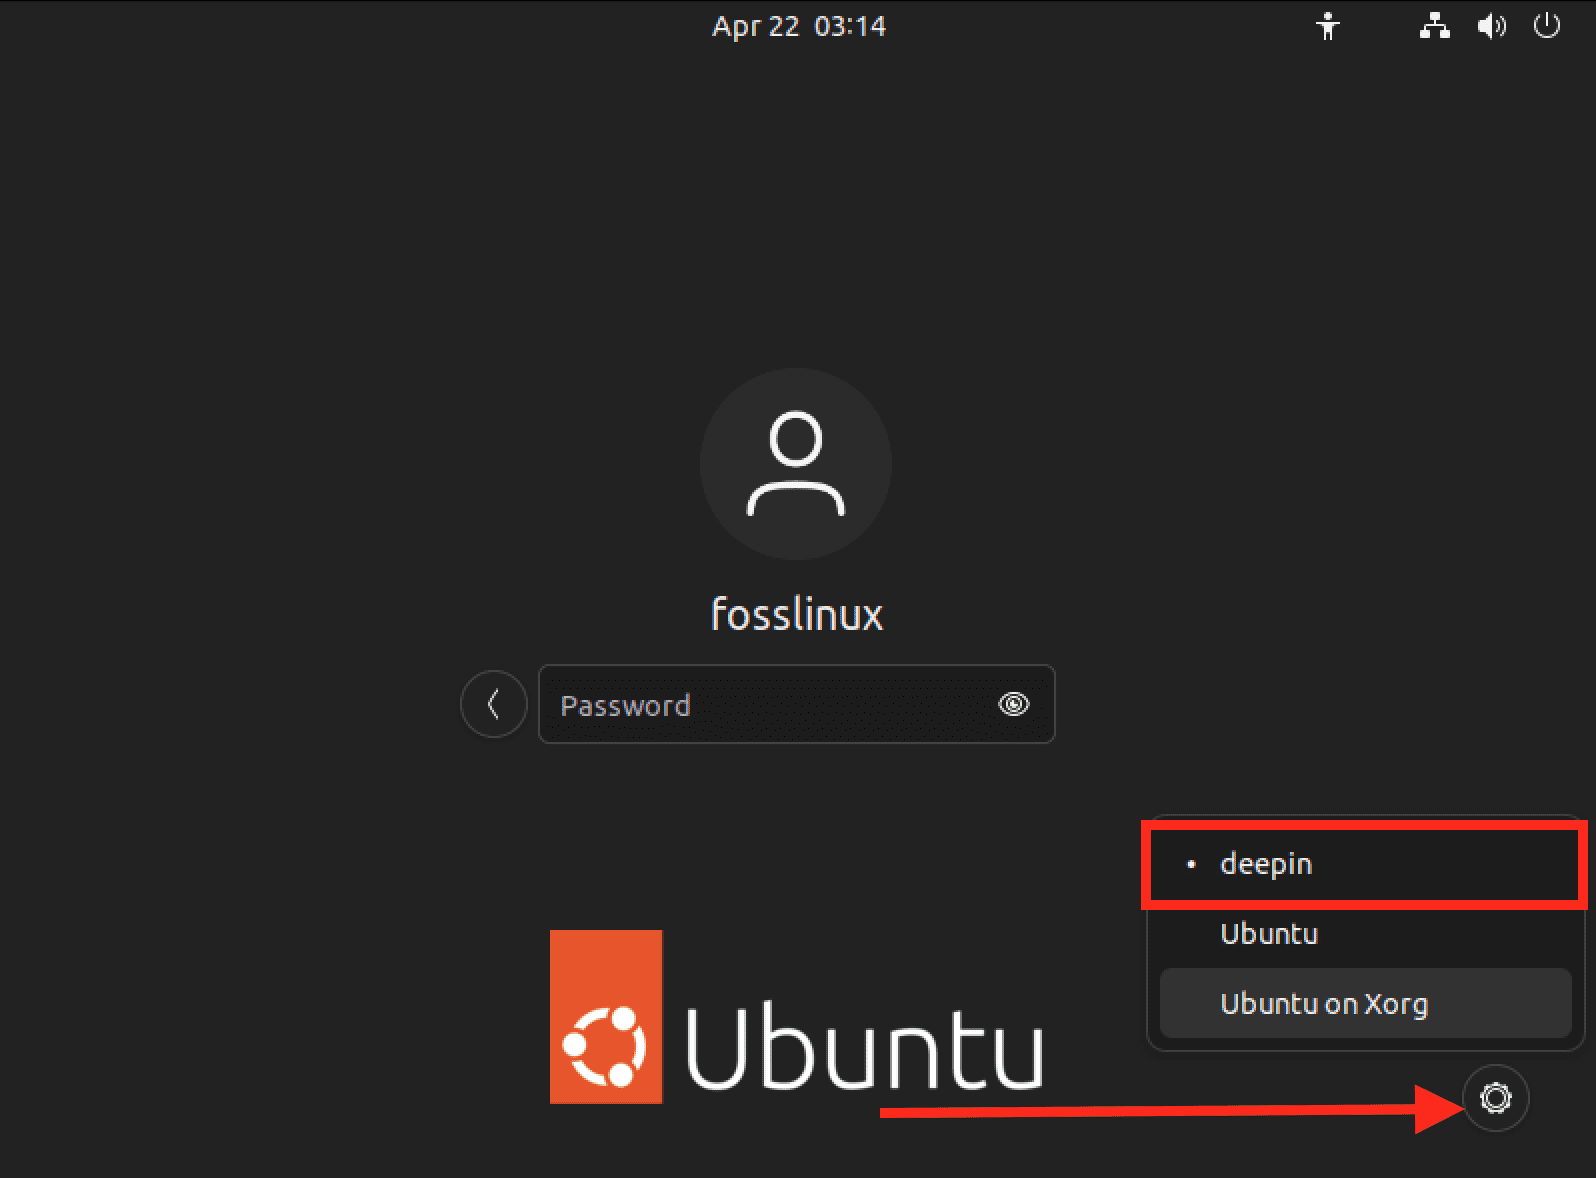
After installation, restart/ log out of your system to activate Deepin Desktop Environment.
On the login screen, just before typing your password, click on the gear icon at the bottom-right of your screen. You will see a pop-up window with all the Desktop Environments available for your system. Select Deepin and proceed to log in.
Set Deepin Desktop
After a successful login, you will see the beautiful Deepin Desktop, like the image below.
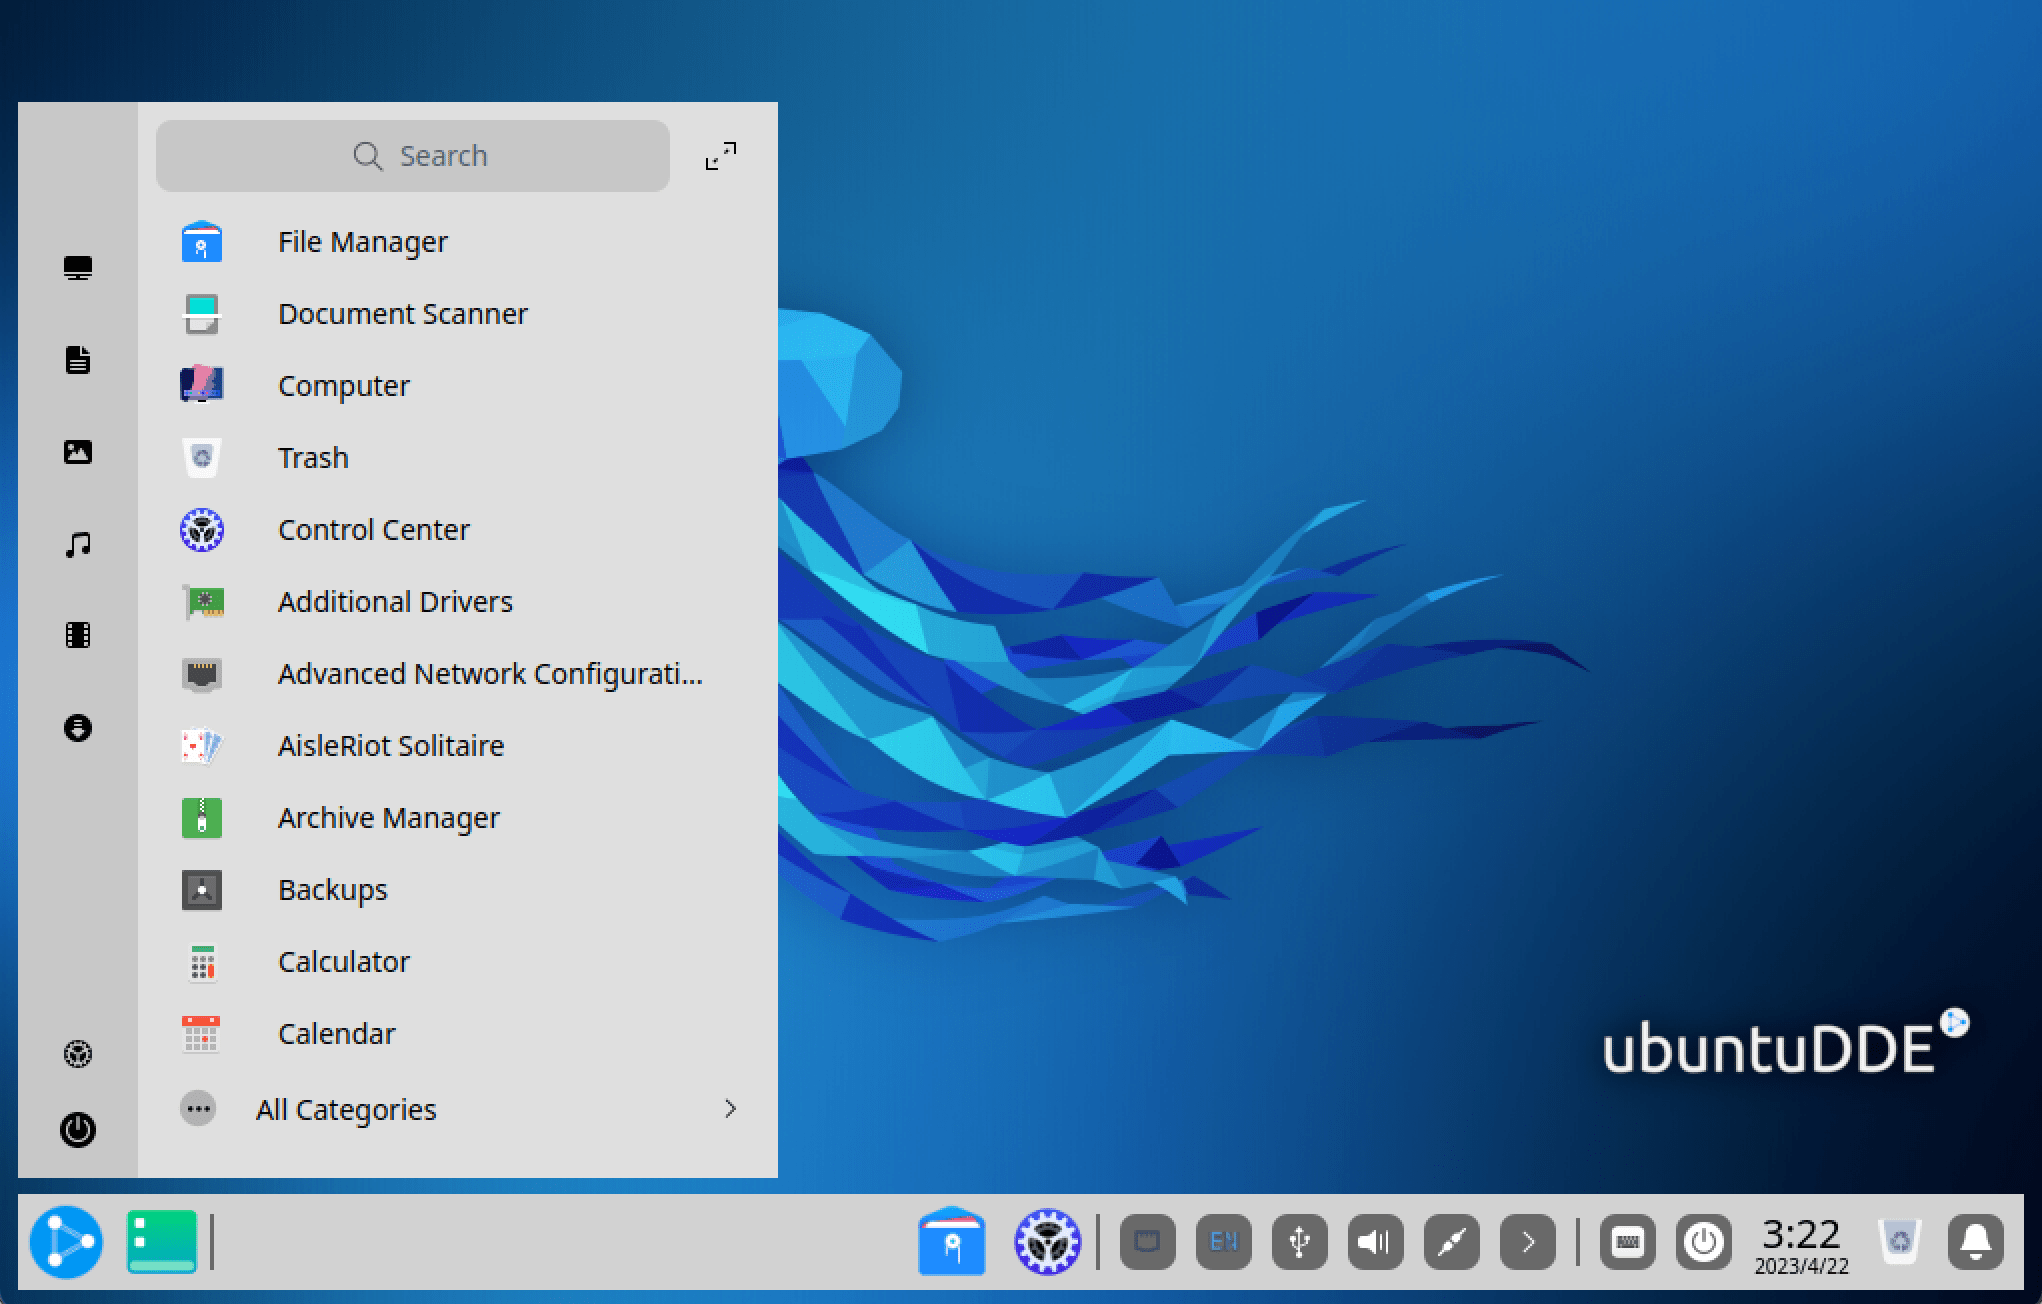
Deepin Desktop
Congratulations, you have successfully installed Deepin Desktop Environment on your Ubuntu system! Enjoy the sleek and intuitive desktop experience of Deepin.
What next after installing Deepin on Ubuntu?
Here are some things you can consider doing after installing the Deepin Desktop Environment on Ubuntu:
1. Update your system: It is always a good idea to update it after installing new software. You can do this by running the following command in a terminal:
sudo apt update
sudo apt upgrade
2. Install additional software: Deepin Desktop Environment has several pre-installed applications, but you may need additional software to meet your needs. You can use the Ubuntu Software Center or run the following command in a terminal to install the software:
sudo apt install <package-name>
Replace <package-name> with the name of the software you want to install. Alternatively
3. Customize your desktop: Deepin Desktop Environment provides many customization options, including desktop backgrounds, themes, and fonts. You can access these settings by right-clicking on the desktop and selecting “Change Background” or by going to “System Settings” > “Personalization”.
4. Set up your preferred applications: Deepin Desktop Environment default comes with pre-installed applications, but you may choose to use different applications for specific tasks. You can set your preferred applications by going to “System Settings” > “Default Applications”.
5. Configure your system settings: Deepin Desktop Environment provides many settings for configuring your system, including display settings, network settings, and power settings. You can access these settings by going to “System Settings”.
Conclusion
That’s it! This post has comprehensively guided you on installing Deepin Desktop Environment on your Ubuntu system. With its modern and visually stunning user interface, dock-style panel, smooth animations, and range of useful applications and tools, Deepin DE is an attractive choice for Linux users looking to switch up their desktop environment. So what’s your take on the Deepin Desktop environment? Is it better than the regular GNOME desktop?
Please, let us know in the comments below.