
Ubuntu is a widely used operating system, particularly in the world of open-source software. However, users sometimes encounter an error message that can be frustrating: “file not supported.” This error can appear when installing software on Ubuntu, preventing users from getting the necessary software. This article will explore what causes this error and how to fix it.
We’ll cover a range of potential solutions, from checking file formats to installing missing dependencies. By the end of this article, you’ll be equipped with the knowledge you need to troubleshoot and resolve the “file not supported” error in Ubuntu.
What causes the “File Not Supported” error?
The “file not supported” error can appear when installing software on Ubuntu. This error message typically means that the installation file is not in a format that Ubuntu can recognize or that a missing dependency is required for the software to run. Several factors can contribute to this error, including the following:
- File format: The software package may be in a format that Ubuntu does not support.
- Dependency issues: The software package may require additional libraries or dependencies to run which are not installed on the system.
- Architecture mismatch: The software package may be compiled for a different architecture than the system it is being installed on.
- File permissions: The user may not have the necessary permissions to install the software.
- Corrupted or incomplete download: The downloaded file may be incomplete or corrupted.
Now that we better understand what causes the “file not supported” error, let’s look at how to fix it.
Fixes for the “File Not Supported” error
Below are notable fixes one can apply if you encounter the “File Not Supported” Error
1. Check the file format
The first step in fixing the “file not supported” error is to check the file format. Ubuntu supports several package formats, including .deb, .rpm, .tar.gz, and .zip. If the software package is in a different format, Ubuntu may not be able to recognize it. To check the file format, right-click on the file and select “Properties.” Next, look for the file extension and make sure it is one of the supported formats. If not, try to find a software version in a supported format.
2. Check for dependencies
Another common cause of the “file not supported” error is missing dependencies. Many software packages rely on libraries or other dependencies to run correctly. If these dependencies are not installed on the system, the software may not work correctly, or Ubuntu may not recognize the file format. You can use the “apt-cache search” command in the terminal to check for missing dependencies. For instance, if you have a file called “my_software,” you can run the following command:
apt-cache search my_software
Example:
apt-cache search mozilla firefox
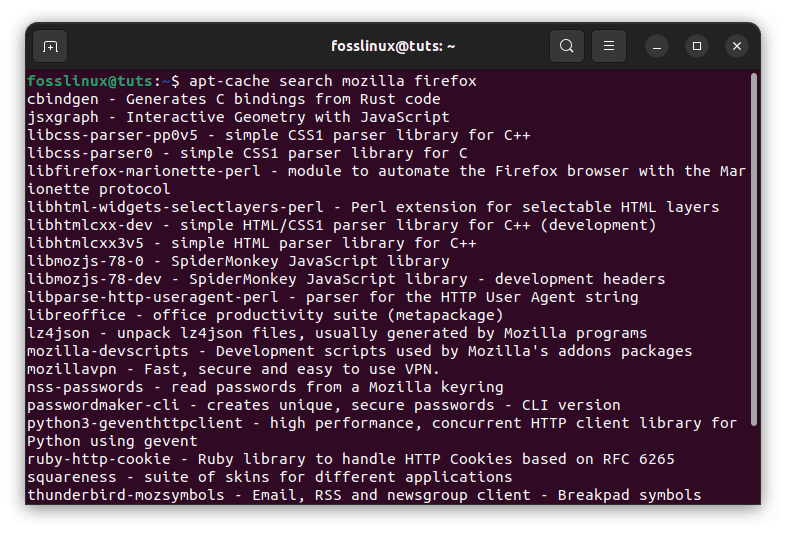
Check missing dependencies
This will display a list of dependencies required by the software. If any of the named dependencies are missing, install them using the Ubuntu package manager. To install a missing dependency, you can use the following command:
sudo apt-get install dependency_name
Replace “dependency_name” with the name of the missing dependency.
3. Check architecture compatibility
The software package may be compiled for a different architecture than the system it is being installed on. For example, the software may be compiled for 64-bit architecture while the system runs on 32-bit architecture. To check the architecture of your system, open the terminal and run the following command:
uname -m
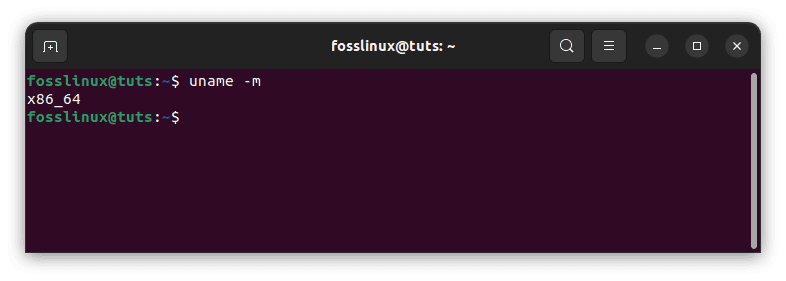
Check architecture compatibility
This will display the architecture of your system. If the software package is not compatible with your system’s architecture, you will need to find a version of the software that is compatible.
4. Check file permissions
If you don’t have prior permission to install the software, you may encounter the “file not supported” error. You can try running the installation command with elevated privileges to fix this issue. Fire up the terminal and execute the following command:
sudo command_to_install_software
Replace “command_to_install_software” with the command you usually use to install the software.
Example:
sudo apt install vlc
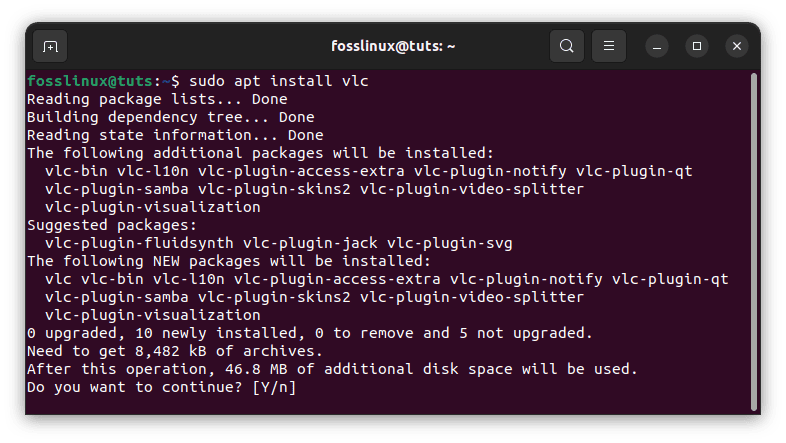
Install Vlc
The command above will install the VLC media player on your Ubuntu OS using elevated privileges.
5. Redownload the software package
You may encounter the “file not supported” error if the downloaded file is incomplete or corrupted. In this case, you can try redownloading the software package and attempting the installation again. Download the software from a trusted source to avoid downloading a corrupted or infected file.
6. File compression
Sometimes, the software package may be compressed in a format that Ubuntu cannot extract or decompress. This can result in the “file not supported” error. To resolve this issue, you can try installing the required compression software. For example, if the package is compressed in a .zip format, you can install the “unzip” utility by running the following command in the terminal:
sudo apt-get install unzip
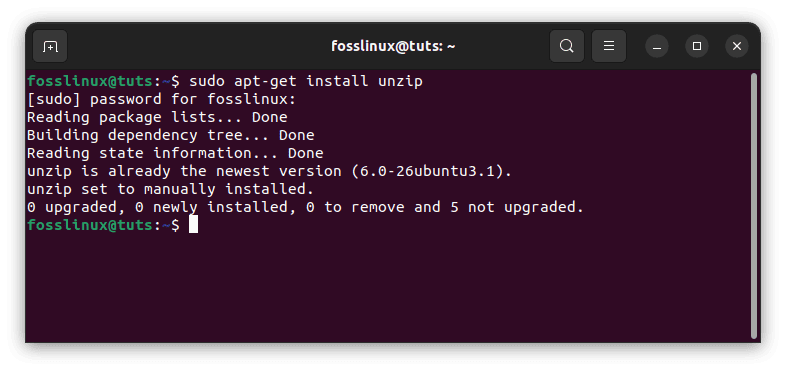
Install unzip
After installing the required compression software, you can try extracting the software package again and attempting the installation.
7. Upgrading Ubuntu
If you are working on an older version of Ubuntu, you may encounter the “file not supported” error when installing software that requires newer dependencies. In this case, you can upgrade Ubuntu to a more recent version with the required dependencies. To upgrade Ubuntu, run the following command in the terminal:
sudo do-release-upgrade
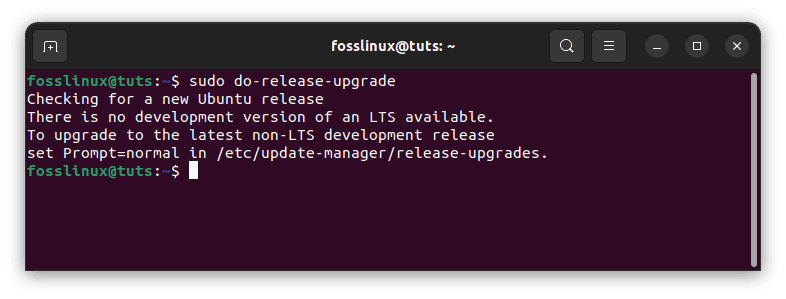
Upgrade your Ubuntu
Follow the screen prompts to complete the upgrade process, and then try installing the software package again.
8. Check Ubuntu software sources
Ubuntu Software Sources is a graphical interface that allows you to manage software repositories on Ubuntu. If you encounter the “file not supported” error when installing software, you can try checking the software sources to ensure that the required repositories are enabled. To access the Ubuntu Software Sources, follow these steps:
Open the “Software & Updates” application from the Ubuntu Dash.
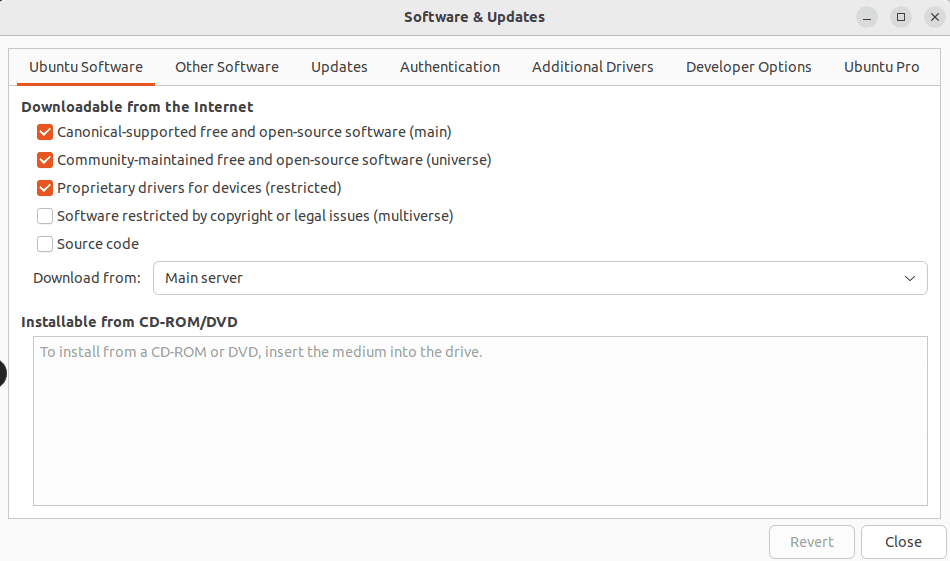
Open software & updates
Click on the “Ubuntu Software” tab.
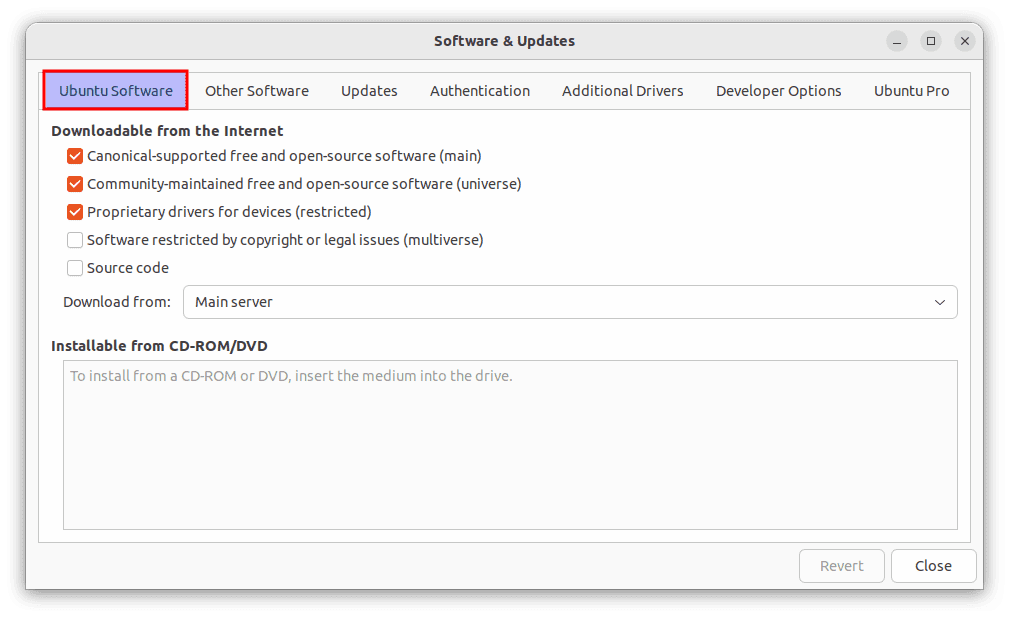
Ubuntu software tab
Check that the “Main,” “Universe,” “Restricted,” and “Multiverse” repositories are enabled.
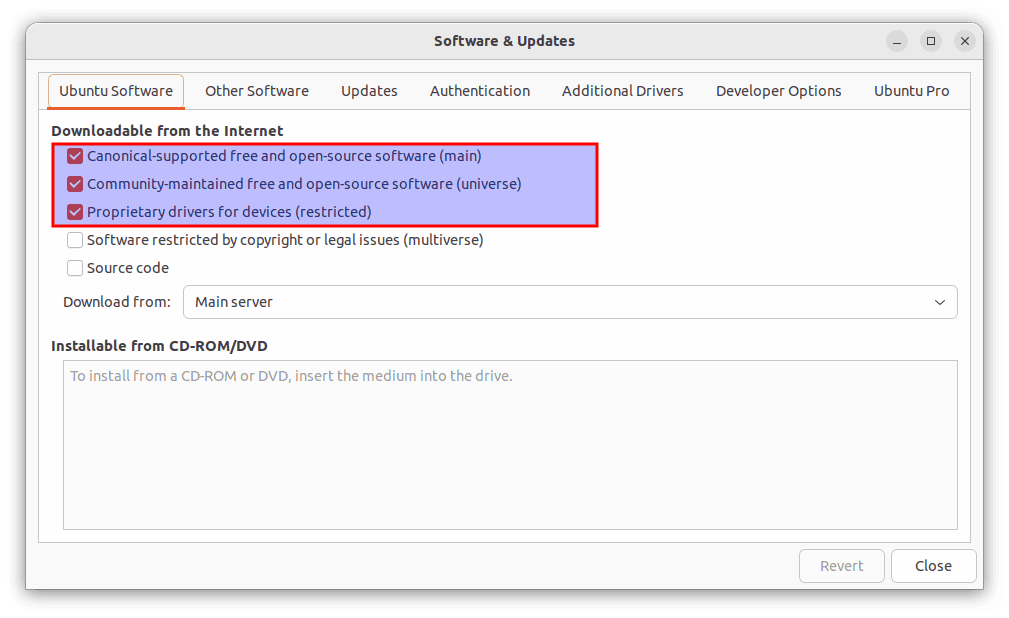
Ensure the main, universe, and restricted are checked
If any repositories are disabled, check the box next to them to enable them.
Click “Close” to save the changes.
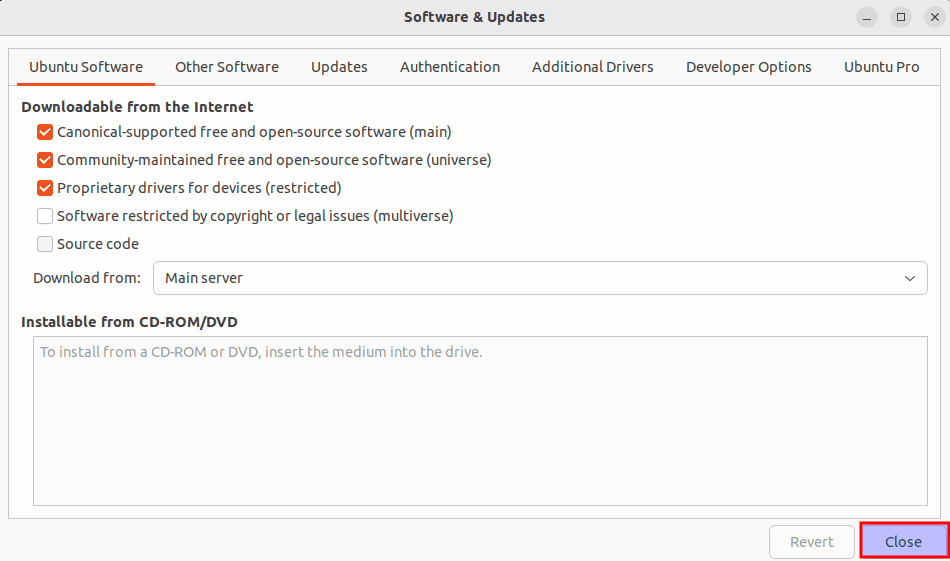
Click close
After enabling the required repositories, try installing the software package again.
9. Check the system architecture
In addition to checking the software package architecture, you should verify that your Ubuntu system architecture is compatible with the software package. For example, if the software package is designed for a 64-bit system, but you have a 32-bit Ubuntu installation, you may encounter the “file not supported” error. To check your system architecture, run the following command in the terminal:
uname -m
This will display your system’s architecture, such as “x86_64” for 64-bit or “i386” for 32-bit. Ensure the software package is designed for your system architecture before installing it.
Check system architecture
10. Use alternative package formats
Sometimes, the software package you are trying to install may not be available in a format compatible with Ubuntu’s package manager. In this case, alternative package formats can be installed using a different package manager or installation method. For example, some software packages may be available as an AppImage, a self-contained executable file that can be run without installation. To use an AppImage, download the file and make it executable by running the following command in the terminal:
chmod +x appimage_file
Replace “appimage_file” with the name of the AppImage file you downloaded. Then, double-click the file or run the subsequent command to launch it. For instance, to install Audacity AppImage, download it from here, then execute the following lines of code to install it:
chmod +x audacity-linux-3.2.5-x64.AppImage
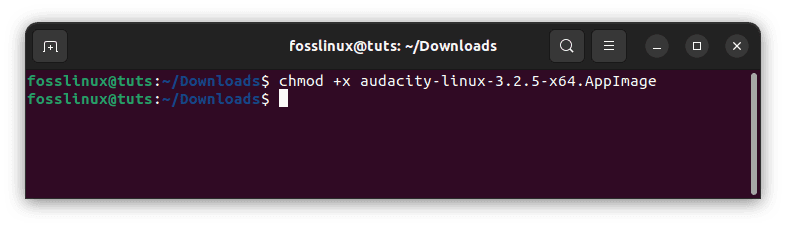
Make AppImage executable
Now execute this line to run it:
./audacity-linux-3.2.5-x64.AppImage
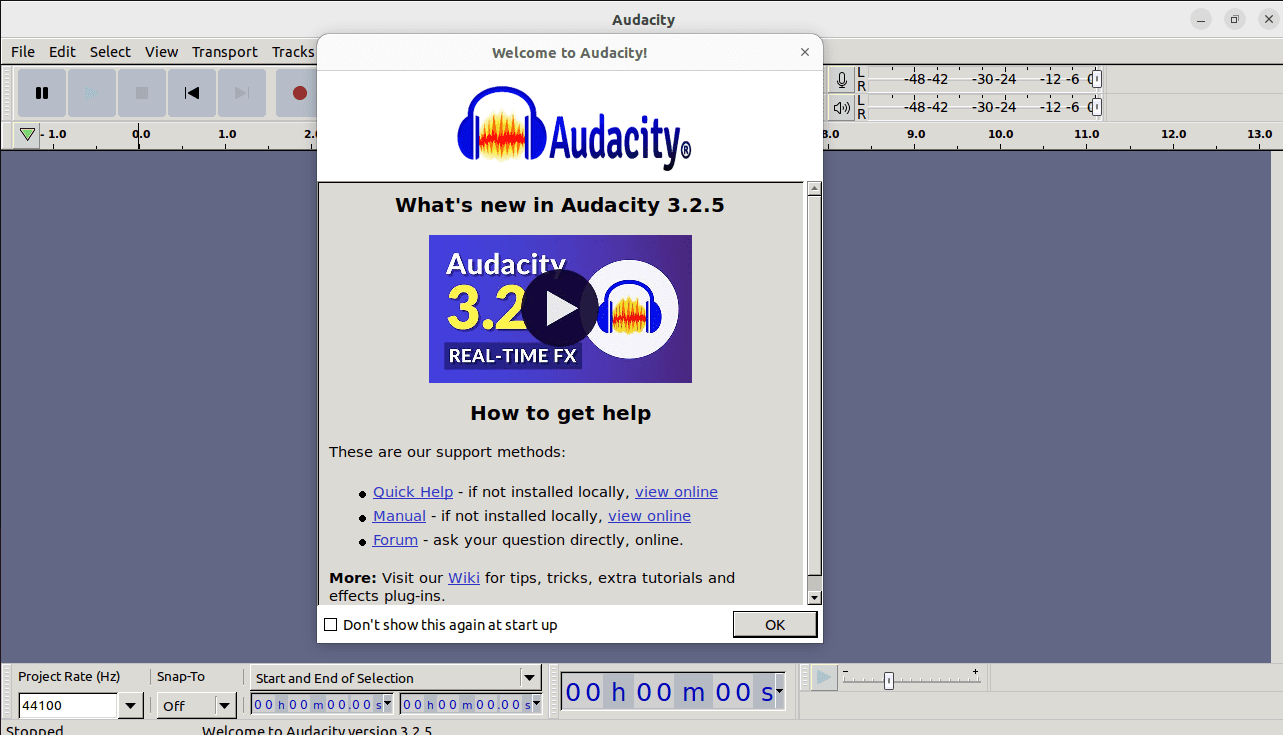
Launch audacity
11. Use a Virtual Machine
If all else fails, you can try running the software on a virtual machine that is compatible with the software’s requirements. This involves creating a separate virtualized environment on your Ubuntu system that emulates a different operating system or hardware configuration. For example, if the software package requires Windows or macOS, you can create a virtual machine that runs the required operating system and install the software within that environment. Virtual software, such as VMware or VirtualBox, can be installed on Ubuntu and used to create and manage virtual machines.
Encountering the “file not supported” error when installing software on Ubuntu can be frustrating, but by understanding the potential causes and solutions, you can quickly troubleshoot and resolve the issue. Remember that the specific fix may vary depending on the underlying cause of the error. By following the steps outlined in this article and utilizing additional resources as needed, you can successfully install the software you need and avoid further headaches.
Examples of installing software with missing dependencies
To illustrate the installation process, let’s look at an example of installing a software package that requires a missing dependency.
Suppose we want to install the software package “example_software.deb,” but when we try to install it, we encounter the “file not supported” error. We use the “apt-cache search” command to check for missing dependencies and find that the software requires “libssl-dev.” To install this dependency, we run the following command in the terminal:
sudo apt-get install libssl-dev
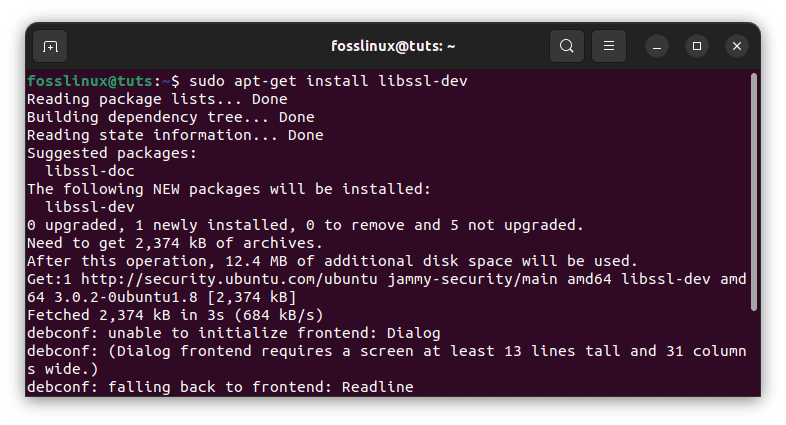
Install missing dependency
After installing the missing dependency, we attempt the installation of the software package again using the following command:
sudo dpkg -i example_software.deb
This time, the installation should complete successfully without encountering the “file not supported” error.
That is how you can quickly fix a package that contains a missing dependency. First, try installing the package, then use the “apt-cache search” command to check for missing dependencies. Once the missing dependency has been installed, try installing the software, and this time, it should install successfully without any complications.
Conclusion
To recap, some critical fixes for this error include ensuring that all dependencies are installed, verifying the software package architecture, using alternative package formats, and using a virtual machine as a last resort. These steps can help you troubleshoot and resolve the error systematically and efficiently.
Furthermore, it is essential to keep your Ubuntu system up to date and regularly check for software updates and security patches. This can help prevent compatibility issues and ensure your system runs smoothly and securely. In addition, it is essential always to obtain software from trusted sources and carefully read installation instructions before proceeding. This can help prevent errors and potential security risks.