
Budgie desktop is an elegant-looking desktop environment developed by the Solus project. This GNOME-based desktop is simple, fast, and easy to use. Also, it is one of the few desktop environments designed explicitly for the Solus OS. Budgies’ philosophy is to offer an easy-to-use desktop environment that is visually appealing and user-friendly.
It was first developed in 2013 by Joshua Strobl, Ikey Doherty, and Solus’s project team as a project to succeed in the GNOME 2 desktop environment. Initially designed for the Solus version of the Linux distro, Budgie can now be incorporated into any Linux distro. The name “Budgie” was taken from the famous Budgie bird.
For those looking for a desktop that is akin to GNOME but with boosted functionality, a few extra features, and a modern look and feel, then Budgie is worth giving a shot at.
Some of its flaws are that it is not as customizable as other desktop environments and does not have as many features as different desktop environments.
Here are some requirements to install Budgie on your Ubuntu machine.
Juxtaposed to Ubuntu with GNOME and Kubuntu, their hardware requirements are more moderate but slightly higher than Xubuntu. It is vital to note that the actual hardware requirements depend on the user’s individual needs. The following requirements are the minimum ones based on the software configuration Ubuntu Budgie comes with by default.
- 60GB disk space.
- GPU with basic 3D hardware acceleration.
- Intel or AMD 1.5GHz without precise details, but multi/dual core makes a lot of sense.
- 2GiB minimum memory and 3GiB memory are recommended for 64-bit.
- UEFI PCs booting in CSM mode.
With that said, let us discuss the first impressions of this application.
What’s interesting about the Budgie Desktop Environment?
Welcome window
1. User experience
Ever experienced other desktop environments? If yes, you should be able to realize that Budgie is more or less like using the KDE plasma or GNOME with the dash-to-panel extension. Much like an ancient desktop paradigm you had been used to with Windows, all desktop elements are contained in the bottom panel.
From the top-left of the desktop are a searchable menu, some panel icons for pinned apps, and a system tray on the right with networking, sound, notification, and time settings. Its simple UI makes it a great desktop environment. Having everything also pinned at the bottom gives a little more space for apps at the top of the screen. It is small, but it can make a huge difference.
2. Performance
Another area where Budgie is a lot better compared to GNOME is the performance and system resource usage. A fresh restart of a fully-updated Burgie desktop utilizes just over 620 MB RAM, and CPU usage hovers around 1%. This is on the same lane as desktop environments like KDE plasma and Cinnamon. How great is it to have something so tightly integrated with GNOME that runs so light on the system? So those who hate the weight of a GNOME desktop environment but want the look and feel would fall in love with Budgie.
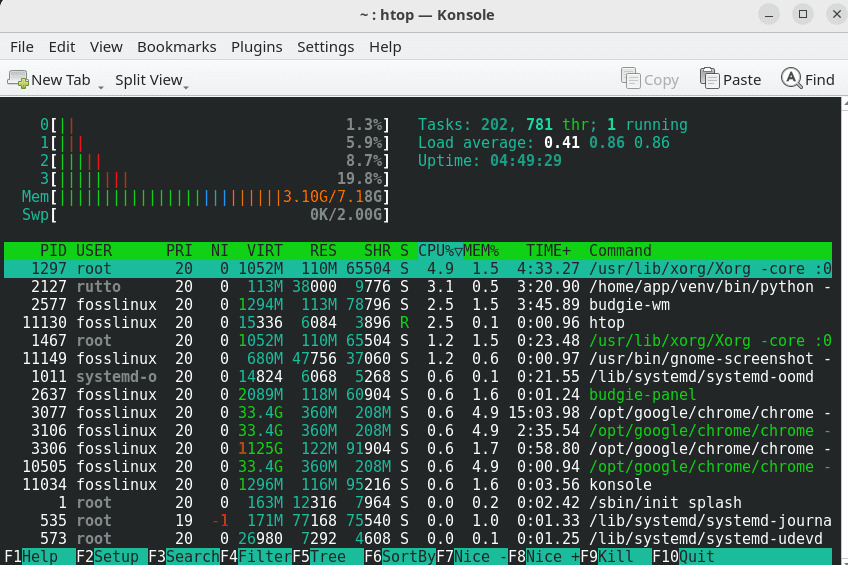
htop
Besides the system resource usage, this environment performs better in general tasks. Budgie has no GPU passthrough and no 3D acceleration; hence can be fully functional with minimal graphics horsepower.
3. Budgie desktop settings
One of the things many don’t see in Desktop environments is an intuitive place for all your customization. The Budgie Desktop settings app is a massive exception, providing you with access to a vast volume of customization settings without having to go elsewhere to install any special programs.
Beneath style, you can set stuff like window and icon themes, whether or not you want a global dark theme or windows to use animations and a lot more settings that we have not touched on.

Budgie desktop settings
With that covered, let’s hit the road!
Installing Budgie on Ubuntu
We will start with the installation phase. Since Budgie is part of Ubuntu’s official repos, there is no need to append any PPAs to set it on the Ubuntu OS. We will need to run the setup command, as the subsequent steps cover.
Step 1: Update and upgrade the system
First, we will begin by opening up our terminal by issuing the “Ctrl+Alt+T” keyboard shortcut combination. After which, you can run the following command to check your system for any updates:
sudo apt update
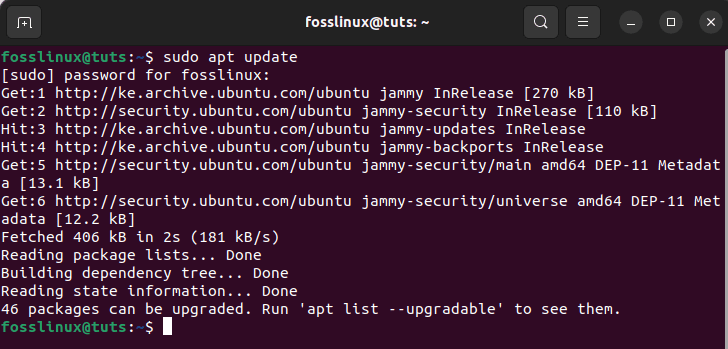
Update system
After that, you may receive packages that need to upgrade at the end of updating the system, like we have “46” in our event. In case of such, issue the following command:
sudo apt upgrade
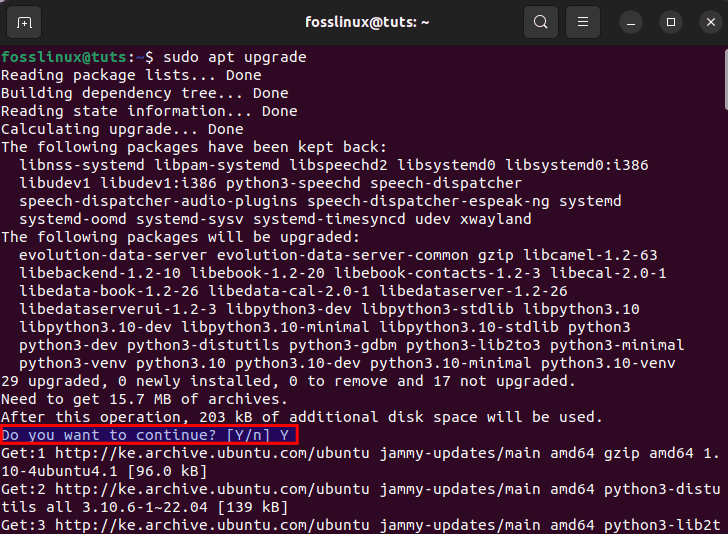
Upgrade system
Note: During the upgrade process, you will be queried with a prompt asking you if you would like to proceed with installing the packages that need to be upgraded. Just type “Y/y” and hit the “Enter” button on your keyboard, and the process will be underway.
Step 2: Set up Budgie Desktop on Ubuntu
Now that we have flawlessly updated the packages, we are good to proceed with the installation of Budgie on Ubuntu. As mentioned earlier, Budgie is already available to fetch from a base repo of Ubuntu; there is no need to append any third-party repository to get the Budgie packages. To do this, run the following command:
sudo apt install ubuntu-budgie-desktop
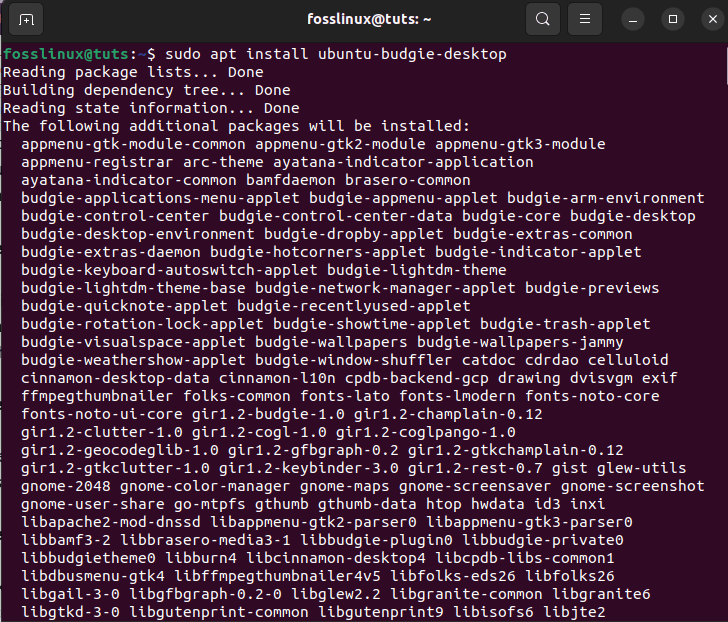
Install budgie desktop
Remainder: You will also be asked if you are okay with the installation proceedings. To affirm your confidence, type in “y/Y” and hit the “Enter” button on your PC. Alternatively, you can simply hit the “Enter” button, and the installation of the desktop environment will begin.
Step 3: Select the default display manager for Budgie
While setting up the Budgie desktop, the system will request you to select the default display controller. We suggest you choose “LightDm” and hit the “Enter” key on your keyboard. LightDM is a default display control for the Budgie desktop in Solus.
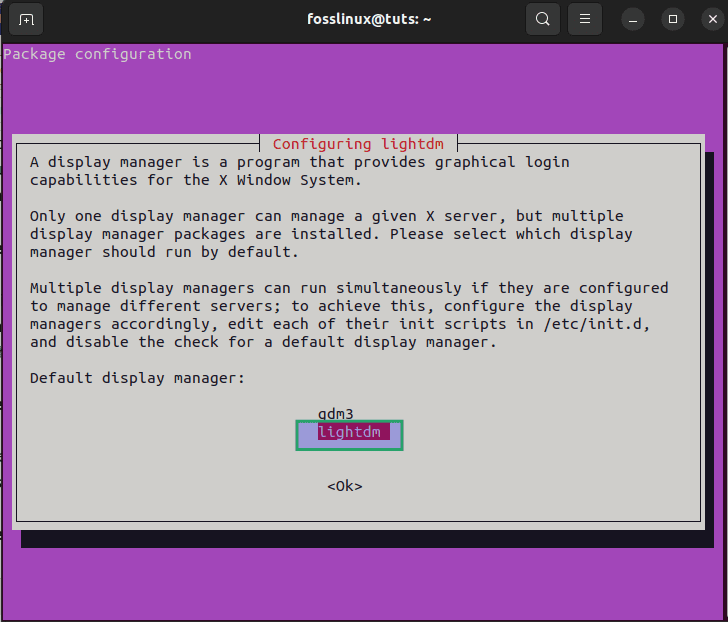
Select lightdm
Step 4: Log out of your currently active session
After the installation is done, maneuver to the “power button” on the right-hand corner of the desktop and click on “Log out.”
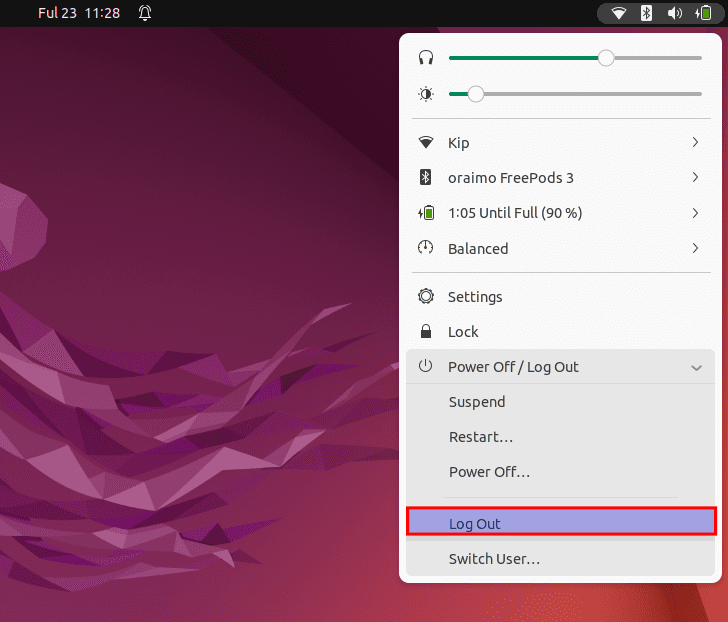
select Logout
On the logout confirmation window below, click on “Logout” again:
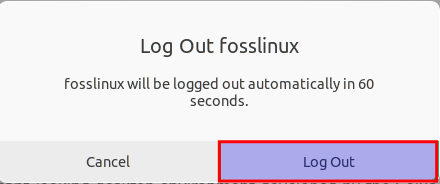
Logout confirmation window
This should land you on the lock screen as displayed below:
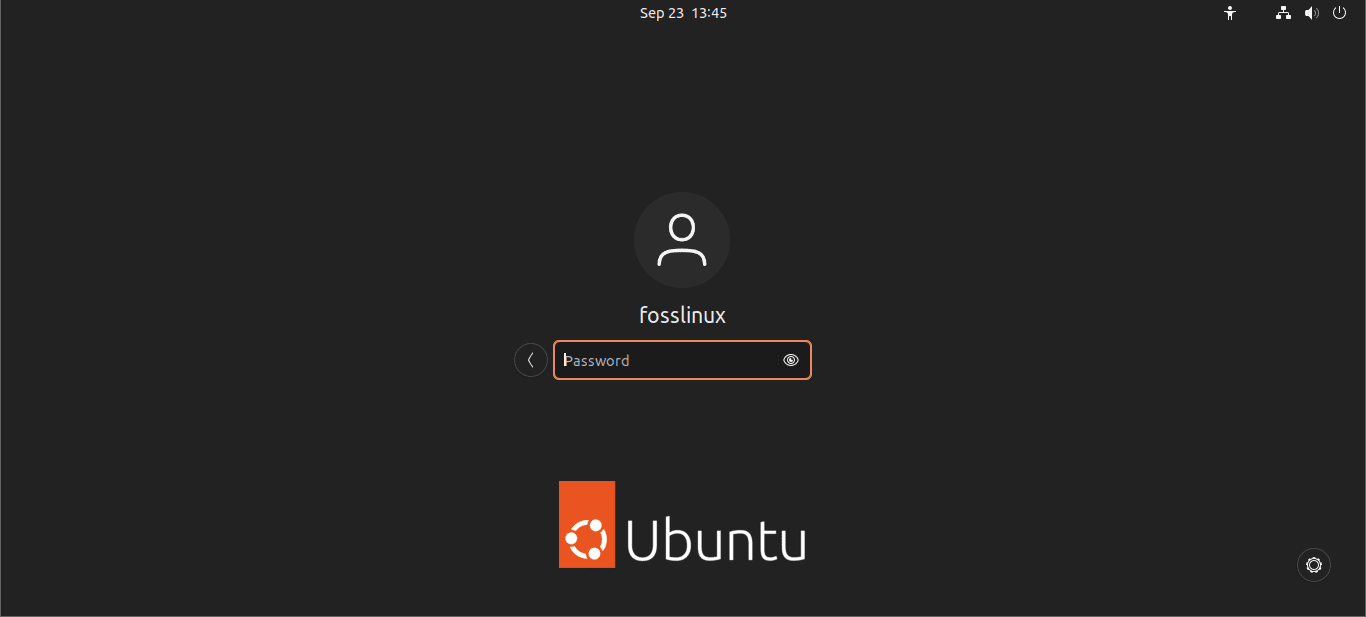
lock screen
Step 5: Switch to Budgie Desktop at login in Ubuntu
Next, select the user you want to use to log in to the system. After selecting, the user account, you should see a “Gear” icon on the right-bottom side of the desktop. Click the “Gear” icon, and a pop-up with several options will appear, go ahead and select “Budgie desktop.”
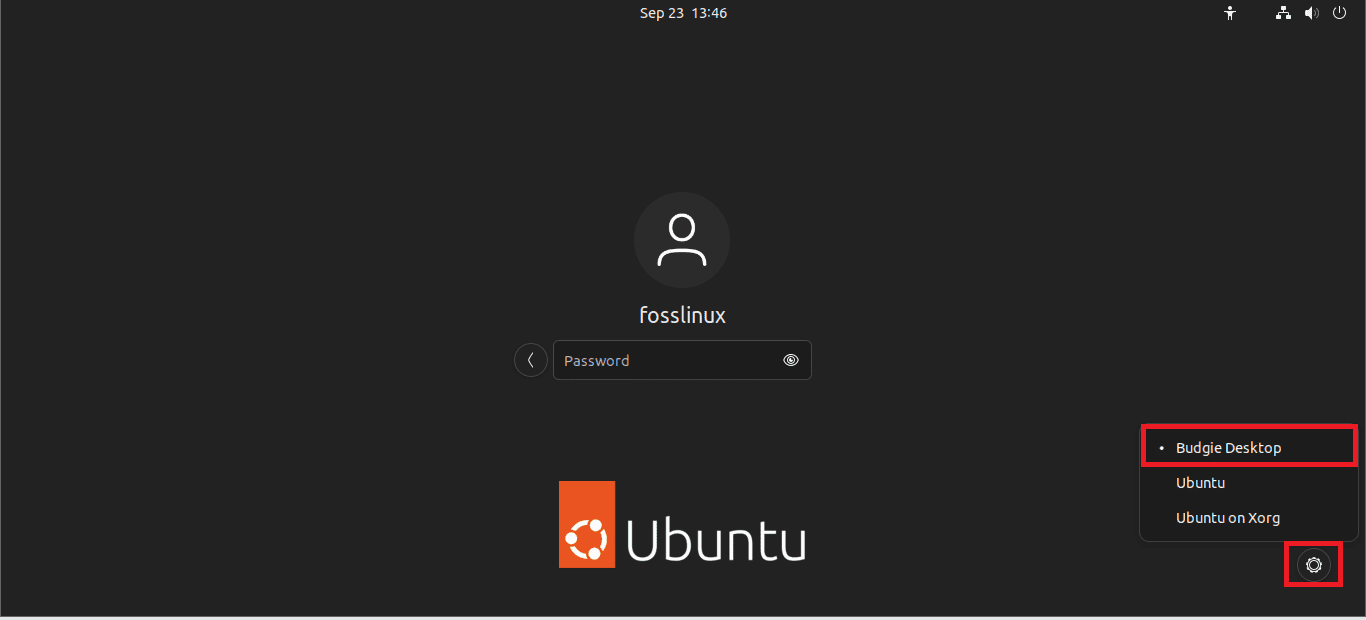
Select Ubuntu budgie
Now, input the user password to log in. You don’t need to do this every time you boot into Ubuntu lest you want to change your desktop user interface(UI).
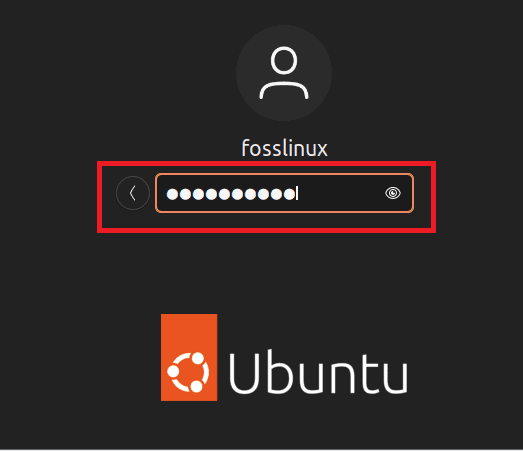
type in your password
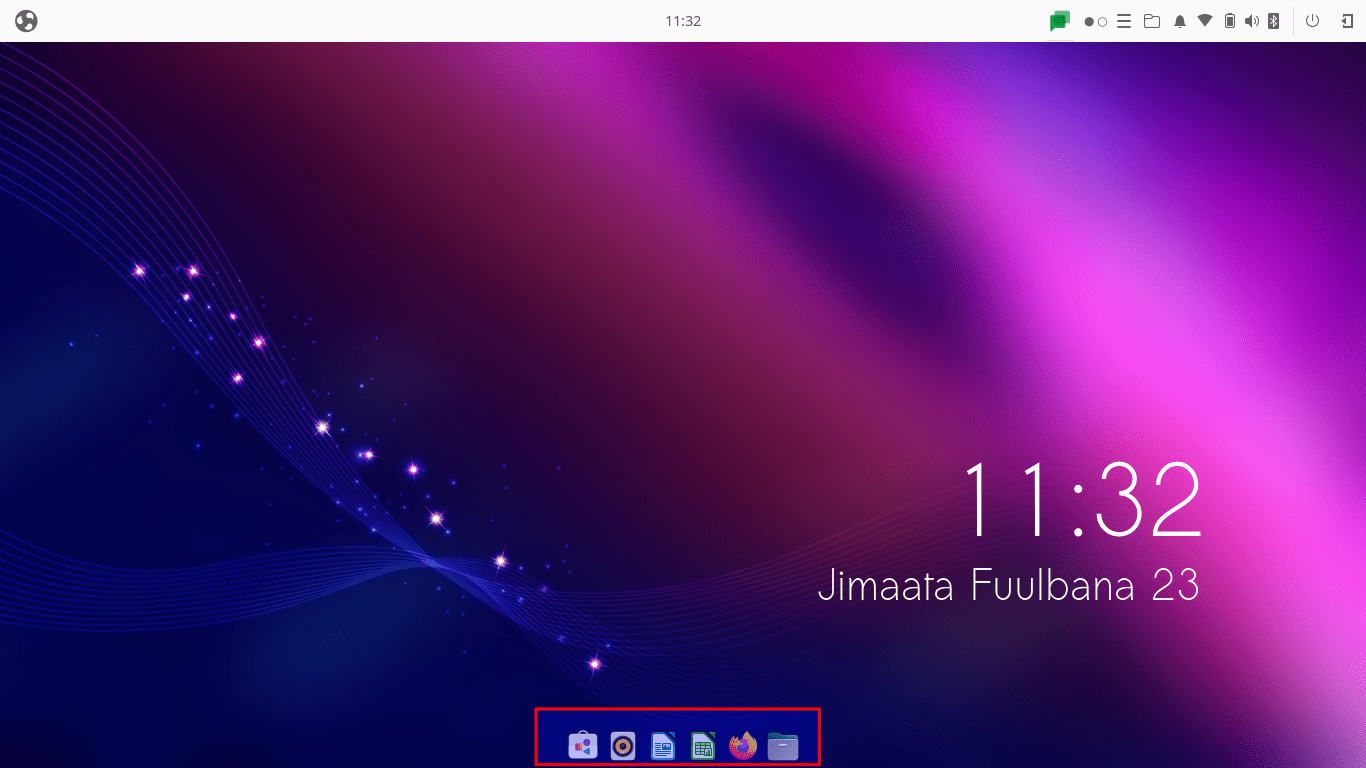
Step 6: Budgie Desktop Interface
In the end, you will have such a desktop environment installed on your Ubuntu system with a new lock screen. You should also notice a new default bottom menu dock like macOS and other sleek elements.
Welcome window
And that is it, guys!
If you want to remove this desktop environment, here is the approach.
How to uninstall or remove the Budgie Desktop environment
If you, for one reason or the other, wish to remove or, say, uninstall Budgie’s desktop from your Ubuntu system in the future, you can do this by running the following strings of commands on your console. But first, ensure you switch back to the default Ubuntu by going back to the login screen, then change the desktop environment using the steps we just covered, then execute the following command:
sudo apt remove ubuntu-budgie-desktop ubuntu-budgie* lightdm
sudo apt autoremove
sudo apt install --reinstall gdm3
Final Thoughts
And that is how you can set up the Budgie desktop on your Ubuntu system. Installing Budgie is one effortless task, as covered in this guide. We also showed you how you could uninstall the environment if you are faded up using it. This article has used Ubuntu 22.04 for illustration purposes. You can also study how to install the Budgie desktop in Manjaro. We hope this article came in handy; otherwise, keep rooting for FOSSLinux.