
So many IDEs (Integrated Development Environments) for Python programming are available in the market today. However, Pycharm stands out of the crowd. It is a versatile and powerful tool that allows developers to write, debug, and deploy code more efficiently.
PyCharm’s popularity stems from its ability to provide a comprehensive environment for Python development, including features such as intelligent code completion, syntax highlighting, and debugging tools. It also supports a wide range of Python frameworks and libraries, making it an ideal choice for developers working on complex projects.
Throughout this article, we will walk you through installing PyCharm on Ubuntu, configuring it to work with your system, and using it to develop Python projects effectively. You do not need to be a guru with Linux systems, as this post will give you a step-by-step guide with all the commands and screenshots. Feel free to hit the comments below if something doesn’t work out.
Update your Ubuntu system and install dependencies
Before installing PyCharm on Ubuntu, we must ensure that our system is up-to-date and has the necessary dependencies installed. Follow the steps below.
Step 1: Launch the Terminal.
There are two ways you can use to open the Ubuntu Terminal. You can click the activities button at the top-left and search “Terminal” or use the keyboard shortcut “Ctrl + Alt + T.”
Step 2: Update the system.
Since you are installing a new package, it is always recommended first to update the existing packages. Additionally, regular updates enhance your systems’ security as they come with bug fixes. Run the command below.
sudo apt update
Once done, you can upgrade the existing packages to the latest version by running the command below:
sudo apt upgrade
Once you are done updating and upgrading your system, you can proceed to install Pycharm on Ubuntu.
Installing PyCharm on Ubuntu
There are two methods that you can use to install Pycharm on Ubuntu:
- Command line
- Graphical User Interface (GUI)
This post will look at both ways.
Method 1. Install Pycharm from the command line
PyCharm can be easily installed on Ubuntu using the command line. Many developers prefer this method since it’s quick and straightforward. Here are the steps to follow:
Step 1: Install the “snapd” package.
PyCharm is not available in the default Ubuntu repository. However, it can be installed via Snap. Snap is a platform-independent package management system that allows us to install and manage software packages on Ubuntu systems.
sudo apt install snapd
Step 2: Check the Snap version.
You can verify that snapd is installed correctly by running the command below.
snap version
Step 3: Install the “core” snap package.
The “core” snap is a special snap package that provides the underlying runtime environment required for other snaps to run. It includes essential components and libraries necessary for the functioning of the Snap system itself and other snaps that depend on it. Execute the command below.
sudo snap install core

Install Snap on Ubuntu
Step 4: Install Pycharm.
Once the system is ready, you can install PyCharm using the following command:
sudo snap install pycharm-community --classic
That will download and install the latest version of PyCharm Community Edition.
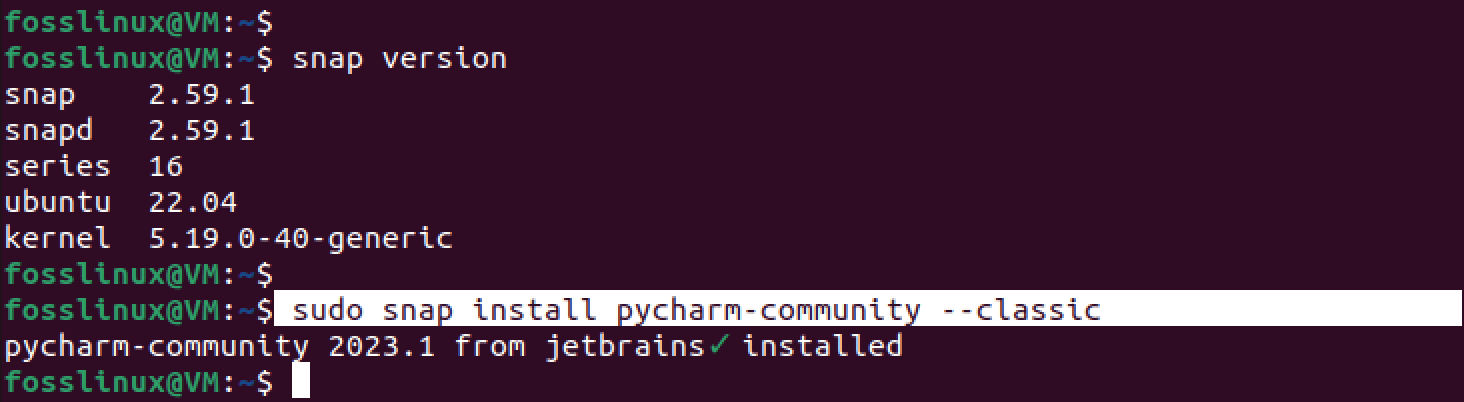
Install Pycharm on Ubuntu
Tip: If you prefer to install a different version, you can use the following command instead:
sudo snap install pycharm-community --classic --channel=<version>
Replace <version> with the version number, you want to install.
Tip: You can find the available version numbers by running the following command:
sudo snap info pycharm-community
Step 5: After the installation is complete, you can launch PyCharm by typing the following command in the terminal:
pycharm-community
This will launch PyCharm, and you can start developing Python applications.
You can launch the app from the applications menu by clicking the “Activities” button on the top-left and typing “Pycharm” in the search box.

Launch Pycharm
Method 2. Install Pycharm from the GUI
Alternatively, you can also install PyCharm from the Ubuntu Software Center, which provides a user-friendly graphical interface for installing and managing software on Ubuntu.
Follow the steps below.
Step 1: Launch the Ubuntu Software Center by clicking the Ubuntu Software icon on the dock or searching for it in the application launcher.
Step 2: Once the Ubuntu Software Center is open, click the “Search” icon on the top right corner and type “pycharm” in the search bar. You will see several options:
- Pycharm community (Recommended): This edition of PyCharm is a free and open-source version that includes essential features for Python development. It provides code completion, syntax highlighting, and other basic features for developing Python applications. The Community Edition suits individual developers or small teams working on open-source or smaller commercial projects.
- Pycharm professional: This paid version of PyCharm includes advanced features for professional Python development. It has web development support, database tools, remote development capabilities, and many other advanced features. PyCharm Professional Edition is ideal for larger development teams or individuals who work on complex projects that require more advanced features.
- Pyacharm Edu: PyCharm Edu is a special edition of PyCharm that is explicitly designed for educational purposes. It is free and includes all the basic features of PyCharm Community Edition, plus additional tools for teaching and learning Python
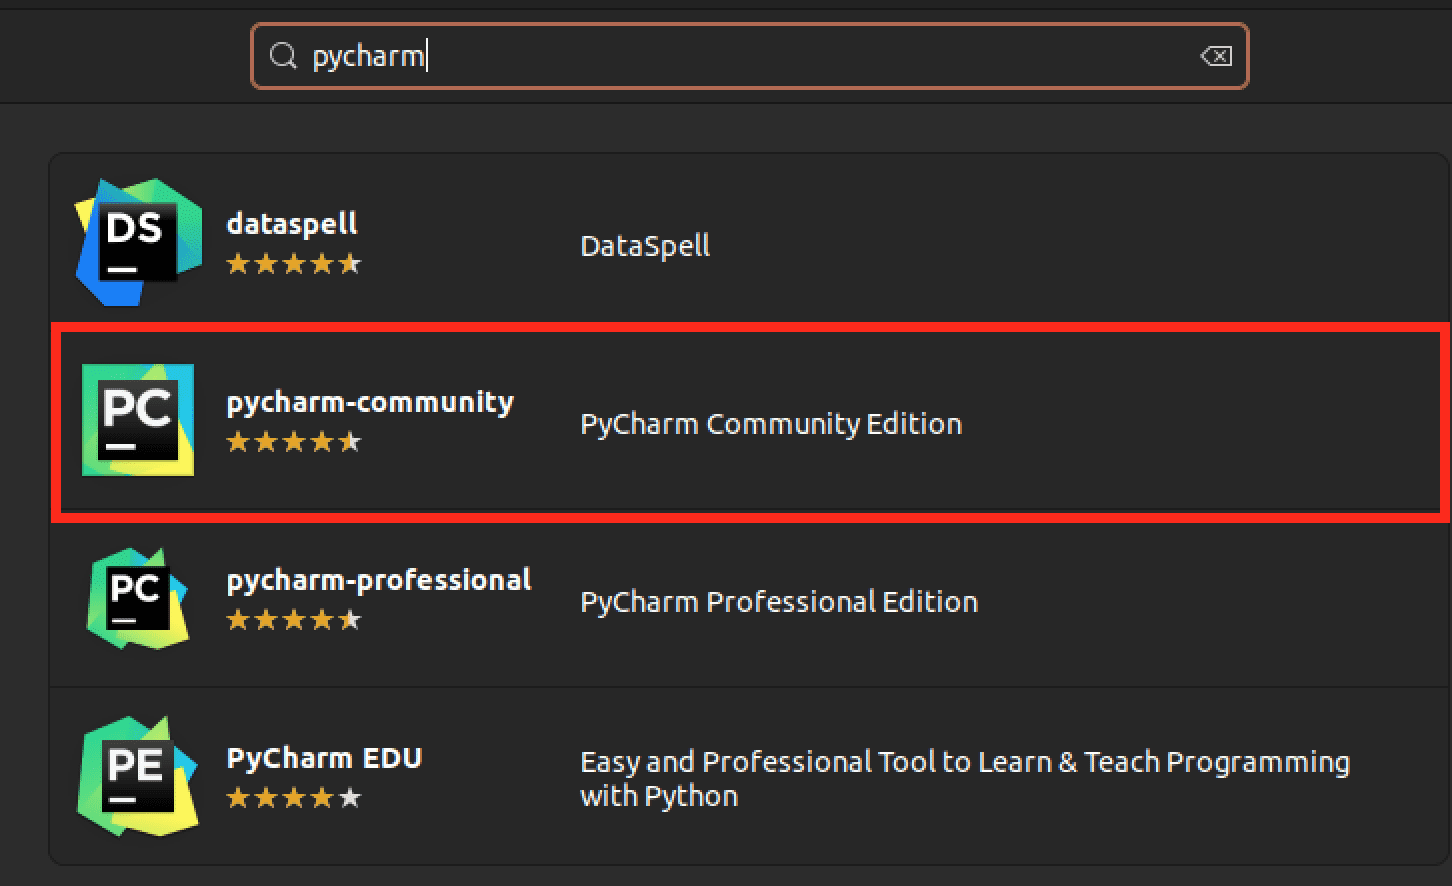
Install Pycharm community
Step 3: From the search results, click on the PyCharm Community Edition or PyCharm Professional Edition, depending on which version you prefer.
Step 4: Click the “Install” button on the PyCharm application page.
Step 5: Ubuntu Software will prompt you to authenticate by entering your password. Enter your password and click “Authenticate.”

Install
Step 6: Wait for the installation to complete. Once the installation is complete, you can launch PyCharm by clicking the “Launch” button. Alternatively, you can also launch Pycharm from the applications menu.
Getting started with Pycharm
When you launch Pycharm, you will see the window below where you must accept the End User Agreement. Then, tick the checkbox and click “Continue.”

Pycharm user agreement
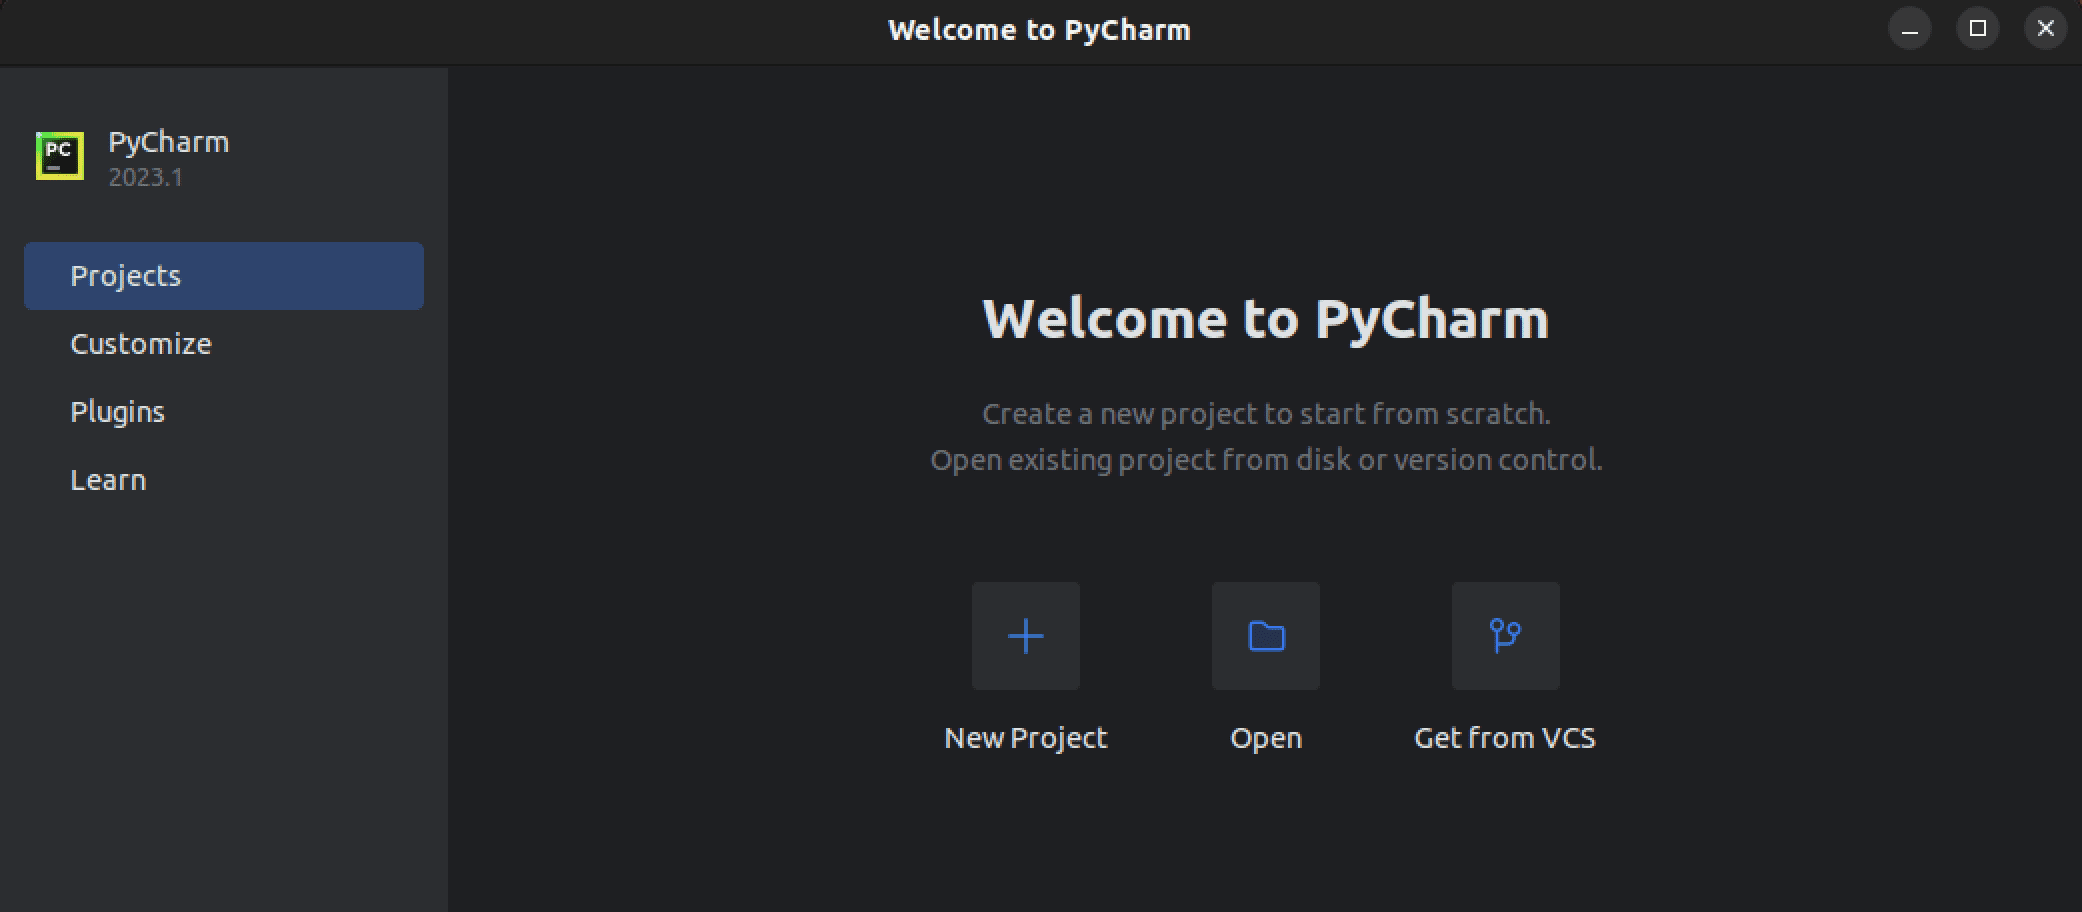
Pycharm window
Let’s discuss some of the components of this window.
You will see a sidebar on the left-hand side of the PyCharm window, providing quick access to various tools and settings. It includes the following options:
Projects
This section displays a list of all the projects currently open in PyCharm. From here, you can quickly switch between projects, create new ones, or open existing ones. You will also see an option like “Get from VCS,” which allows you to download an existing Python project from a version control system such as Git, Mercurial, or Subversion.
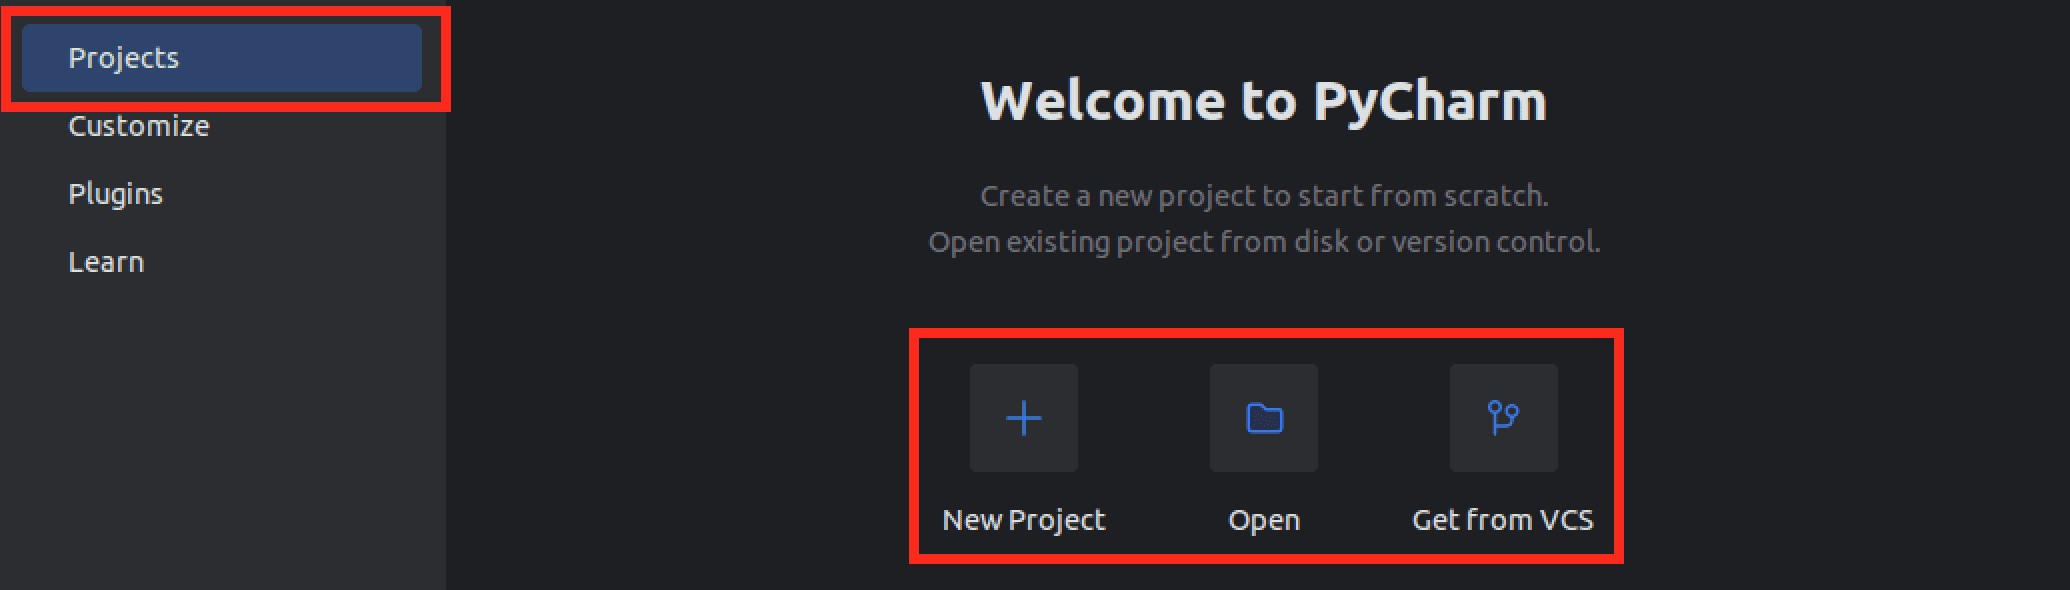
Manage projects
Customize
This section allows you to customize the appearance and behavior of PyCharm. You can change the color scheme, font size, and code style preferences.
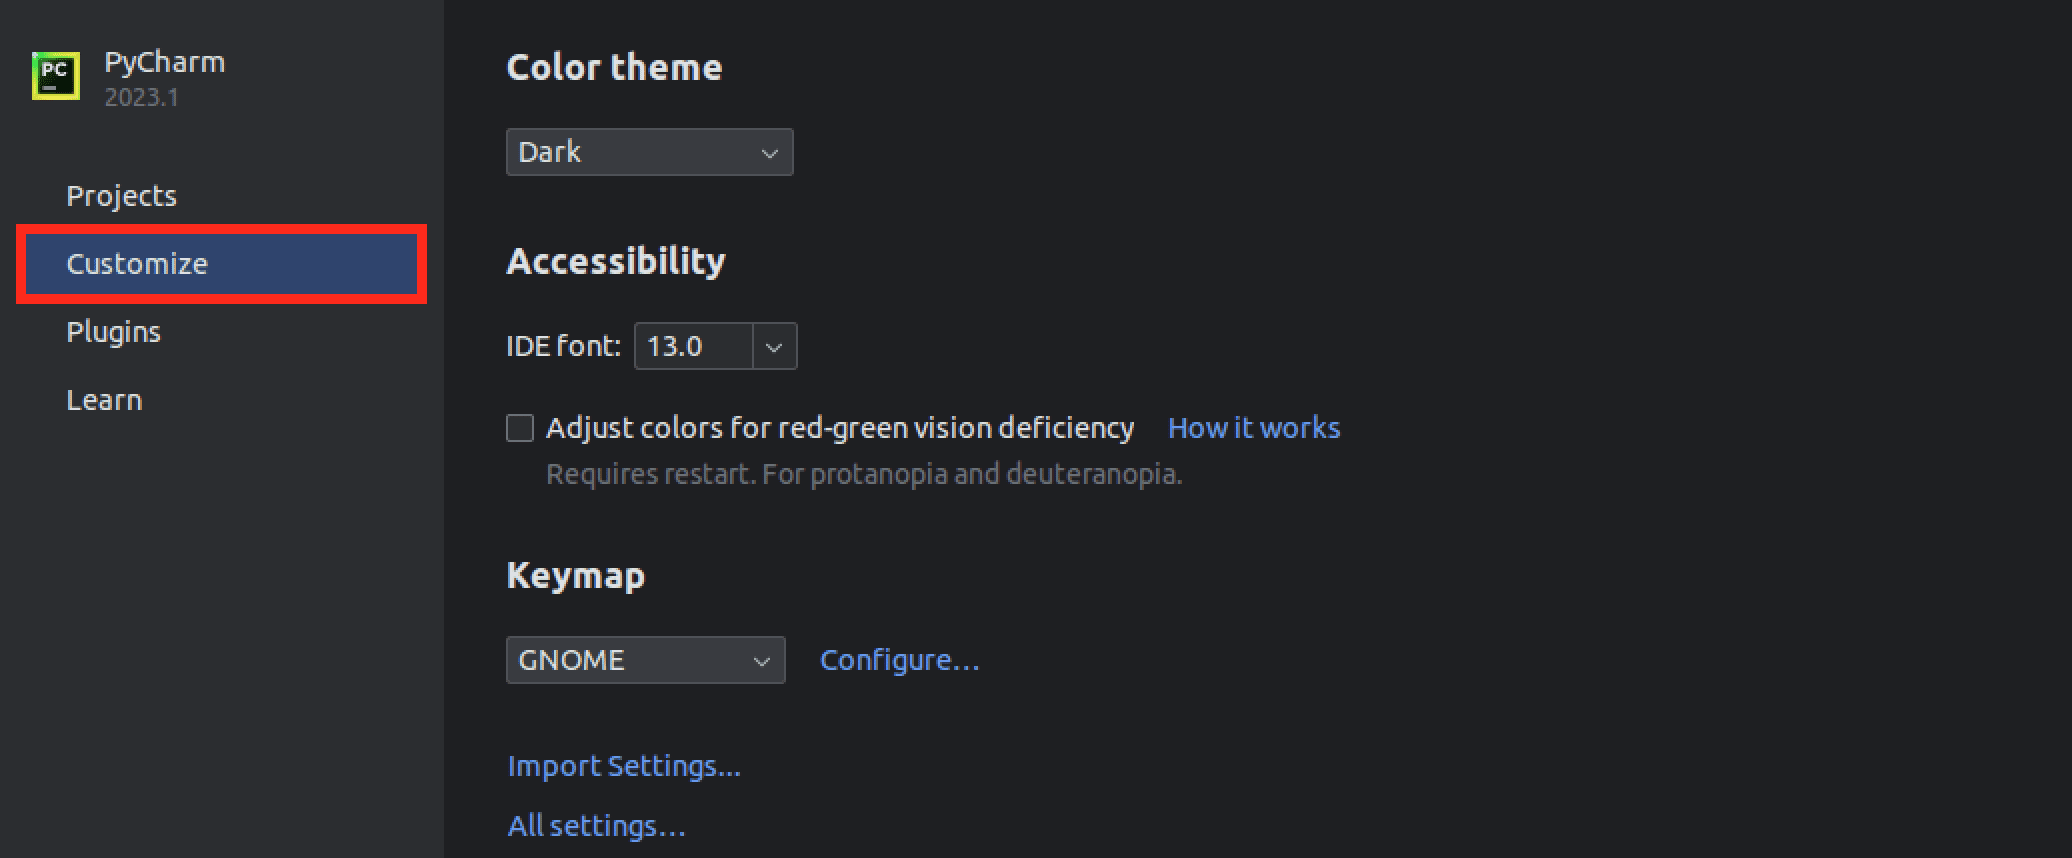
Customize Pycharm
- Plugins: This section allows you to browse and install additional plugins for PyCharm. Plugins are third-party extensions that add new functionality to the IDE.
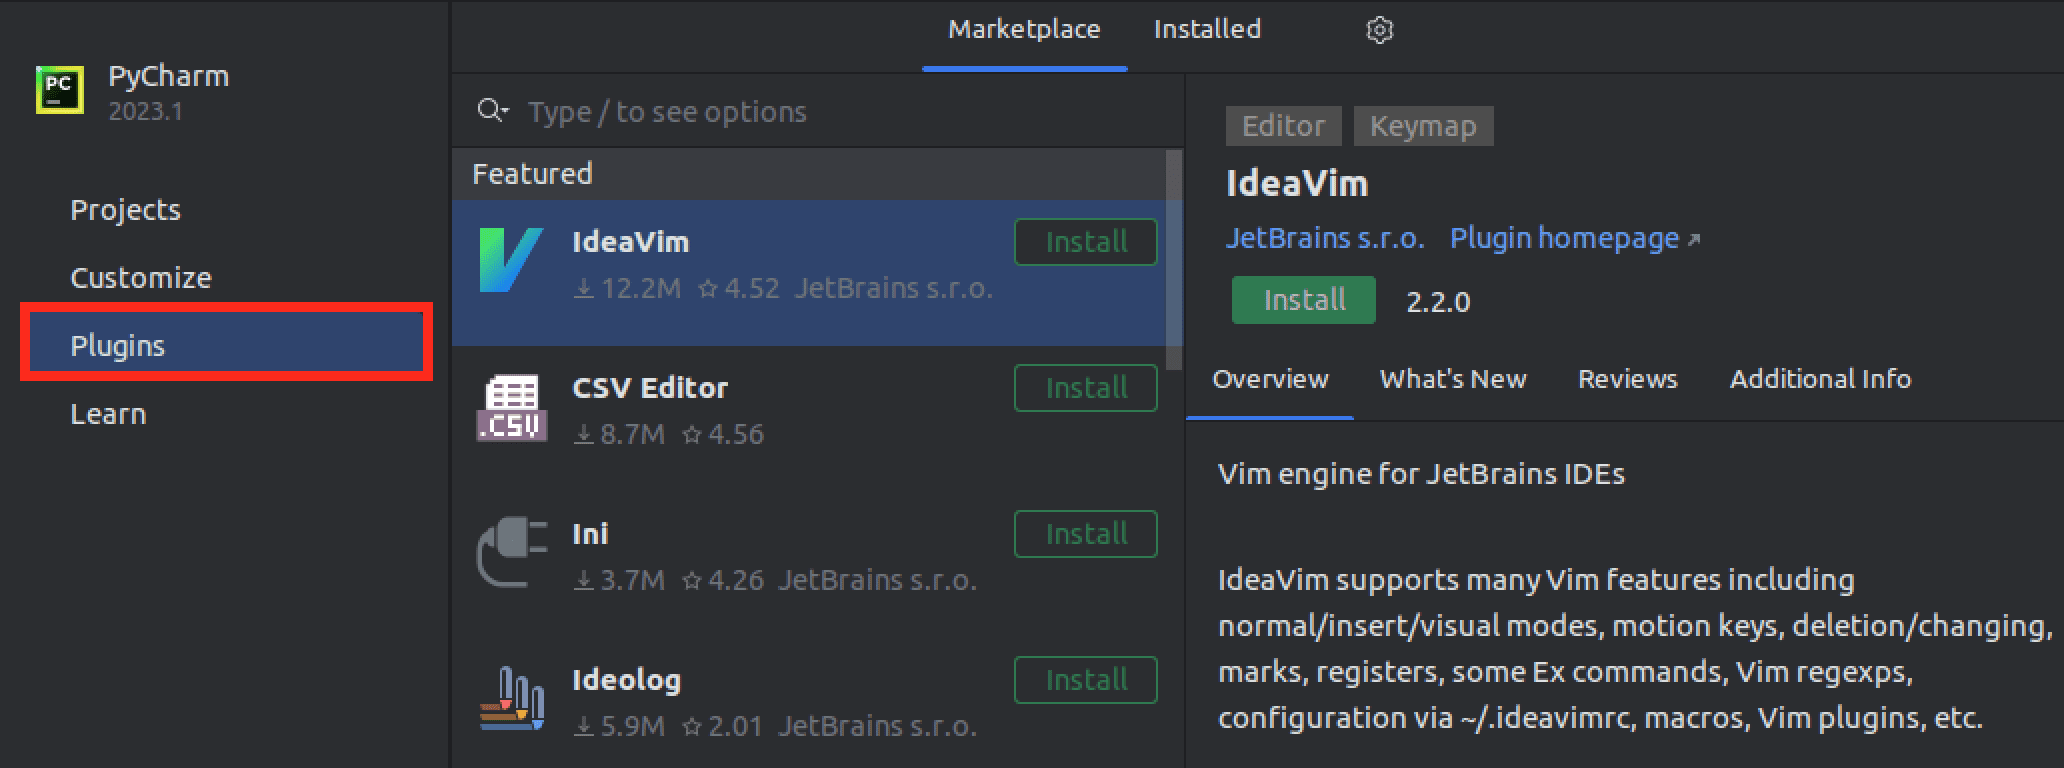
Pycharm plugins
- Learn: This section links various resources for learning PyCharm and Python. It includes links to documentation, tutorials, and other learning materials.
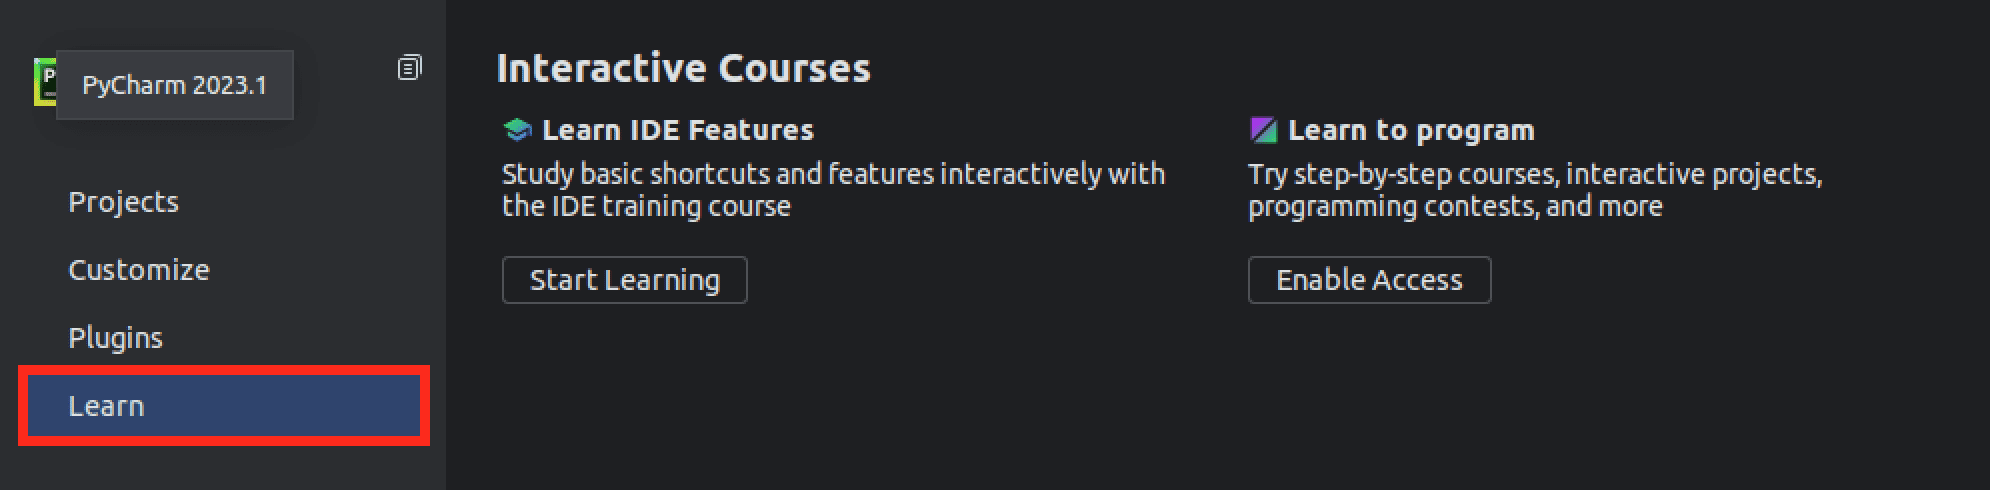
Pycharm learn
Conclusion
This post has given you a comprehensive guide to installing and using PyCharm on Ubuntu. Whether you prefer to use the command line or graphical interface, we have covered both methods in detail. Following the steps outlined in this article, you can easily set up PyCharm on your Ubuntu system and develop Python applications more efficiently. So, what are you waiting for? Start harnessing the power of PyCharm on Ubuntu today!