
Now, as a long-time Linux user, I can’t deny my love for the classic terminal commands that I’ve grown to know and use extensively. But what happens when one of your tried-and-true commands is missing, like our good old friend ifconfig? Fret not, because this guide has you covered!
Introduction
Over the past few years, Linux has transitioned from ifconfig to ip command for network interface management. So, if you’re someone like me who misses ifconfig (yes, I know it’s a bit of an old-school preference) or has a specific need for it, this guide will assist you in retrieving it.
Remember, learning is a continuous process. The ability to adapt is what makes us great. Even though I was initially a bit resistant to this change, I must say that ip command provides more features and flexibility. However, today we will focus on bringing back the comfort of ifconfig command.
Installing missing ifconfig command on Linux
Pre-checks
Before starting, let’s make sure if ifconfig is indeed missing on your system. To do that, you can open your terminal (Shortcut: Ctrl+Alt+T) and type the following command:
sudo ifconfig
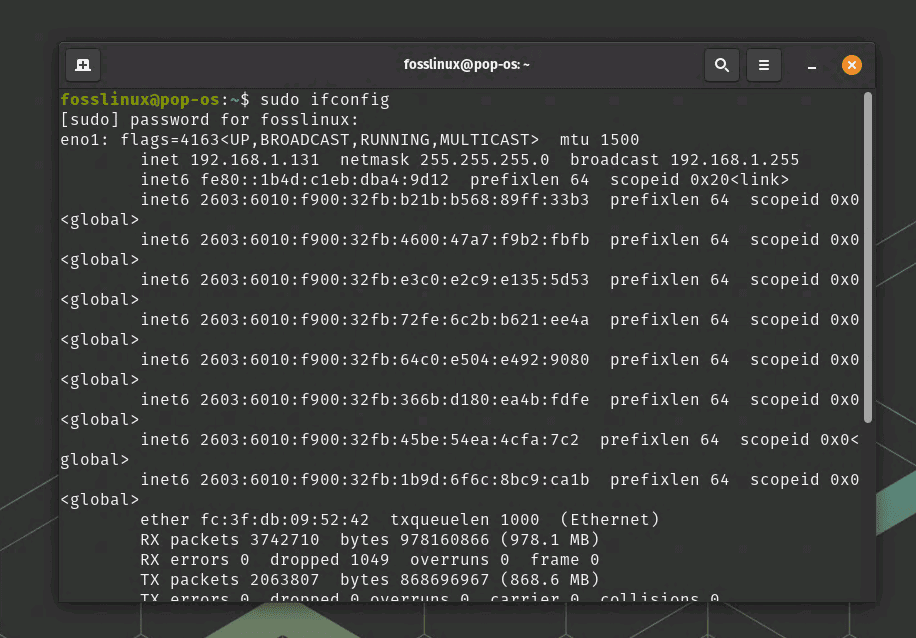
Running the ifconfig command(successful)
If the ifconfig command is not found, you’ll see an error message like “Command ‘ifconfig’ not found”. But if ifconfig is installed, you will see the network information of your system. This pre-check is important because we don’t want to install something already present, do we?
Installing ‘ifconfig’ across various Linux distributions
Now, let’s get down to business. We’re going to walk through how to install ‘ifconfig’ on different Linux distributions. It’s akin to learning the local lingo when you visit different cities. It’s the same language, but each has its unique dialect.
Installing ‘ifconfig’ on Ubuntu/Debian
If you are using an Ubuntu or Debian-based distribution, you’ll find that ‘ifconfig’ is part of the ‘net-tools’ package. Follow these steps to get it installed:
Step 1: Open Terminal
First things first, launch your Terminal application or press Ctrl+Alt+T to open it. The Terminal might seem austere with its monochrome interface, but it’s a powerhouse of functionalities.
Step 2: Update Package Lists
It’s always wise to ensure your package lists are up to date before installing anything new. This prevents any unforeseen conflicts or errors. You can achieve this by running the following command:
sudo apt update
Step 3: Install net-tools
Now that we’re updated, it’s time to install the ‘net-tools’ package. This is where ‘ifconfig’ is located. Enter the following command:
sudo apt install net-tools
Provide your password when asked, and watch as the installation completes. After that, you can verify if ‘ifconfig’ is successfully installed by typing ‘ifconfig’ in the terminal:
ifconfig
Installing ‘ifconfig’ on Fedora/CentOS/RHEL
If you’re a user of Fedora, CentOS, or RHEL, the process is slightly different but equally simple. Here’s how you go about it:
Step 1: Open Terminal
Like before, start by opening the Terminal. You can access it from the applications menu or by pressing Ctrl+Alt+T.
Step 2: Update System
On Fedora/CentOS/RHEL, it’s equally important to update your system before installing new packages. Use the following command:
sudo yum update
Or if you are on a newer version of Fedora/CentOS/RHEL, use dnf instead of yum:
sudo dnf update
Step 3: Install net-tools
Finally, install the ‘net-tools’ package, which includes ‘ifconfig’, by using:
sudo yum install net-tools
Or if you are on a newer version, use dnf instead:
sudo dnf install net-tools
After the process concludes, verify the installation of ‘ifconfig’ by typing ‘ifconfig’ in the terminal:
ifconfig
Installing ‘ifconfig’ on Arch Linux/Manjaro
For Arch Linux or Manjaro users, the procedure is somewhat different but not any less straightforward. Here’s the rundown:
Step 1: Open Terminal
Again, begin by launching Terminal.
Step 2: Update System
On Arch Linux and Manjaro, use the following command to update your system before you install new packages:
sudo pacman -Syu
Step 3: Install net-tools
Now, install the ‘net-tools’ package, which includes ‘ifconfig’, by using:
sudo pacman -S inetutils
Once that’s done, check your ‘ifconfig’ installation by running ‘ifconfig’ in your terminal:
ifconfig
There you have it, folks! No matter your Linux distribution, you now have the power of ‘ifconfig’ at your fingertips.
Pro tips to work with ‘ifconfig’
Now that ‘ifconfig’ is installed and working, here are a few pro tips to help you get the most out of it:
Pro Tip 1: Check all active network interfaces
You can use ‘ifconfig’ to display all active network interfaces by typing ‘ifconfig’ without any arguments:
ifconfig
Pro Tip 2: Check a specific network interface
To display information about a specific network interface, use ‘ifconfig’ followed by the interface name:
ifconfig eth0
Pro Tip 3: Assign IP address to a network interface
You can assign an IP address to a network interface using ‘ifconfig’. Be cautious with this command, as it might disrupt your network connection if used improperly:
sudo ifconfig eth0 192.168.1.2
Remember, you need to replace ‘eth0’ with your network interface name and ‘192.168.1.2’ with your desired IP address.
A few final thoughts
In a nutshell, if you are like me, someone who prefers the good old ‘ifconfig’ over the newer ‘ip’ command, it’s straightforward to install and use ‘ifconfig’ on your Linux system. Despite the initial frustration of finding ‘ifconfig’ missing, it’s a great learning opportunity to understand the nuances of Linux.
Moreover, remember that while ‘ifconfig’ might seem like a small tool, it carries a lot of power and capability in terms of network management. Treat it with respect, and it will be a faithful companion on your Linux journey. Now, get out there, and enjoy the beauty of ‘ifconfig’!