
Screen sharing is a powerful tool that allows users to collaborate, troubleshoot, or simply share their screens with others in real-time. While Kali Linux is renowned for its robust security features and penetration testing capabilities, it may not have screen sharing enabled by default.
This comprehensive guide will explore the methods to enable screen sharing on Kali Linux and empower you to harness this invaluable feature.
Understanding Screen Sharing on Kali Linux and its Functionality
Before diving into the methods to enable screen sharing, let’s briefly explore what screen sharing entails and its importance in the Linux ecosystem.
Screen sharing, also known as desktop sharing or remote desktop, allows users to view and control another user’s desktop in real-time remotely. It works by transmitting the graphical user interface (GUI) of one computer to another over a network connection. The shared screen can be viewed on a separate device, enabling users to see exactly what is being displayed on the host’s screen and interact with it as if they were physically present.
Screen sharing utilizes a client-server model, where the host shares their screen, and the viewers connect to the shared session. The host’s screen content is compressed, encoded, and transmitted over the network to the viewers’ devices. The viewers’ devices then decode and display the received screen content, allowing them to observe and interact with the host’s desktop.
Can you Screen Share on Kali Linux?
Yes, you can absolutely screen share on Kali Linux. While Kali Linux is primarily known for its penetration testing and cybersecurity capabilities, it is a fully functional operating system based on Debian and offers the necessary components to enable screen sharing. By following the methods outlined in this guide, you can enable screen sharing on your Kali Linux system and leverage this powerful feature for collaboration, remote support, presentations, and more.
Features of Screen Sharing
Screen sharing on Kali Linux offers a range of features that enhance usability and productivity. Here are some notable characteristics/features you can expect:
- Real-time Collaboration: Screen sharing enables seamless collaboration, allowing multiple users to view and interact with the same desktop simultaneously.
- Remote Support: Troubleshoot issues or provide assistance by remotely accessing and controlling another user’s screen, eliminating the need for physical presence.
- Presentations and Demonstrations: Share your screen during presentations or demonstrations, enabling others to follow along and grasp concepts more effectively.
- Training and Education: Screen sharing facilitates remote training sessions, making it easier to educate and share knowledge with individuals or groups.
Pros and Cons of Screen Sharing on Kali Linux
Like any other technology, screen sharing on Kali Linux comes with its own set of advantages and disadvantages. Let’s explore both aspects to provide a comprehensive understanding:
Pros
- Enhanced Collaboration: Screen sharing promotes efficient teamwork, enabling real-time interaction and instant feedback, regardless of geographic location.
- Time and Cost Savings: With screen sharing, physical travel for meetings or support sessions becomes unnecessary, saving time and reducing expenses.
- Increased Productivity: Allowing users to share screens eliminates ambiguity and enhances understanding, leading to improved productivity.
- Versatile Applications: Screen sharing is a versatile tool that can be utilized for presentations, training, remote assistance, and much more, making it an invaluable asset.
Cons
- Security Concerns: Sharing your screen may pose security risks if not properly configured. It’s essential to implement necessary security measures to protect sensitive information.
- Bandwidth Usage: Screen sharing requires a stable internet connection and can consume significant bandwidth, which may impact performance in low-speed environments.
- System Resource Consumption: Depending on the screen-sharing method used, it may consume system resources, leading to potential performance degradation.
How to enable Screen Sharing on Kali Linux
Now that we understand the importance of screen sharing and its pros and cons let’s delve into the methods to enable this feature on Kali Linux. Below are two popular methods you can use:
Method 1: Vino VNC Server
Vino is a built-in VNC (Virtual Network Computing) server for the GNOME desktop environment, which comes pre-installed on Kali Linux. Follow these steps to enable screen sharing using Vino:
- Fire up the Terminal and enter the following command to install Vino (if not already installed):
sudo apt update

sudo apt install vino
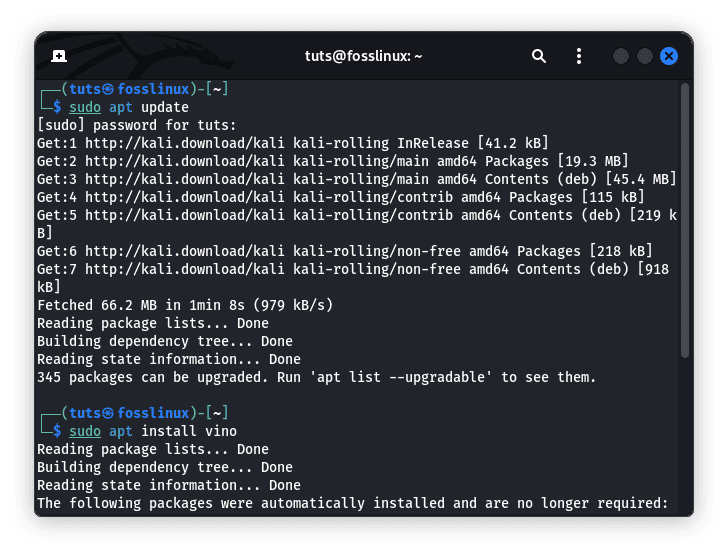
Install vino
- Once installed, open the GNOME settings by clicking on the “Activities” button, searching for “Settings,” and selecting the “Settings” application.
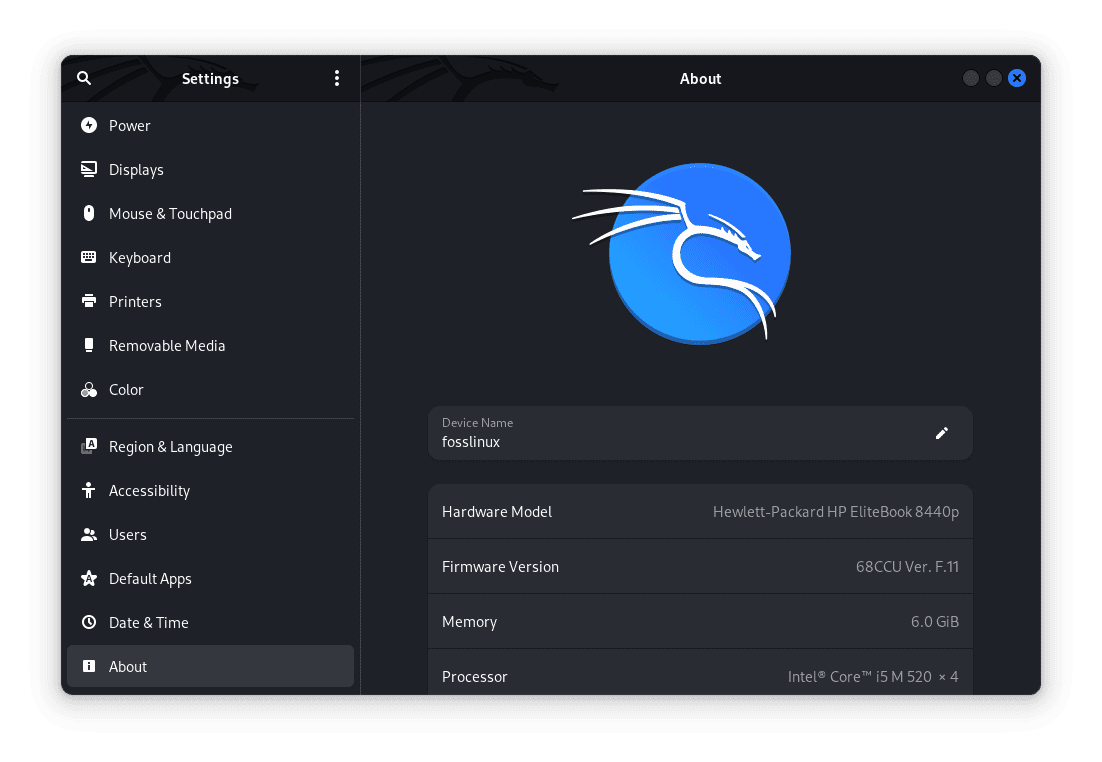
Open settings app
- In the Settings menu, navigate to “Sharing” or “Sharing Options” and select “Screen Sharing” or “Remote Desktop.”
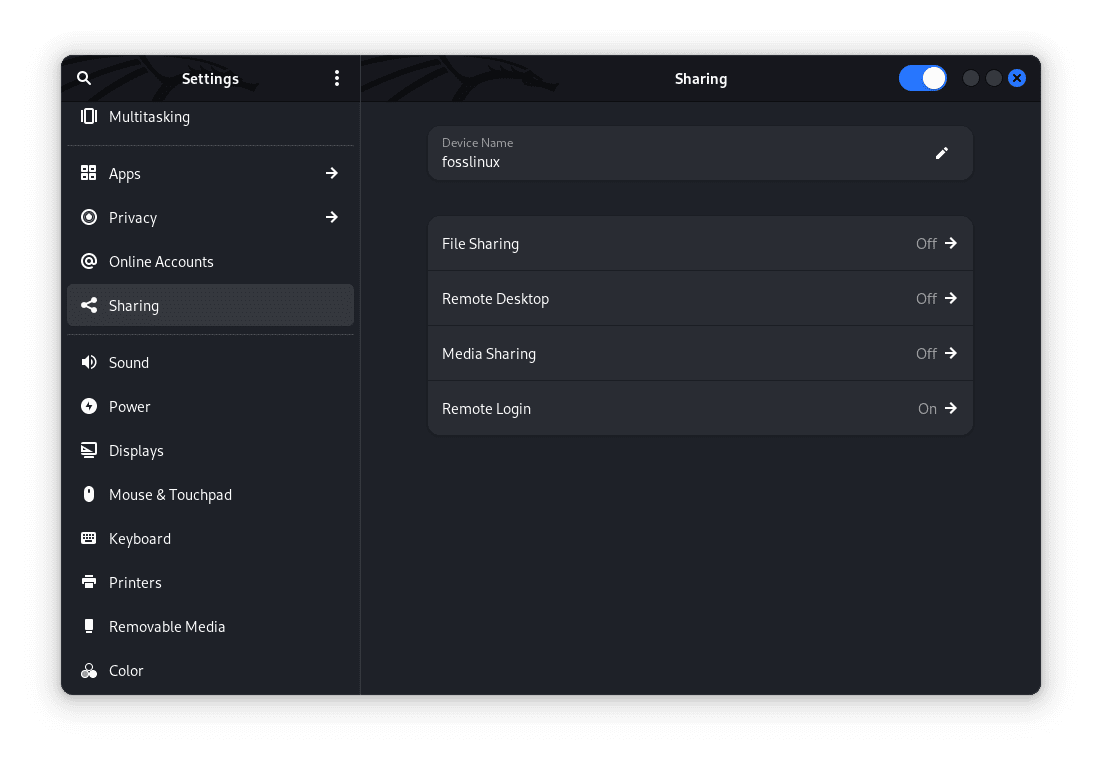
Remote Desktop
- Toggle the “Screen Sharing” switch to enable it. You can also configure additional preferences, such as password protection and access permissions.
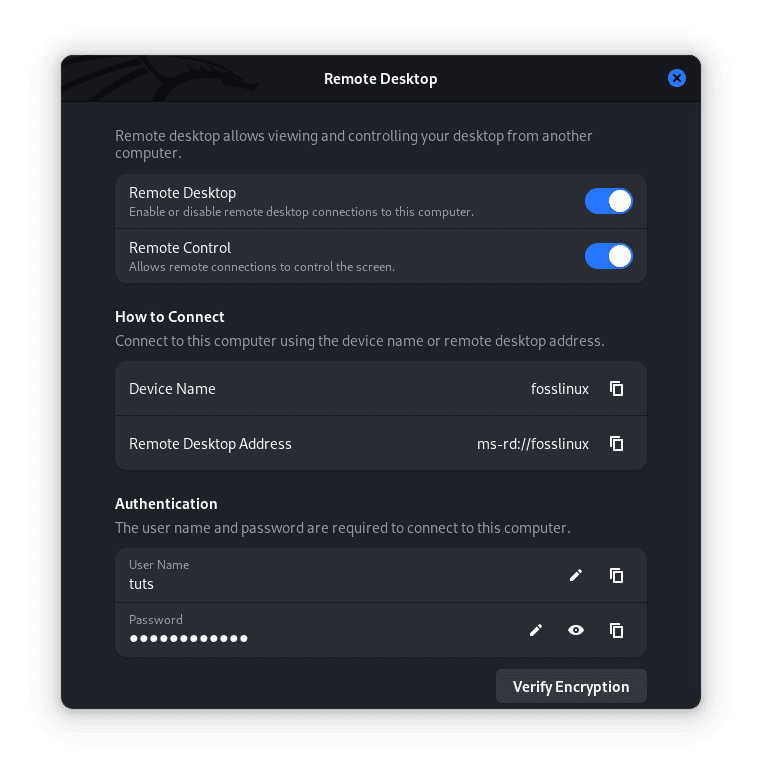
Toggle on remote desktop
- Note down the VNC server address and name displayed in the settings. Share this information with the users who need to connect to your screen.
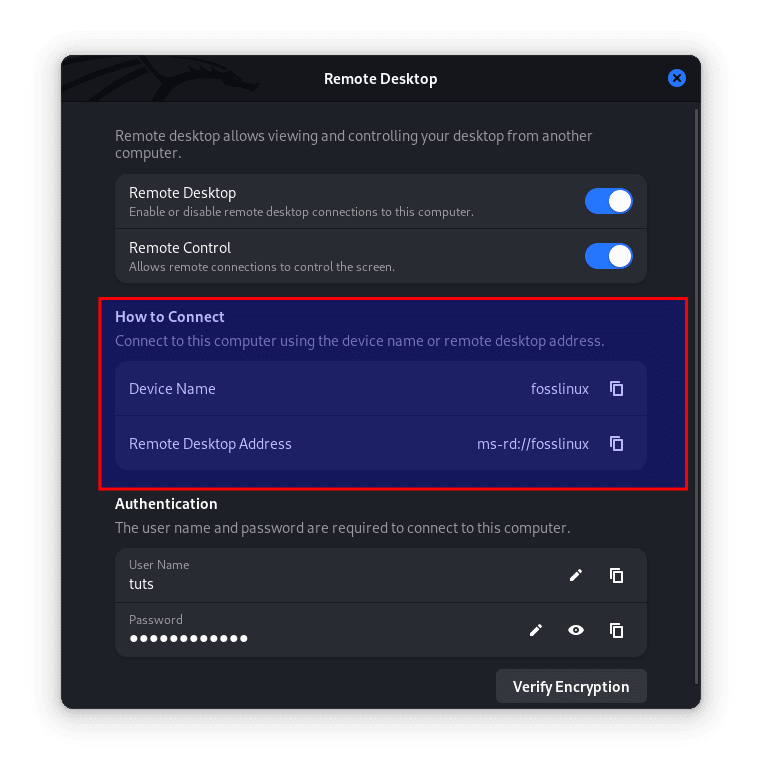
VNC server address
Method 2: x11vnc
x11vnc is another popular method to enable screen sharing on Kali Linux. It provides greater flexibility and customization options compared to Vino. Follow these steps to install and use x11vnc:
- Open the Terminal and install x11vnc by executing the lines of code provided herein:
sudo apt update

sudo apt install x11vnc
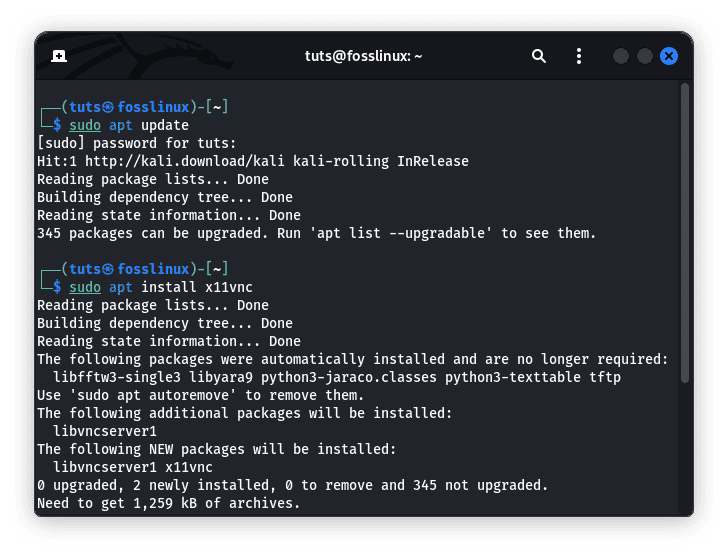
Install x11vnc
- Once installed, start the x11vnc server by running the command:
x11vnc -display :0
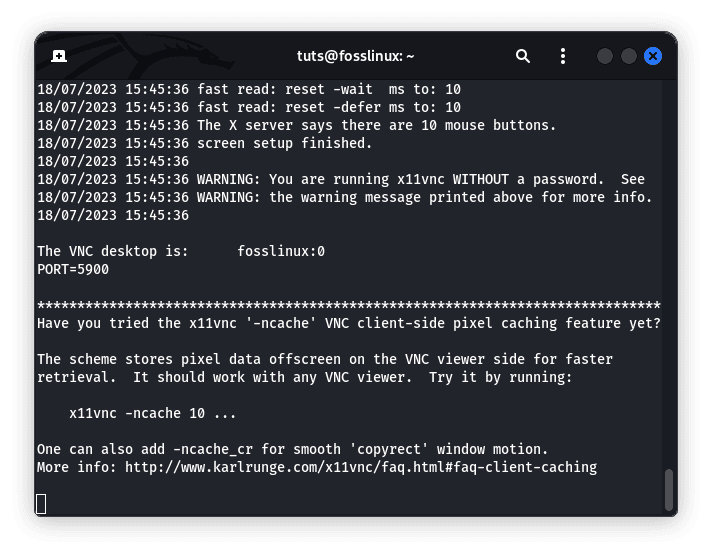
Launch x11vnc
- Set a VNC password when prompted. This password will be required for clients connecting to your screen.
- To connect to the screen-sharing session from another device, you need a VNC viewer application. Install a VNC viewer of your choice such as RealVNC on the client device and enter the VNC server address (e.g., 192.168.0.1:5900) to establish a connection.
Conclusion
Screen sharing is a powerful feature that can greatly enhance collaboration, support, and presentation capabilities on Kali Linux. In this comprehensive guide, we explored the significance of screen sharing on Kali Linux and provided two methods to enable this feature. Screen sharing offers a multitude of benefits, from facilitating collaboration and remote support to enhancing presentations and training sessions. By leveraging the power of screen sharing, you can unlock new possibilities and streamline your workflow.
Remember, security is paramount when enabling screen sharing. Ensure you implement appropriate security measures such as strong passwords, encrypted connections, and restricted access to protect your system and sensitive data.