
Welcome to the world of Kali Linux, the powerful and versatile operating system built specifically for cybersecurity professionals, ethical hackers, and enthusiasts alike. Whether you’re new to Kali Linux or a seasoned user, this article will guide you through the essential steps to take after installing Kali Linux, ensuring that you have a secure, optimized, and personalized system that meets your hacking and security testing needs.
What is Kali Linux?
Developed by Offensive Security, Kali Linux is a Debian-based Linux distribution that provides a vast collection of tools and resources for penetration testing, digital forensics, and vulnerability assessment. It is designed to offer a comprehensive platform for cybersecurity professionals and enthusiasts to perform security testing, network analysis, and exploit development. With its extensive range of pre-installed hacking tools, Kali Linux empowers users to assess and secure their networks, systems, and applications effectively.
Installation Guide
Before we dive into the essential steps, let’s quickly guide you through the installation process of Kali Linux. You can install Kali Linux as a virtual machine, dual boot with an existing operating system, or on dedicated hardware.
1. Virtual Machine Installation:
- Download and configure virtualization software like Oracle VirtualBox or VMware.
- Download the Kali Linux ISO Image from the official website(https://www.kali.org/downloads/).
- Set up a fresh virtual machine and follow the virtualization software’s instructions to install Kali Linux using the downloaded ISO image.
2. Dual Boot Installation:
- Prepare a bootable USB drive with the Kali Linux ISO image.
- Boot your computer from the USB thumb drive and follow the on-screen instructions to install Kali Linux alongside your existing operating system
3. Dedicated Hardware Installation:
- Prepare a bootable USB drive with the Kali Linux ISO image.
- Boot your computer from the USB thumb drive and follow the installation wizard to install Kali Linux as the primary operating system
15 must-do steps after installing Kali Linux
Now that you have Kali Linux up and running let’s explore the 15 essential steps to optimize your Kali Linux system and maximize its capabilities.
1. Update and upgrade your system
Updating your Kali Linux system is crucial for security, stability, and access to the latest features. After the installation, it is highly recommended to update your system using the following commands:
sudo apt update

sudo apt upgrade

sudo apt dist-upgrade
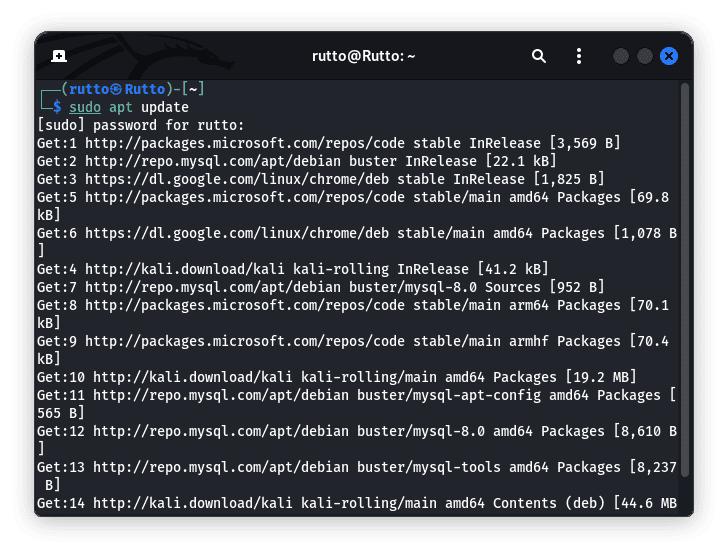
Update and upgrade your Kali Linux system
The apt update command refreshes the package lists, while apt upgrade installs any available updates for installed packages. The apt dist-upgrade command, on the other hand, performs a distribution upgrade, ensuring that the system is in line with the most recent updates of packages and their dependencies.
Keeping your system updated is essential for the overall performance and security of Kali Linux. Regular updates ensure you have the latest bug fixes, security patches, and software enhancements.
2. Add additional APT repositories
By default, Kali Linux comes with a set of repositories that provide a wide range of software packages. However, you may need additional repositories to access specialized or updated packages. Adding repositories allows you to expand your software options. To add a repository, use the add-apt-repository command followed by the repository URL or name. For example:
sudo add-apt-repository <repository-name>
Let’s add the official Docker repository as an example:
sudo add-apt-repository "deb [arch=amd64] https://download.docker.com/linux/debian $(lsb_release -cs) stable"
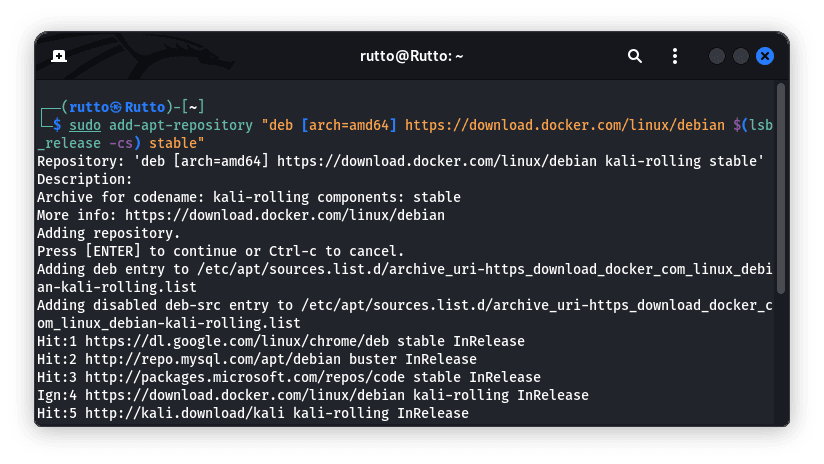
Add Docker repository
This command adds the Docker repository to the package manager’s sources list. After adding the repository, update the package list:
sudo apt update
Note: Don’t freak out if you encounter the following error: sudo: add-apt-repository: command not found.
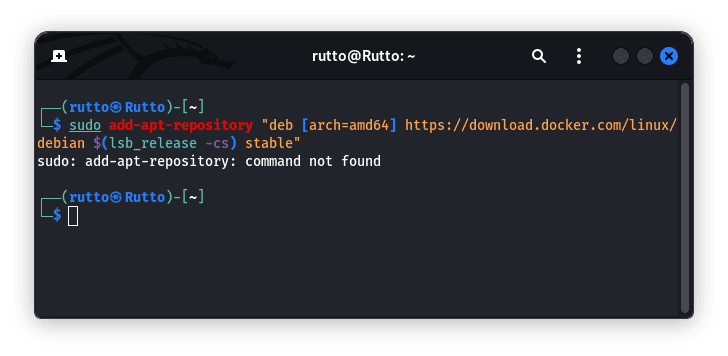
Command not found error
Execute the subsequent line of code to resolve the issue:
sudo apt install software-properties-common
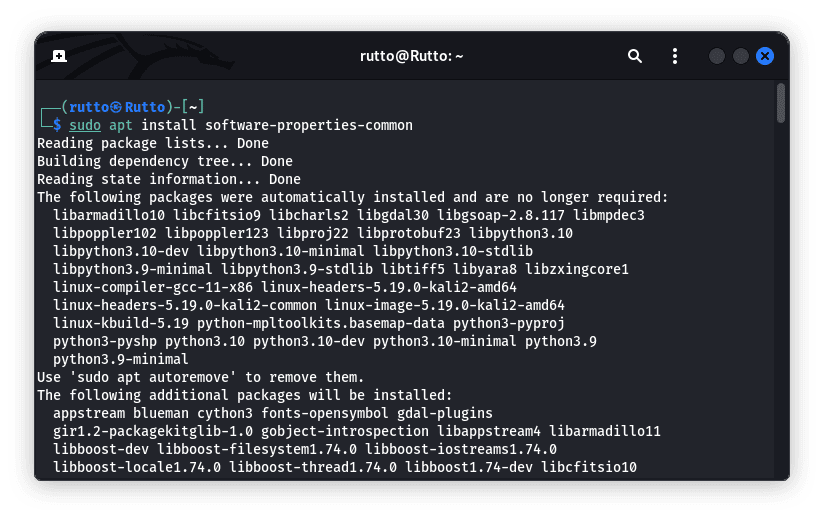
Install software-properties-common
Once that is done, Update your system resources and re-run the add-apt-repository command. This time it should work flawlessly without any mishaps.
Now you can install Docker and its related packages using the package manager. Adding additional repositories allows you to expand your software options and access a broader range of packages.
Note: After adding a repository, don’t forget to update your package list using the apt update command to include the new repository’s packages.
Update and upgrade your Kali Linux system
3. Install Tor for anonymity and privacy
Tor is a valuable tool for maintaining online anonymity and privacy. It directs your internet traffic through a network of volunteer-operated servers, making it difficult for others to track your online activities. Installing Tor on Kali Linux is a straightforward process. Use the following command:
sudo apt install tor
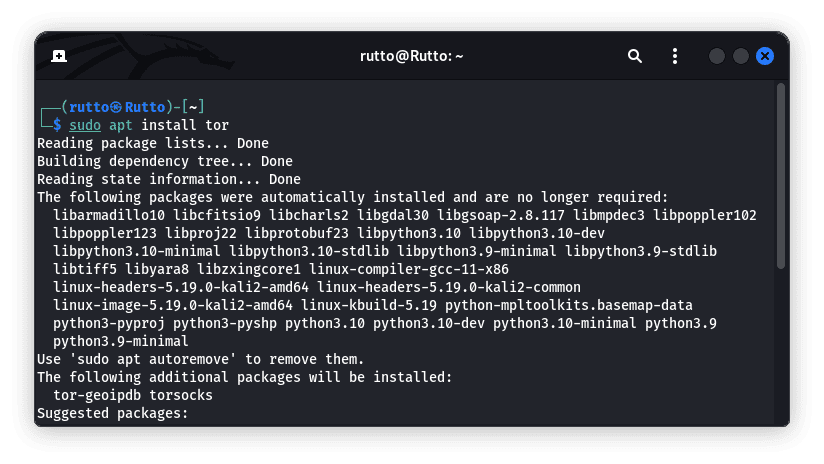
Install tor browser
Once installed, you can configure Tor to access the internet with enhanced privacy.
4. Install Git for version control
Git is a predominantly used version control system that allows you to track file changes and collaborate with others on software development projects. To install Git on your Kali Linux system, use the following command:
sudo apt install git
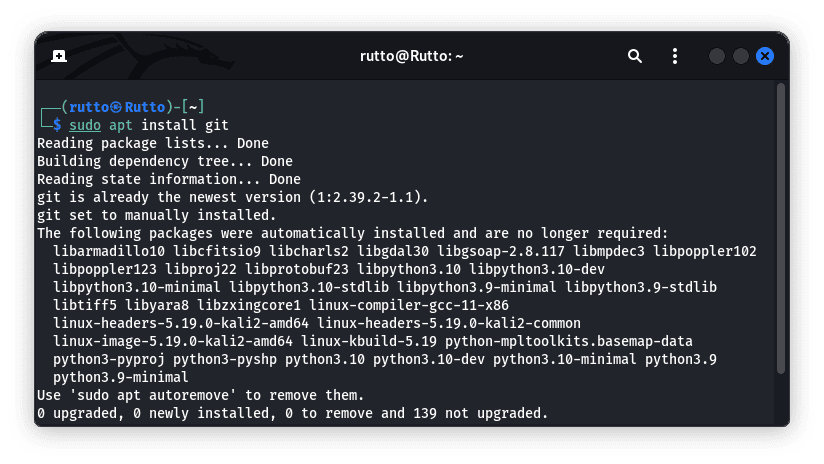
Install git
After installation, you can use Git to manage your source code repositories efficiently.
5. Install proprietary graphics card drivers
Installing proprietary graphics card drivers can significantly improve the performance and compatibility of your system. Proprietary drivers, provided by graphics card manufacturers, often offer better performance and advanced features than open-source drivers. Installing these drivers varies depending on your graphics card vendor and model.
For NVIDIA graphics cards, you can use the nvidia-detect command to identify the appropriate driver for your system:
sudo apt install nvidia-detect

nvidia-detect
The command will provide instructions on installing the recommended driver for your NVIDIA graphics card if you have NVIDIA graphics. However, if you don’t like what I do, you will get a message similar to the output shown below:

Install nvidia-detect and check drivers
For AMD graphics cards, the fglrx driver is the proprietary option. You can install it using the subsequent line of code:
sudo apt install fglrx-driver
Ensure you consult your specific graphics card model’s official documentation or support resources to find the most suitable and up-to-date proprietary driver.
6. Install Gdebi package manager
Gdebi is a lightweight package manager that simplifies the installation of Debian package files (.deb). It automatically resolves dependencies and provides a convenient way to install packages from local files. To install Gdebi on Kali Linux, use the following command:
sudo apt install gdebi
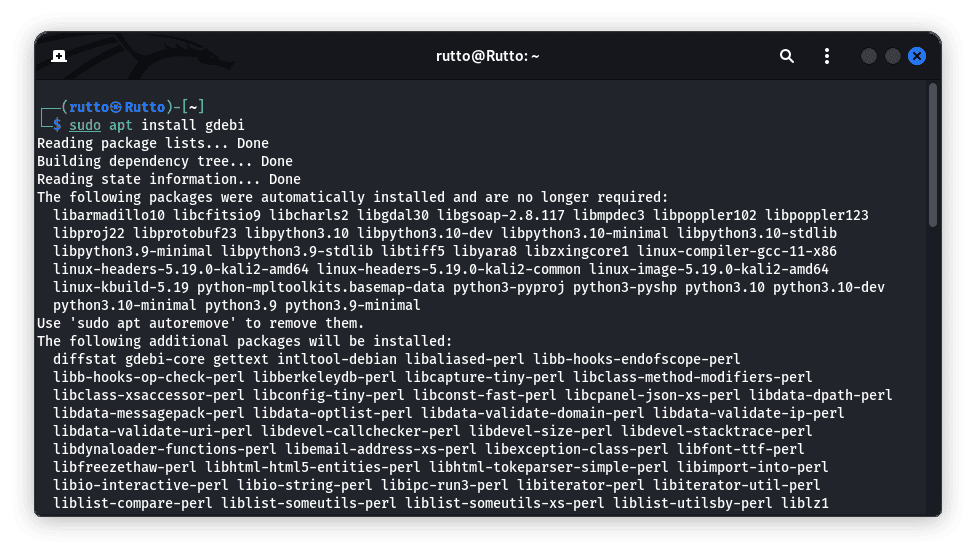
Install Gdebi package manager
Once installed, you can right-click on a .deb package file and choose “Open with GDebi Package Installer” to install the package using Gdebi.
7. Customize your desktop with themes
Customizing the appearance of your Kali Linux desktop can enhance your computing experience and make it more enjoyable and personalized. Installing a new theme allows you to change the feel and look of your desktop environment. There are various themes available online that you can choose from to suit your preferences.
To install a new theme, you must first download the theme file in the appropriate format (usually a .tar.gz or .zip file). After downloading the theme, extract it and move it to the appropriate directory. It is crucial to note that the directory where you place the theme files may vary depending on your desktop environment.
For instance, if you are using the Xfce desktop environment, you can move the extracted theme folder to the ~/.themes directory:
# Move the theme folder to the ~/.themes directory

mv /path/to/theme ~/.themes/
After moving the theme folder, you can apply the theme through the appearance settings of your desktop environment.
Let’s install a theme to change the look and feel of your Xfce desktop environment.
- Visit a website that offers Xfce themes, such as xfce-look.org.
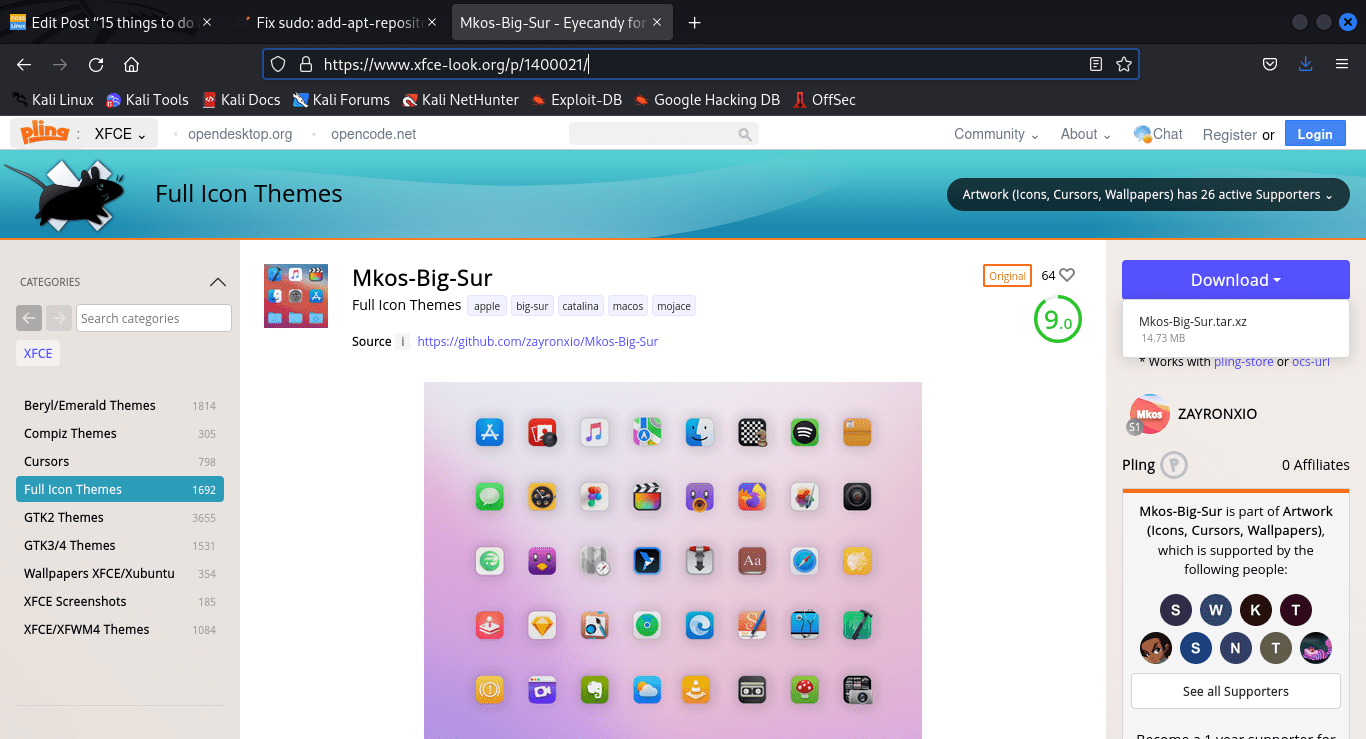
Download a theme
- Download a theme of your choice in the appropriate format (usually a .tar.gz or .zip file).
- Extract the downloaded theme archive to a location of your choice.
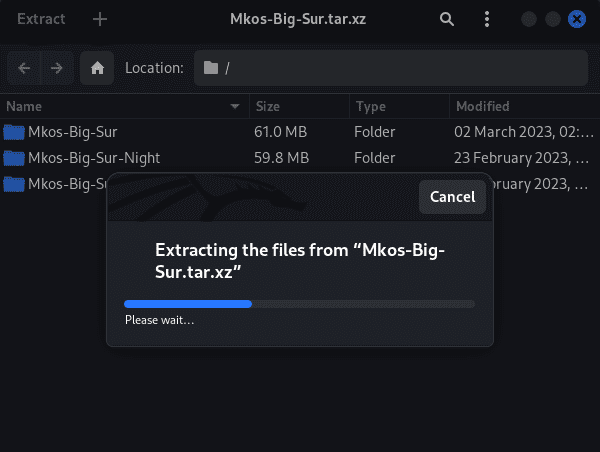
Extract downloaded theme
- Move the extracted file to the ~themes folder using the following command:
cd Downloads/

mv Mkos-Big-Sur/ ~/.themes/
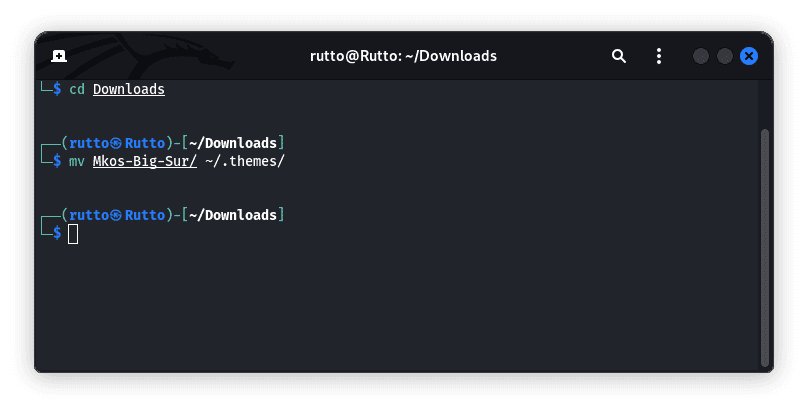
Move files to themes folder
- Open the “Tweaks” application from the application menu. If you don’t have it installed in your Kali Linux OS, execute the following line of code:
sudo apt install gnome-tweaks
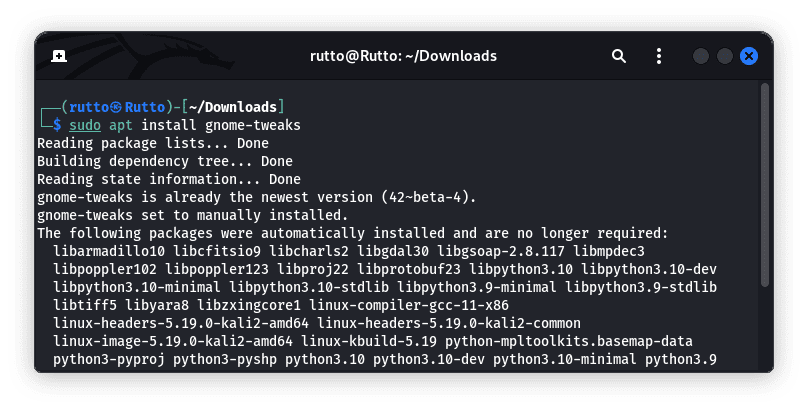
Install gnome-tweaks
- Launch “Tweaks” application > go to the “Appearance” or “Style” settings and choose the installed theme.
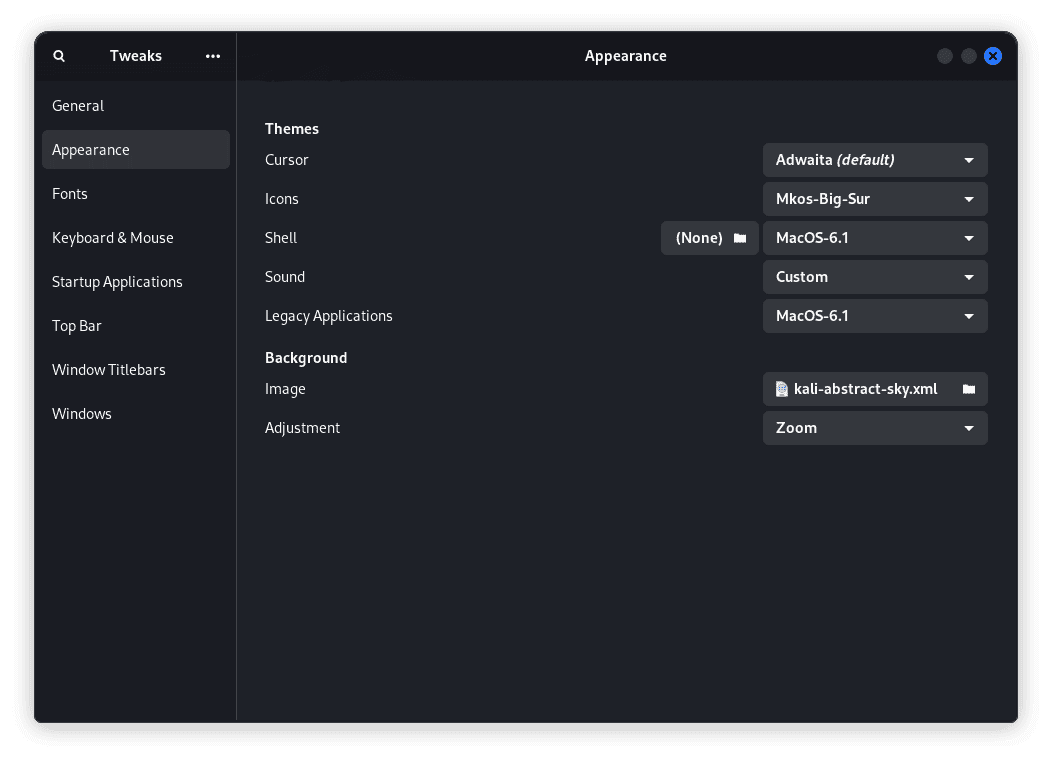
macOS theme
Once a theme has been installed, you can choose the it from the options above.
With the installed theme, your Xfce desktop environment will now sport a fresh look.
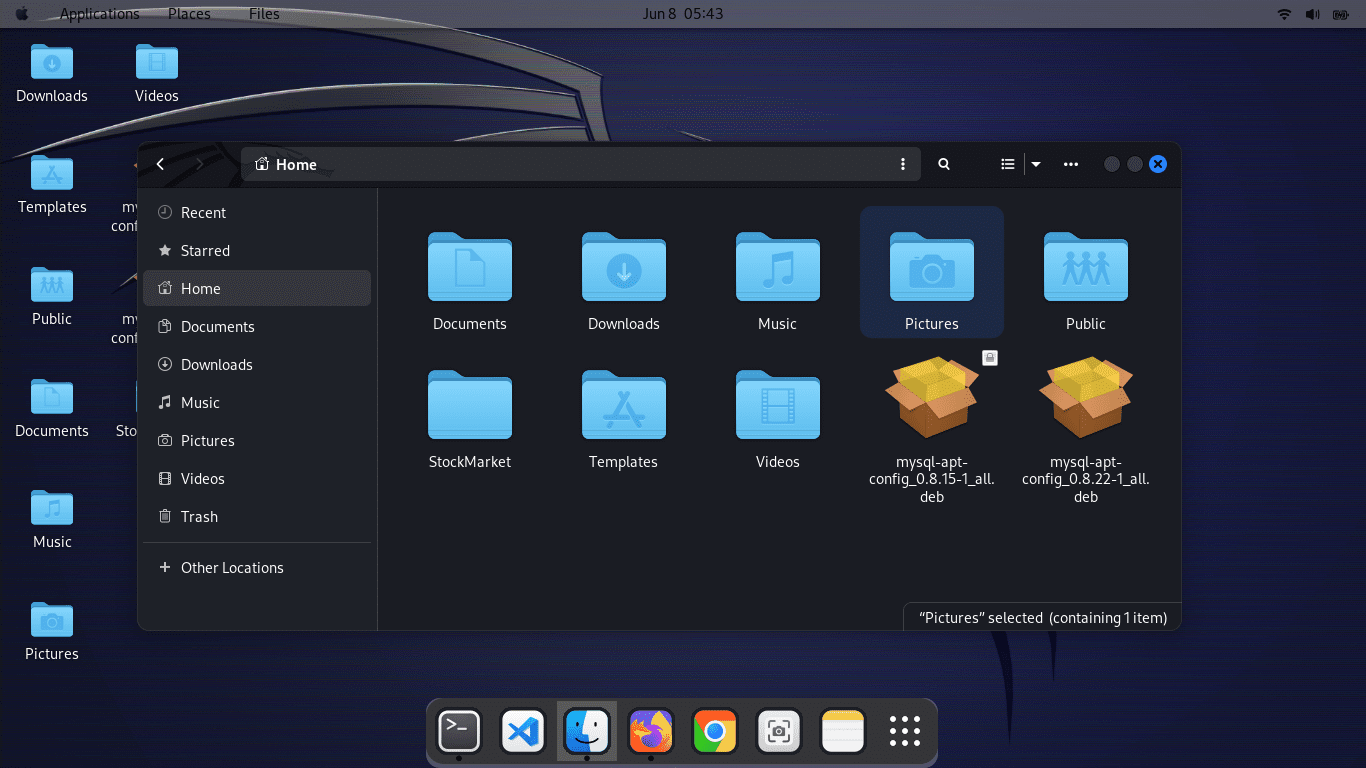
macOS theme home screen
8. Explore different desktop environments
Kali Linux comes with the Xfce desktop environment as the default choice. However, you may want to explore other desktop environments to find the one that best suits your needs and preferences. Different desktop environments offer different features, aesthetics, and workflows.
To install a new desktop environment, you need to identify the name of the desktop environment you want to install. Some popular choices include GNOME, KDE, and Cinnamon. Use the following command to install a new desktop environment:
sudo apt install <desktop-environment>
Replace <desktop-environment> with the name of the desktop environment you want to install. For example, to install GNOME, use sudo apt install gnome-core. Installing a new desktop environment may require significant disk space and additional packages.
Once the installation process is complete, log out of your current session, and on the login screen, you can choose the newly installed desktop environment from the session options.
Let’s install GNOME, a popular and feature-rich desktop environment:
sudo apt install gnome-core
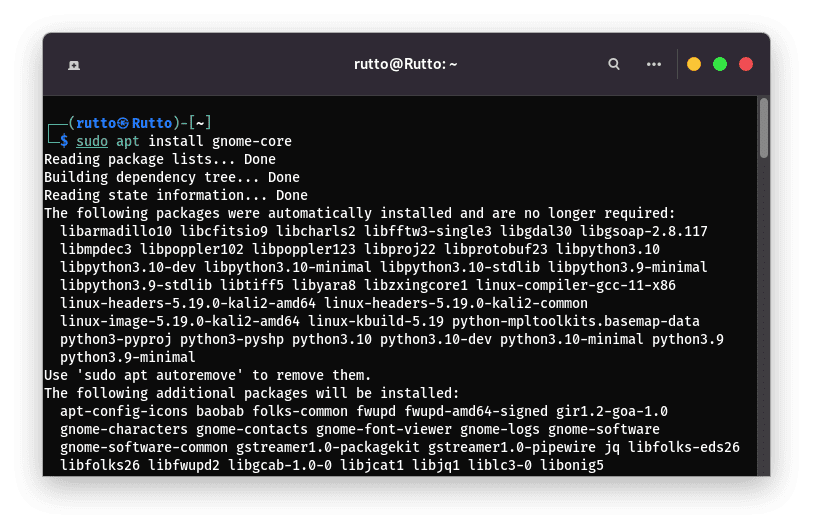
Install gnome desktop environment
Once the installation process is complete, log out of your current session. On the login screen, locate the gear icon and select “GNOME” from the desktop environments list provided. Log in, and you’ll be greeted with the GNOME desktop environment.
9. Enable autologin for a seamless login experience
Enabling autologin allows you to bypass the login screen and automatically log into your Kali Linux system. This can be impactful if you are the sole user of the system or prefer a faster login experience. To enable autologin, you need to modify the LightDM configuration file.
Open the LightDM configuration file using a text editor:
sudo nano /etc/lightdm/lightdm.conf
Within the file, find the [SeatDefaults or Seat*] section and add the following lines:
autologin-user=<your-username>

autologin-user-timeout=0
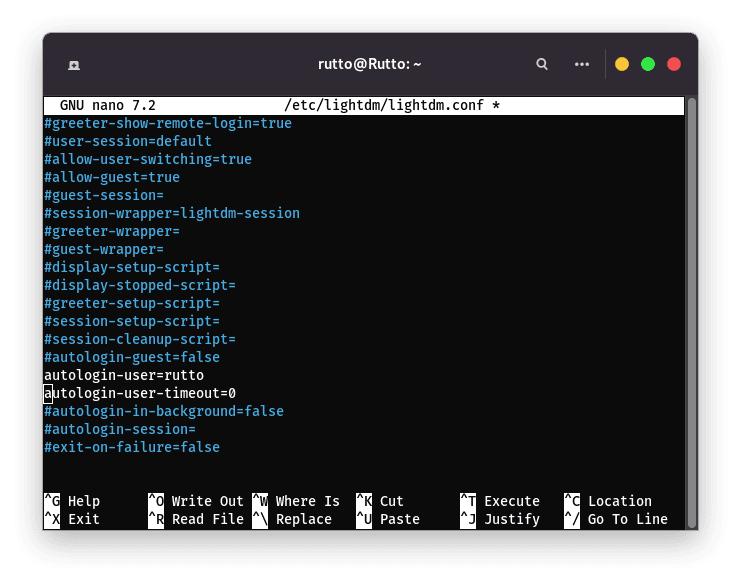
Configure autologin
Replace <your-username> with your actual username. Save the file and terminate the text editor session. Afterward, restart your system, and it will automatically log in to the specified user account.
10. Resolve the “Device Not Managed” error
The “Device not managed” error in Network Manager can prevent you from accessing specific network settings and features. This error typically occurs when other tools, such as ifupdown or manual configuration, manage network interfaces.
You need to modify the Network Manager configuration file to resolve this issue. Launch the configuration file in a text editor:
sudo nano /etc/NetworkManager/NetworkManager.conf
Within the file, add the following lines under the [device] section:
wifi.scan-rand-mac-address=no

Append the following line of code
Save the file and terminate the text editor session. Then, restart the Network Manager service to apply the changes:
sudo service network-manager restart
The “Device not managed” error should no longer appear, and you can manage your network interfaces through the Network Manager.
11. Clone the Rubber Ducky Encoder
The Rubber Ducky is a popular USB-based keystroke injection tool for security auditing and penetration testing. You can clone the Rubber Ducky encoder repository from GitHub to work with Rubber Ducky scripts on Kali Linux.
First, move to the directory where you want to clone the repository. Then, use the following command:
git clone https://github.com/securipy/USB-Rubber-Ducky.git
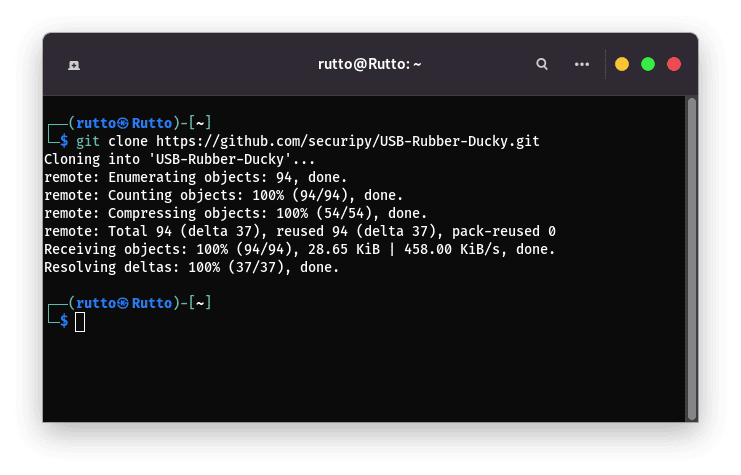
Clone USB-Rubber-Ducky
This line of code will create a local copy of the Rubber Ducky encoder repository on your system. You can now explore and utilize the Rubber Ducky scripts and tools.
12. Set up a code editor
Having a reliable code editor is essential for writing and editing scripts, code, and configuration files. Kali Linux offers various code editors, including popular options like Visual Studio Code, Sublime Text, and Atom.
You can install your preferred code editor by either using the package manager or downloading it from the official website. Here are a few examples:
- Visual Studio Code (VS Code):
sudo apt install code
- Sublime Text:
sudo apt install sublime-text
- Atom:
sudo apt install atom
Choose the code editor that best suits your needs and preferences and install it using the appropriate command.
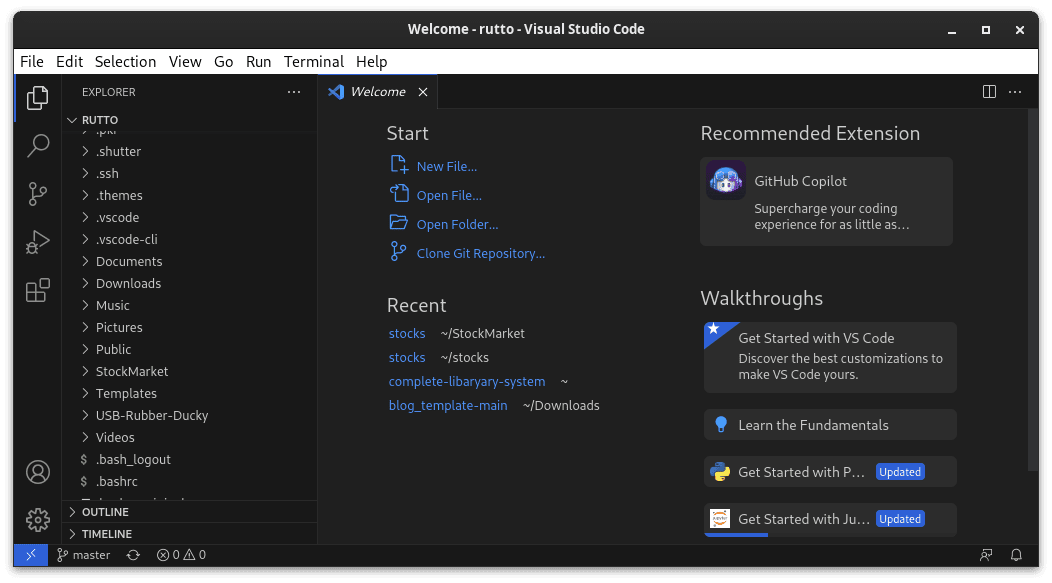
Install Visual Studio Code
13. Configure file sharing with syncthing
Syncthing is an open-source file synchronization tool allowing you to securely share files between devices. It ensures that your files are always up to date across multiple platforms and devices. To install Syncthing, follow these steps:
- Add the Syncthing repository key:
curl -s https://syncthing.net/release-key.txt | sudo apt-key add –
- Add the Syncthing repository to your sources list:
echo "deb https://apt.syncthing.net/ syncthing stable" | sudo tee /etc/apt/sources.list.d/syncthing.list
- Update the package list and install Syncthing:
sudo apt update

sudo apt install syncthing
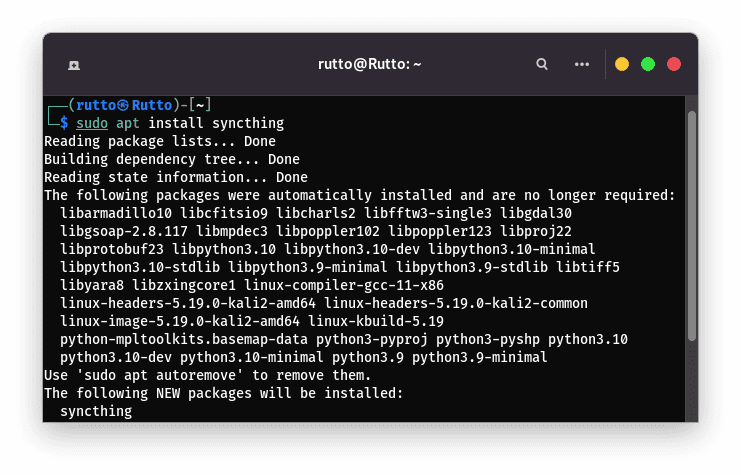
Install syncthing
After installation, you can access the Syncthing web interface by opening a web browser and navigating to http://localhost:8384. You can configure file sharing and sync your files across devices from there.

Start syncthing from the web
14. Install your favorite hacking tools
Kali Linux is renowned for its extensive collection of pre-installed hacking tools. However, dependent on your specific needs and preferences, you may want to install additional tools that are not included by default. You can install your favorite hacking tools using the package manager or by following the installation instructions provided by the tool’s developers.
For example, to install the popular tool “Wireshark” for network analysis and packet sniffing, use the following command:
sudo apt install wireshark
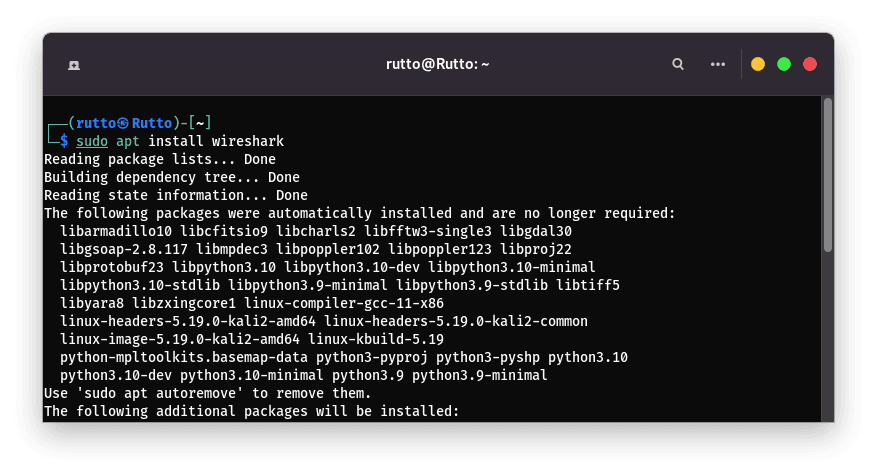
Install Wireshark
Similarly, you can install other tools of your choice by replacing <tool-name> with the name of the specific tool.
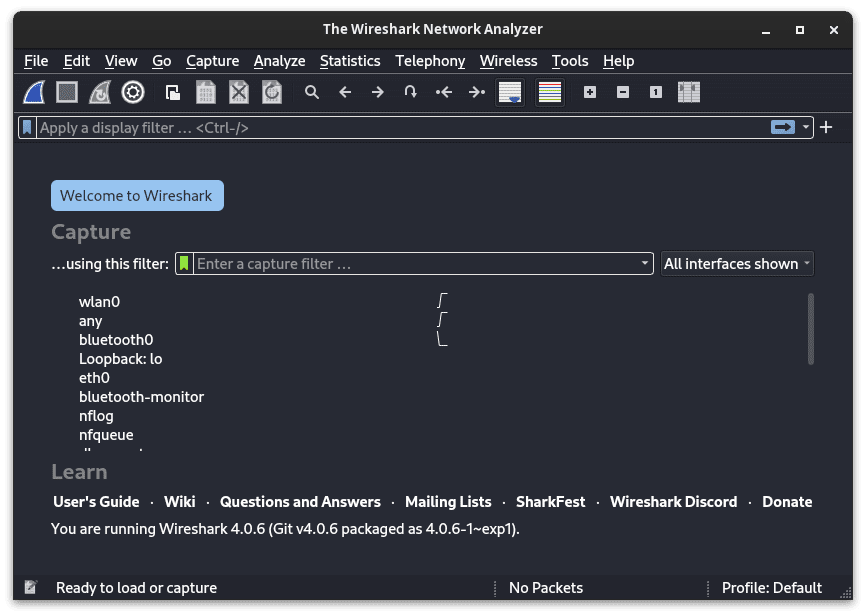
Wireshark
15. Boost your productivity with a terminal multiplexer
A terminal multiplexer allows you to manage multiple terminal sessions within a single window, enabling efficient multitasking and process management. One popular terminal multiplexer is tmux. To install tmux, use the following command:
sudo apt install tmux
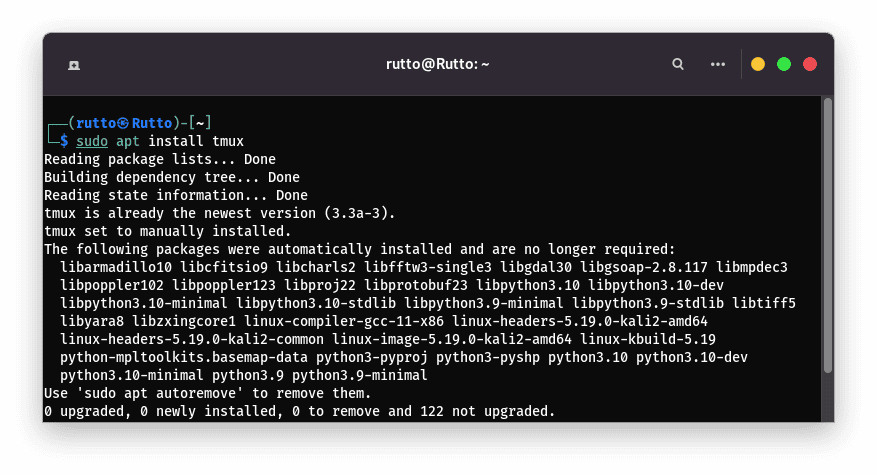
Install Tmux
Once installed, you can launch tmux by typing tmux in the terminal. Refer to the tmux documentation for information on how to use it effectively.
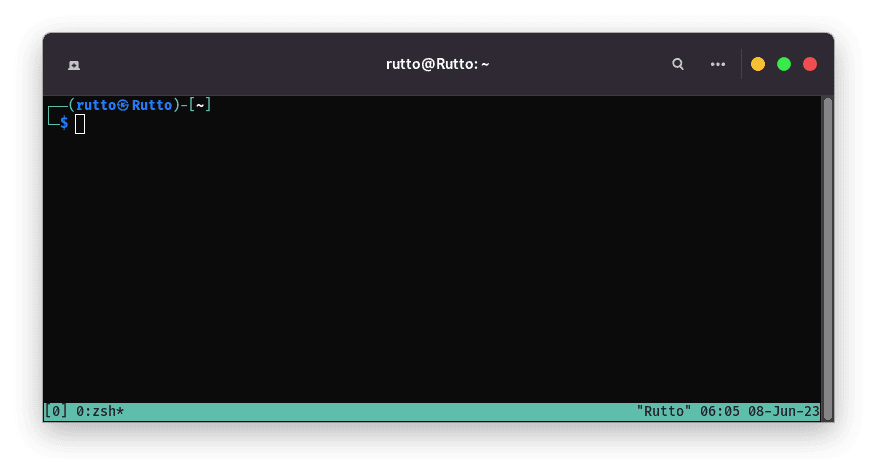
Tmux
Conclusion
Kudos! You have made it to the tail end of the top 15 essential things to do after installing Kali Linux. Following these steps, you have optimized your system, enhanced security, and personalized your Kali Linux experience. From updating the system to installing essential tools and customizing your environment, you are now well-equipped to explore the full potential of this powerful operating system.
Remember to stay updated with the current security updates, explore new tools and techniques, and practice ethical hacking responsibly. Kali Linux offers a vast array of resources and possibilities for individuals interested in the field of cybersecurity.
Thank you for joining us on this journey, and we hope you have a fulfilling experience exploring the world of Kali Linux!