
If you have interacted with Linux systems for some time, you must have realized that there are many terminal emulators that you can use to interact with your system through the command line interface. Some of the most popular Terminal emulators include the GNOME Terminal, KDE Konsole, xfce4-terminal, Terminator, and Tilix. This post will focus on the latter – the Tilix terminal.
Whether overseeing multiple servers or remote computers or simply navigating your daily tasks, the Tilix terminal is valuable. This excellent tiling terminal emulator can be easily installed on various Linux distributions, including Ubuntu. Its extensive range of features and tools enhances efficiency and boosts overall productivity significantly.
Tilix features
- Tiling Layouts: Tilix allows you to split the terminal window into multiple panes, each displaying a different terminal session. This tiling feature is handy for multitasking and monitoring various processes simultaneously.
- Tabs and Sessions: You can organize your work by creating multiple tabs containing different terminal sessions. This helps you keep your projects and tasks well-organized within a single terminal window.
- Customizable Appearance: Tilix offers various themes and color schemes, allowing you to personalize the terminal’s look to suit your preferences. You can also adjust font settings, cursor shapes, and more.
- Quake Mode: Tilix has a “Quake mode” that lets you summon the terminal with a keyboard shortcut, similar to how a game console might appear in some video games. This is handy for quickly accessing the terminal without interrupting your workflow.
- Session Saving and Restoration: You can save your terminal sessions and layouts, allowing you to restore your work environment whenever you need it quickly. This is beneficial when working on long-term projects or tasks.
- Notification on Activity: Tilix can notify you when there’s an activity in a terminal session, even if it’s in the background. This is useful for commands or tasks that might take some time to complete.
- Search and Highlight: Tilix provides a search functionality within terminal sessions, letting you search for specific text in your terminal output. It also highlights the search results for easy identification.
- Automatic Profile Switching: Tilix can automatically switch to a predefined terminal profile based on your directory. This is helpful when you need specific settings for different projects.
- Hotkeys and Shortcuts: Tilix supports a variety of hotkeys and shortcuts for navigating between panes, tabs, and sessions. Learning and using these shortcuts can significantly speed up your workflow.
- Drag and Drop: You can easily rearrange panes within the terminal window using drag-and-drop functionality, making adjusting your layout on the fly effortless.
- Split Terminals and Terminals in Full Screen: Alongside tiling layouts, you can also split terminals horizontally or vertically to manage different tasks efficiently. Plus, you can make individual terminals go full screen for better focus.
How to install Tilix Terminal on Ubuntu
There are two ways that you can use to install Tilix on Ubuntu.
- Using the apt command (command line method)
- Installing Tilix from the app store (Graphical method)
Let’s look at each technique in detail.
Method 1: Install Tilix with the apt command
Using the apt command is one of the easiest ways of installing Tilix on your Ubuntu system. apt is a command-line package management utility that you can use to install, upgrade, and manage packages on most Debian-based distributions. Follow the steps below to Tilix with apt on Ubuntu.
1. Launch the Terminal from the applications menu or use the keyboard shortcut Ctrl + Alt + T.
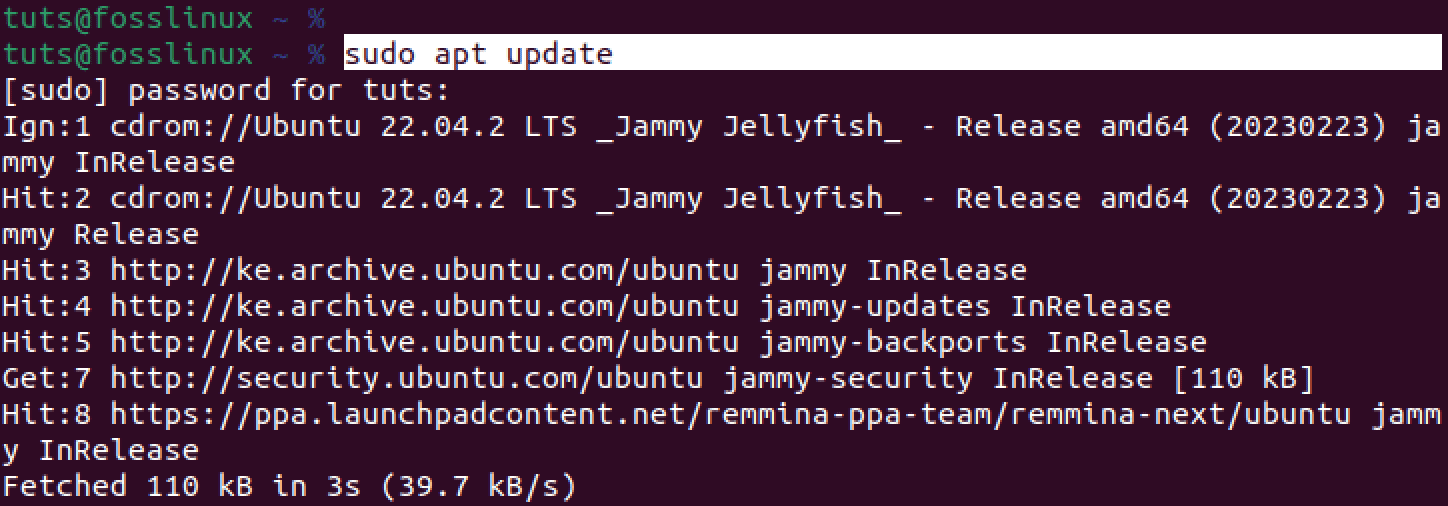
2. Update the system by executing the command below.
sudo apt update
sudo apt upgrade
We highly recommend updating your system before installing any package. That helps ensure your system runs with the latest security patches, bug fixes, and updates.
Update Ubuntu
3. After successfully updating your Ubuntu system, execute the command below to install Tilix.
sudo apt install tilix
Tilix is not a huge package and should only take a few minutes to download and install. However, that is also dependent on your internet connection.
After a successful installation, you can launch Tilix from the applications menu, as shown in the image below.
Tilix
Method 2: Install Tilix from the app store
Another quick way to install Tilix on Ubuntu is by using the app store (Ubuntu Software). The “Ubuntu Software” comes pre-installed, and you can quickly launch it from the application’s menu.
Ubuntu Software
After launching the application, start typing the name of the app you want to install, “Tilix.” You might not see a “search box” on the Ubuntu Software app. However, it will appear once you start typing anything on your keyboard.

Install Tilix
Click the “Install” button to install Tilix on your Ubuntu system. Once done, you can launch Tilix from the applications menu.
Getting started with Tilix
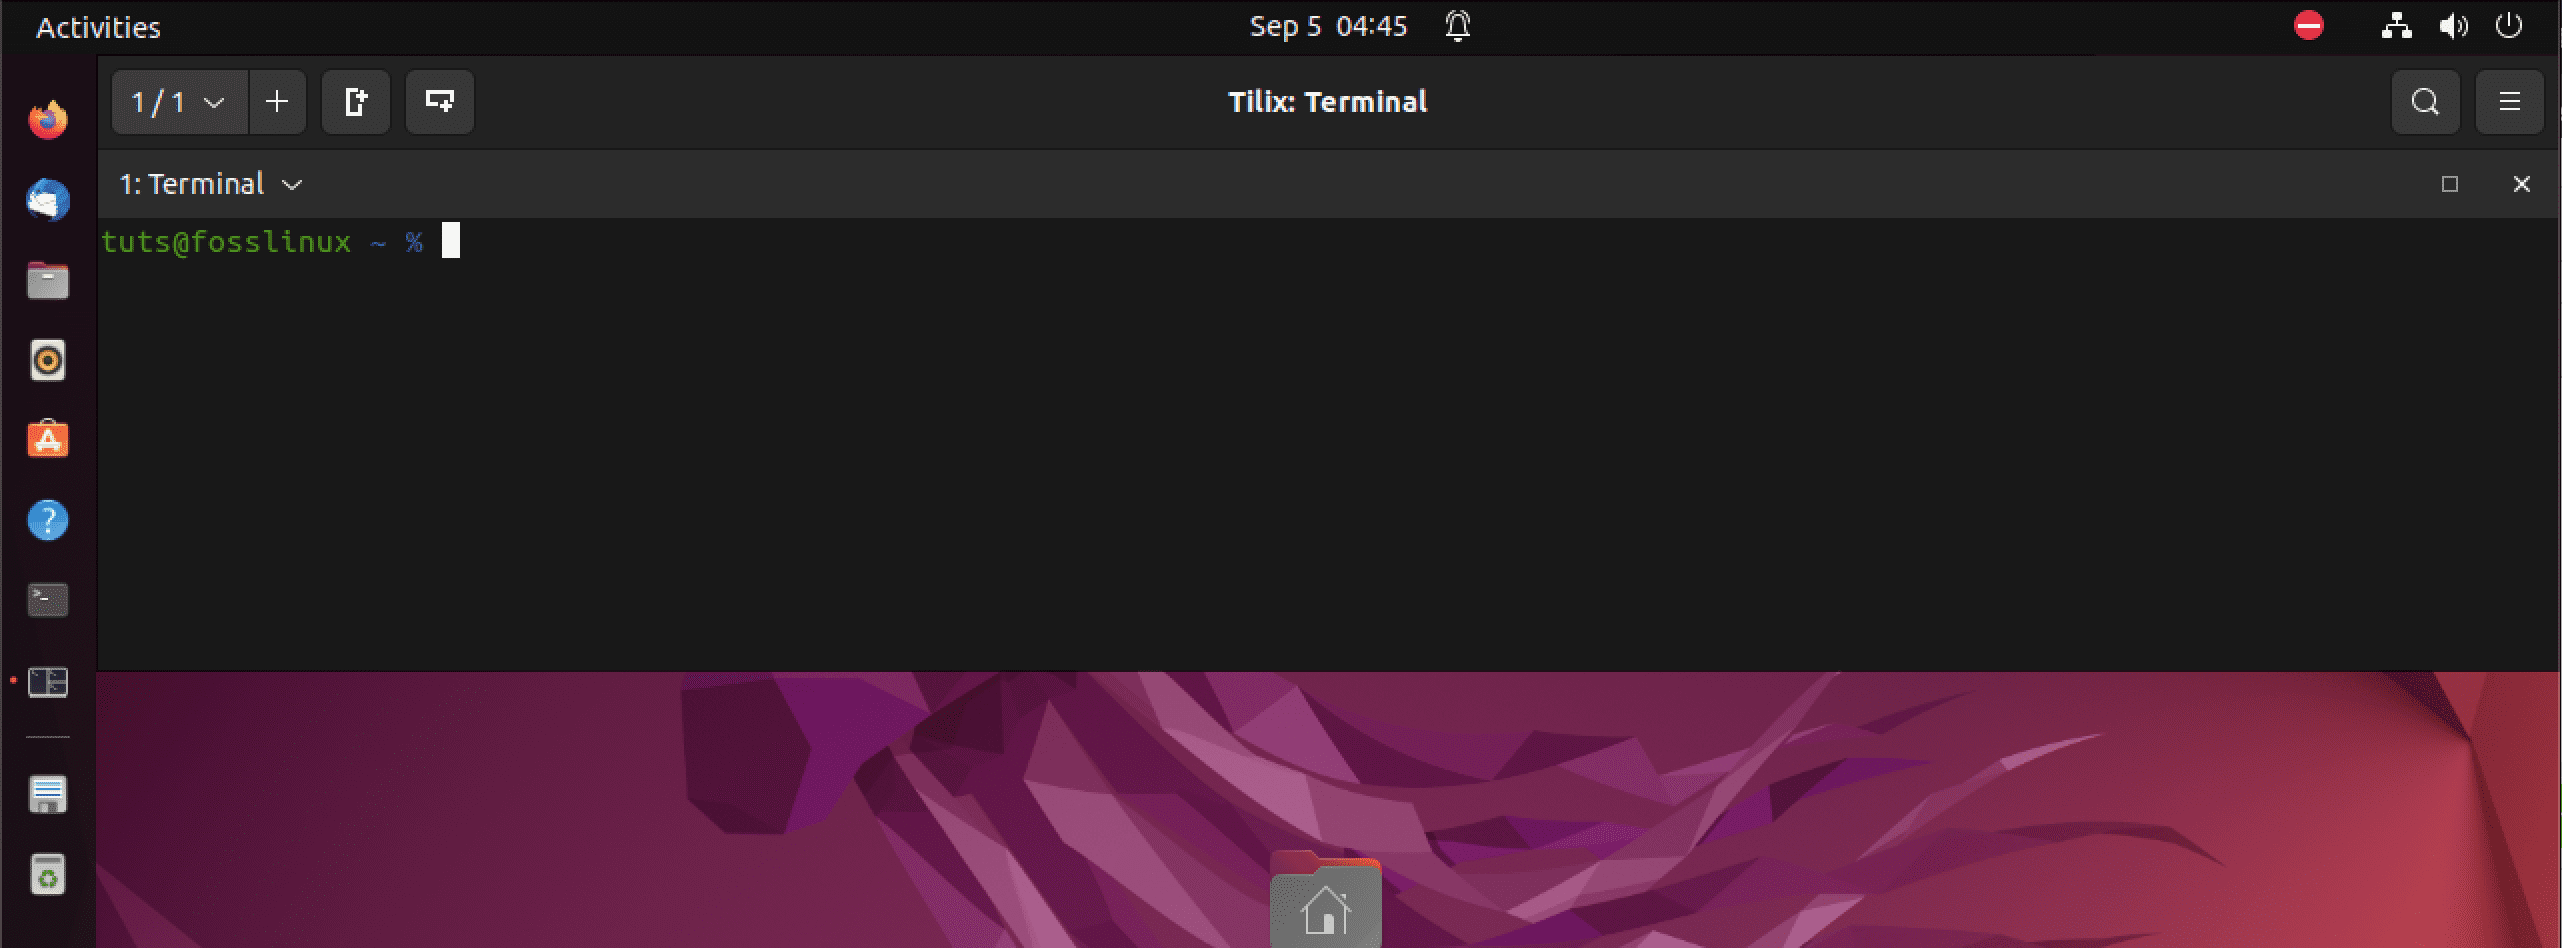
When you launch Tilix on your system, you will see a window similar to the image below.
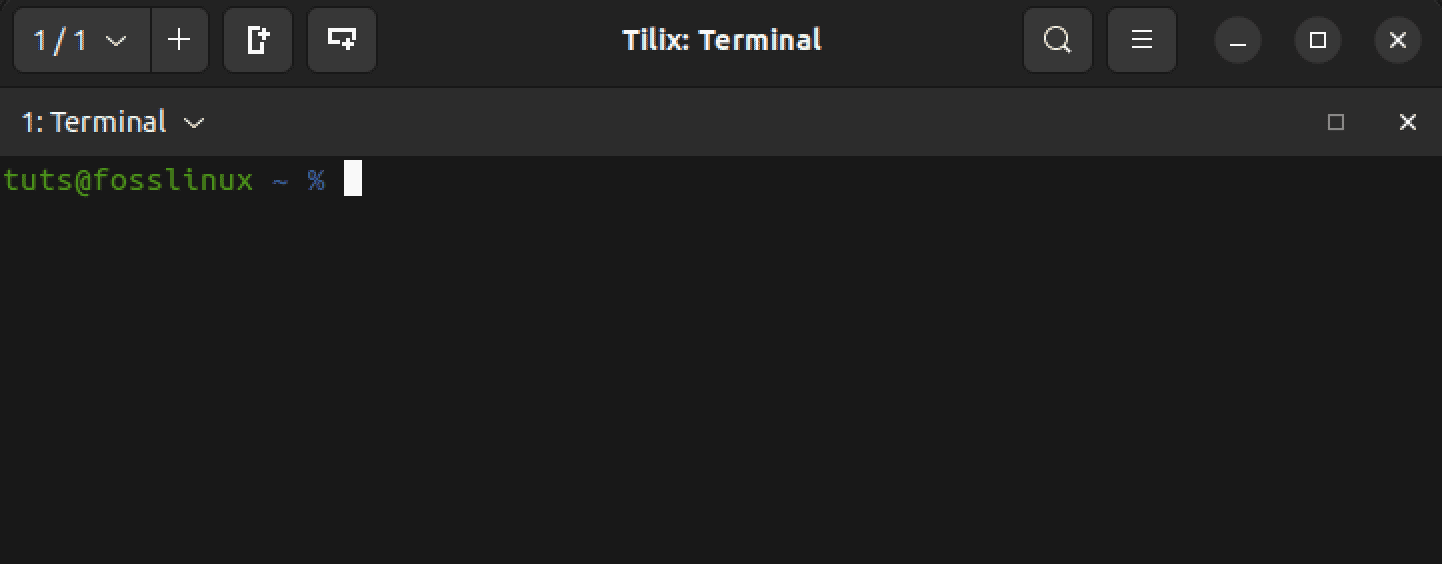
Tilix window
At first glance, it may not seem significantly different from the standard Ubuntu terminal. However, as you delve into its features, you’ll begin to grasp the full potential of the Tilix terminal. Let’s dive in and look at every feature you can expect.
1. Tiling
As the name suggests, the Tilix terminal enables you to create several Terminal instances inside the main Tilix window. This is a feature also found in the “Terminator” terminal. You can read about Terminator in this post – How to install and use Terminator Terminal on Ubuntu.
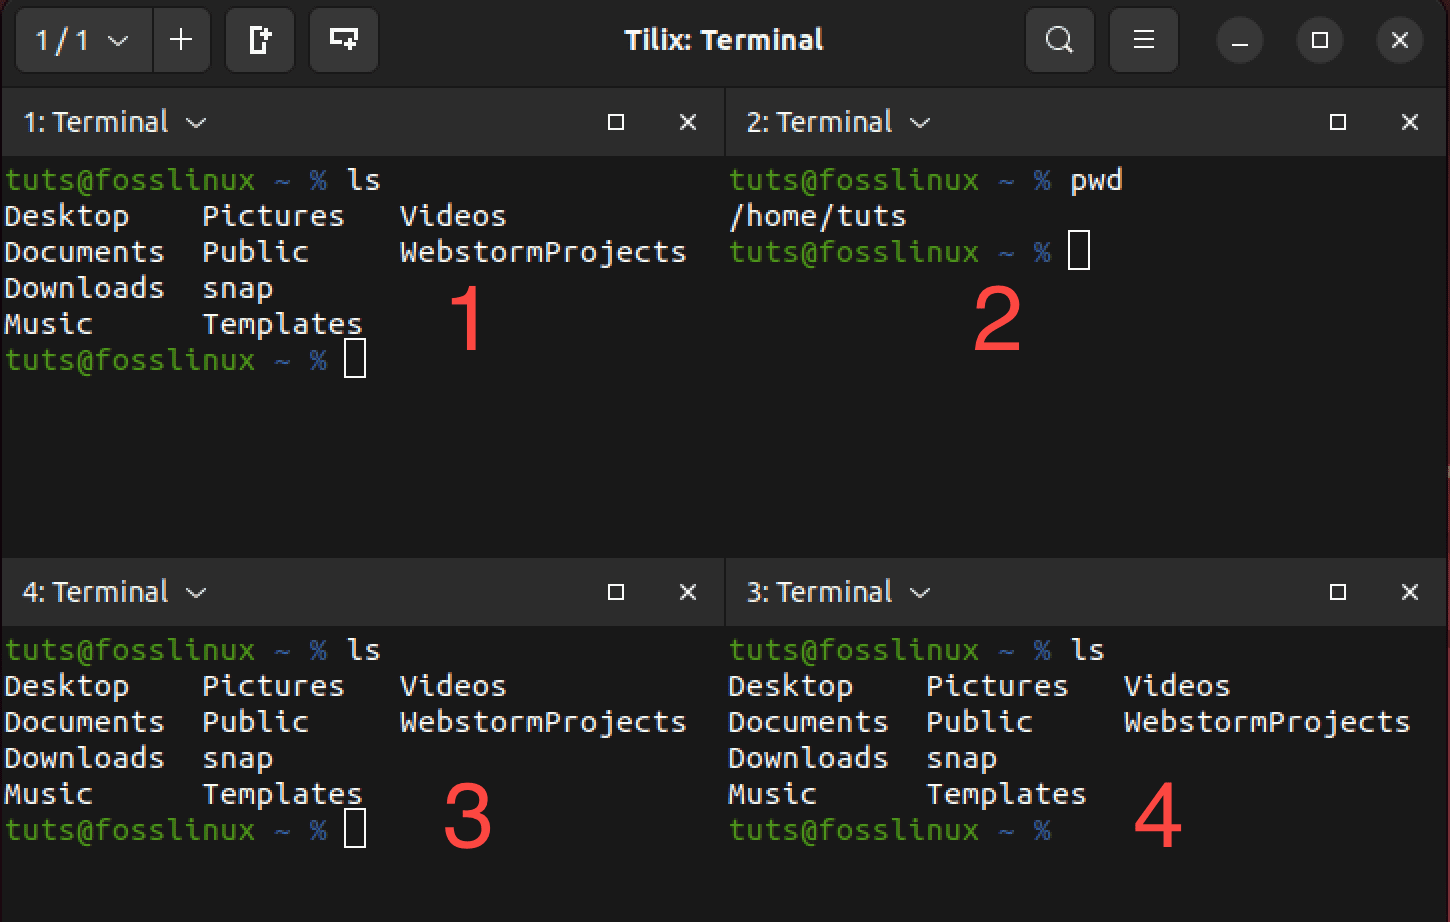
Tiling on Tilix
The image above shows four Terminal instances running on a single Tilix window. That is a pretty cool feature, especially when you are performing different tasks simultaneously or managing several remote computers.
You can use several ways to create instances inside the same window.
- Use the “Add Terminal” buttons at the top of the Tilix window.
- Using keyboard shortcuts.
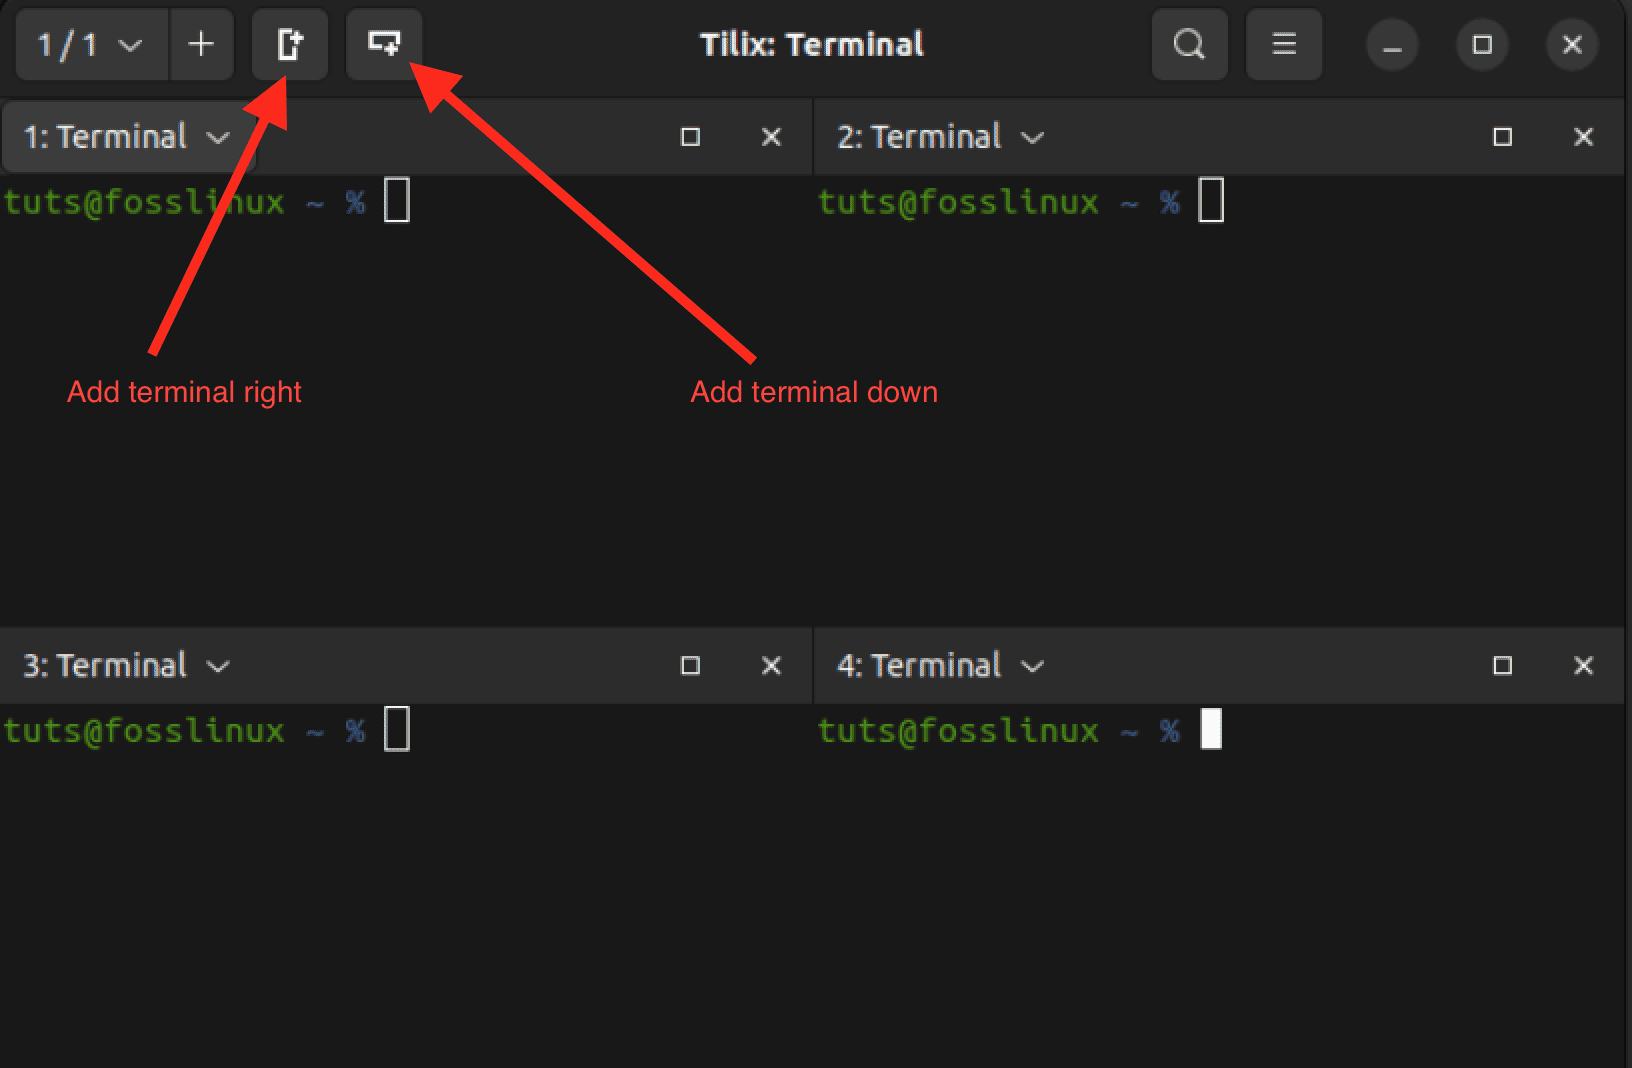
Using the add terminal buttons
This is one of the most straightforward ways of adding a terminal instance on Tilix. There are two buttons – the “Add terminal right” and the “Add terminal down” button. As the names suggest, the “Add terminal right” button will create a new Terminal instance to the right of the currently active terminal. In contrast, the “Add Terminal down” will create a new terminal instance below your current active Terminal.
Tiling in Tilix
Using keyboard shortcuts
Instead of using the “Add terminal right” or “Add terminal down” buttons, you can use the keyboard shortcut Ctrl + Alt + A.
Keyboard shortcuts
The only drawback with this shortcut is that it might not place the new terminal instances exactly where you want them to be. However, that brings us to the next interesting feature you might not find in most terminal emulators – drag-and-drop terminal instances.
2. Drag and drop terminal instances
The drag-and-drop feature in Tilix is a convenient way to rearrange terminal panes within the same Tilix window. It allows you to organize your workspace by moving terminal sessions or panes around to suit your workflow.
Drag and drop in Tilix
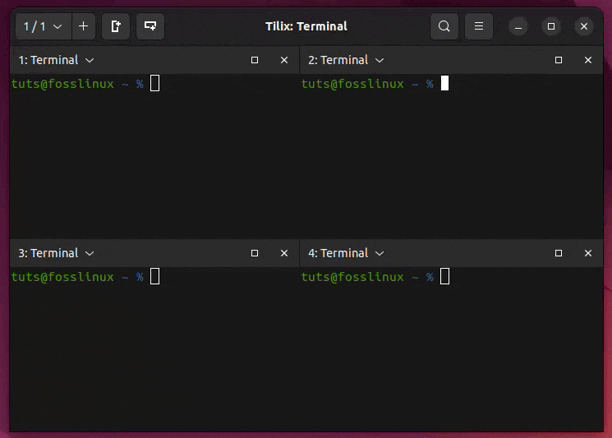
3. Create multiple sessions
To create multiple sessions within Tilix, you can open new tabs by pressing Ctrl+Shift+T or clicking the “+” button on the tab bar at the top of the Tilix window. Each tab can be considered a separate session. To view all the sessions you have opened, click the dropdown button at the top left.
Create multiple sessions on Tilix
4. Add bookmarks
Bookmarks in Tilix are essential tools for streamlining your terminal workflow. They act as quick shortcuts to specific directories, allowing you to navigate your file system effortlessly. By saving frequently used paths as bookmarks, you save valuable time and reduce the chances of errors that can occur during manual navigation.
To add a bookmark in Tilix, click the “Terminal” button at the top-left corner. In the menu that appears, choose “Assistant” and then select “Add bookmark.”
Add bookmark
You will see a popup window with several options that provide flexibility in creating bookmarks for various purposes. These include.
- Folder:
The “Folder” option in Tilix permits you to bookmark local directories within your file system by providing the directory path. This feature is handy when navigating specific folders or project directories frequently. - Path:
The “Path” option in Tilix allows you to bookmark any particular file system path, whether it’s a directory, an individual file, or a more intricate path. - Remote:
The “Remote” option in Tilix is tailored to connect to remote servers or network locations. When you select this option, you can input essential connection details such as the hostname, username, and protocol (such as SSH or SFTP). This functionality proves particularly advantageous for swiftly accessing remote servers, making it exceptionally convenient if you often work on remote machines or require quick and secure connections to external systems. - Command:
The “Command” bookmarks in Tilix offer the capability to bookmark a particular command or script that you intend to run in your terminal. This feature is convenient when you have custom scripts or commands that you routinely execute.

Tilix bookmark options
5. Quake-style mode
Tilix’s Quake-style mode is a unique feature that lets you show or hide the terminal window using a simple keyboard shortcut. It’s like having a hidden terminal you can quickly bring up whenever needed. Terminals with such a feature are referred to as “Drop-down terminals.”
One famous drop-down Terminal is Guake. You can read more about it in this post – Guake Terminal: A Quake-inspired Drop-down Terminal.
Execute the command below to start Tilix in Quake style.
tilix --quake
This command will open a new Tilix window fixed to the top of your screen. You can execute any commands you wish, just as you would on a regular Terminal.
Tilix Quake-mode
To configure the size, appearance, and position of this drop-down terminal, click on the “Hamburger” menu at the top and select “Preferences.” This action will open a new window with various configuration settings. Choose “Quake” from the panel on the left. Within this section, you will find a list of all available options for customizing your drop-down terminal.

Customize Quake
6. Keyboard Shortcuts
In Tilix, keyboard shortcuts provide an efficient way to perform various tasks and actions within the terminal emulator. To access and customize these shortcuts, go to the “Hamburger” menu located at the top of the Tilix window and select “Keyboard shortcuts.”
Here, you can view and edit the keyboard combinations that allow you to navigate, split terminals, switch between tabs, and perform other essential functions in Tilix. Customizing these shortcuts can help you tailor your terminal experience to your specific needs, making your workflow smoother and more convenient.
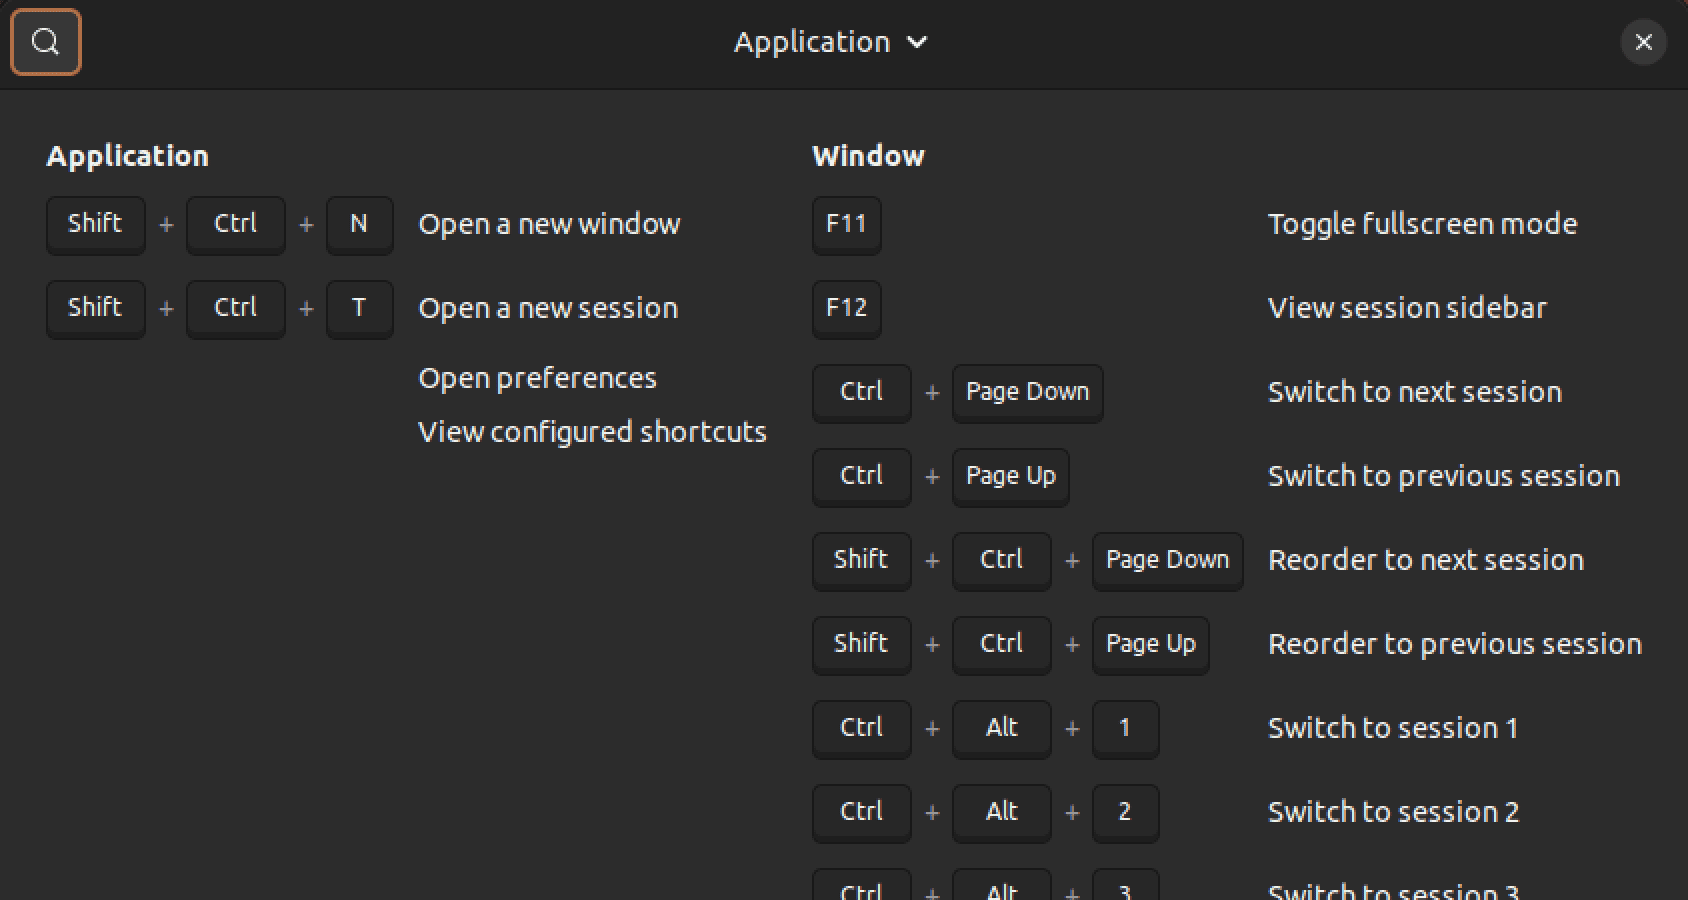
Keyboard shortcuts
Wrapping up
This post has given you an in-depth guide on getting started with Tilix, a powerful and versatile terminal emulator for Linux. You have learned its key features, such as tiling layouts, tabs and sessions, customizable appearance, Quake mode, and session saving and restoration.
I hope this post has helped you decide whether Tilix is the right terminal emulator. If you are looking for a terminal emulator that can handle multiple tasks simultaneously and provide high flexibility, then Tilix is an excellent option.