
Minecraft is one of the most famous building games globally developed by Microsoft Studious. In this game, you can build anything you need and explore it in a 3D world.
In this tutorial, we will walk you through the installation and configuration of the Minecraft Server on Ubuntu that will allow playing with other players online.
Before starting the installation of the Minecraft Server, we recommend first ensuring that your Ubuntu is up-to-date using the following commands:
sudo apt update
sudo apt upgrade
Setting up Minecraft Server on Ubuntu
Step 1. Let’s start by creating a new user for the Minecraft Server.
sudo adduser minecraftuser
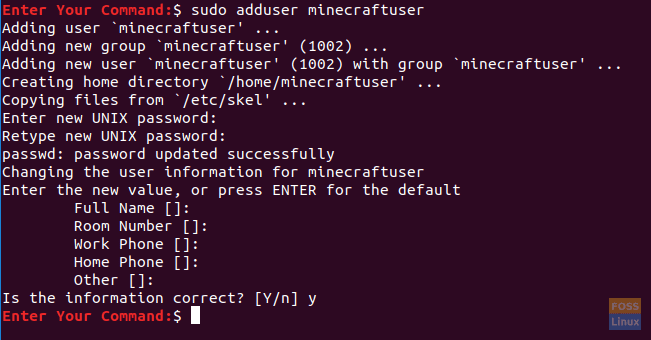
Create a New Minecraft User
Step 2. Add the new “minecraftuser” to the “sudo” group.
sudo usermod -aG sudo minecraftuser

Add Minecraft User To Sudo Group
Step 3. Let’s switch to the newly created “minecraftuser” using the subsequent command.
su - minecraftuser

Switch To Minecraft User
Step 4. Ensure that you have the wget package installed; if not, you can install it using the following command.
sudo apt install wget
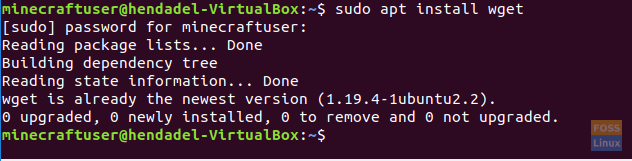
Install wget Package
Step 5. Install the java package that will be used on the Minecraft Server.
sudo apt install openjdk-8-jdk -y
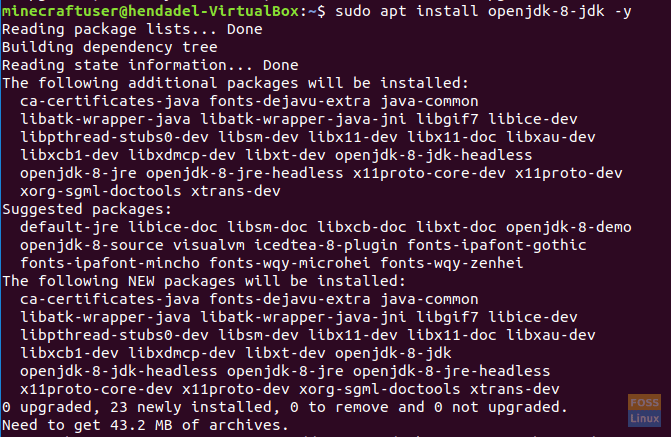
Install Java OpenJDK package
Step 6. After installing the java successfully, you can check its version to ensure it is installed.
sudo java -version

Check Installed Java Version
Step 7. (This is an optional step.) If you need the Minecraft server to run in the background, download the “screen” package using the following command.
sudo apt install screen
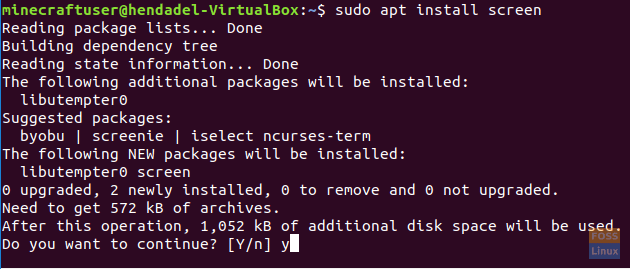
Install Screen Package
Step 8. Next, we will create a new directory to keep our Minecraft Server files in it.
sudo mkdir minecraftdir
Create A Minecraft Directory
Step 9. Move to the newly created Minecraft directory.
cd minecraftdir
Move To New Minecraft Directory
Step 10. Next, we are going to download the Minecraft Server. But be careful to replace the following URL with the latest release from the Minecraft website (Click here)
sudo wget -O minecraft_server.jar https://s3.amazonaws.com/Minecraft.Download/versions/1.11.2/minecraft_server.1.11.2.jar
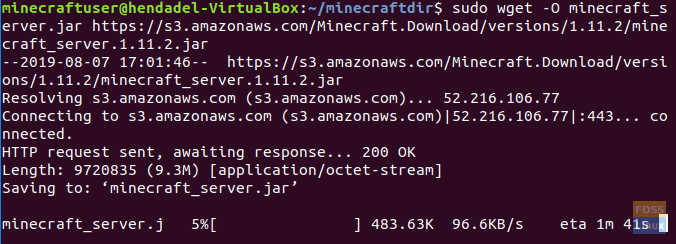
Download Minecraft Server
Step 11. Set permissions on the downloaded Minecraft Server to be executable.
sudo chmod +x minecraft_server.jar

Set Permissions On Minecraft Server Downloaded Files
Step 12. You must create the eula.txt file and agree to the license agreement conditions.
sudo vi eula.txt
Create License Agreement File
Step 13. Add the following line “eula=true” to the created “eula.txt” file. The file should look like the below screenshot.

Edit License Agreement File
Step 14. Now you can start the Minecraft Server using the subsequent command.
sudo java -Xmx1024M -Xms1024M -jar minecraft_server.jar nogui
This command will allow you to start the Minecraft Server with an allocated memory of 1024MB. If you need to increase this allocated memory, you can change the “-Xmx” parameter with your desired value.
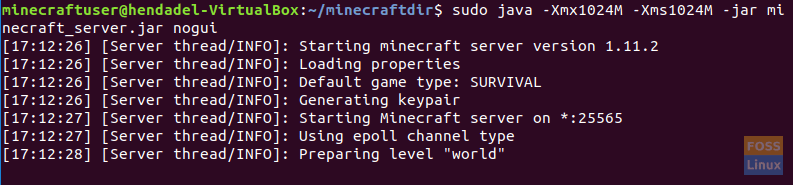
Start The Minecraft Server
Step 15. To stop the Minecraft Server currently, you can use the stop command.
stop
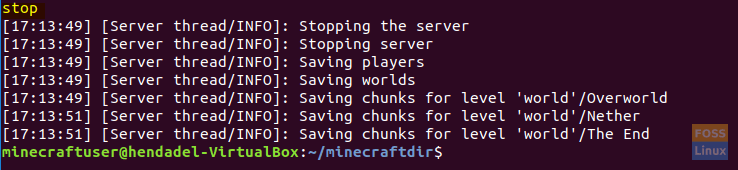
Stop The Minecraft Server
Step 16. (This is an optional step.) If you need to run the Minecraft Server in the background, you can use the screen command as follows:
sudo screen -S "Minecraft Server Screen"

Start The Minecraft Server In the Background
Next, run the java command to start the Minecraft Server.
sudo java -Xmx1024M -Xms1024M -jar minecraft_server.jar nogui
To exit the screen window, you will need to press the following keys:
CTRL+A+D
The output will look like the below screenshot:
Exit The Screen Window
To return to the screen window, use the following command.
sudo screen -r
Congratulations, you have just learned how to install the Minecraft Server on your Ubuntu.
17 comments
You really should cut out some of these “sudo” uses.
Following this guide as written will download, setup and run the server as root. Even the directory for the server would be owned by root.
My version of my minecraft server is on 1.12 and I can’t delete it to replace it with the new version
It worked here, as long as I changed the ownership on the files, e.g.
sudo chown -R minecraftuser:minecraftuser *
Take out every sudo from step 8 onwards. You are instructing people to run their minecraft servers as root. What a dumb idea! You’d think someone posting for a well known linux site would know better than that!
What the
They tried 3 times to hack my server
I had created minecraft user as root
Now how do I connect to the server I just set up?
use the ip of your server
followed by :25562
how do i open the server to other players not on my network?
you need to port forward it.
how would i add a ./start.sh file to auto restart the server
also how can i change the world file?
how do i find the ip of my server?
The internal IP address can be located from the Windows command line near IPv4 after entering ‘ipconfig’ . The public IP can be located by entering ‘what is my ip’ into any web browser.
Note:
If you want to connect on LAN, use your internal IPv4 address. i.e: 192.168.x.xxx, however, if you want to connect outside of LAN, on another internet
connection, you must instead use the public ip. I am still a novice at this, however, as a warning, I would not advise sharing the public ip with anyone unless they are trustworthy, if you want to host a server expecting multiple users, I would recommend that you lease a domain name associated with that public ip, this can be done from multiple domain leasing websites, however I prefer domain.com or godaddy.com. Good luck 🙂
Just as a correction and addition, to find the internal IP of the Linux machine running the server, ‘ifconfig’ must be entered instead of ‘ipconfig’.
how would you load mods to this
Using forge or something similar.
what is the oldest version of ubuntu this can work on?