
Unity is a powerful platform used by developers to create both 2D and 3D games. One of my personal favorite aspects of Unity is the flexibility it offers, allowing developers to build interactive content for various platforms. Unfortunately, installing Unity on Ubuntu can be a bit tricky, especially for newcomers. But worry not! In this comprehensive guide, I will walk you through the entire process.
Important Features of Unity
Unity is an incredibly rich platform that has revolutionized game development. Below, I will outline some of its most important features that have made me, and countless other developers, choose Unity for our projects.
1. Cross-Platform Support
Unity provides the ability to build games for more than 25 different platforms, including Windows, macOS, Android, iOS, PlayStation, Xbox, and more. This is one of the features that I appreciate the most, as it allows me to reach a wide audience without having to rewrite code.
2. 3D and 2D Engine
Unity’s engine supports both 3D and 2D game development. The 2D tools are robust, offering features like 2D physics and tile maps. As a fan of classic 2D games, this has always been a plus for me.
3. Asset Store
The Unity Asset Store is a treasure trove for developers. It’s filled with thousands of ready-made assets, tools, and scripts that can significantly speed up the development process. I often find myself browsing the Asset Store for inspiration or to find the perfect asset for my game.
4. Real-Time Global Illumination
Unity’s lighting system offers real-time Global Illumination (GI). It helps in creating stunningly realistic scenes by simulating how light interacts with objects. While it might seem a bit advanced for newcomers, the results can be breathtaking.
5. Visual Scripting
For those who are not confident with coding, Unity offers visual scripting through tools like Bolt. This feature has made game development accessible to a wider audience, including artists and designers. While I personally prefer coding, I have seen incredible projects developed using only visual scripting.
6. Animation Tools
Unity provides a range of tools for animating characters and objects. The Animator and Animation windows offer control over animation states, transitions, and blend trees. As someone who struggled with animation in the past, these tools were a lifesaver.
7. Multiplayer Networking
Building multiplayer games in Unity is facilitated by features like the Multiplayer High-Level API (HLAPI) and Low-Level API (LLAPI). Though it can be complex, Unity provides the necessary tools to create engaging multiplayer experiences.
8. Integrated Development Environment (IDE)
Unity’s built-in IDE, MonoDevelop, offers features like debugging and auto-completion. However, you can also use other IDEs like Visual Studio. Personally, I prefer Visual Studio, as I find it more feature-rich and user-friendly.
9. Virtual and Augmented Reality (VR/AR) Support
Unity is at the forefront of VR and AR development. With extensive support for popular VR/AR devices, Unity makes it possible to create immersive and interactive experiences. Though I haven’t delved much into this area, it’s an exciting frontier in game development.
Prerequisites
Before diving into the installation process, make sure you have the following prerequisites:
- A computer running Ubuntu (I’m using Ubuntu 22.04 for this tutorial, but other versions should work too)
- A reliable internet connection
- Unity ID account. If you have one already, you can use it but don’t worry if you don’t have one. We have covered steps for it in the below guide too!
Installing Unity on Ubuntu
Part 1: Downloading Unity Hub
Step 1: Add the public signing key.
To add the public signing key, run the following command:
wget -qO - https://hub.unity3d.com/linux/keys/public | gpg --dearmor | sudo tee /usr/share/keyrings/Unity_Technologies_ApS.gpg > /dev/null
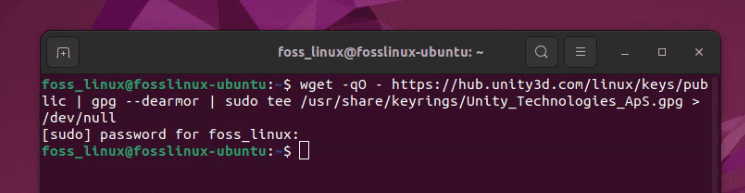
Adding Unity Hub Public Signing Key
Step 2: Add the Unity Hub repository
To add the Unity Hub repository, you need to update your ‘sources’ file in /etc/apt/sources.list.d. Run the following command to add the Unity Hub repository:
sudo sh -c 'echo "deb [signed-by=/usr/share/keyrings/Unity_Technologies_ApS.gpg] https://hub.unity3d.com/linux/repos/deb stable main" > /etc/apt/sources.list.d/unityhub.list'
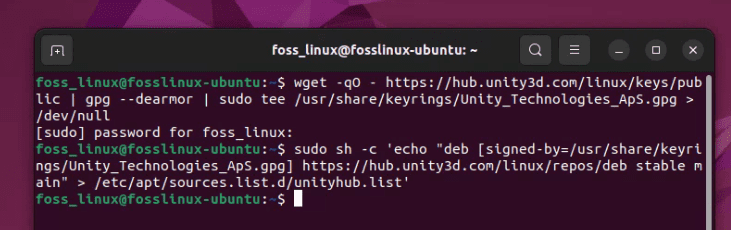
Adding Unity Hub Repo
Step 3: Update the system and install the package
Enter the following commands one by one to install Unity Hub.
sudo apt update
sudo apt-get install unityhub
Step 4: Open Unity Hub
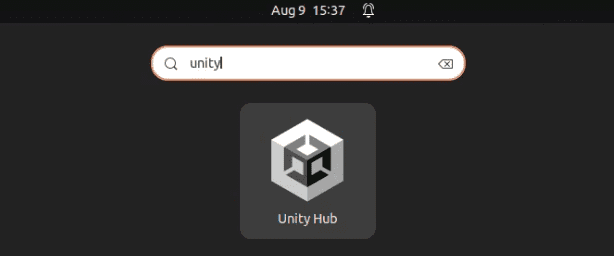
Launching Unity Hub in Ubuntu
Unity Hub will open, and now you are ready to install Unity!
Part 2: Installing Unity Editor
Step 1: Sign in or Create an Account
You’ll need a Unity account to proceed. If you already have one, simply sign in. If not, you can create one for free. Click on “Create account” in such a case.
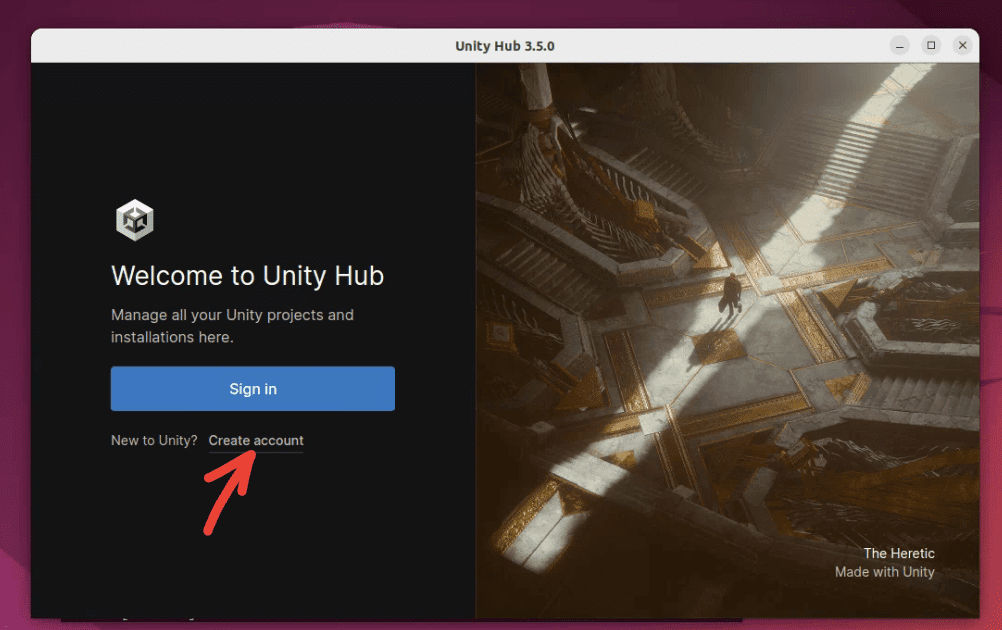
Create Unity Hub account
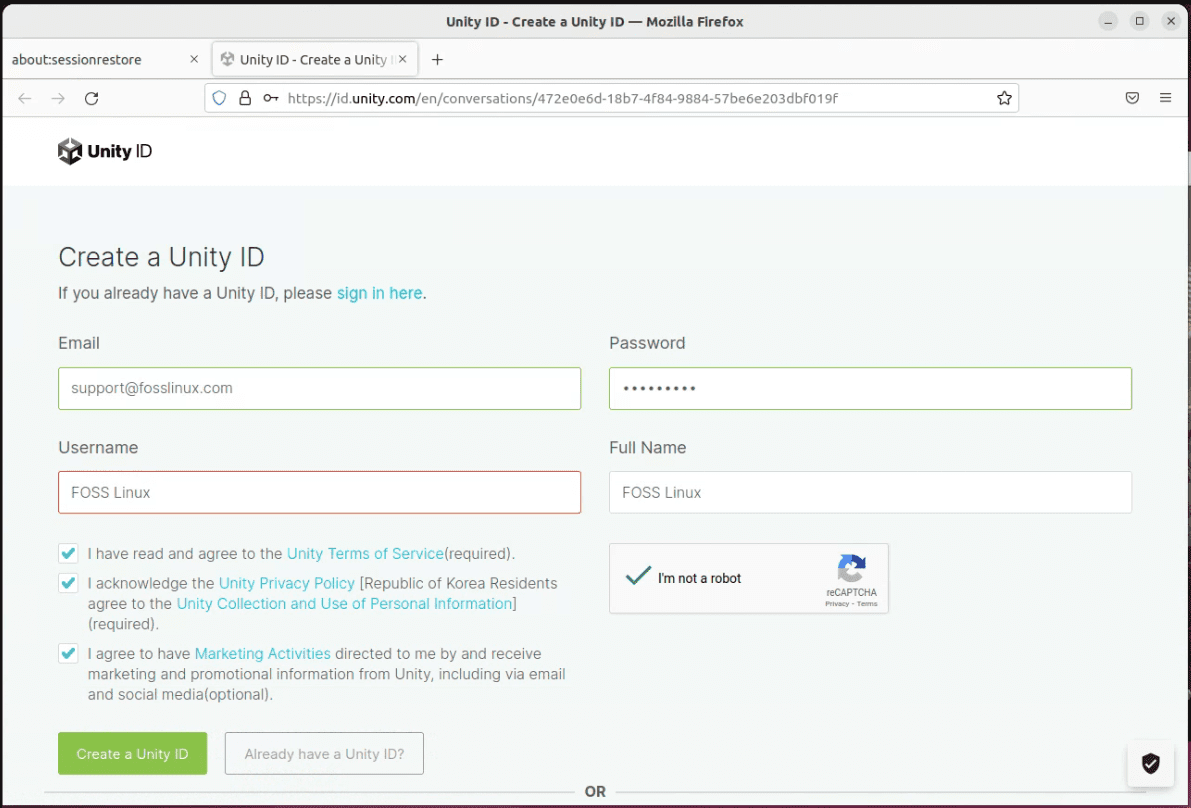
Creating Unity ID
Step 2: Choose Unity Version
Use the Unity ID you created to log into the Unity Hub. Click on the “Installs” tab on the left and then click “Install Editor.” You can choose the version of Unity you’d like to install. I usually go with the latest stable version, but you can choose older versions if needed. Click on “Install” button next to the build.
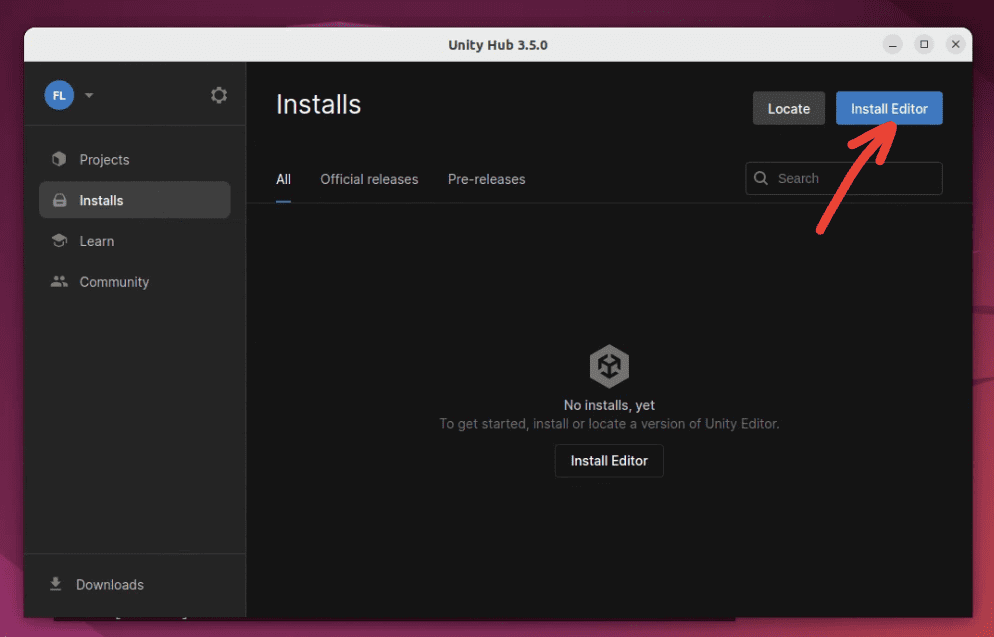
Installing Unity Editor
Step 3: Select Components
Select the components you need for your development. I usually include Android and iOS build support, but you can select what suits your projects. Ensure you have hard disk space for installing the modules. For instance, as you can notice in the below screenshot, I ran out of hard disk space!
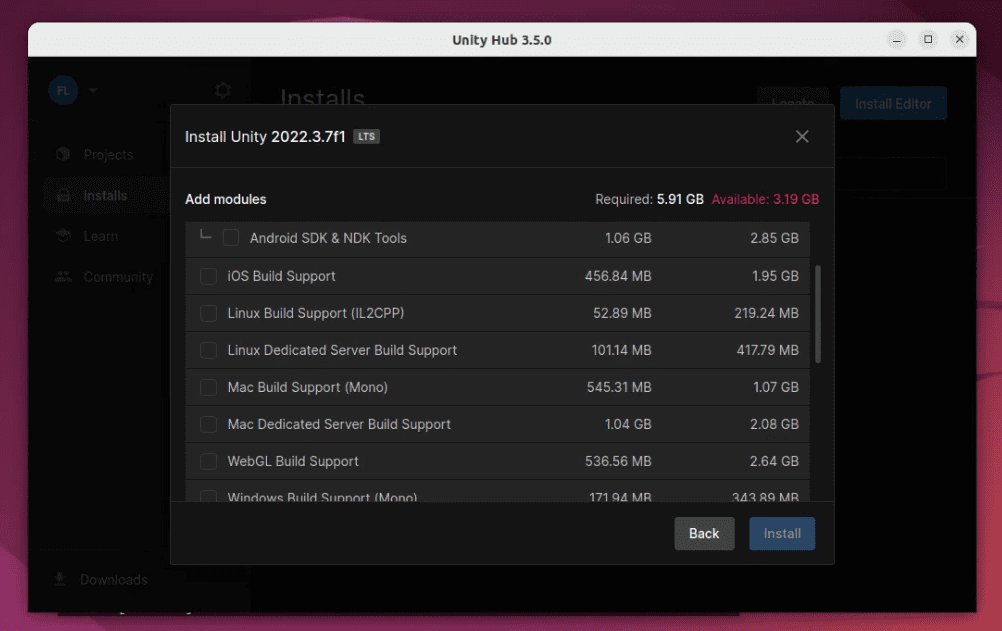
Installing Unity Modules
Step 4: Start Installation
Click “Continue” and then “Install.” The installation will take some time, so grab a coffee (or tea if you’re like me and not a big fan of coffee) and relax. After installation is done, enjoy developing your game!
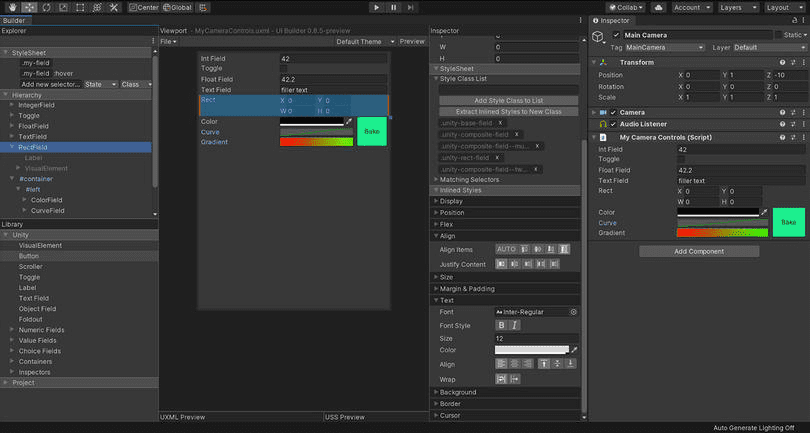
Unity Editor Builder UI
Pro Tip: Keep an eye on the installation process. Sometimes it may pause and ask for your password to install additional components.
Uninstalling Unity
To remove the Unity Hub from the system, run the following command:
sudo apt-get remove unityhub
Conclusion
Congratulations! You’ve now successfully navigated the intricate process of installing Unity on Ubuntu, and we’ve also explored some key features that make Unity a top choice for game developers. I hope this guide has not only helped you in the installation but also provided you with insights into why Unity is worth the effort.
From its cross-platform support to its vibrant community, Unity offers something for everyone.