
VirtualBox is open-source software that allows you to run and manage virtual machines on your primary operating system. Unlike most free and proprietary virtualization software, VirtualBox comes with additional features like the use of snapshots to save your current virtual machine state, excellent hardware support, and VM groups support. Above all, it is a free and cross-platform app.
Virtualization
Having understood what VirtualBox and its functionalities are, we need to understand the term virtualization. It is the process of running an instance of an Operating System on the primary OS (Host Operating System) but abstracted from the actual hardware.
A quick example would be a company purchasing a server with 5TB HardDrive/SSD and 128GB of memory to run an employee portal. The maximum memory and size of a simple portal would be 4GB RAM and 250GB disk space. Therefore, the company does not utilize all the resources and capabilities that come with the server.
Virtualization enables one to utilize system resources by running multiple instances of different systems on the same computer. Therefore, your only limitation would be the computer’s memory size and disk space.
Download VirtualBox
To get started, we have to install VirtualBox on our computer. You can download it from the official website using the link below.
Kali Linux
Kali Linux is a penetration testing Linux distribution used by cybersecurity experts to detect vulnerabilities in systems. It comes with tonnes of penetration testing tools useful for ethical hackers and security experts.
Download the latest release of Kali Linux from the link below. Ensure you select the right package for your computer.
In this article, we are going to look at how to install Kali Linux into VirtualBox in a step by step procedure. My host operating system will be Ubuntu 19.04, but the process is the same for any other Linux distros and even for Windows users.
Installing Kali Linux in VirtualBox
Step 1). Launch VirtualBox from the application manager. You can as well type the command ‘VirtualBox’ in the terminal to open it.
Launch VirtualBox from the application manager
The VirtualBox window will open. As of writing this post, I am running VirtualBox version 6.1. You should see the welcome page and a few menu tabs at the top.
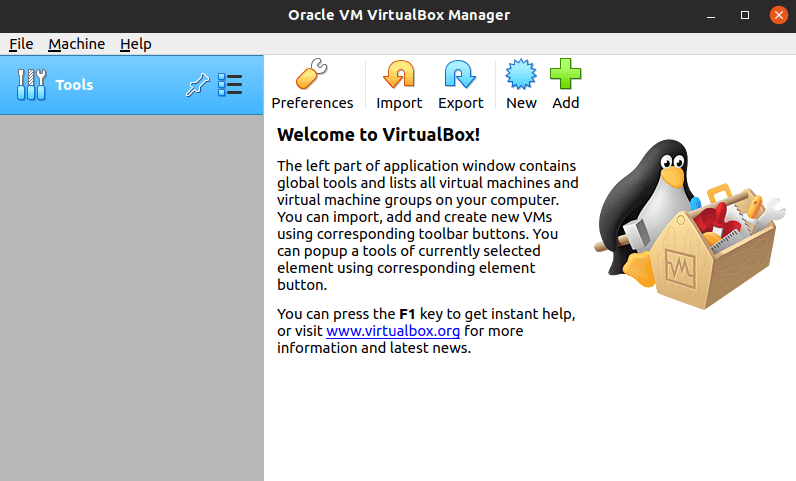
VirtualBox 6.1 Window
Step 2). Now we need to create a new virtual machine in which we are going to run our Kali Linux instance. Click on the new button, as shown in the image below. You can also use the keyboard shortcut by pressing Ctrl + A keys.
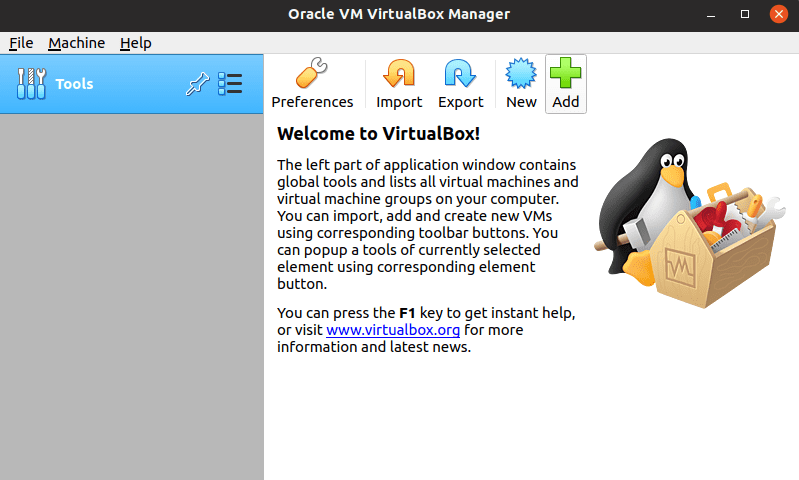
Create a new virtual machine
Step 3) The ‘Name and Operating system’ window will open. Here, we are going to set several things; the name we want to call our virtual machine, the folder in which we will save it in our local OS, the type of operating system, and the version.
Other than the name, I would recommend you put your settings as shown in the image below.
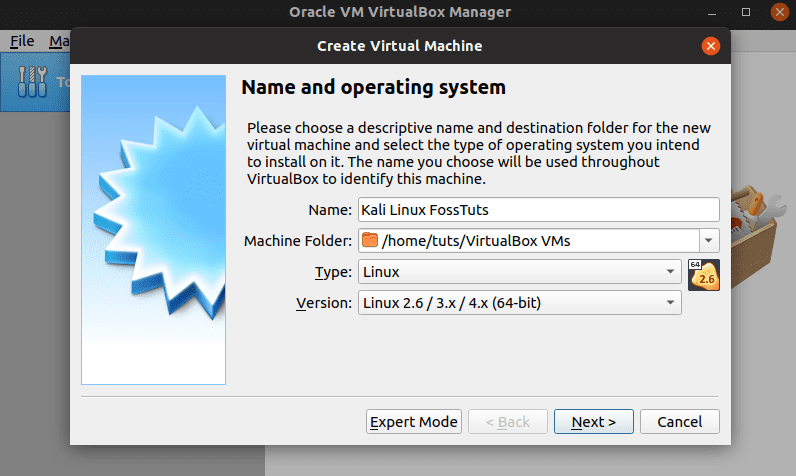
Set VM Name, Location, Type and Version
A quick trick with selecting the type and OS version is to name your Virtual machine just as the name of your OS, and it will automatically fill the other categories. For example, here you can just type ‘Kali Linux‘ as your VM name. Click Next when done.
Step 3). The ‘Memory Size window’ will open. Here, we are going to set the amount of memory we wish to allocate to our new Virtual Machine. Be very careful not to assign a lot of RAM, leaving only a small amount for your host OS.
However, depending on the Operating System detected by VirtualBox, it will recommend the required amount for ultimate performance.
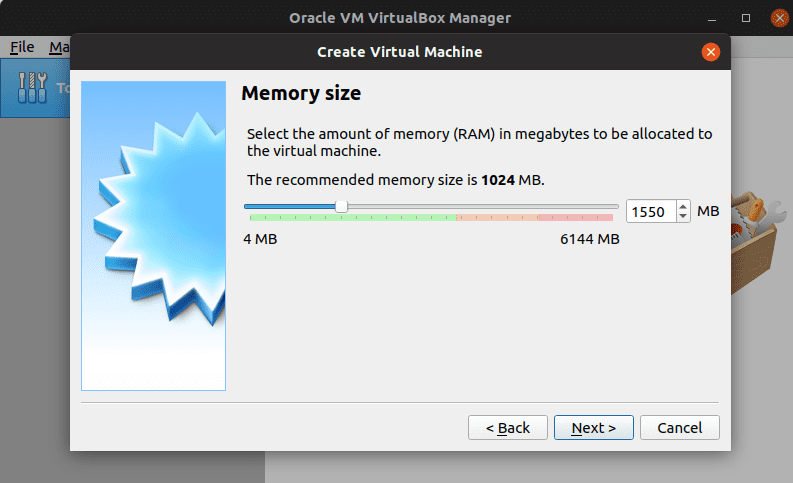
Allocate VM memory
Click Next when done.
Step 4). In the next window, we will need to create a virtual disk. It is the storage space that will hold our Virtual Machine. It emulates the actual hard drive we use to keep our primary OS. VirtualBox gives you three options here:
- Do not add a virtual hard disk
- Create a virtual hard disk now
- Use an existing virtual hard disk file
As a new user, use the option, ‘Create a virtual hard disk now’ and click next.

Create a virtual disk
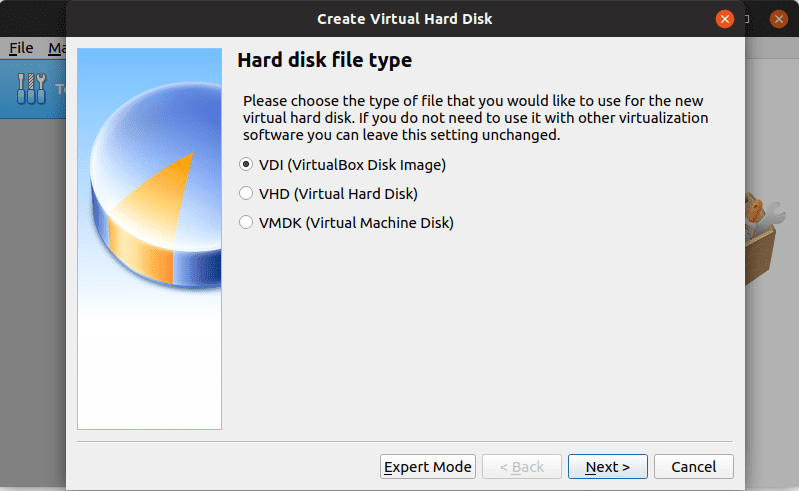
Step 5). In the next window, we will need to select the Hard disk file type. We have three options.
- VDI (Virtual Disk Image)
- VHD (Virtual Hard Disk)
- VMDK (Virtual Machine Disk)
If you plan to use this Virtual Machine only in Virtual Box, select the VDI option. However, if you would like to migrate it later on to another virtualization software, then choose VHD or VMDK.
Select the Hard disk file type
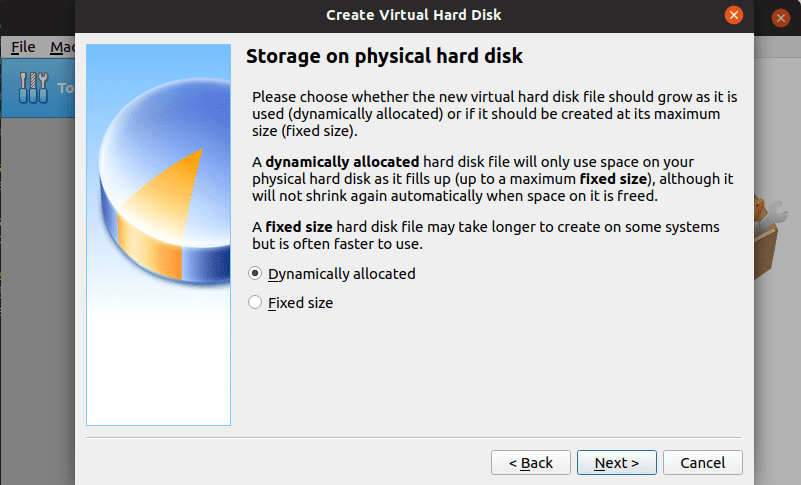
Step 6). On the next window, you will need to select the storage type you wish to use for your virtual Hard disk. You have two options to choose from.
- Dynamically allocated
- Fixed-size
For new users, use the Dynamically allocate option.
Select storage on physical drive
Step 7). On the next window, you will need to set the File Location Size. VirtualBox will always automatically assign the recommended amount depending on the operating system. However, you can adjust this by typing your amount or sliding the horizontal bar.
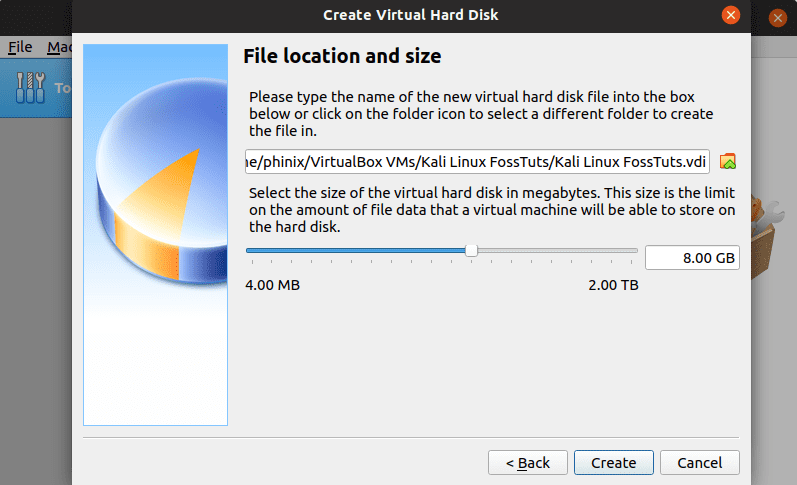
Set File location size
Click create when done.
Step 8). The VirtualBox main window will open. Unlike before, you can now see your new virtual machine listed on the left panel. Select the virtual machine and click on the Start button to get started.
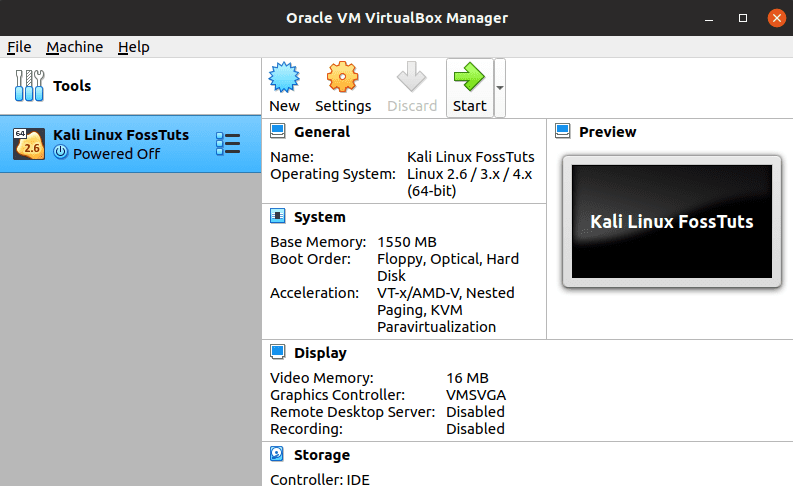
Start VirtualMachine
Step 9). On the next window, you will need to provide the path to the Kali Linux disk image file. Click on the browse button as indicated on the image below and open the path to your Kali-Linux ISO file. Click Start when done.
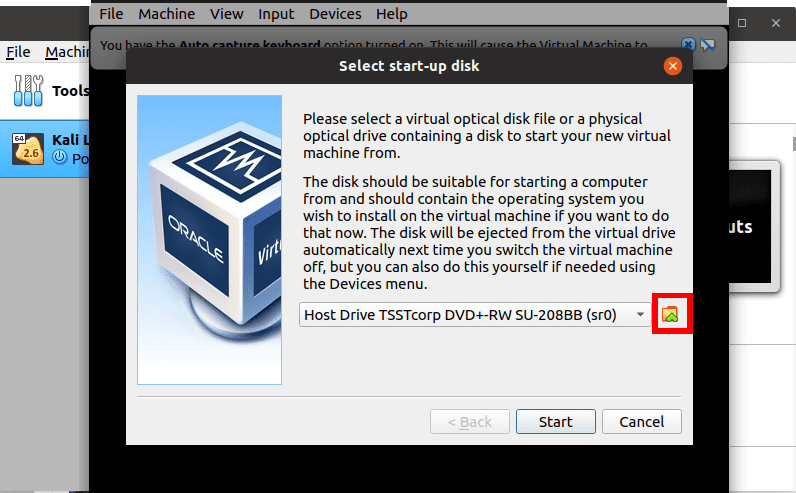
Select Startup disk ISO file
That’s it! We have created our Kali Linux virtual machine! You should see the Kali Linux boot screen, and you can now start the installation process.
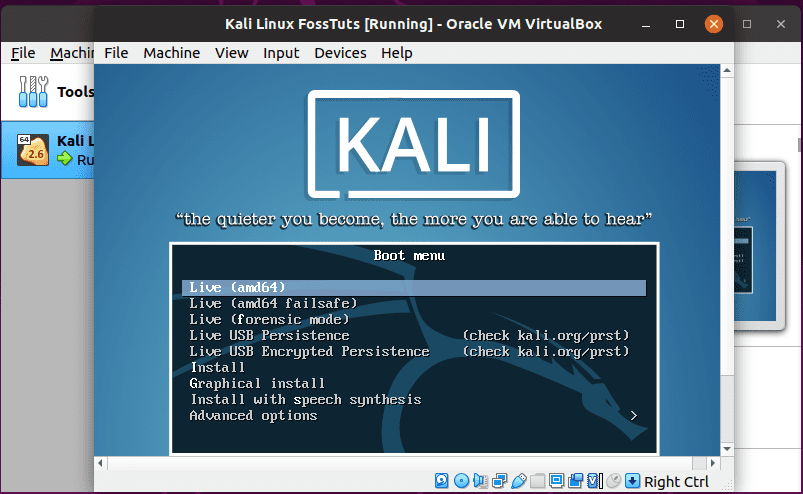
Start Kali Linux VM
This process is also applicable when you want to install other Linux distros or even windows virtual machines. You can read our article on how to install VirtualBox guest additions to get more functionalities from this software.
Conclusion.
We have so many Linux distributions in the market. If you have an interest in testing these systems, you don’t need to install them as a primary OS on your computer. Use VirtualBox to and create virtual machine instances of these systems. Once done, you can decide to install or delete it entirely from your system.
If you have any questions or additional information you wish to share with our readers, please do so in the comment section below. If you find this article useful, feel free to share the link with a friend.
1 comment
This was painless. I appreciate you….Thank you so much.