
Nowadays, Network Engineers and students studying for their CCNP, CCNA, CCIE, etc., make use of network simulation software to run topologies and interact with sophisticated network devices. One of the popular network simulation software in the market is GNS3.
Graphical Network Simulator -3 (GNS3) is a network simulator developed by a Frenchman Jeremy Grossman and released in June 2007. It combines several network devices and configurations to simulate complex network topologies.
Before digging further about GNS3, we need to differentiate two standard terms you are likely to encounter in the field of computer networking. A Network Simulator and Network Emulator. They sound quite similar but have a big difference when it comes to implementation.
Network Emulator vs Network Simulator
A Network Emulator software copies the overall functionality of particular hardware or device to make you feel as if you are interacting with the real thing. A good example is the Cisco Packet Tracer. When you use a router or switch on Packet Tracer, you are not running the actual device but an emulated program that acts and functions like a router or switch.
A Network Simulator, on the other hand, is software that virtualizes your hardware enabling it to support the operating system of different networking devices. A good example is GNS3. When you use a router in GNS3, you are running the real device operating system.
Having grasped that, we can now look at other exciting features of GNS3. It is open-source software, and so you can find the complete source code in GitHub. GNS3 is also a multi-vendor support application enabling you to create labs using devices from several vendors. These include CISCO, Juniper, Aruba, Cumulus, Arista, and many more.
GNS3 version 2.0 and newer releases support the Docker feature. It has opened a whole new world in the field of networking – Network Automation using Python and Ansible scripts.
Getting started with GNS3
Despite being one of the best network simulation software in the market, GNS3 comes with several complexities. Therefore, before getting down to the download and installation process, let’s look at some of the components we will need – GNS3 application and GNS3 VM or GNS3 Server.
We will create or network topologies and labs on the GNS3 application. It’s a graphical user interface with several devices to simulate a network. The GNS3 VM is a utility mainly for Windows and OSX users who want to run IOS/IOU/KVM images.
The GNS3 VM
It runs on the VMware virtualization software. Also, the GNS3 GUI application version should be the same as the GNS3 VM version for you to configure them correctly. Therefore, if you are running GNS3 GUI version 2.2.3 and you want to use GNS3 VM, then it should also be version 2.2.3.
The GNS3 Server runs your devices on a remote machine saving your PC resources. At times, you might need to create an intricate network that will consume your laptop’s memory. In such a situation, a remote server would be of great help. If you are not using a GNS3 VM or GNS3 server, the devices will run on your local OS commonly put as the local server.
Since we are running GNS3 on Ubuntu, we shouldn’t worry about the support of IOS/IOU/KVM images. Therefore, we will not require a GNS3 VM. All our network devices will run on our local server.
Installing GNS3-GUI on Ubuntu
We will download GNS3 using the apt repository.
Step 1) Update your system packages by running the command below.
sudo apt-get update
Step 2) Perform an upgrade to ensure you have the latest packages installed. Run the command below.
sudo apt-get upgrade
Step 3) Add the GNS3 PPA repository.
sudo add-apt-repository ppa:gns3/ppa
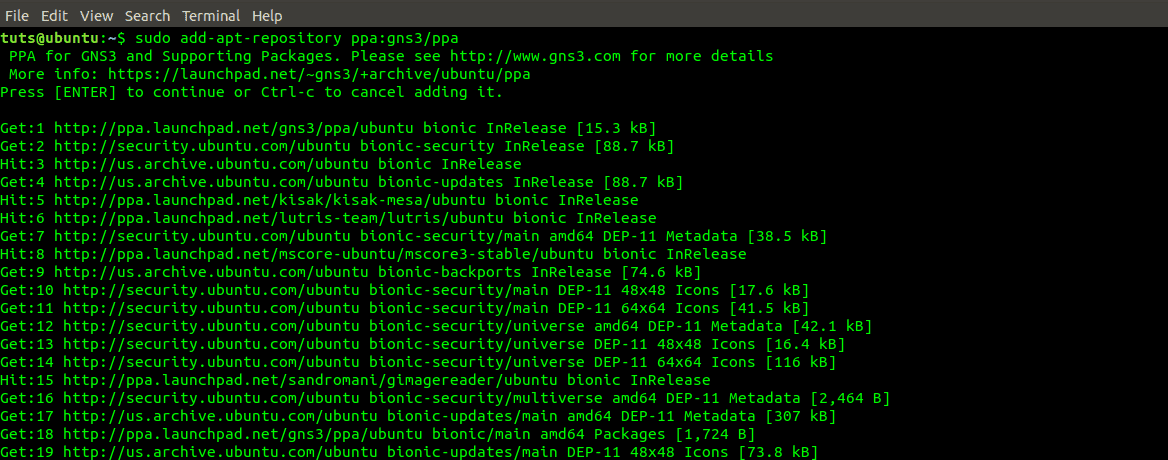
Adding the GNS3 PPA repository
Step 4) Update the system to add the required packages for the GNS3 installation.
sudo apt-get update
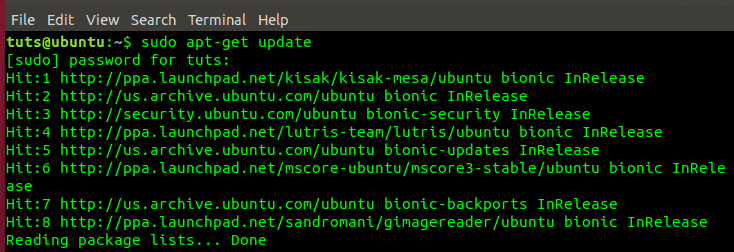
Update System Packages
Step 5) Install the GNS3 application.
sudo apt-get install gns3-gui
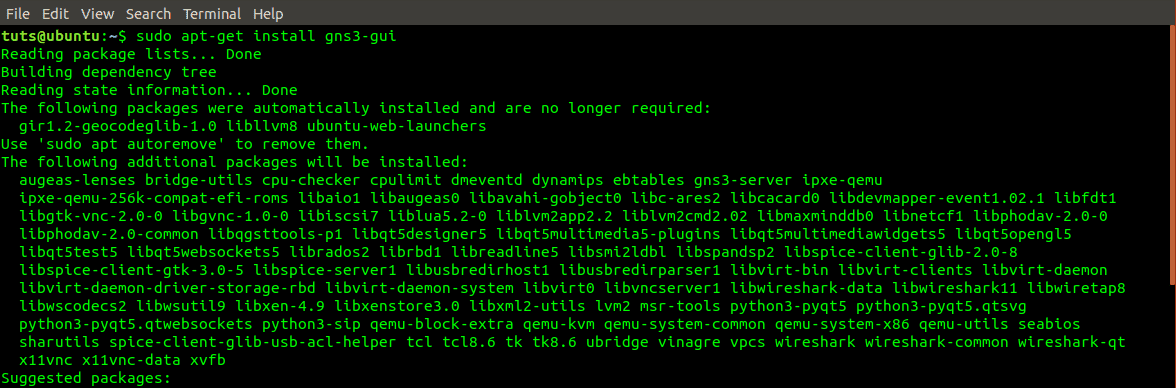
Install GNS3-GUI application
Step 6) A pop-up window will open asking you whether non-super users can run GNS3, highlight Yes using the tab key, and press enter.
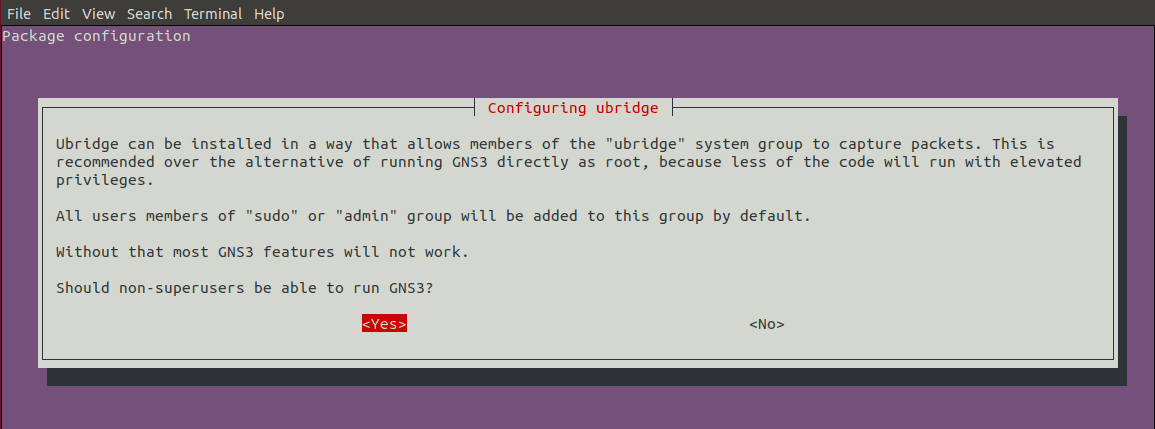
Configuring Ubridge GNS3
Step 7) Another window will open, asking you whether non-super users should be able to capture packets. Since this might be a security risk, choose No.
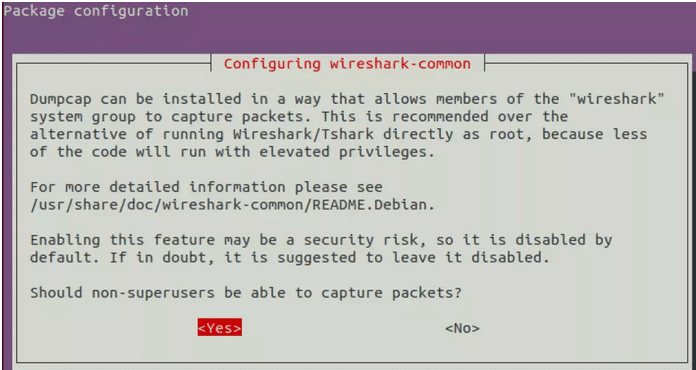
GNS3 Installation – Configuring Wireshark
Starting GNS3 – GUI
When the installation completes successfully, we should be able to launch GNS3 from the application menu.
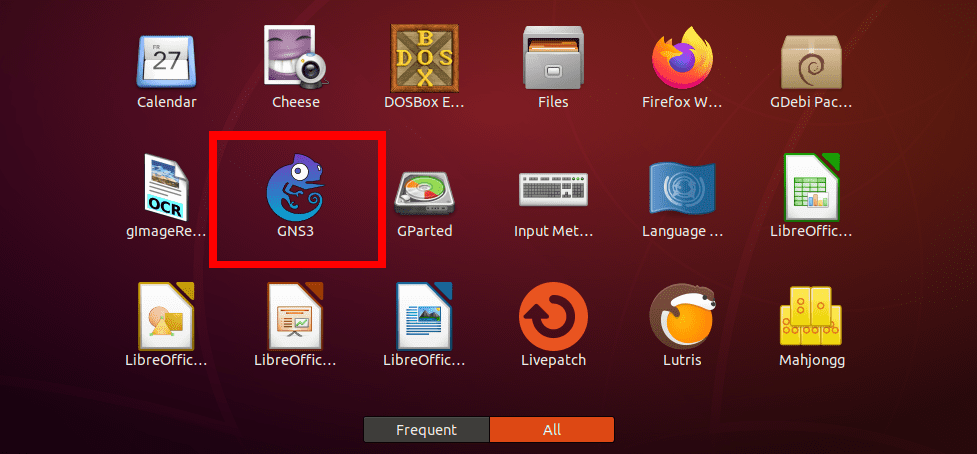
Launch GNS3 from Applications menu
If you are running GNS3 for the first time on your computer, there are a few configurations that you will be required to set. The first one is where you want to run your network simulations—either the GNS3 VM or your local server. For this post, since we are using Ubuntu, we don’t need the GNS3 VM to run IOS/KVM devices. We will pick the option “run appliances on my local computer.” Click Next.
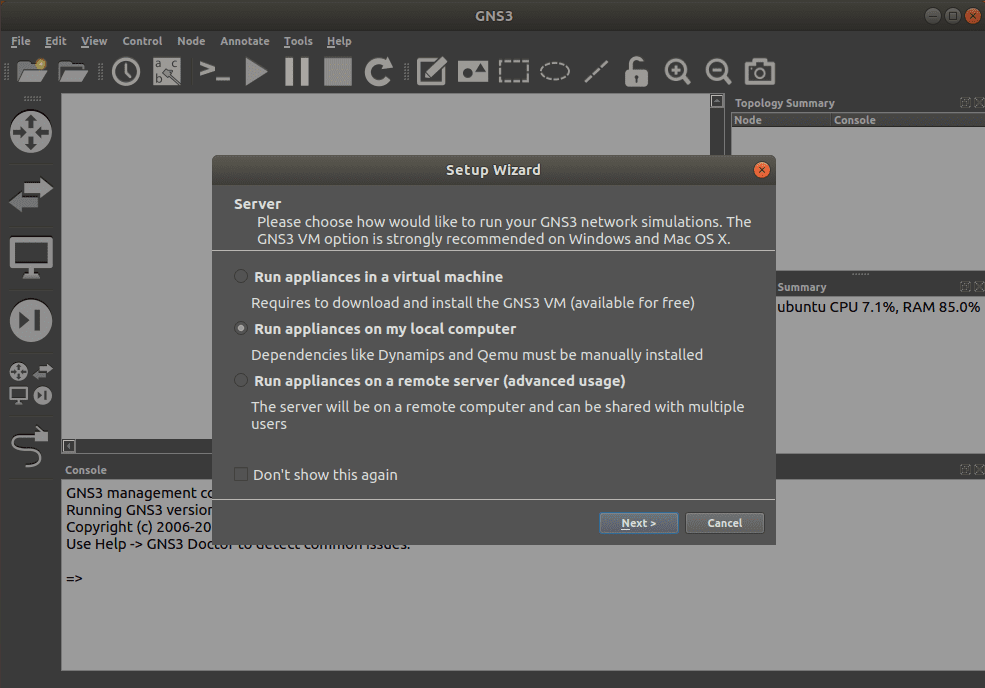
GNS3 – Choose where to run your appliances
Now configure the local server settings: the server path, Host Binding, and the port. The default settings are as follows:
Server Path = /usr/bin/gns3server
Host Binding = localhost or 127.0.0.1
Port = 3080
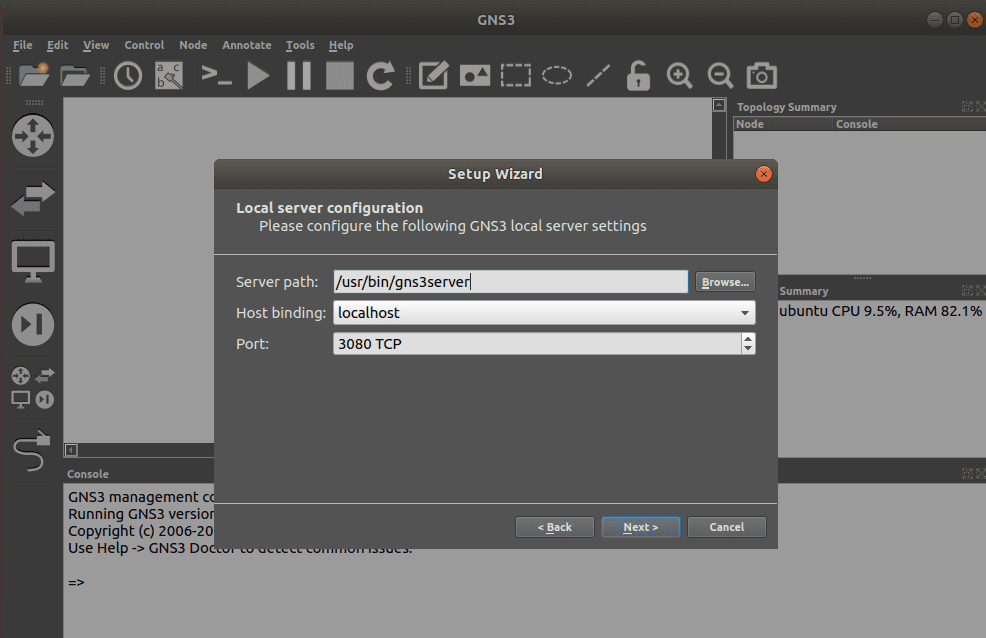
GNS3 – Local Server Configurations
When you are done applying these configurations, click Next.
If the configuration completed successfully, a window will pop-up displaying the local server status. Click Next.
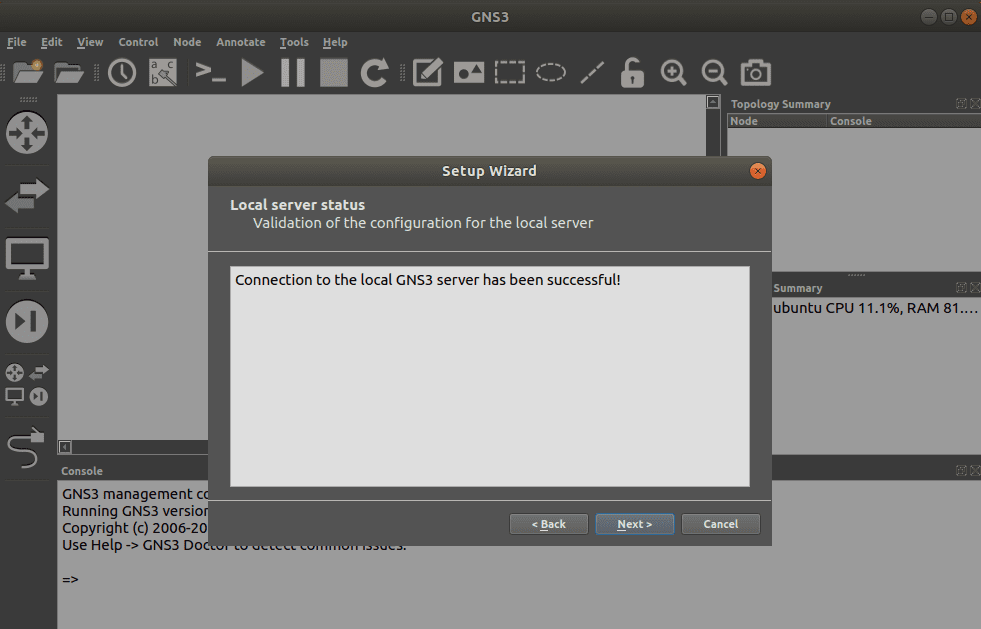
GNS3 – Local Server Status
You will see a window displaying the set configurations.
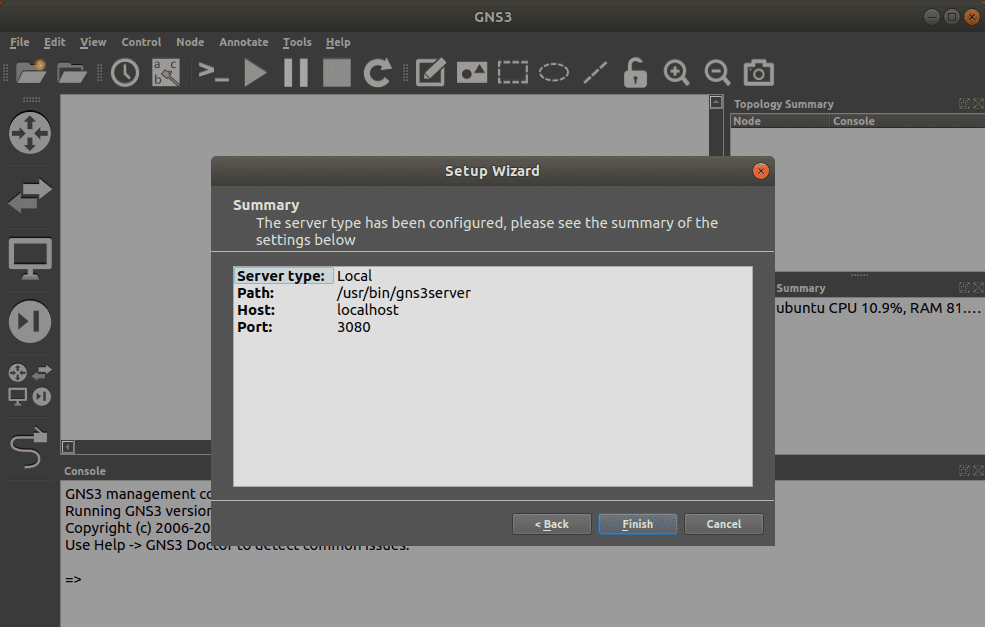
GNS3 – Local Server Configurations summary
Click Finish. The GNS3 GUI window will open.
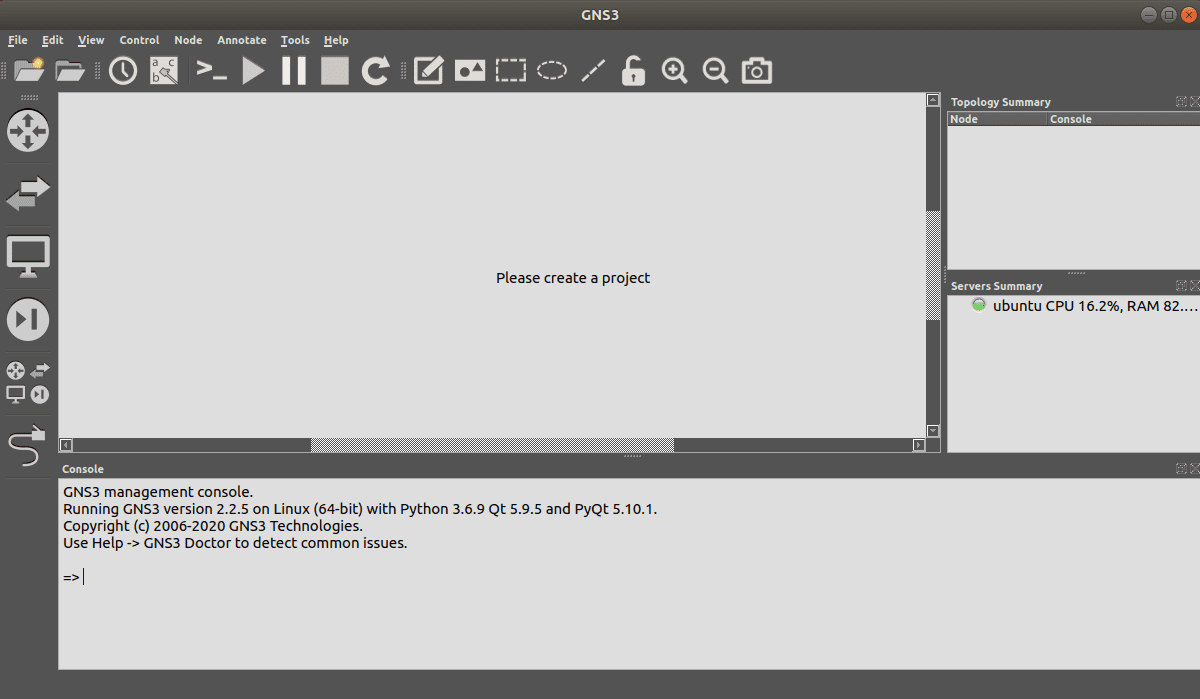
GNS3 GUI Window
GNS3-GUI Features and Tools
The GNS3 window comes with tonnes of features and tools you need to simulate a network. Let’s look at some of these features.
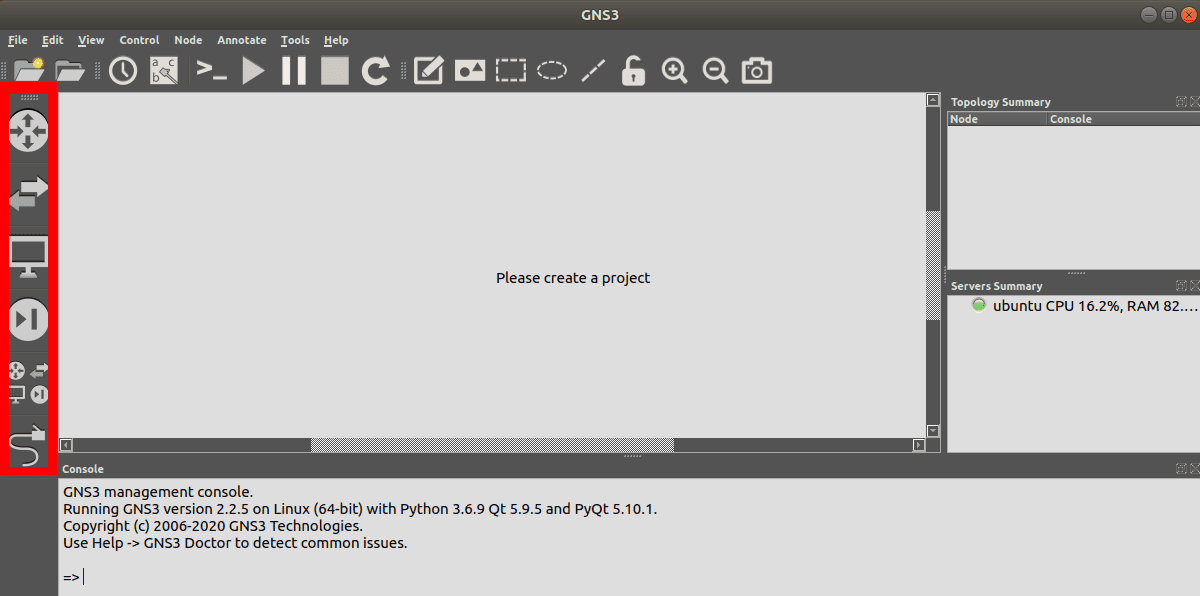
On the left side of the window, we have the GNS3 appliances toolbar. It is where we select the different network devices we want to use. These include routers, Virtual PC’s (VPCs), Switches, cables, etc.
GNS3 GUI Window – Appliances panel
At the top of the window, we have the menu bar and a toolbar with additional features like Create notes, Drawing tools, Start/Stop appliances, Zoom in/out, and many more.

GNS3 GUI Window – Menu bar
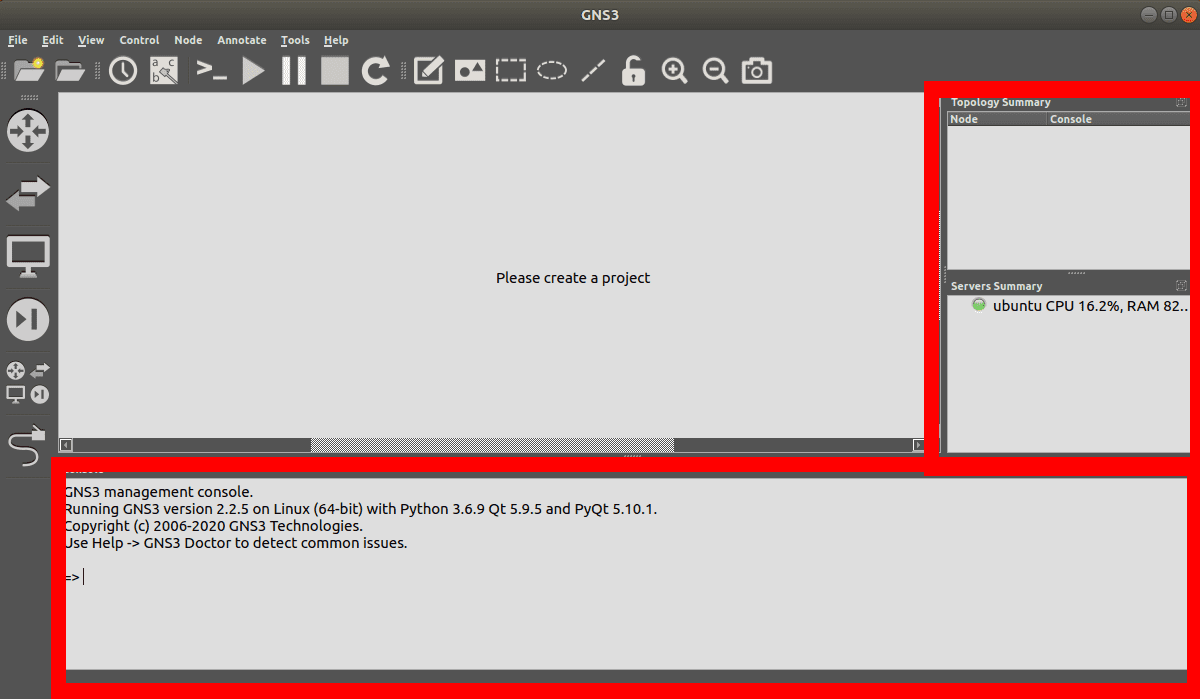
The other essential panels are the Topology summary, Servers summary, and console. The topology summary shows all the network devices you are currently running and whether they are on or off. The server summary shows all the servers you are running. Now, we are only running the local server. The console displays any errors and warnings regarding your network configurations or devices.
GNS3 GUI Window – Topology, Servers, and Console panels
Creating a simple network simulation with GNS3
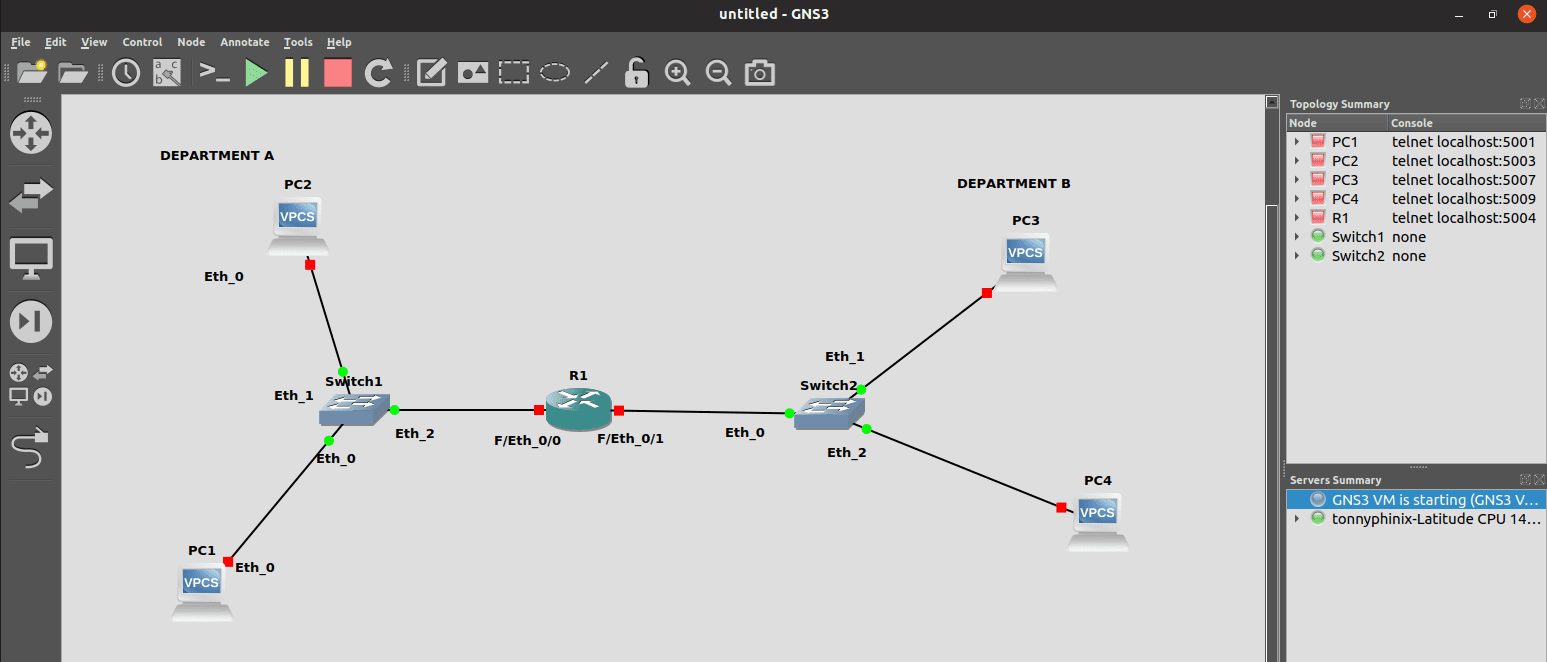
Let’s see how we can simulate a simple network using GNS3. We will use two Cisco routers, two switches, and four Virtual PCs. The figure below illustrates what we will develop.
GNS3 – Simple network topology
Step 1) Click on the file menu and select the option “New Blank Project.”
Step 2) A window will open, and you will need to set the project name and select the location to save it. Click OK to finish.
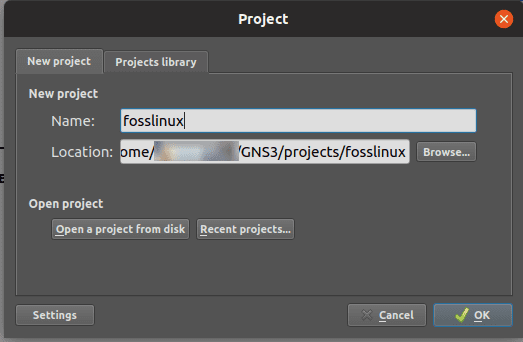
Project Name
Step 3) The GNS3 window will open, displaying an empty work area. To get started, we will first add a router. By default, GNS3 doesn’t come with any routers; you will have to install and configure them manually. For this post, we will work with CISCO router C3745. Click on the router and drag it on the work area. Perform this action twice to place two routers.

GNS3 – Add CISCO routers to the work area
Step 4) Drag two ethernet switches next to the routers, as shown in the image below. This switch comes preinstalled.
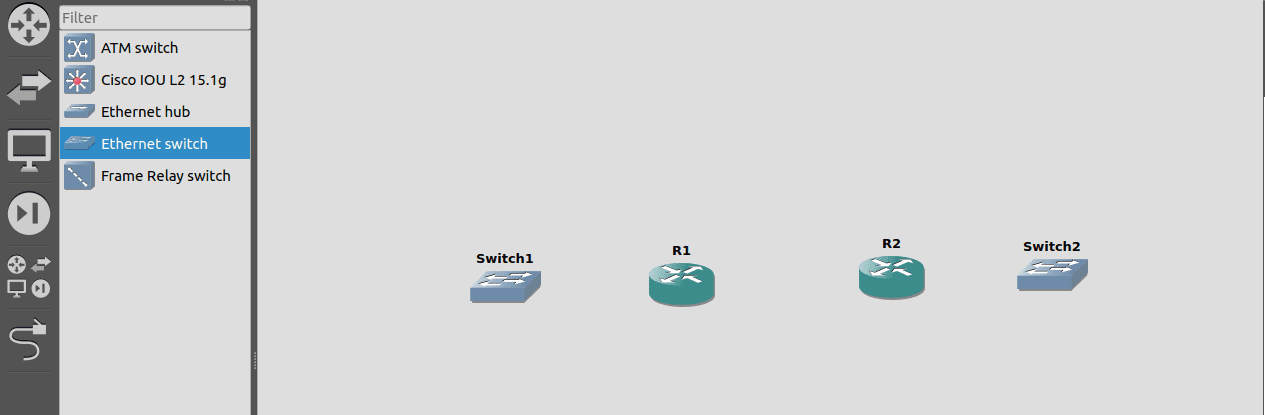
GNS3 – Add Ethernet switches
Step 5) Drag four VPCs and place them next to the switches, as illustrated in the image below. They, too, come preinstalled.
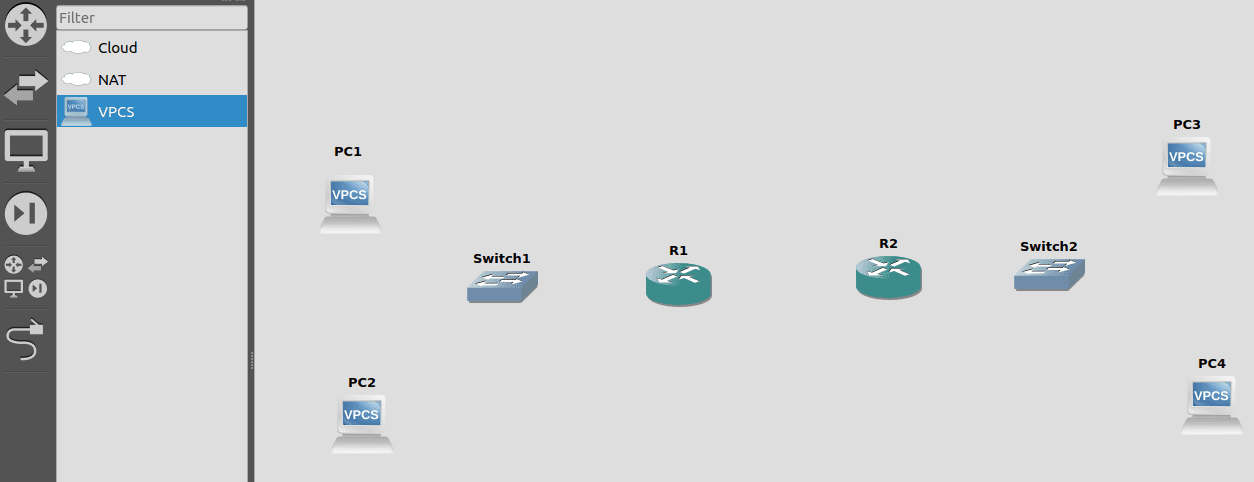
GNS3 – Add VPCs to the work area
Step 6) Now we need to connect these devices using cables. Ensure you check the ports in which you connect every cable since you can’t put two cables in one port. You should end up with such an image below.
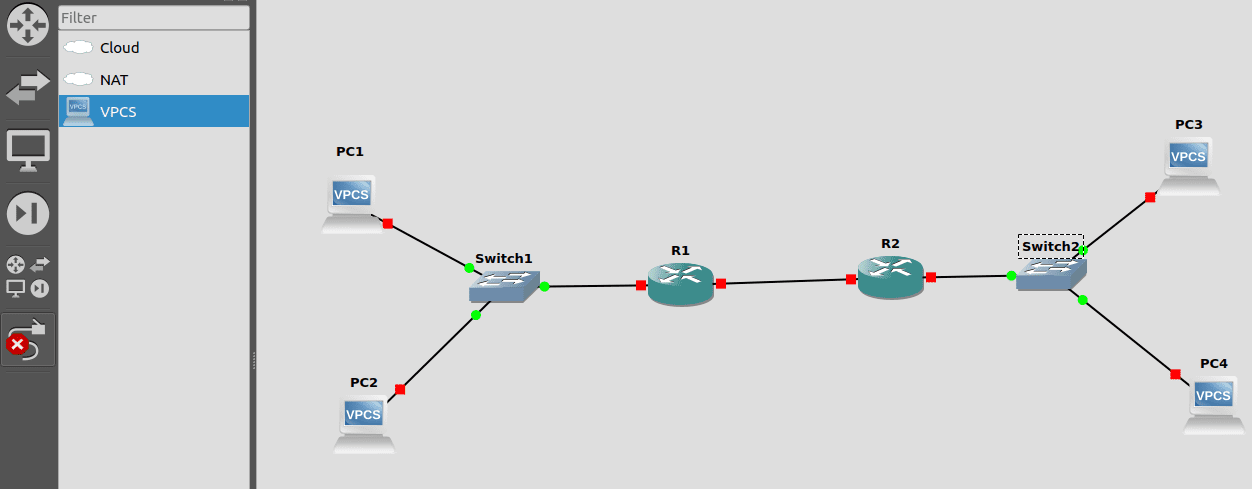
GNS3 – Connect the devices using cables
That’s it! We have created a simple network using GNS3 network simulator. Now, for the devices to communicate together, you need to configure the different IP-addresses. Those who want to delve deeper into the network address configurations can find useful information from the GNS3 community place.
Conclusion
GNS3 network simulator is one of the best network simulators we have in the market today. Not only is the tool open-source, but its community forum is also large and active. With the recent developments in technology, Software-defined network (Network Automation) is seen as the next big thing. Network engineers will need to know how to automate network devices. Fortunately, GNS3 has added a new feature – Docker, which supports network automation using Python, Ansible scripts, and many more.