
Android Studio, like the name suggests, is a full-featured cross-platform IDE that enables you to develop Android applications to run on any android device. Based on JetBrains’ IntelliJ IDEA, Android Studio comes installed with all the necessary features needed for Android development.
The Android Studio build system is powered by Gradle – an advanced toolkit used to automate and manage the entire build process while enabling the provision of flexible custom build configurations.
Android Studio Features
Let’s look at some of the best Android Studio features.
1. Instant App Run
It is an advanced technology in Android development that instantly delivers transformations done in the applications without the need to build the application APK again. The transformations take place so quickly that you can see the changes in real-time. This feature is made possible by installing the native libraries required with Android Instant Apps and launching the URL on android application.
2. Visual Layout Editor
It is one of the notable features you will experience in the Android Studio. It presents developers with a visual editor enabling you to develop application either by coding or drag and drop method. This feature makes the overall development exiting since you already have a prototype-like of the end product.
3. Intelligence Code Editor
Android Studio code editor comes with several amazing features and tools that guide your app development. Features like Code-completion and error-detection makes the overall development fast and easy. It also includes the code development by a drop-down list giving you code suggestions you can integrate.
4. Fast Emulator
Android Studio has the provision of an Emulator, which enables developers to test how the application would look like in a physical device. It allows real-time experience and testing on different configurations devices like android phones, tablets, smartwatch, smart TV, and much more.
5. Support App development for all Devices
With Android Studio, you can develop applications for any device that is powered by Android. That includes different android phones, wearable devices like smartwatches, smart TVs, and gear devices. It can also simulate hardware features like GPS location tracker and multi-touch.
6. Support for connection with Firebase
The provision of Firebase connectivity enables users to create direct updates and provide Database connectivity. For developers handling IoT (Internet of Things) projects, the Firebase feature allows real-time experience and dynamic upgrades in the application development. Furthermore, to develop high-quality android applications, Firebase connectivity is essential as it provides a scalable infrastructure for development.
7. Support for Kotlin
For quite some time, developers have mainly relied on Java to develop Applications on Android Studio. Google officially announced Kotlin as a supported and recommended language for Android development. This new language is now integrated into Android Studio, and Java developers can quickly get started with it since it’s Java run based.
Installing Android Studio on Ubuntu
In this post, we will cover How to install Android Studio in Ubuntu. Our Ubuntu Release of choice is Ubuntu 20.04 LTS. However, the tutorial should work on Ubuntu derivatives like Linux Mint, elementary OS, Pop!_OS, and more.
To get started with this tutorial, ensure your system is up to date by executing the commands below. You will also require sudo access to run all commands in this post.
sudo apt update
sudo apt upgrade
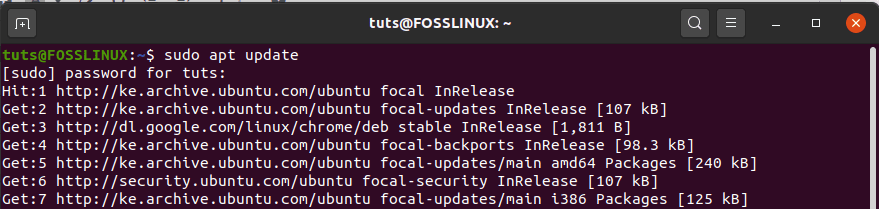
Update system
Installing Java OpenJDK
To run Android Studio in your system, you require to have OpenJDK version 8 or higher installed. In this post, we will install OpenJDK 11. The installation process is pretty simple. Execute the command below in the command-line.
sudo apt install openjdk-11-jre-headless
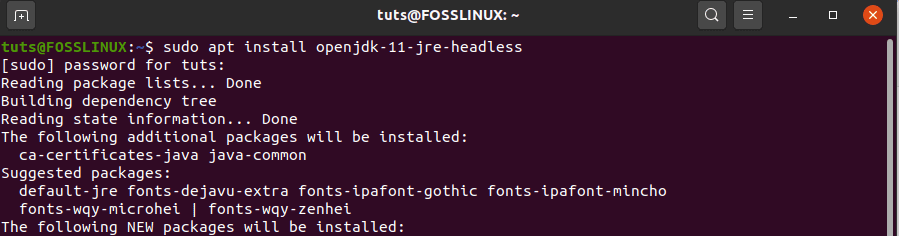
Install OpenJDK 11
To confirm if Java was successfully installed, run the ‘–version’ in the Terminal.
java --version

Java version
Download and Install Android Studio
Once we have Java installed in our system, we can go ahead to download Android Studio. In this post, we will show you two methods of downloading and installing Android Studio.
Method 1: Use Snap Package Manager
It is the easiest way you can download and install Android Studio in your Ubuntu system. You don’t have to do any configurations. Execute the command below in the command-line to get started.
sudo snap install android-studio --classic

Install Android Studio with Snap
To launch the Android Studio, navigate to the Ubuntu Application menu and click on the Android Studio icon to get started.
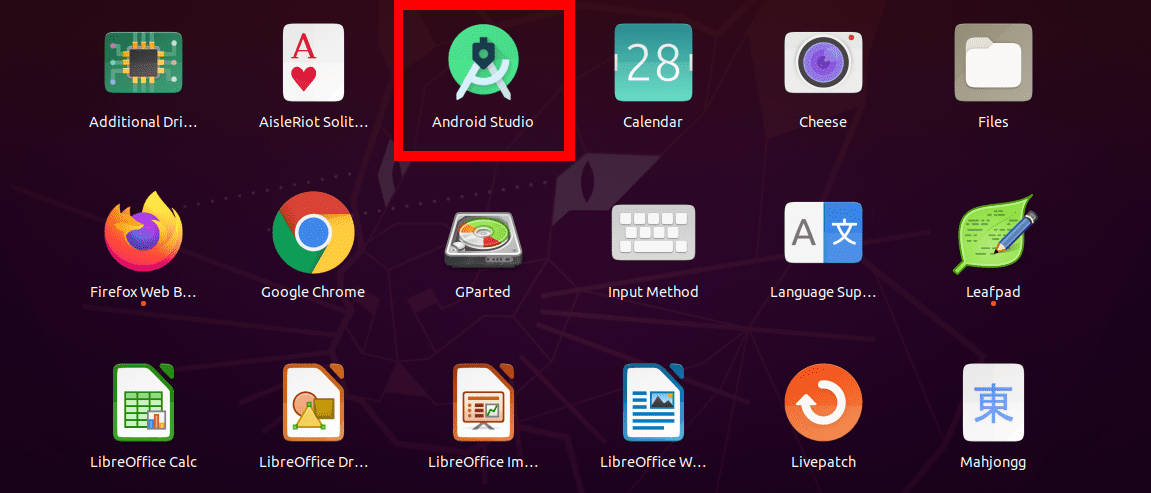
Launch Android Studio
Method 2 (Using the tar.gz setup file)
With this method, visit the official Android Studio website with the link below and download the tar.gz file.
You will have to accept the Terms and Conditions before continuing with the download.
Once the download is finished, navigate where you downloaded the tar.gz package and extract it. Navigate into the extracted folder and open the folder from there using the cd command. Change directory to the bin directory and start the android studio with the command below.
./studio.sh

Start Android Studio
It will start Android Studio, and a window will pop-up asking you if you want to import any settings. If you are running it for the first time, select the option “Do not import settings” and click ‘OK.’
Next, you will see the android studio welcome window showing the different devices you can develop apps for – click ‘Next.’
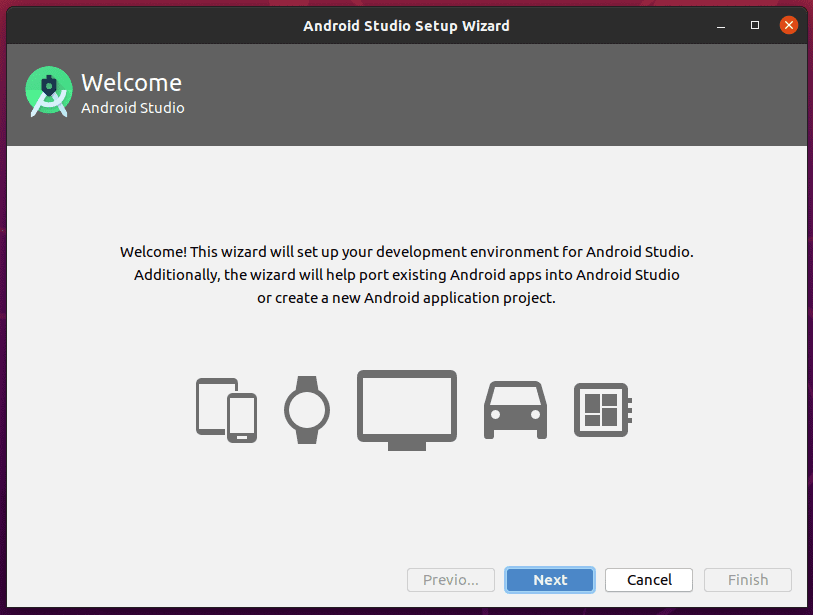
Android Studio Welcome window
On the next window, select the installation type you wish to use. You can either select ‘Standard’ or ‘Custom.’ For first time users, ‘Standard’ would be perfect.
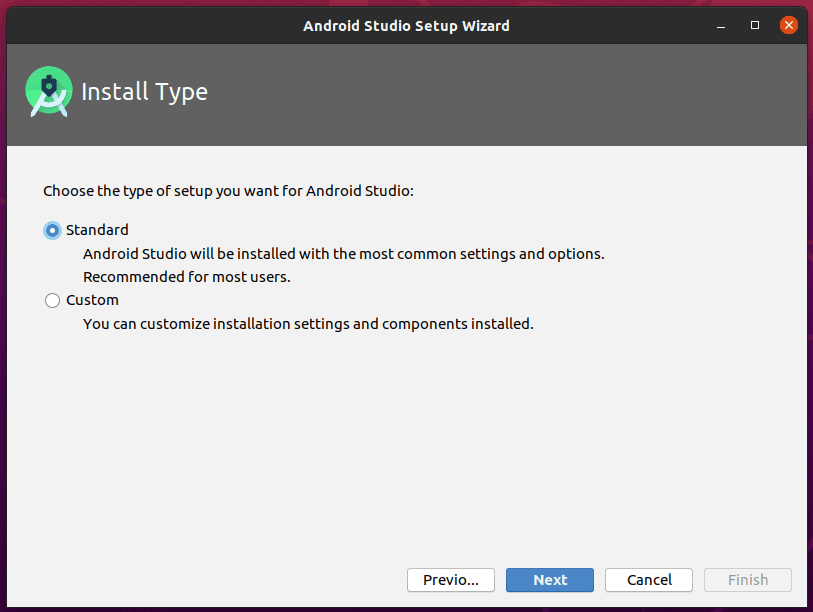
Choose an Installation type
On the next screen, you will have to select a ‘UI Theme’ you wish to use. If you are a big fan of dark themes, choose ‘Darcula’; otherwise, select ‘Light.’ and click ‘Next.’
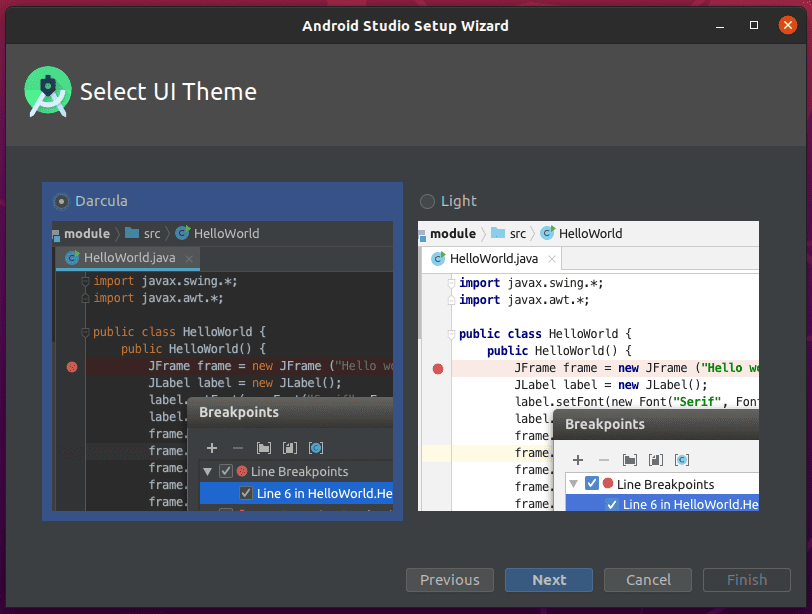
Select UI Theme
In the next window, you will see several packages that will be downloaded. Click ‘Next’ to get started.
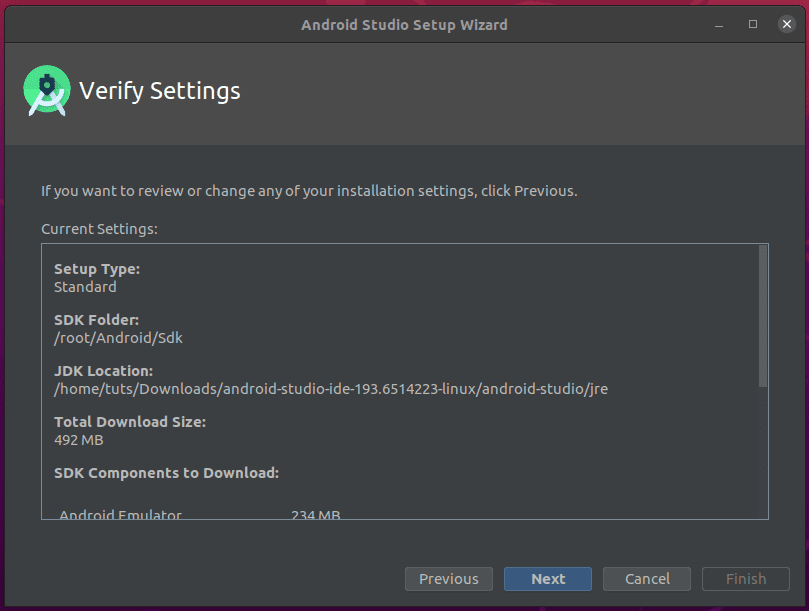
Verify Settings
Once the download is complete, click ‘Finish.’ That will take you to the Android Studio main window where you can start your new project.

Android Studio
If you are running Android Studio from the extracted tar.gz file, we need to create an application launcher. On the main window, click on the ‘configure’ button then ‘Create Desktop Entry.’
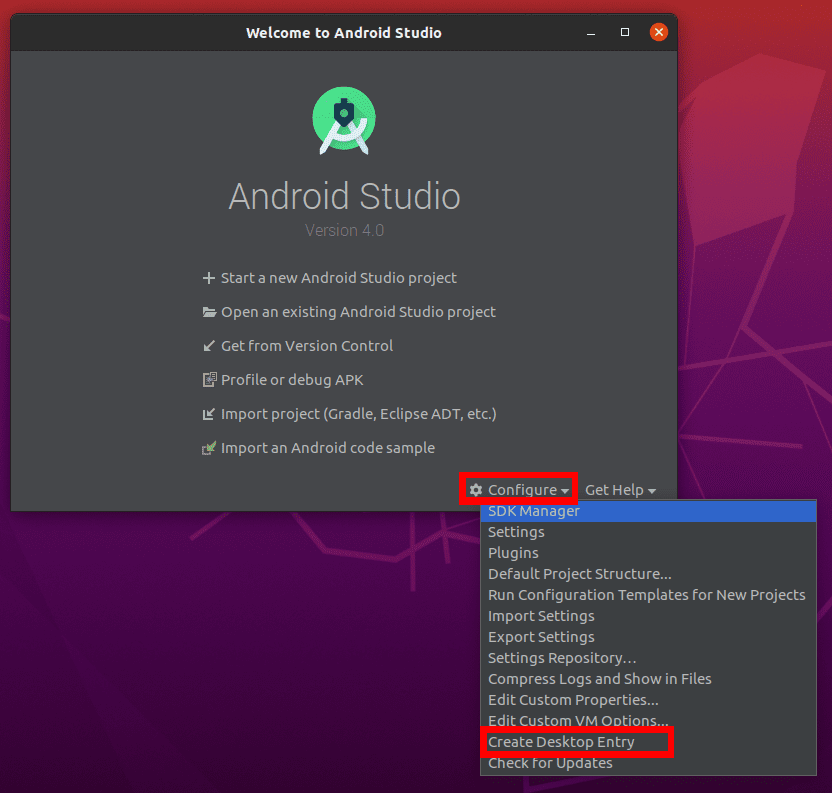
Create a Desktop Entry
Once done, you can now get started with creating your new android studio project.
Uninstalling Android Studio on Ubuntu
To remove Android Studio from Ubuntu, we can use one of the following two methods, and each will depend on the way you installed the package in the first place.
Method 1: Uninstall with Snap Package Manager
If you installed Android Studio with the snap package manager, the uninstallation process is much more comfortable. Execute the command below in the Terminal.
sudo snap remove android-studio

Remove Android Studio with Snap
Method 2: When installed via tar.gz package
If you installed Android Studio using the tar.gz file, you would need to get a little technical. Execute the commands below in order.
sudo rm -r .Android*
sudo rm -r android/
sudo rm /usr/share/applications/jetbrains-studio.desktop
For the last steps, sometimes the icon launcher can be in other directories. Running the following additional commands would be great.
sudo rm .local/share/applications/jetbrains-android-studio.desktop
sudo rm /usr/local/share/applications/jetbrains-android-studio.desktop
Conclusion
This post has given you a clear guide on installing and getting started with Android Studio on Ubuntu. You can now explore your new IDE and develop a cool android application. If you are using a system with fewer resources, especially RAM, consider using your phone for testing your APKs instead of the emulator. It can sometimes cause your PC to lag or even freeze.
1 comment
Regarding the 3rd command in java, it is showing error
“Package oracle-java8-installer is not available, but is referred to by another package.
This may mean that the package is missing, has been obsoleted, or
is only available from another source
E: Package ‘oracle-java8-installer’ has no installation candidate”