
Yarn is an npm-compatible JavaScript manager that aids in the automation process of setting up, updating, configuring, and removing npm packages. NPM is an abbreviation for Node Package Manager. It is an install manager for the Node JS platform. NPM is well-known as the world’s most extensive software registry. And as such, open-source DevOps across the globe utilize it to publish and share their source code.
The NPM package comprises three components; The first is the website that permits you to look up third-party packages, set up profiles, and manages your packages. The second is the command-line interface or npm CLI that runs from a command-line/terminal to permit your interaction with npm. The third is the registry, an extensive public database of Javascript.
Ideally, what Yarn does is parallelize the system operations to boost resource utilization, and cache downloaded packages to save bandwidth. It is secure, and verifies each installed package’s integrity using checksums before executing its code. As such, it is very reliable because of its detailed but concise lock file format; it also ensures that a setup that works on a machine will explicitly perform in the same way on a different device.
Installing Yarn on Ubuntu
This guide will explain the setup procedure of Yarn on the Ubuntu distro. We will discuss the two installation formats of Yarn on Ubuntu (installation via ubuntu repo and npm). Furthermore, we will also take you through a dry run of the yarn basics and some key commands.
Prerequisites
- superuser or root privileges are key to the setup process of Yarn on our Ubuntu system.
That said, let us get started.
Option 1: How to install Yarn on Ubuntu using Ubuntu Repository
Keenly follow the below-given step-by-step instructions.
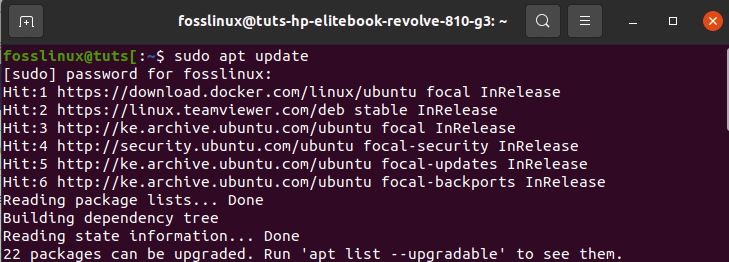
Step 1: Update system package repos
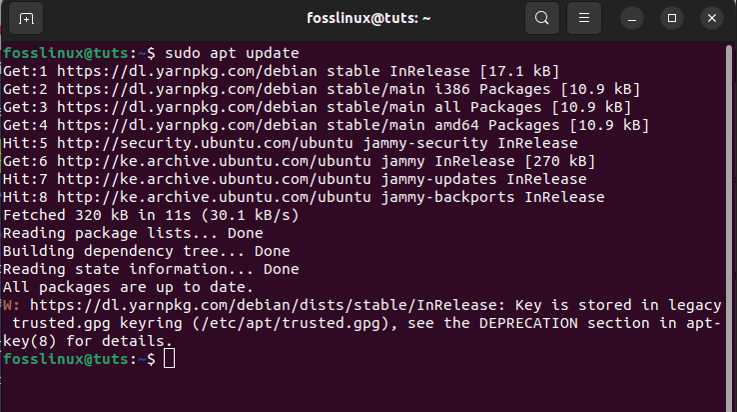
First things first, press the “Ctrl+Alt_T” to open up your Ubuntu terminal and run the following command that will check all the package lists that need an upgrade on your system:
sudo apt update
update command
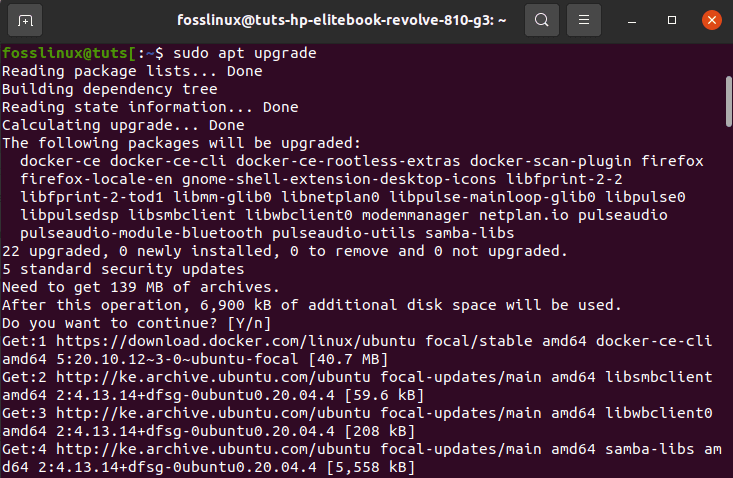
After running the above-given command, you should be notified of the number of packages that need to be upgraded at the end of the update command. In case you find packages that need an upgrade, like in our case 22, then run the following command to upgrade those packages; else, skip this step:
sudo apt upgrade
upgrade command
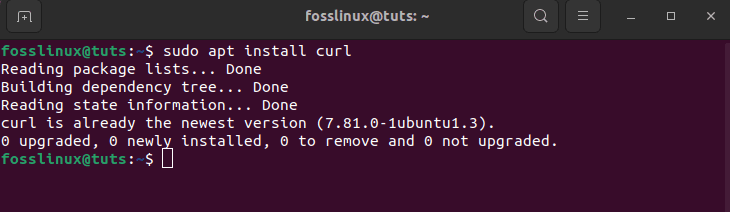
Step 2: Install CURL on your system
In this step, you will install Curl, a command-line tool that helps import the yarn repository’s GPG into your system. Ubuntu systems do not come pre-installed with curl. As such, you will have to manually install it by opening up your terminal and running the following command with root privileges:
sudo apt install curl
install curl
Step 3: Import Yarn GPG key
Next, you will use the previously installed “curl” command to import the Yarn GPG key to your Ubuntu system repositories. You will then utilize the GPG key to verify the availability of yarn packages by executing the following command:
curl -sL https://dl.yarnpkg.com/debian/pubkey.gpg | sudo apt-key add -

Import the GPG key
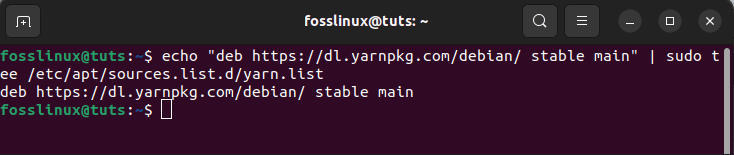
Step 4: Append and enable the official Yarn repository
Before setting up Yarn, add and allow the official yarn Apt repo on your Ubuntu system by running the following command:
echo "deb https://dl.yarnpkg.com/debian/ stable main" |
sudo tee /etc/apt/sources.list.d/yarn.list
Add the official apt repo
Step 5:Update system cache
Update the system once again to refresh the system’s apt repo by running the following command:
sudo apt update
Second system update
Step 6: Install Yarn
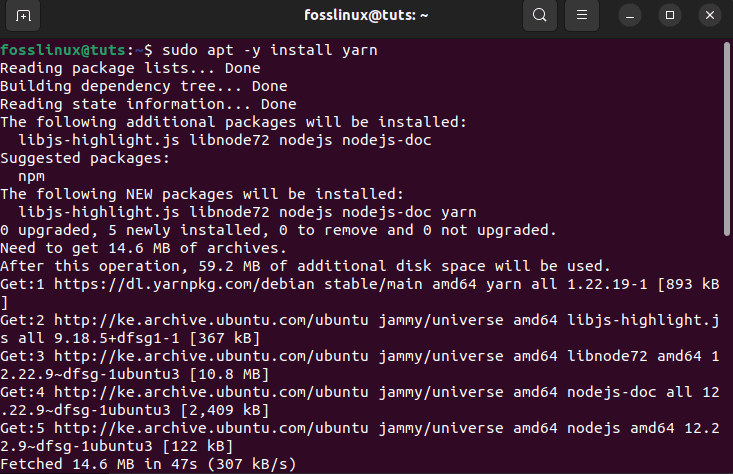
Once the repo packages are updated, run the subsequent command to install Yarn on your Ubuntu system:
sudo apt -y install yarn
After executing the above-given command, the new packages of Yarn, including node js, will setup on your system as follows:
install Yarn
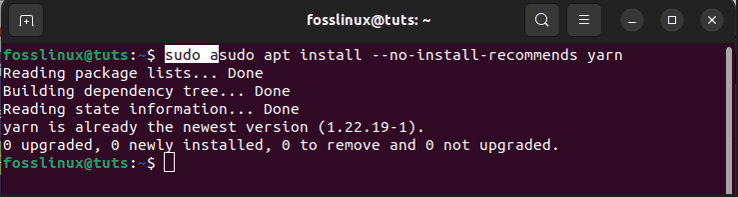
If you previously installed node js using the node version manager(NVM), then skip the installation of node js packages and utilize the following command to install Yarn:
sudo apt install --no-install-recommends yarn
Yarn installation method two
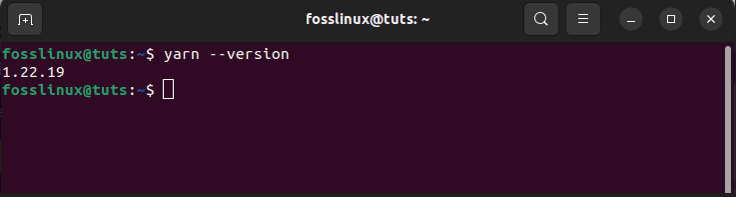
After the setup process is done, you can proceed further to check the installed Yarn application version by running the following command:
yarn --version
check version
And Voila! You have successfully installed Yarn on your Ubuntu system.
Option 2: Install Yarn using NPM
Node package manager that we earlier looked at its meaning is another alternative to setup yarn on your Ubuntu system. To do this, you will run the npm version command to check whether it is installed on your system or not:
npm ––version
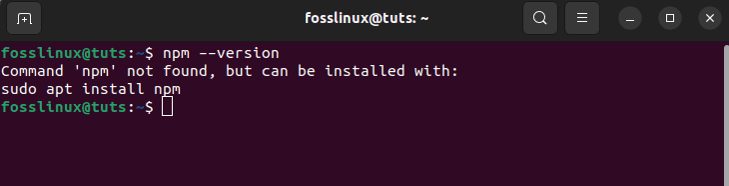
npm version check
In case it is not installed, like ours, you need not worry as you can do so by issuing the following command:
sudo apt install npm
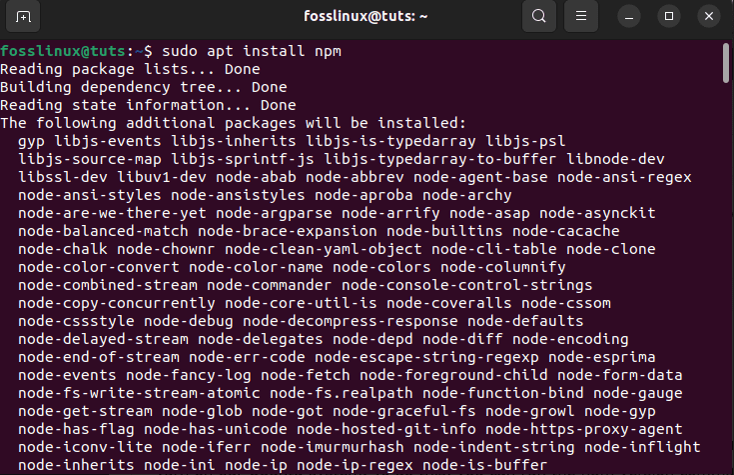
install npm
Once you are done installing npm, run the following command to aid in the installation of Yarn:
sudo npm install -g yarn
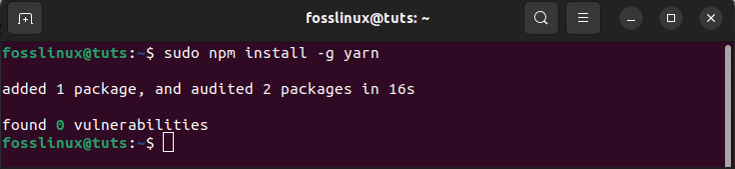
Install Yarn using npm
And there it is!
Yarn is similar to npm in several ways. Yarn adds a yarn.lock file, which ideally restricts packages to a particular version. This is expressly helpful for maintaining a consistent development environment.
How to upgrade the Yarn version on Ubuntu
After installing Yarn, you may want to upgrade it to the latest version by carrying out the following:
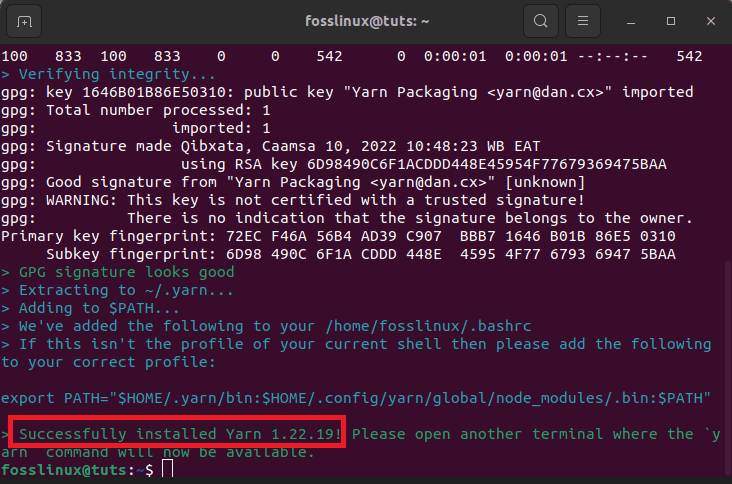
Upgrading yarn is pretty straightforward as it can be achieved by issuing a single command on your terminal. As such, download the “Yarn” tarball and install its latest version by writing out the following command on your Ubuntu terminal:
sudo curl --compressed -o- -L https://yarnpkg.com/install.sh | bash
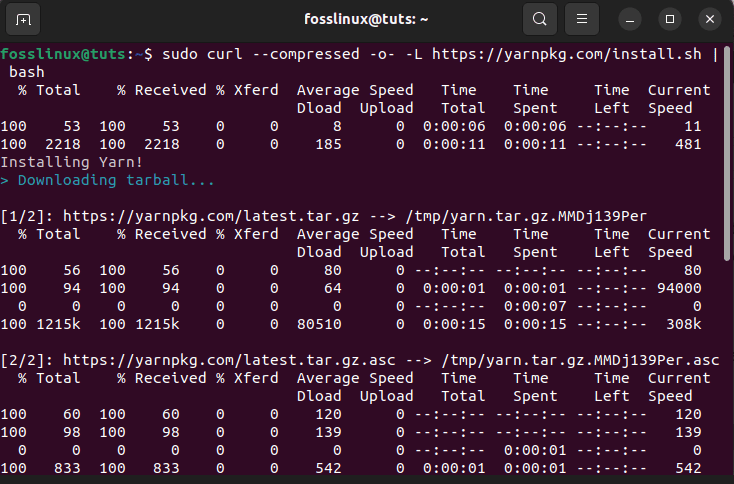
Download yarn tarball
Here is the second part of the tarball download snapshot:
Part two snapshot
As the highlighted part of the output given above shows, the Yarn installed on your Ubuntu system is upgraded to the latest “1.22.19” version.
Finally, run the “yarn” command with the “-version” extension to confirm that Yarn is upgraded to the latest version.
yarn --version

check version
Now, let us also take you through the earlier said “yarn basics and key commands,” where we will highlight some key functionalities and cover some vital steps on how to use Yarn on your Ubuntu system:
Using Yarn on the Ubuntu system
Once Yarn is set up on your Ubuntu system, this is one section you can’t afford to miss out on. Here, you will explore some useful yarn commands on your system. Let us get the section underway.
How to create a new project and initialize Yarn
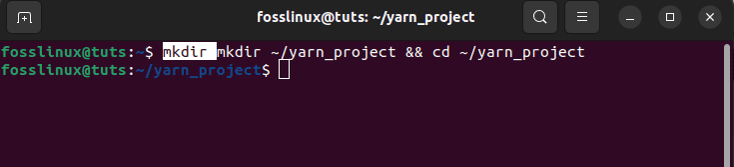
First, you will craft a new project directory for your software application and maneuver to the directory by issuing the subsequent command:
mkdir ~/yarn_project && cd ~/yarn_project
Create a new project and initialize
Using the following “yarn init” command, you can now create a new project:
yarn init yarn_project
Next, enter the required information on the following number of questions shown on the terminal window.
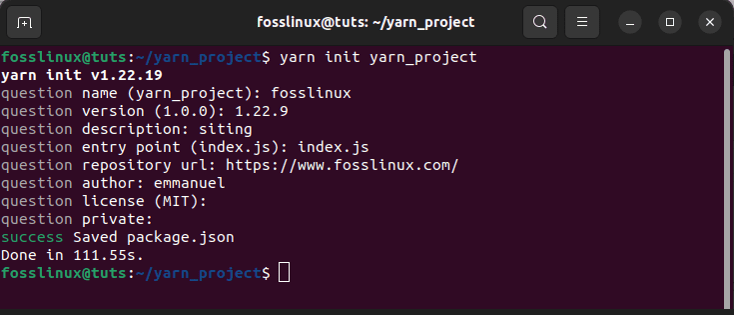
Create a new project
Alternatively, you can leave them as default by hitting the “Enter” button to the end.
Once the information is provided, the script spontaneously generates a “package.json” file with the above-submitted info. You can access and modify this file at any given time on your system. That covered; let us now turn our attention and cover the steps involved in the addition of a dependency to a project using Yarn.
How to add dependency in a project using Yarn
Utilizing the following command, add a new project dependency followed by the name of the package as displayed by the following syntax:
yarn add [package-name]
For instance, you can utilize the above syntax to setup react package as a dependency using Yarn:
yarn add react
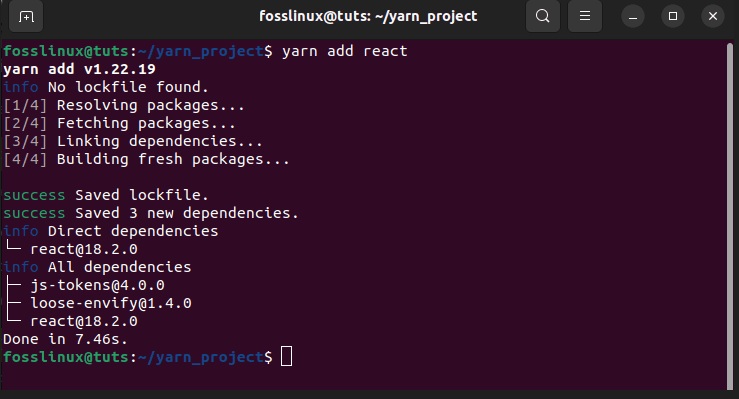
add new project dependency
The snapshot above displays the successful installation of react on our Ubuntu system. It is also substantial to note that the “package.json” and “yarn.lock” will also update after running the above-mentioned command.
To set up a particular project dependency, use the following syntax:
yarn add [package-name]@[package-version]
Upgrade Project dependency
You can upgrade the project package or depencdencies by issuing the following command:
yarn upgrade

yarn upgrade [package-name]

yarn upgrade [package-name]@[version]
Suppose the user does not give the specific package name. In that case, Yarn will automatically upgrade all project packages to the latest version according to the specified range offered in the “package.json” file. Otherwise, only those packages will upgrade those specified with the package name.
Remove package or dependency
You can simply do away with the installed project dependency from your application using the following yarn syntax:
yarn remove [package-name]
Note: Ensure you replace the [package-name] with the exact package name. For instance, in our case, we can remove the react package from the project as shown below:
yarn remove react
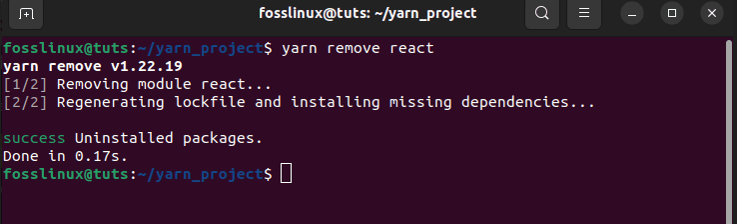
remove react
The above-given command will not only remove the specified package from your project. The ‘package.json’ and ‘yarn.lock’ files will also be updated in the project.
Install all project dependencies
To have a complete setup of dependencies of a project that are mentioned in the “package.json” file, issue the following command:
yarn install
Alternatively
just type in the “yarn” command on your terminal to install all project dependencies.
That covered; let us proceed to the last section of the article, where we will cover the uninstallation process of Yarn from the Ubuntu system.
How to uninstall Yarn from the Ubuntu system
In case you are done with the software or want to uninstall it for one reason or the other, you can do so from your Ubuntu system by issuing the following command:
sudo apt remove the yarn

remove Yarn
And that is it!
Final Thoughts
And that is all about the setup of Yarn on the Ubuntu distro. You learned how to install the yarn package dependency using two different methods. The first was installing Yarn using Ubuntu repositories, while the second was using the node package manager. We also stretched the article to explain how to manage project dependencies using Yarn. You can turn your attention to the Yarn’s official documentation to explore more about Yarn. We hope you found this informative. Keep following FOSSLinux for more tips and guides.