
Have you ever fancied having a portable Linux Mint system fully installed on a USB drive ready to use on any random computer? If the answer is ‘Yes,’ then read this complete guide on installing a complete Linux Mint System on a USB drive.
Previously, we had written posts on how to use a Live Linux USB drive and even how to create a bootable Linux USB drive with Etcher. However, that is very different from what we will do in this tutorial. Instead of creating a bootable Linux Mint USB drive, we will install the Linux Mint system on a USB drive as we would do on a Hard drive, which means the Linux Mint will be updatable just like it would on a regular PC installation.
Install updatable Linux Mint on a USB drive
Requirements
- A 4GB size or more USB drive where we will install our Linux mint system
- Another USB drive which we will use as our bootable Linux mint media
- Linux Mint ISO that can be downloaded here
- A working PC
Step 1: Create a Bootable USB Drive
Once you have downloaded the Linux Mint ISO file on your computer, we need to create a bootable USB drive. If you are on a Linux system, you can use Etcher, Startup Disk Creator, or the MultiBootUSB utility. If you are on a Windows system, use applications like PowerISO, YUMI, etc..
Step 2: Partition your USB Drive
Now that we have a bootable USB drive, we need to partition our second USB drive for installation purposes. This process can be done in two ways; Using a third-party tool like Gparted or during the installation process.
If you are just getting started with Linux systems, use the GParted method as described below. If this is not your first time installing a Linux system, you can partition your USB drive during Linux mint installation.
Partition with GParted
Gparted is a free and opensource tool you can use to format and partition your drives. You can easily install it on Linux from the software center or download it from the official GParted website.
i) Insert your USB drive and launch GParted.
ii) Select your USB drive at the top right corner, as shown below. In my case, I have a 16GB size pen drive.
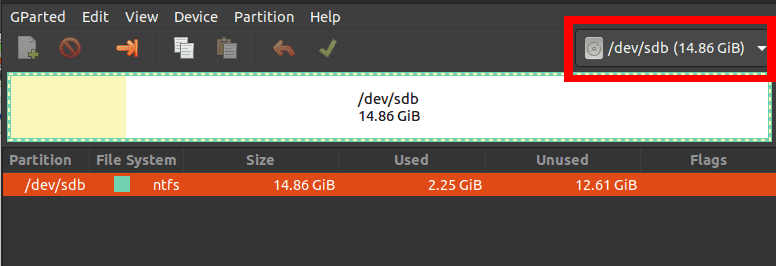
Select USB Drive
iii) Right-click on it and select the ‘Resize/ Move’ option. Create two partitions; An ext4 partition and NTFS/FAT, which you can use to store your files and access any operating system.
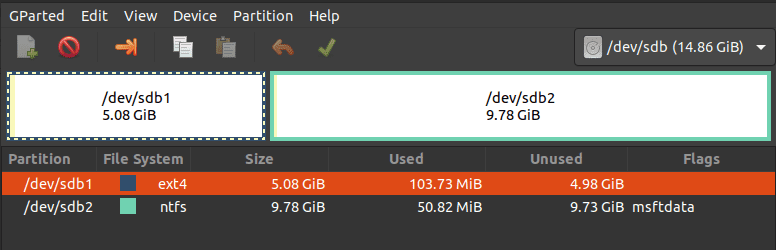
Create Partitions
Step 3: Install Linux Mint on USB Drive
1. To get started, boot your laptop with the bootable USB drive containing Linux Mint. If you are working with a Linux image using the UEFI boot mode, I recommend you disable ‘Secure boot’ from the BIOS / UEFI setup screen. Read our master guide on How to Boot your Windows or Linux PC from a USB Drive. Ensure you insert your other USB drive too.
2. You will see the Linux Mint boot screen listed with several options. Choose “Start Linux Mint,” which is the first option.
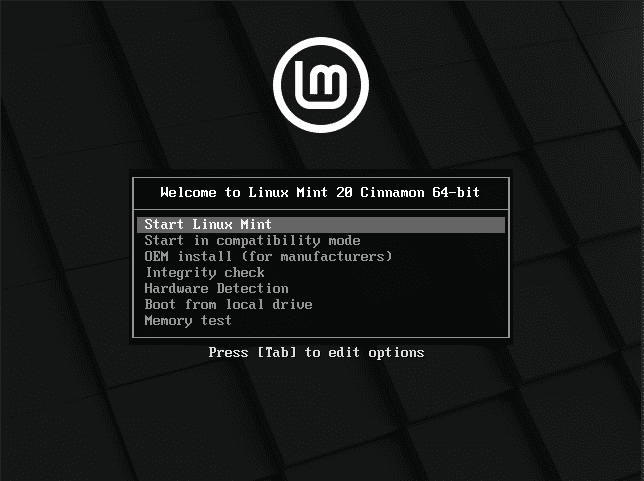
Linux Mint Boot Screen
3. The Linux Mint Desktop window will open with several icons. Click on the “Install Linux Mint” option to start the installer.
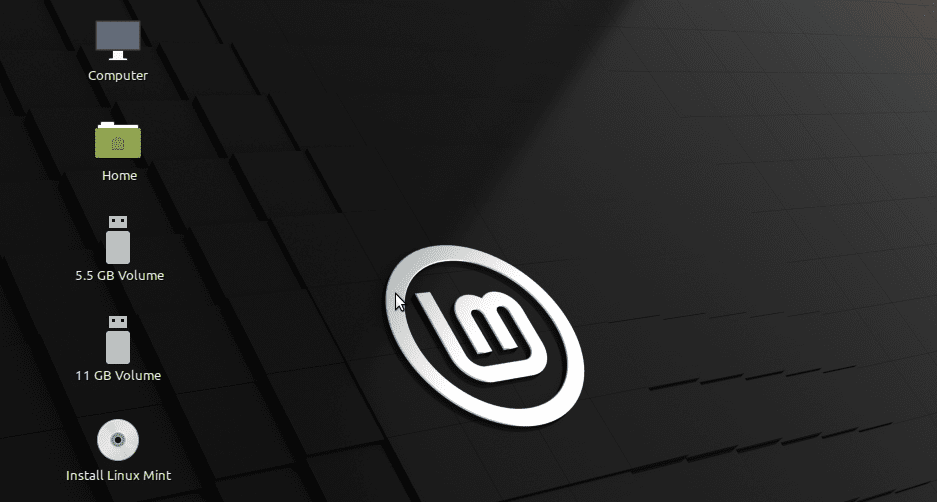
Install Linux Mint
4. You will see the Linux Mint ‘Welcome’ screen. Select the language you want to use during the installation process. Click ‘Next.’
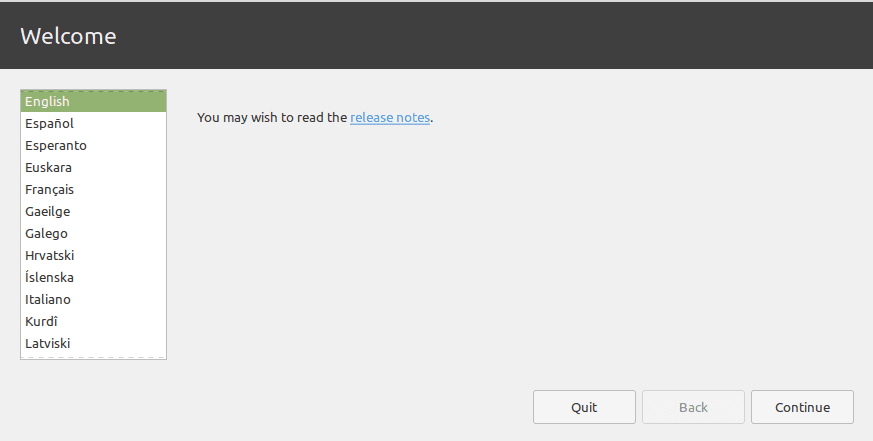
Select Language
5. On the next screen, select the keyboard layout and click ‘Continue.’
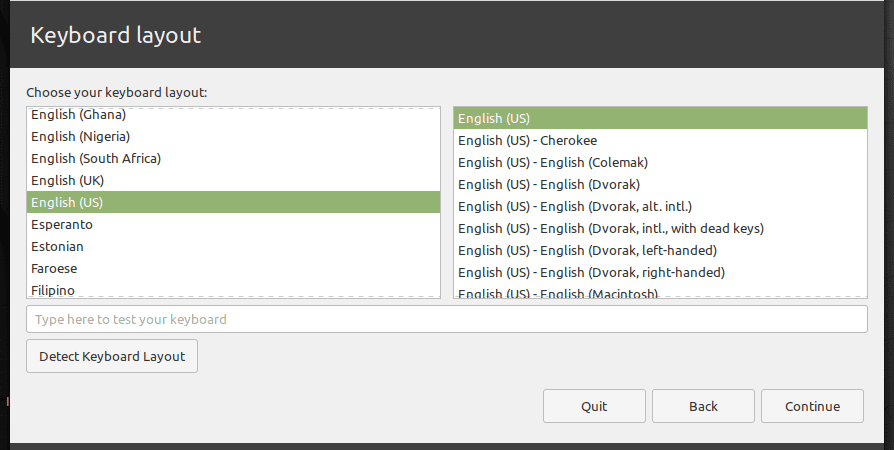
Select Keyboard layout
6. The next screen will give you the option of installing ‘Multimedia codecs’ for playing different video formats. Click ‘Continue.‘
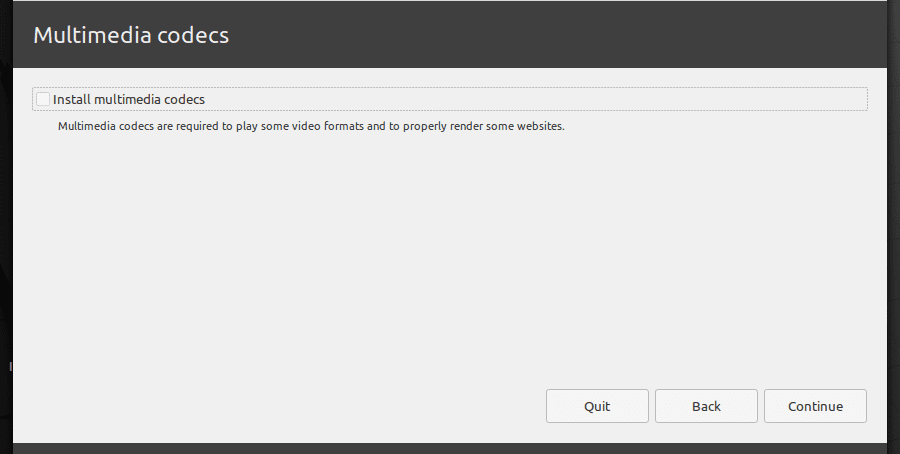
Multimedia codecs
7. On the next screen, we will need to select the installation type. Select the option ‘Something else’ and click ‘Continue.’
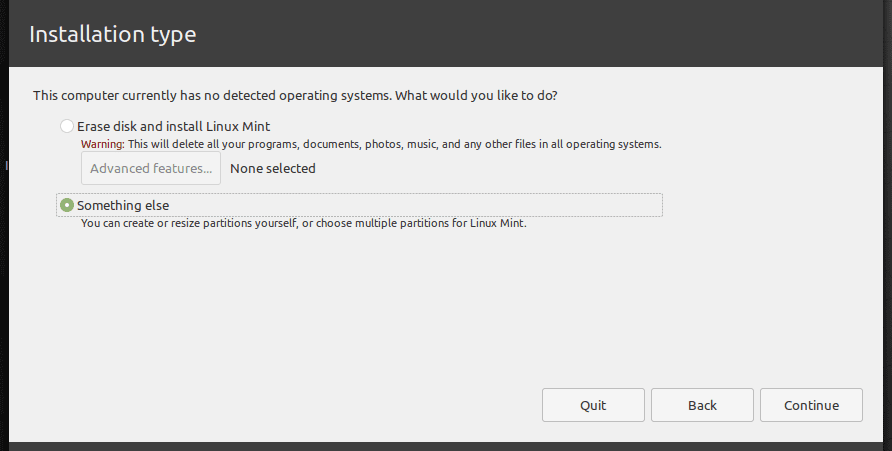
Installation Type
8. A window will open listing the drives connected to your PC. Your USB drive will probably be /dev/sdb. From the image below, I want to install Linux Mint on /dev/sdb1. Select your partition and click the ‘Change’ button below.
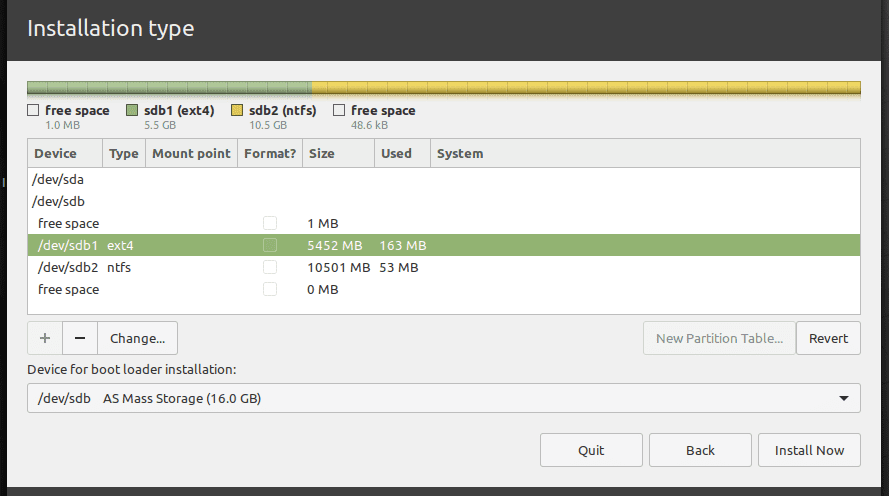
Select Installation Disk
You will see a pop-up window where you can edit the partition settings. On the ‘Use as’ tab, select the ‘Ext4 journaling file system’ from the drop-down menu. That will reveal the ‘Mount point’ tab. Select the root option from the drop-down menu. It is represented with the ‘/’ sign. Click ‘Ok’ when done.
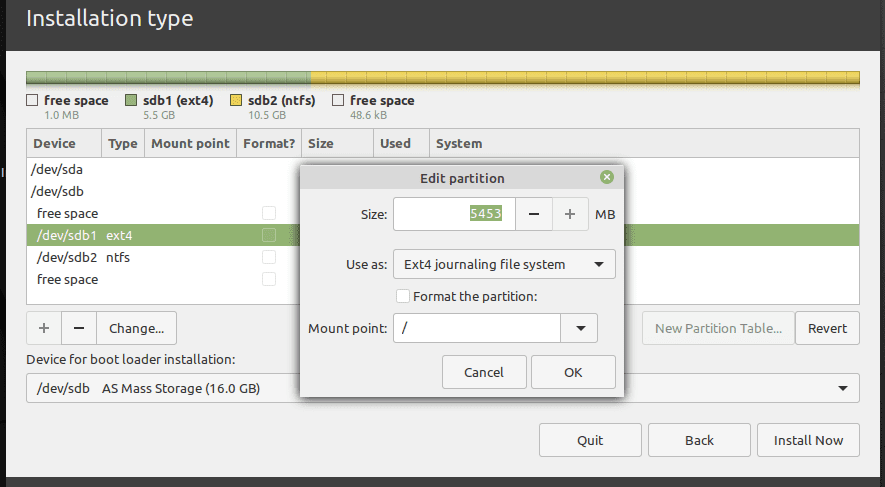
Select Mount Point
9. Once done, click the ‘Install Now’ button to start the installation process. You might see several warning messages depending on how you partition your disks. Click ‘Continue’ if you are sure.
10. On the location screen, select the capital city of the state you are currently in. Click ‘Continue.’
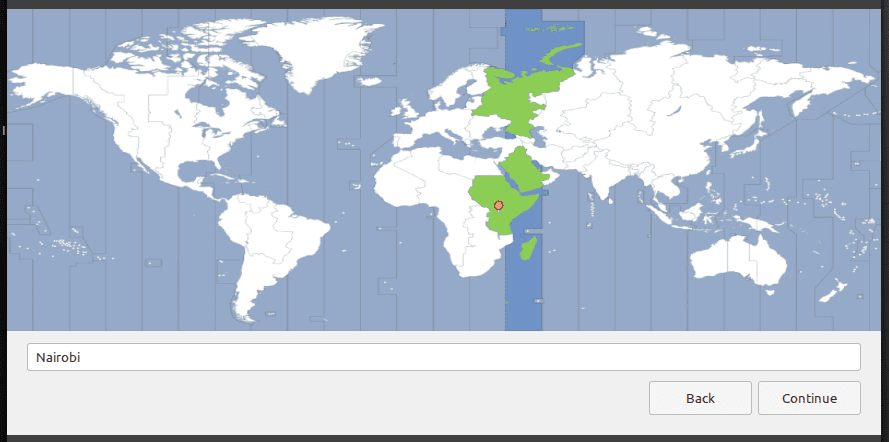
Select City
11. On the next screen, enter the username and password. Click ‘Continue.’
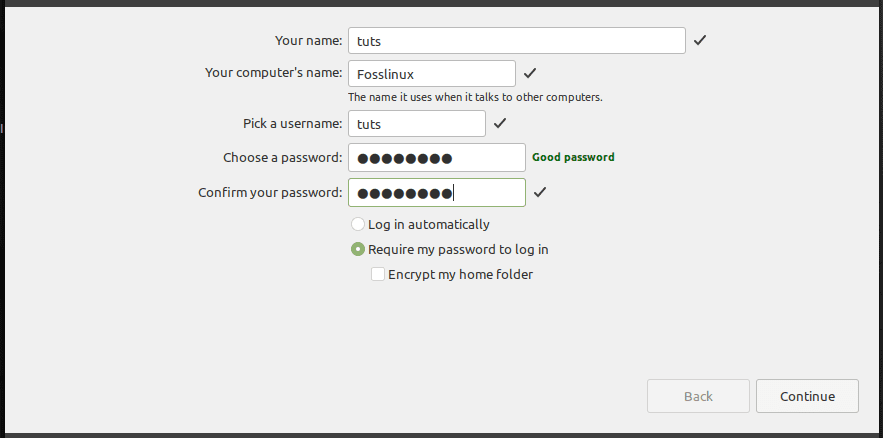
Who are you?
The installation process will start. That might take some time.
Install Linux Mint
12. Once the installation is complete, you will see the option to ‘Restart‘ or ‘Continue Testing‘ the Live system. Click on Restart and eject your USB drives.
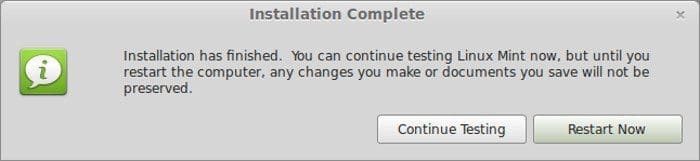
Linux Mint Installation
Conclusion
Congratulations! You have successfully installed Linux Mint on a USB drive. You can now insert it and use it on any computer by selecting the USB drive from the boot options. Your Linux Mint USB drive is now a completely working and updatable! I hope this guide was useful to you. If you are interested in creating an updatable Ubuntu too, we have it covered here.
21 comments
In Step #2, why are you using “Resize/Move” option instead of the “New” option?
Isn’t 5 GB a bit small to install a full Linux Mint distro?
If you are going to use /dev/sdb2/ in Linux to store data/documents, shouldn’t you set it up explicitly as a ‘/Data’ partition so that it is recorded in the FSTAB file?
I make mine using mkusb.
you sure this can be used on any machine? I’ve tried it on three & it’ll only work on the one I used to create it.
The first bootable installer disk can be used to boot on (almost) any Intel type processor (or AMD if this works with Intel architecture) PC/Mac. It figures out hardware (basics) on fly. However target installation is optimized to target computer. The boot installation may not work when connected to different computer. I would not count on “universal installation”. That is why they distribute ISO bootable installers that can deal with different hardware on basic level only. It has been like that for over a decade with all Linux distributions that allow to run from stick (or bootable CD/DVD in the past) and then allow to install full optimized version on target hard drive and computer.
I have only one question to author: Does it touch and modify internal EFI hard disk during installation or installs GRUB on internal hard drive? Ubuntu distribution in the past was not nice and shoved GRUB onto my macOS internal hard drive and now I have to always use Option key on keyboard to select macOS boot and avoid GRUB madness that goes nowhere. It is really painful and I hought all changes would be on only designated USB extrenal drive. It was not so. USB drive installation modified also my original internal drive.
How-to articles are much more effective when you explain why each step is necessary, not just what the step accomplishes. For instance, if i have a 64 gig USB drive than 16 gig, how should I partition it? Why do I need to partition it at all?
Helpful articles tell why some steps are necessary, and anticipate different situations common to different readers. Otherwise your article is a “this is how I did it” article, rather than a “this is how you can do it” article.
Doesn’t work. MBR missing.
I am not a linux expert but I suppose the article is a bit misleading. The installation is not universal and only works on the specific set of hardware that was present while installing the system. Of course operating systems are tolerable and can automatically figure out changes like RAM, keyboard, mouse etc which would enable them to boot on other set of hardware but definitely not a reliable solution. Live distros are there for a purpose. Otherwise we would always create installations on usb rather than going through the trouble of creating persistence files on live distros.
It’s hit-and-miss, but there *is* some utility in Install-on-a-Stick. I made a Mint 19.3 install on an external USB HDD, and it worked on a Dell Desktop, Dell Laptop, and even a Mac Mini, to the extent I could browse, watch videos and access my local LAN. If you have extra drives laying around, it’s a fun afternoon project.
Didn’t work on my Dell 1525! Grub says it’s an “iso9660” System??
It works exactly like a “Live” USB and not a Full Installed USB-Flash Drive!?
Just finished a try using mkusb, Same Results. Only a “Live” usb and Not a Full Install.
the installation goes ok, but the boot loader is anyway installed on the mbr of the pc disk…
is there any way of installing it on the usb?
i do not wana have anythink on the pc disk…
thanks!
Make sure to pick the USB drive as the location for bootloader. Installed it on my USB thumb drive last night that way and it didn’t affect my windows boot up at all. Only goes to grub when I press F12 on bootup and I choose USB drive.
@mikaz
..for purpose of installation remove the buildin HDD
Good luck
did so , process took extremely long on different USB , hardware was a hp elitebook , corei5 with 8GB ram . running too was exhaustively slow
I tried this, but it messed up my Win10 boot files on the internal drive. Now I can’t log in to my Win, and don’t know how to get rid of Grub. I guess I’ll just have to reinstall everything on my hdd… I should have known better.
Help, please!
Went through the process fine, but now when I reboot without the USB plugged in, I go to the grub command screen.
I am running dual boot Linux Mint / Windows 10.
With the USB I get the boot manager menu, but when I select Linux I get “initramfs unpacking failed: decoing failed” and multiple other problems listed.
With USB can boot into Windows.
With USB can get in UEFI area, Boot mode UEFI, Secure boot Enabled (tried disabled), ubuntuWDC as #1
How to I correct this?
Thanks
Confirming either this guide or the mint installer is utterly useless. Even when choosing the correct usb device for the bootloader installation you’ll still end up with grub being installed on the HDD. No bootloader/mbr got installed on the usb device.
DON’T USE THIS GUIDE
In order to prevent changes to the boot sector of the HDD or SSD, you need to remove it before starting the install process. Once install is complete and you test boot to the newly created USB OS, you can then reconnect the HDD and it should boot okay.
Either do, or do not. There’s no try.
Yoda
I have made many attempts to get this working since December 2022, but had similar issues as described in the comments. It is a bad feeling when you get the grub prompt when you expected nothing should change on your host system.
Intermediate solution to get Windows working was to change the boot order back to Windows Boot Manager through the BIOS menu system (via F1, not F12).
I finally found the missing piece of the puzzle when I followed the link in the last line of the Conclusion and read all the comments there.
“If you are interested in creating an updatable Ubuntu too, we have it covered here (https://www.fosslinux.com/10212/how-to-install-a-complete-ubuntu-on-a-usb-flash-drive.htm).”
Read MIHVOI’s comment (September 20, 2019 – 4:24 PM) and follow the link given.
“The procedure will likely fail to create a portable installation if the installing PC already has an EFI boot partition (like Win10).”
“You need to do some additional steps at the end, to fix the UEFI boot on USB. This is because Ubuntu will install the boot files on your host system, not on USB. Normally this will not break the Win10 boot, however you want to move these files to the USB partition.”
“More details: https://meaningofstuff.blogspot.com/2019/09/linux-ubuntu-1904-full-install-on-usb.html”
In my case I was using a PC that had Win10 installed. The boot files were saved on my host system (not on USB). So, I followed the general procedure in the above link for Mint Linux instead of Ubuntu and moved boot files from the host pc to the USB.
Now I have my Win10 PC back to normal, and a portable USB Mint Linux system.