
OpenSUSE, previously referred to as SUSE Linux, is a German distribution that still holds a good position in the DistroWatch rankings. Even though it’s not popular as it used to be, openSUSE still has many users. Currently, openSUSE comes in two standard variants – Tumbleweed and Leap. Tumbleweed is a rolling release or commonly known as “bleeding edge.” This variant guarantees users access to the latest Linux packages. The Leap variant, on the other hand, follows a regular-release and is considered much stable.
Are you looking to get started with openSUSE? You have come to the right place. This post will give you a step-by-step guide on installing and getting started with OpenSUSE on your PC. For this particular tutorial, we will go for the Leap variant. The latest release as of writing this post is openSUSE Leap 15.2.
Minimum System Requirements for openSUSE
- A PC with a 64-bit processor. (32-bit processors are not supported)
- A minimum of 1 GB RAM. (However, 4GB RAM is highly recommended)
- 10 GB disk space for minimal installation and 16 GB for the Graphical Desktop (More would be better)
Downloading openSUSE
To get started with the whole installation process, download the openSUSE DVD ISO file from the official website. For this particular post, we will use the Leap variant.
Create a bootable USB drive of openSUSE
Once you have downloaded the openSUSE DVD ISO file, we need to create a bootable USB drive to install our PC’s operating system. We will use a popular tool known as Etcher. We already have a tutorial on Creating a Live Linux USB drive using Etcher available on our website. It gives you a complete guide on how to install and use Etcher on various Linux distributions.
If you are on an Ubuntu/Debian based system, you can install Etcher by executing the commands below:
echo "deb https://deb.etcher.io stable etcher" | sudo tee /etc/apt/sources.list.d/balena-etcher.list
sudo apt-key adv --keyserver hkps://keyserver.ubuntu.com:443 --recv-keys 379CE192D401AB61
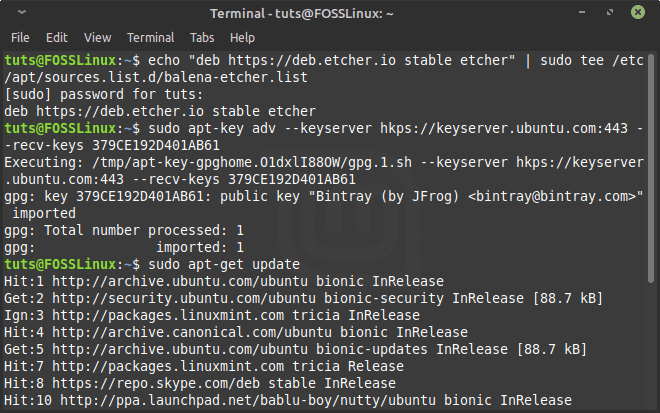
Repository addition
When successfully executed, the commands will add a new repository to your system. Execute the command above to update the system packages.
sudo apt-get update
Once done, proceed to install Etcher with the command below:
sudo apt-get install balena-etcher-electron
Once Etcher is installed, you can proceed to launch it from the application menu.
On the Etcher main screen, select the option “Flash from file” and add your OpenSUSE ISO file. On the “Select target” option, choose the USB drive you wish to make it bootable. Once done, click on the “Flash!” button to create a bootable USB drive of OpenSUSE.
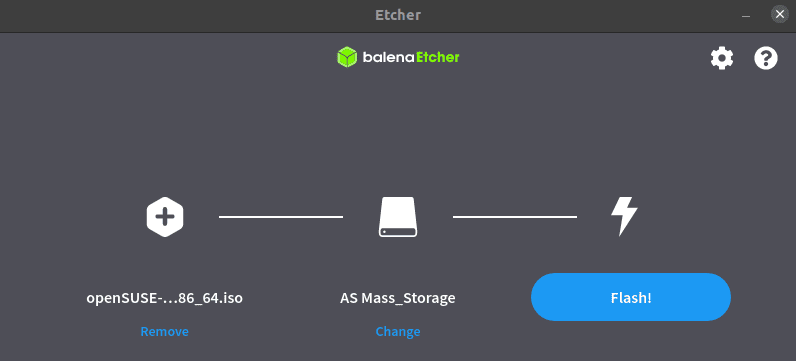
Create a bootable USB of OpenSUSE with Etcher
Booting the Installation system
Once done, you can proceed to boot your target PC with your OpenSUSE bootable USB drive. You might need to change the regular boot order by pressing specific function keys depending on your Laptop brand. Lucky for you, we have an entire post that gives a detailed How to Boot your Windows or Linux PC from a USB Drive. It also gives you a detailed table of keys to change the regular boot order for popular PC brands.
Installing OpenSUSE
Once you have booted your target PC with the bootable USB drive of OpenSUSE, we can now install OpenSUSE on our hard drive.
The first window you will see on booting the PC is the OpenSUSE boot screen. You will see several options listed. For our case, select the “Installation” option using the Arrow keys and hit Enter to load the Linux kernel.
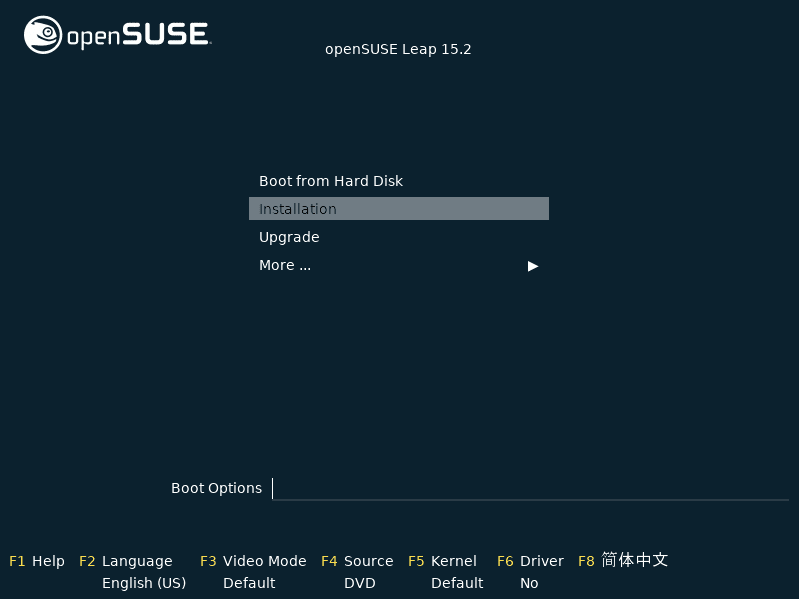
OpenSUSE Boot Window
Once the Kernel is loaded, the installer window will open. At the start, the Installer will perform some checks, including a network connection test. If your system has an active internet connection, it will attempt to add online repositories necessary for downloading any updates to your new system.
If you don’t have an internet connection, don’t worry. Proceed with the installation process and update your system later when you are done.
Language, Keyboard, and License Agreement
Once the installer is done performing the necessary system checks (which takes a short time), it will present you with a window to select your Language and Keyboard layout you wish to use for your installation process. Additionally, you will also see the License Agreement, which you can read through—once done, click Next.
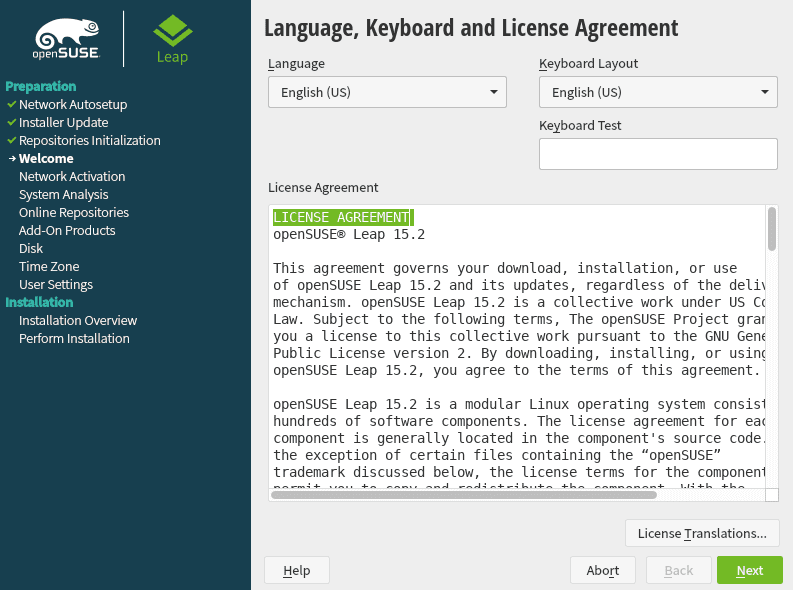
Language and Keyboard Layout
The installer will perform some System probes to check for USB drives, Firewire devices, Hard disks, and System files on the next window. If you have an active network connection, you will get a prompt to activate online repositories. Click Next when done.
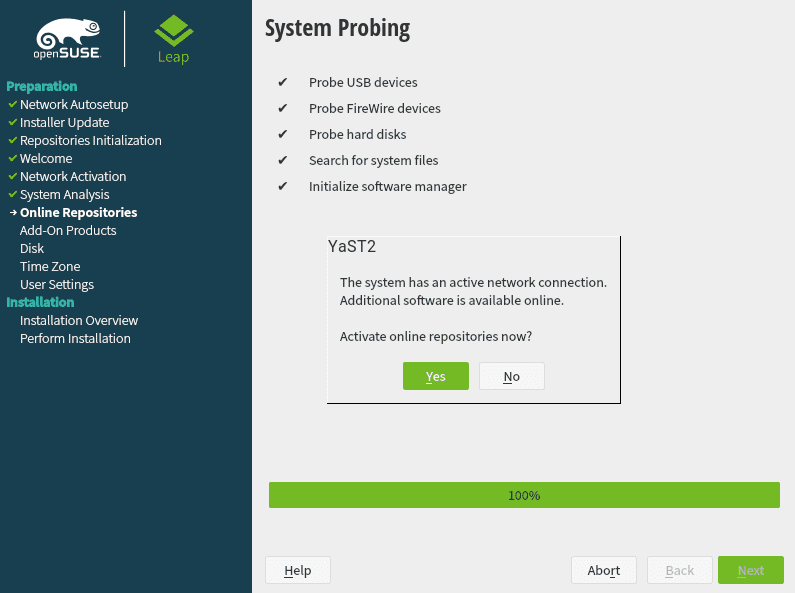
System Probing
If you don’t have an active internet connection, you might not get this prompt.
System Role
In the next window, you will need to select the System Role. If you want to use OpenSUSE as a Desktop system, you will be required to select a Desktop Environment from the ones listed below. They include KDE Plasma, GNOME, and Generic Desktop. If you want to use it as a server, you can select between the Server and Transactional Server options.
In our case, we will select the GNOME Desktop Environment. Click Next when done.
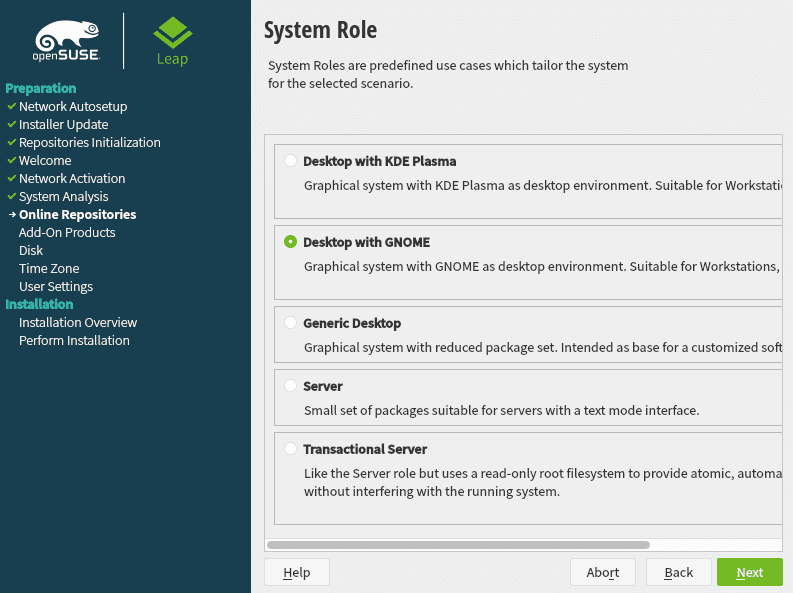
System Role
Suggested Partitioning
In the next window, you will see an option to select your target partition. Please, be cautious with this step as you can easily lose data.
If you are installing OpenSUSE on the hard drive as your primary operating system, you can proceed with the default system settings, as shown below. In case you want to use the LVM partitioning scheme, click on the Guided Setup option below and check the option for LVM.
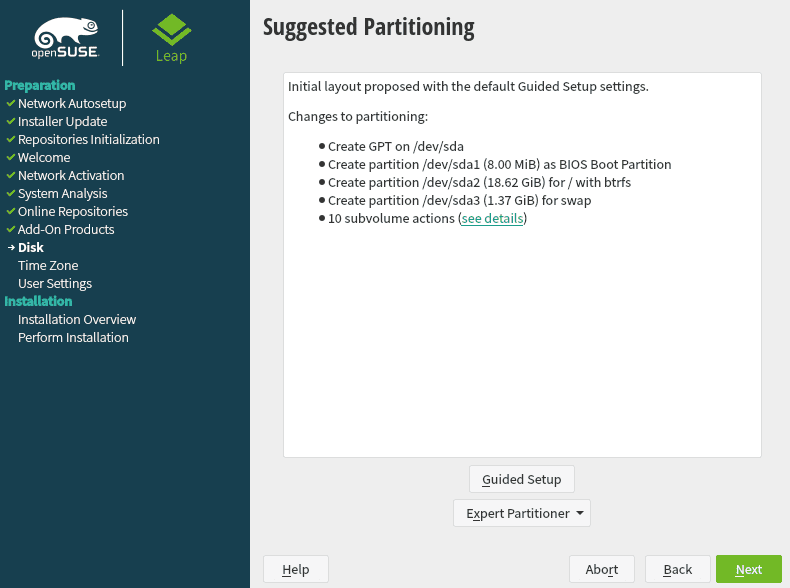
Partition DisksIf you already have another Operating system installed or want to install OpenSUSE on a specific partition, click on the “Expert Partitioner” and select the “Start with Existing Partitions” option.

Expert Partitioner
For this particular post, we will use the Suggested Partition Settings. Once done, click Next to proceed.
Set Clock and Time Zone
On the next screen, select your Region and Time zone by clicking on your region from the map. Click Next.

Clock and Time Zone
Create a User Account
On the next screen, enter the username and passwords you wish for your Local account. You can check the option “Use this password for system administrator” and uncheck the option “Automatic login.” Click Next to proceed.
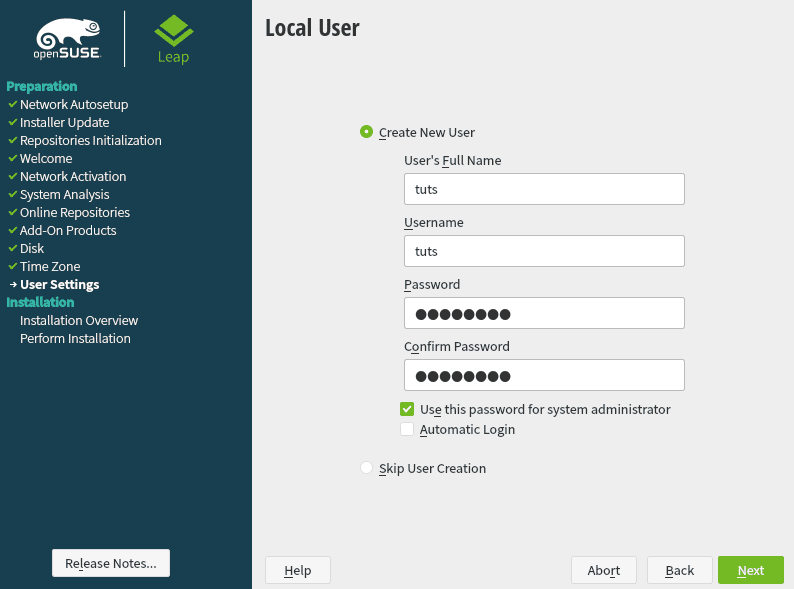
Local User Details
Installation Settings
This screen will give you a summary of all the settings you have made. If they are okay, click the Install button to proceed with system installation. Otherwise, you can click on any headline and edit as you wish.
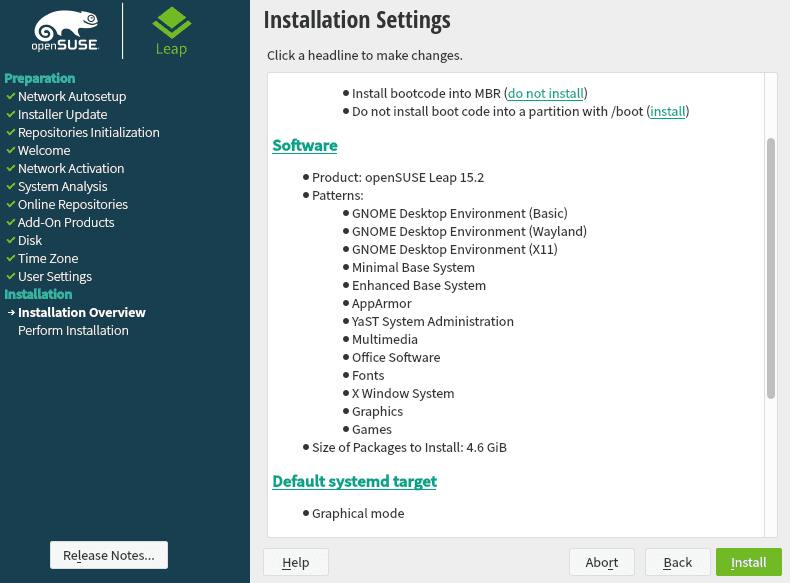
Installation Settings
When you click the Install button, a pop-up window will request you to confirm the installation process. Click Install.

Confirm Installation
The installation process will begin while displaying all the actions being performed. You can monitor the process using the progress bar at the bottom of the window. Please be patient, as this might take a while.
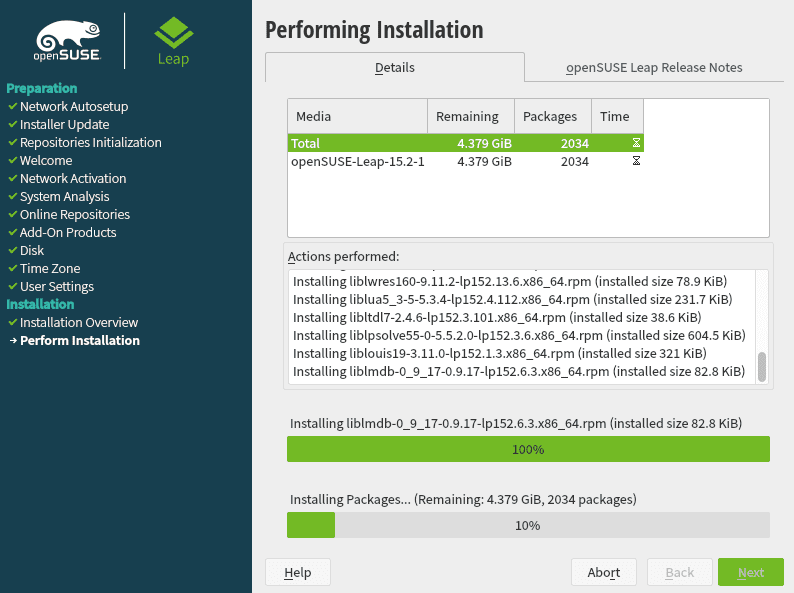
Install OpenSUSE
Starting the OpenSUSE Installation
Once the installation is complete, reboot your PC. You will see the openSUSE boot menu, which gives you an option to start the system. You can see the different options in the image below. If you are unsure what to select, choose the first option – “openSUSE Leap 15.2.”
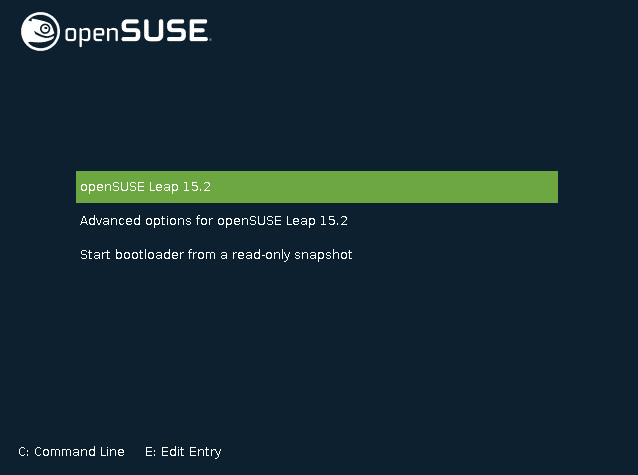
Start OpenSUSE
That will start openSUSE, and after some time, you will be presented with the Login screen. Here, you will be required to enter the password you set for your local account during the installation process.
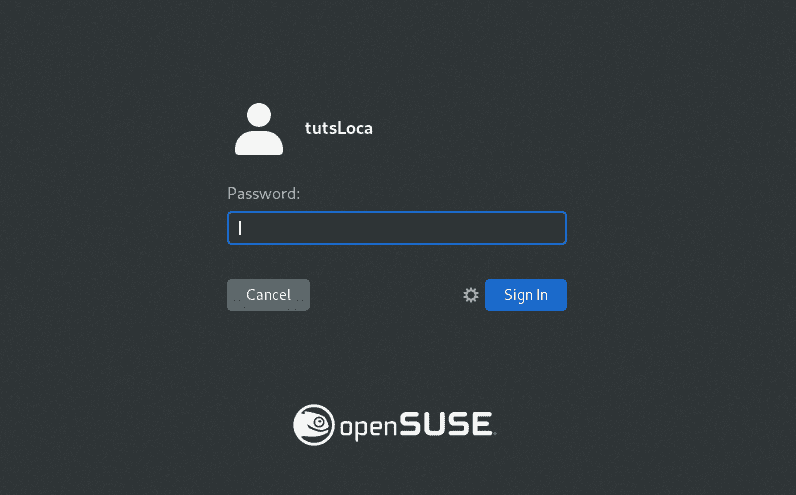
openSUSE Login Screen
Hit Enter when done. That will load the openSUSE 15.2 Desktop, as shown in the image below. Please note, if you selected a different Desktop Environment other than GNOME, your system might look a little different from mine.
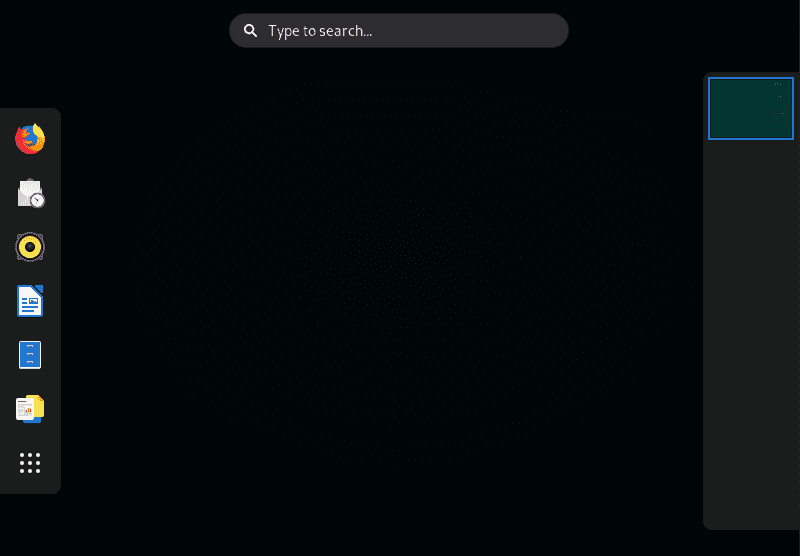
OpenSUSE GNOME Desktop
Congratulations! You have successfully installed OpenSUSE Leap 15.2 on your PC. Was there a step that didn’t work for you? Or do you have any questions or thoughts you wish to share with our readers? Don’t hesitate, hit the comments below.