
Shutter is a free, open-source, and feature-rich screenshot program available for Linux systems. It is developed using Perl and allows users to take screenshots of a specific area, window, your whole screen, or even of a website.
Additionally, Shutter gives you an option of applying various effects on the images taken, like drawing/highlighting a feature or point and uploading them to an image hosting website, all within a single window.
Shutter Window
Even though Shutter is available for most Linux distributions, it doesn’t come installed by default. For this post, in particular, Shutter doesn’t come pre-installed on Pop!_OS. However, that doesn’t mean we can’t install it. We will give you a step by step guide on installing the Shutter screenshot program on Pop!_OS. We will also show you how to enable the various plugins available for Shutter, like the image editor, which comes loaded with excellent tools to edit your images.
Installing Shutter on Pop!_OS
You can use two ways to install Shutter on pop!_OS: via the APT package manager and via Snap.
Installing Shutter via APT
If you decide to use this method, execute the command below on the Terminal.
sudo apt install shutter gnome-web-photo libgoo-canvas-perl
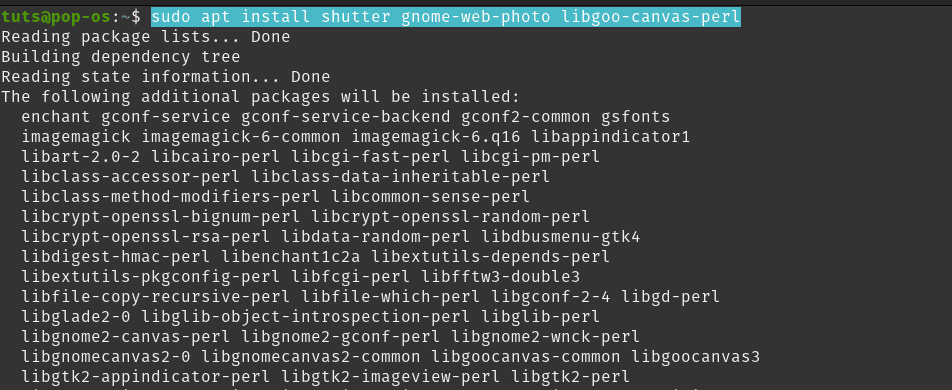
Install Shutter via apt
Installing Shutter via Snap
To get started, you first need to install Snap on your system with the command below:
sudo apt install snapd
Once you have Snap install, execute the command below to install the Shutter screenshot program.
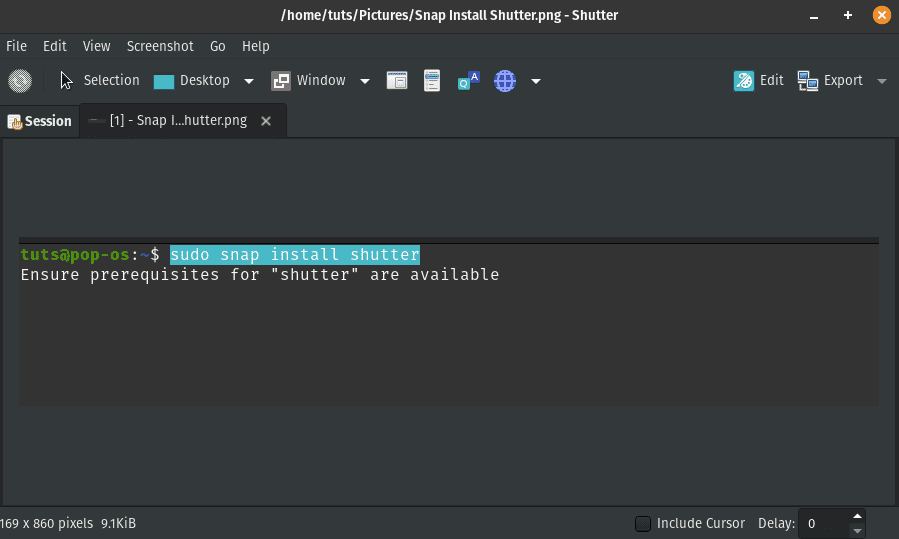
sudo snap install shutter

Snap Install Shutter
If the installation process is completed successfully without any errors, you should locate Shutter from the applications menu.

Launch Shutter
Enabling the ‘Edit Image’ button
After installing Shutter, you will realize that the Edit button is greyed out in most scenarios nowadays. That is because Shutter is lacking the libgoo-canvas-perl dependency. For this particular post, I included it in the installation command. Therefore, you are not likely to experience such a problem.
Shutter
This problem is not necessarily a bug in Shutter. It’s because libgoo-canvas-perl is an optional dependency. Therefore, Shutter can successfully run without this dependency but with a few limited features. In case your Edit button is greyed out, follow the steps below:
Step 1. Close any running instances of Shutter.
Step 2. Execute the command below to install the libgoo-canvas-perl dependency.
sudo apt install libgoo-canvas-perl
How to use the Shutter screenshot tool
Let’s look at some of the basic functions you can perform with Shutter.
Screen capturing
Shutter provides you with several ways of taking a screenshot. They include Selection, Entire Desktop, A window, a section of a window, Menus, Tooltip, or even take a screenshot of a website. All these options are available on the menu bar.

Screenshot options
Timed Screenshot
With Shutter, you can also set a delay, thus taking a timed screenshot. For example, it can be quite hard to capture a right-click menu because it will disappear when you click on another section. A solution to such is using a timed screenshot. Locate the ‘Delay’ at the bottom of the window and enter the number of seconds you wish to delay the screen capture.
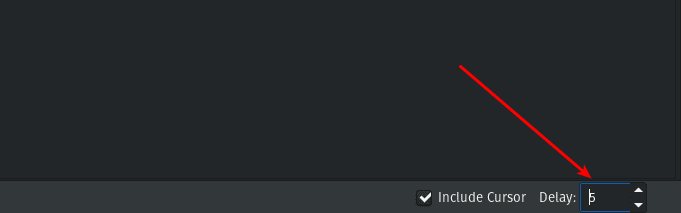
Set Delay
Include Cursor
If you want to include the cursor in your screenshot, tick the ‘Include Cursor’ check box at the bottom of the window and proceed to take your screenshot.
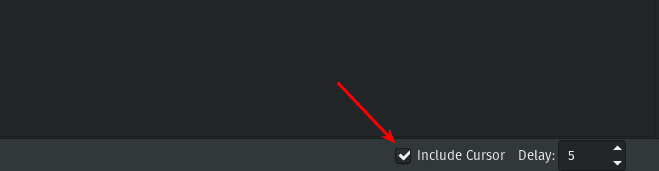
Include Cursor
Editing a screenshot
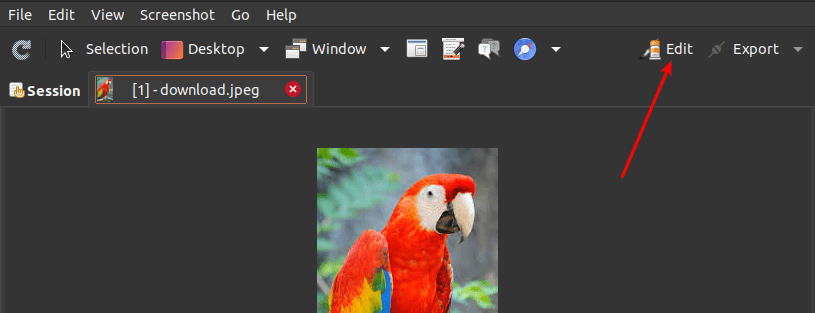
One amazing feature I love with Shutter is the image editor. It comes loaded with various tools that even lack in some commercial image editing software. To use this feature, select the image you want to edit and click on the Edit button. That will open a separate window with tonnes of features.
Shutter
Below are some of the actions you can perform with the image editor.
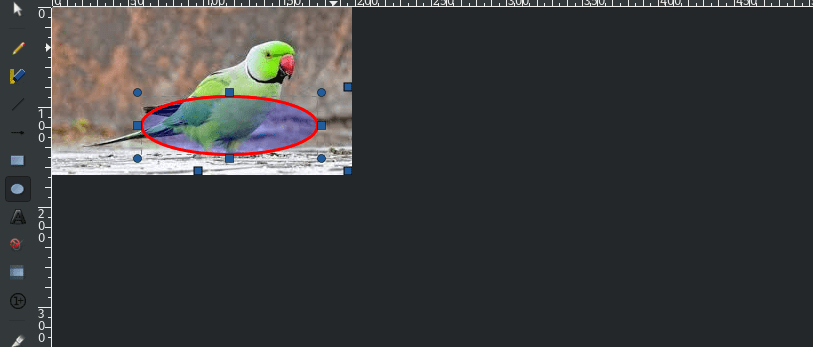
Draw Shapes on your image
On the Left-hand side of the image editor window, you will see several shapes you can draw on your image. To get started, click on the shape you want to use and drag the cursor on the image to draw.
Draw Shapes
Highlight a section
You can use the highlighter tool on the left-hand side to highlight a particular section on the image.
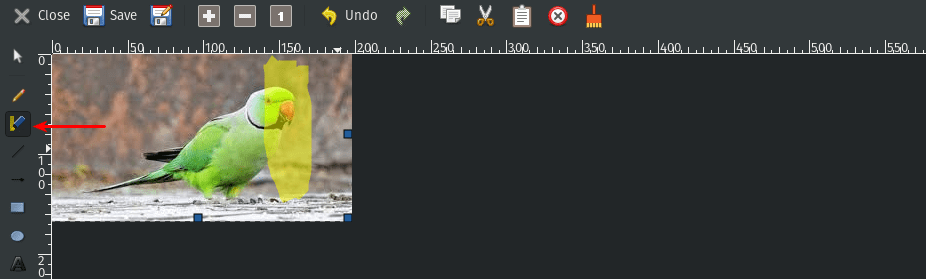
Highlight image
Write Text
If you wish to write something on the image, use the add text tool located on the left-hand side.
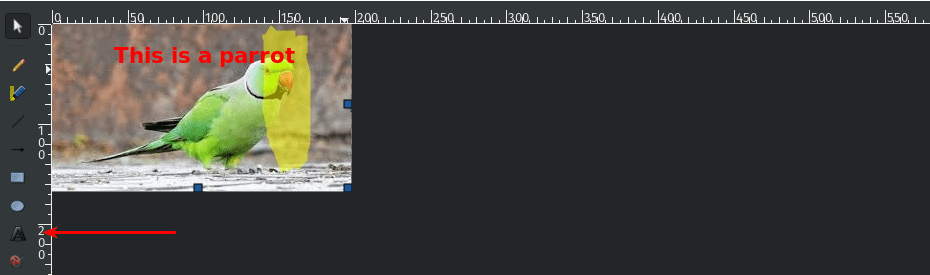
Write Text
Conclusion
The shutter screenshot tool can perform more advanced actions other than those discussed in this post. However, I believe we have gone through some of the basic features that even a beginner can quickly execute. If you face any challenges while installing Shutter on Pop, please feel free to hit the comments below.