
Fedora Linux, renowned for its cutting-edge features and robust performance, offers an enviable desktop experience, especially with its default GNOME environment. However, to truly personalize and enhance this experience, GNOME Shell Extensions are indispensable. They’re like the secret sauce that can spice up your Fedora desktop.
As a long-time Fedora user and an enthusiast of open-source technology, I’ve gone through the sometimes tricky waters of installing and managing these extensions. In this blog, I’ll share a simple, step-by-step guide to help you do the same.
What are GNOME Shell extensions?
GNOME shell extensions are tiny add-ons that can add or tweak the system settings, including desktop user interface and appearance. It includes the ability to install desktop themes.
Technically, these extensions modify GNOME Shell by adding or changing core functionality. Third-party developers develop GNOME shell extensions, but some good ones land in the official GNOME desktop environment. A dedicated website, “GNOME extensions,” hosts all the GNOME extensions.
How do you install a GNOME shell extension in Fedora?
Prerequisites
Before installing extensions, ensure you have the GNOME desktop environment on your Fedora system. Fedora Workstation comes with GNOME by default, so you’re all set if you’re using that!
Ensure your system is up-to-date. In Fedora, this is as easy as opening the terminal and running:
sudo dnf update
This command updates your system packages, ensuring everything is set for a smooth installation process.
You need first to do some things to enable the GNOME shell extension. Firstly, you need to install either Firefox or Chrome Browser. You can install any of these browsers by visiting the Fedora software store.
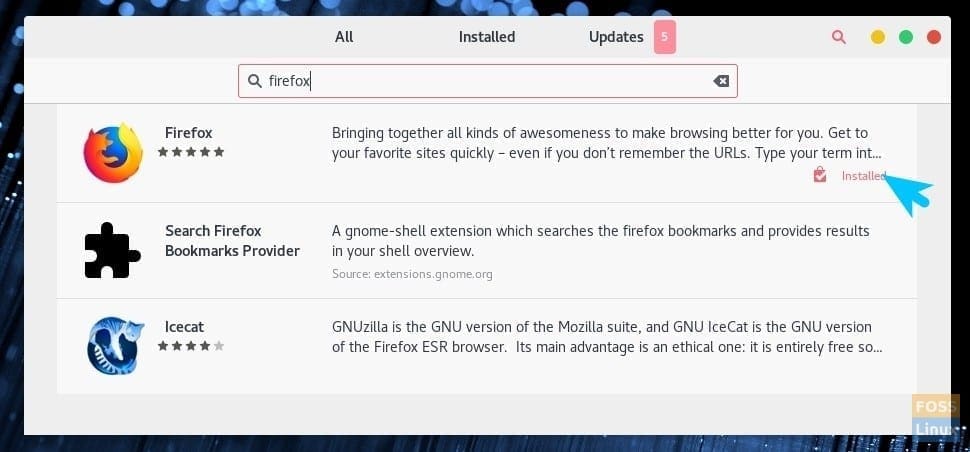
Fedora Software Center
Next, you need to enable the shell extensions.
Enable Browser Shell extensions
Go to the below link using Firefox or Chromium browser.
Click “Click here to install browser extension” and “Allow.”
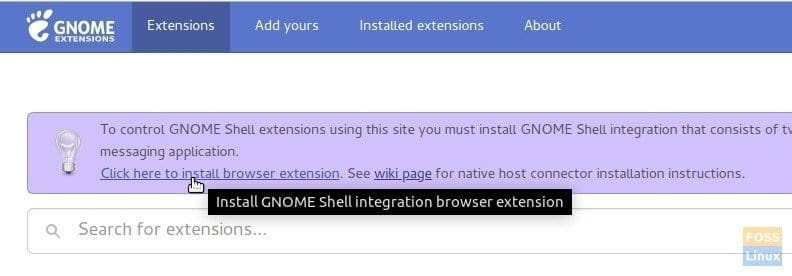
GNOME Shell Integration Browser Extension
Your Fedora system is now ready to install the extensions. Go ahead and install an extension that you like. For example, I installed the “Shutdown Timer” extension for illustration. Installing an extension is as simple as turning the slider to “ON,” followed by “Install.”
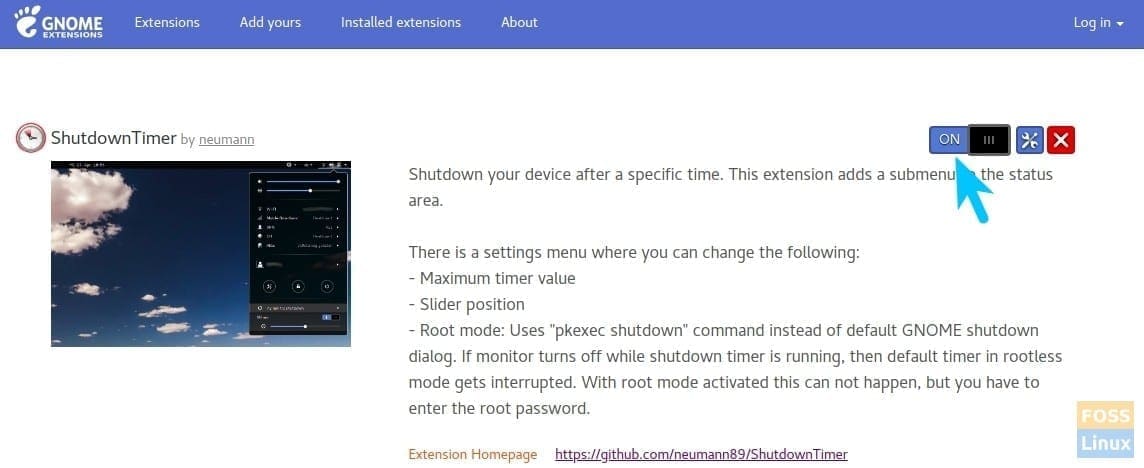
Enable Shutdown Timer Extension
Fixing the “native host connector not detected” error
This is where most people hit a snag, especially when greeted with the “native host connector not detected” message. There are several reasons why you might encounter the error when installing GNOME Shell extensions:
1. Missing Native Host Connector:
- This is the most common reason. The native host connector acts as a bridge between the browser extension and GNOME Shell. If it’s not installed, the two can’t communicate, leading to the error.
2. Outdated Browser or Shell:
- Specific Chrome, Firefox, or GNOME Shell versions might have compatibility issues with the extensions website or the connector.
Here’s how to fix it:
Step 1: Open your terminal: You can find it in your applications menu.
Step 2: Install the Native Host Connector using the following command on your Fedora system.
sudo dnf install chrome-gnome-shell
Output Example:
Last metadata expiration check: 0:42:12 ago on Sat 14 Jan 2024 09:23:34 AM.
Dependencies resolved.
================================================================================
 Package                  Arch        Version            Repository        Size
================================================================================
Installing:
 chrome-gnome-shell       x86_64      10.1-5.fc32        fedora            34 k

Transaction Summary
================================================================================
Install  1 Package

Total download size: 34 k
Installed size: 91 k
Downloading Packages: chrome-gnome-shell-10.1-5.fc32.x86_64.rpm 20 kB/s | 34 kB 00:01
Total 17 kB/s | 34 kB 00:02
Running transaction check Transaction check succeeded. Running transaction test Transaction test succeeded. Running transaction Preparing : 1/1 Installing : chrome-gnome-shell-10.1-5.fc32.x86_64 1/1 Running scriptlet: chrome-gnome-shell-10.1-5.fc32.x86_64 1/1 Verifying : chrome-gnome-shell-10.1-5.fc32.x86_64 1/1

Installed: chrome-gnome-shell-10.1-5.fc32.x86_64

Complete!
Step 3: Restart your browser
Step 4: Verify Extensions website:
-
- Visit https://extensions.gnome.org/ and reload the page.
- The error message should disappear, allowing you to install extensions.
Optional: Managing extensions
Installing the GNOME Tweak Tool
Step 1) Launch the Terminal.

Launch Terminal
Step 2) Enter the following command and press enter.
sudo dnf install gnome-tweaks
Go ahead and enter the root password when prompted. If GNOME tweaks are already installed, you should see the message.
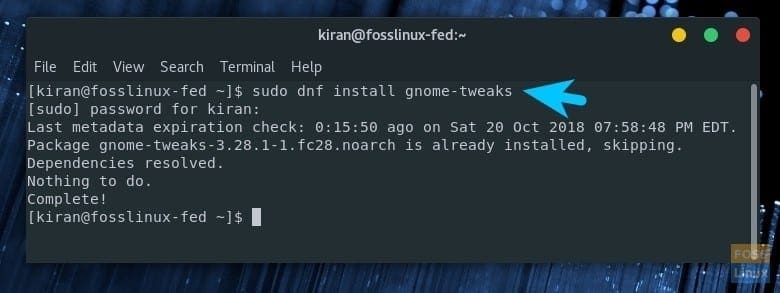
Installing GNOME Tweaks
Step 3) After installation, check it in the “Activities” menu. It should get registered as “Tweaks.”
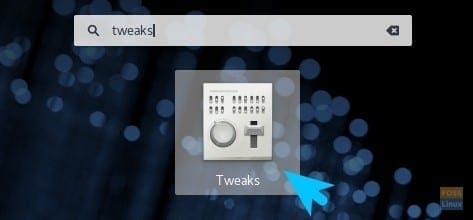
Launch Tweaks
Step 4) Click the “Extensions” tab. This is where all the extensions you installed and officially included in GNOME get listed. Click on the gear icon to configure the extension settings.
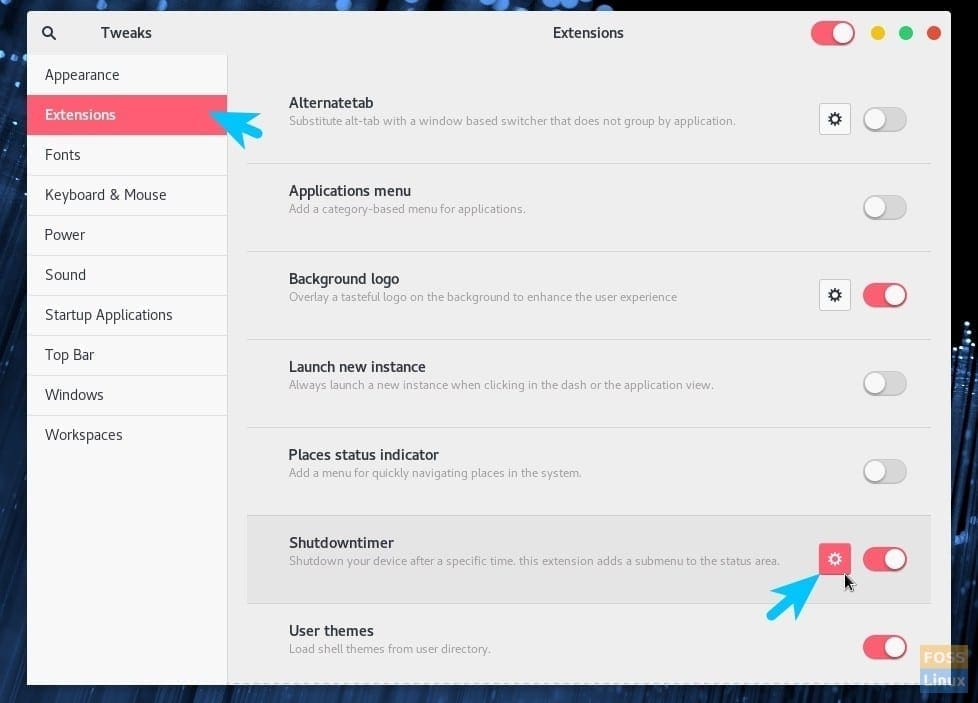
Access GNOME Shell Extensions via GNOME tweaks
Conclusion
GNOME Shell Extensions are a powerful tool to customize your Fedora experience. They can enhance productivity, improve aesthetics, or simply add a bit of fun to your daily computer use. As someone who has tinkered with Fedora and GNOME for years, I assure you that the effort put into customizing your desktop with these extensions is well worth it. Happy customizing!
And that’s it! If you’ve found this guide helpful, or have suggestions and experiences of your own with GNOME Shell Extensions in Fedora, feel free to share in the comments below. Let’s make our Fedora desktops not just functional, but also a joy to use!