
Docker is one essential and robust version of technologies that is very important for developers and sysadmins these days. This tool allows you to create, deploy and manage lightweight, stand-alone packages known as containers. The containers have the required code, runtime, libraries, system settings, and dependencies to run an app.
Docker allows you to categorize apps from your infrastructure to deliver software faster. Using this app, you may manage your infrastructure the same way you do your apps. Take advantage of Docker’s shipping, testing, and deploying code methodologies. You can, by large, do away with or minimize the time between code writing and running it in production.
The general Docker platform
Docker enables you to package and operate an app in a loosely detached environment called a container. The isolation and security permit you to run multiple containers on a given host simultaneously. These containers refer to a standardized software component that wraps up code and all its dependencies to ensure that an application runs swiftly and consistently in different computing environments. They are lightweight and have every aspect required to run the app, such that you will not have to rely on what is currently set up on the host. You can easily share containers while working and ensure that everyone using your shared containers receives the same container and performs similarly.
Here are the things performed by Docker:
- First, develop your app and its supporting components using containers.
- The container then becomes the unit for testing and distributing your app.
- Launch your app as a container or an orchestrated service in your production environment when ready. This performs the same whether your production environment is a local data center, a cloud provider, or a hybrid.
This guide will cover Docker Engine installation on Linux, specifically the Fedora version using the YUM or DNF package managers. We will also look at alternative installation approaches and obtain and run a Docker image example for you.
Installing Docker on Fedora
With the Docker and container concepts covered, let us now start, but before we begin, here are some of the prerequisites:
- 64-bit Fedora OS
- Ensure you have terminal (Sudo user) access to a Linux server running Fedora
- Internet connectivity
Let us now get started.
Method 1: Install Docker through DNF (recommended)
This is the most recommended and convenient way to set up Docker because it sets up the updated version of the software, and the updated versions are easy to work with without encountering complicated steps.
Step 1: Update the system
First, update and upgrade your Fedora system packages. This can quickly be done on Fedora by issuing the following command:
sudo dnf -y update

Update system
After running the update command, you may or may not be prompted about the number of packages that need an upgrade. In case you are alerted, then issue the following command on your terminal:
sudo dnf -y upgrade
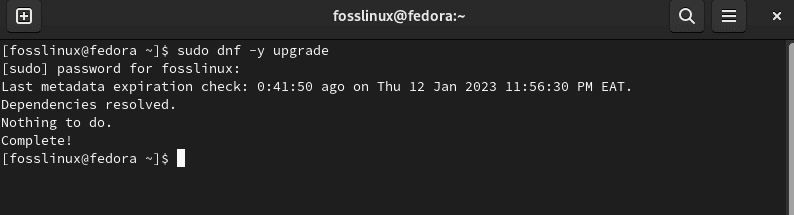
Upgrade system
It is recommended you restart your system after updating the packages for a smooth run of your PC:
sudo reboot
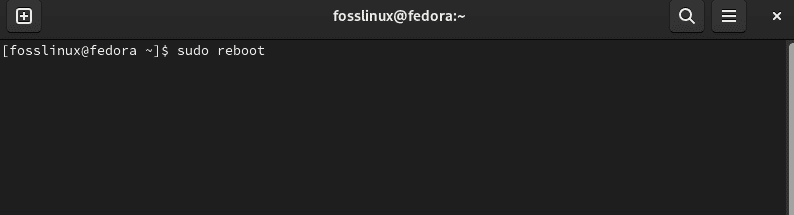
Reboot system
Step 2: Append the Docker CE repo on your Fedora system
After updating, upgrading, and rebooting the system, go ahead to add the Fedora repo to your system using the following command:
sudo dnf -y install dnf-plugins-core
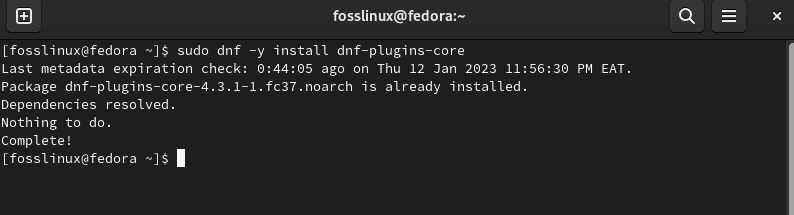
Install dnf plugins core
Then
sudo dnf config-manager \ --add-repo \ https://download.docker.com/linux/fedora/docker-ce.repo

Add repo
Step 3: Install Docker CE on Fedora
Now that we have our repo ready proceed and set up the current stable release of Docker CE on your PC by running the following command:
sudo dnf makecache
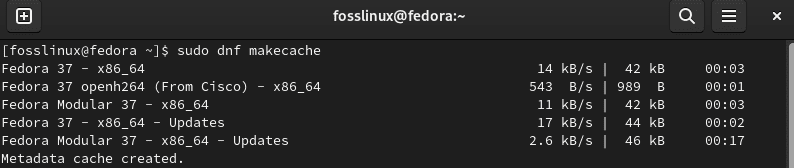
Make cache
Then
sudo dnf install docker-ce docker-ce-cli containerd.io docker-compose-plugin
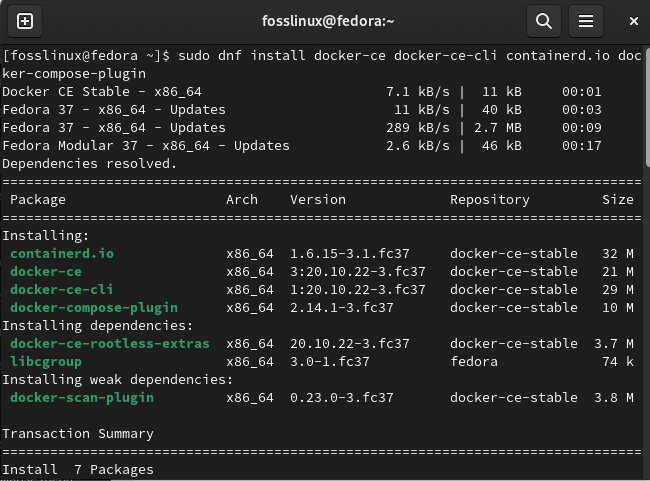
Install Docker
Note: When prompted to start the installation, press the “y/Y” key on your PC’s keyboard to initiate the set-up process.
Remember also to accept to import the GPG key:
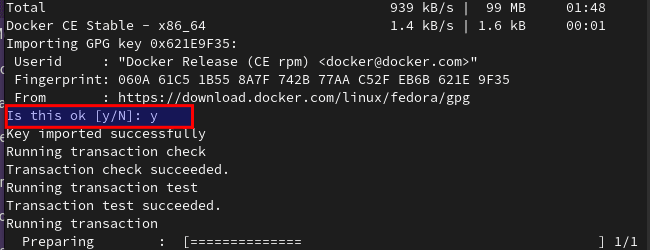
Import key
At this point, Docker will be set up on your machine but not yet started. To start the Docker service, run the following command:
sudo systemctl enable --now docker
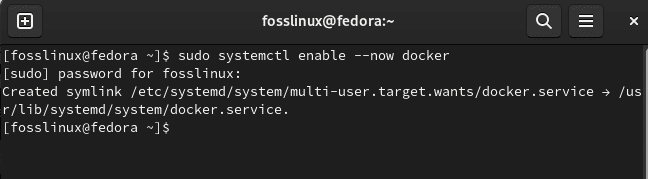
Enable Docker
You can proceed further and check the status with this command:
systemctl status docker
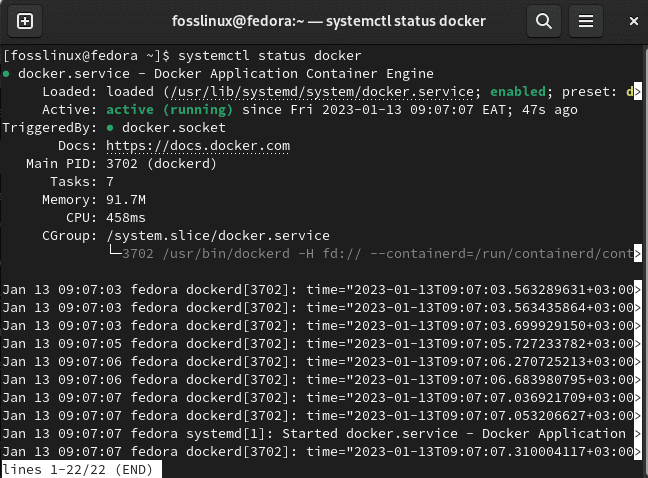
Status check
An active(running) output should tell you that docker is functioning well in your Fedora system.
Let us look at method 2, where we will install Docker via the RPM package.
Method 2: Set up Docker by downloading the RPM package
This approach is practical when testing a particular version of Docker or installing Docker for older Fedora versions.
This approach is not that convenient since you have to download the RPM whenever a new version comes manually.
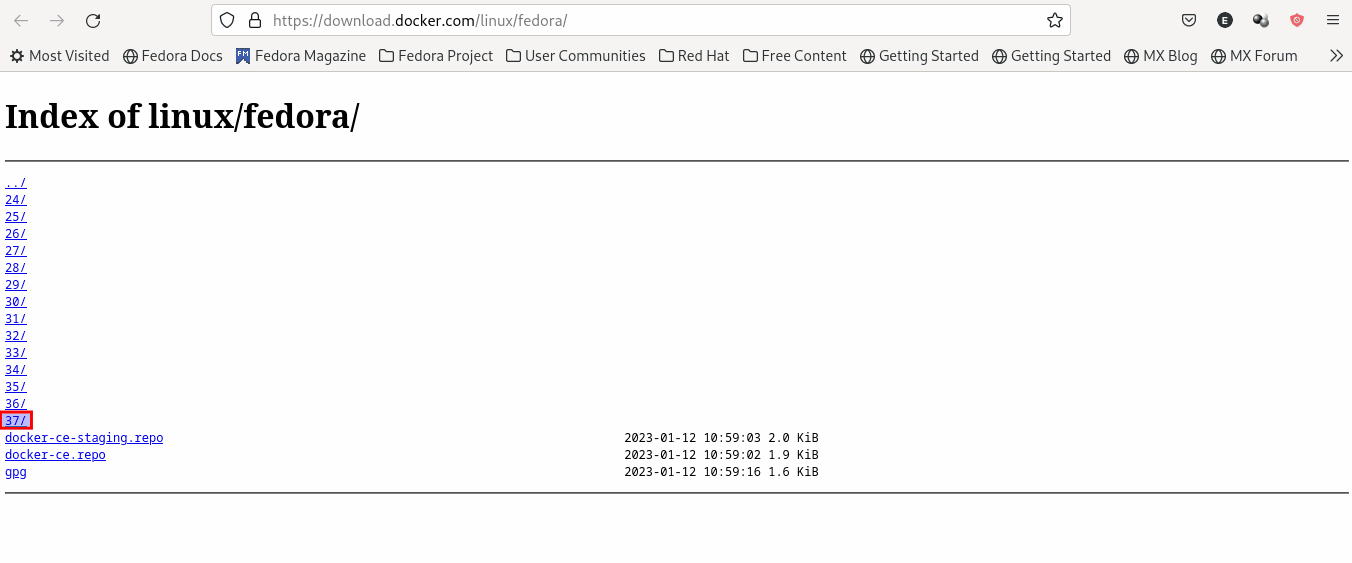
To download the RPM officially, you will navigate to this docker website and select your Fedora version; in our case, it is 37:
Select your Fedora version
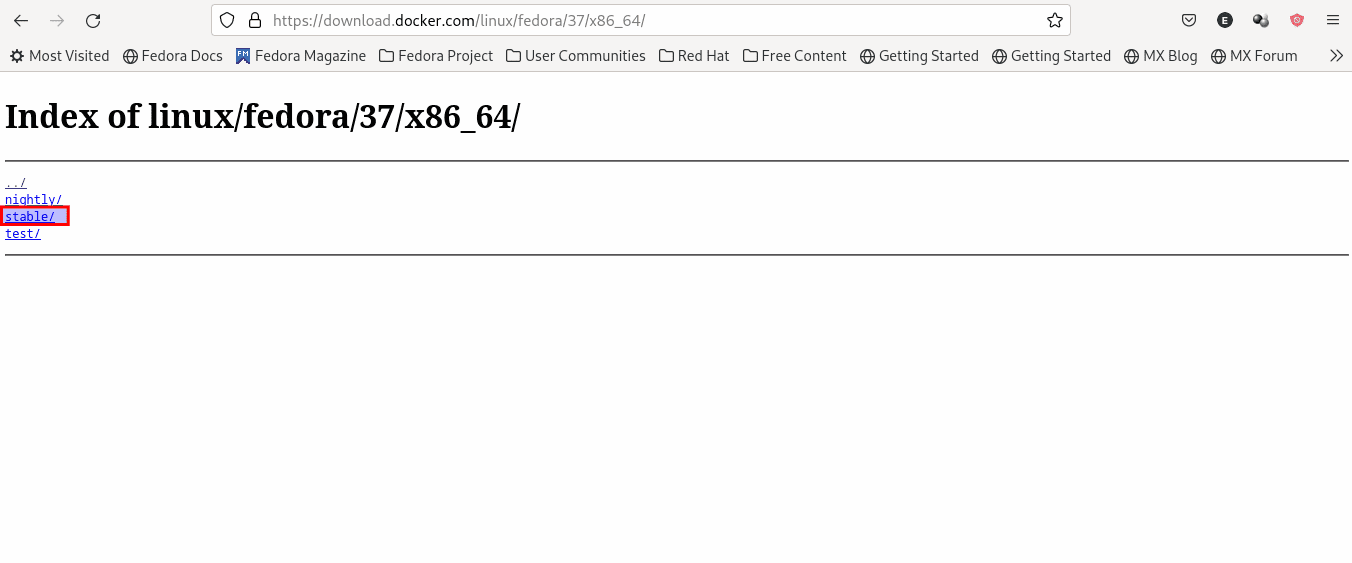
After that, select your architecture:

Select your Architecture
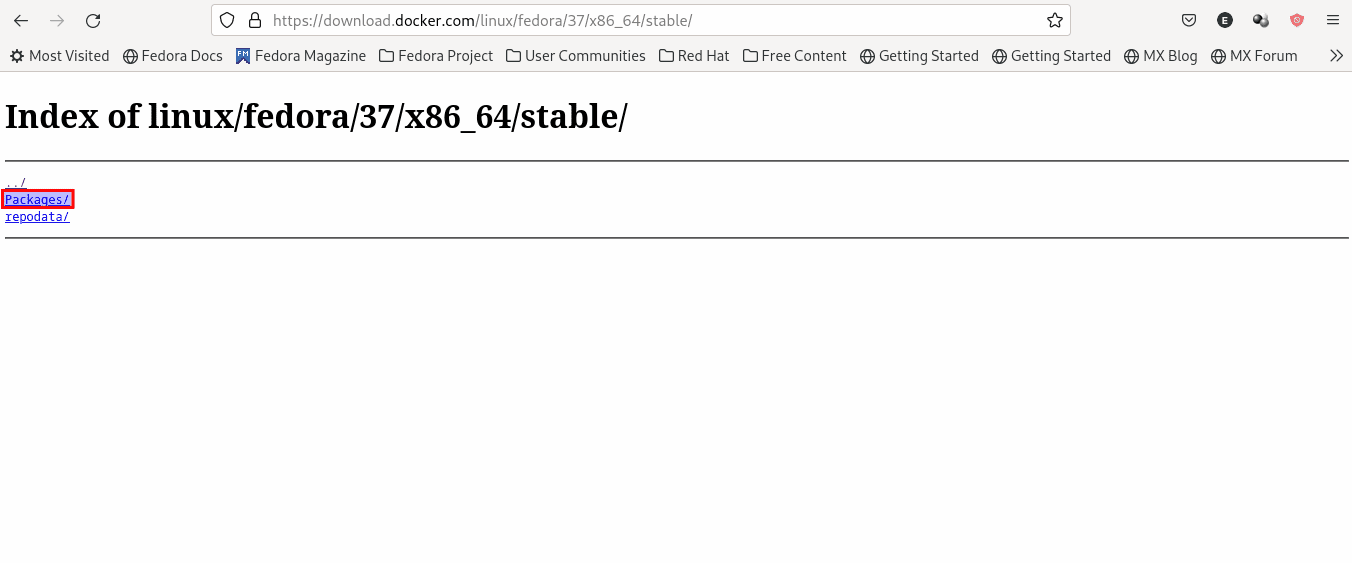
Then the release type, in this case, we recommend going with the stable release, as shown below:
Select release type
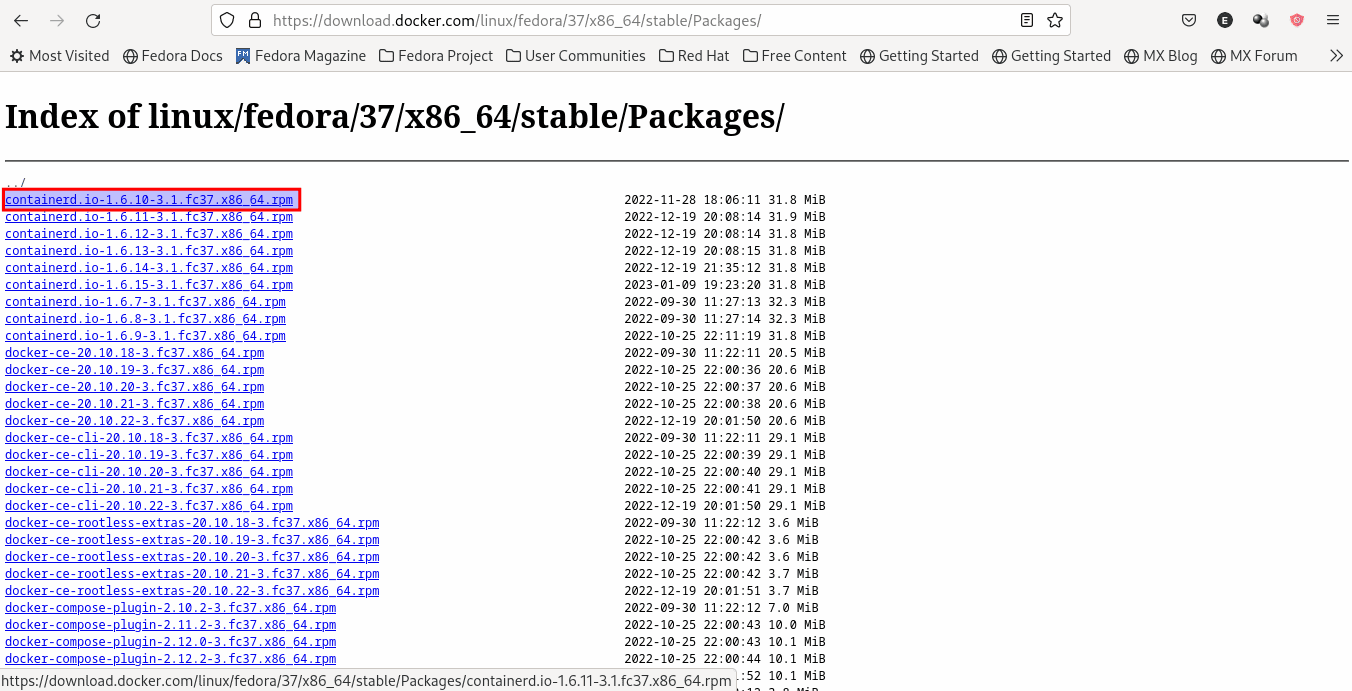
Go ahead and select packages:
Select packages
Click on the latest rpm file and download it (You will also require docker-ce, docker-ce-cli & containerd.io RPMs for sure; if needed, you may download other stuff:
Select the latest rpm file
To set up the RPMs, start up your terminal, then navigate to the folder where you downloaded them( in our case, it is in the Downloads folder) and type in the command that follows the following syntax:
sudo dnf install /path/to/file.rpm -y
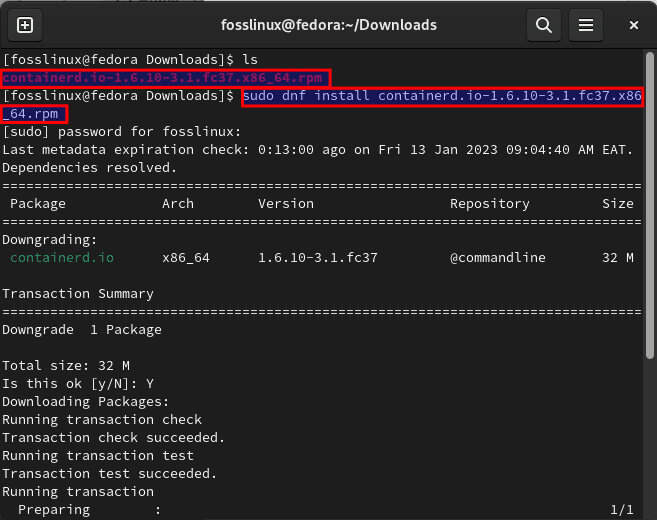
Install rpm package
That should do it!
Method 3: Set up Docker using the official installation script
Docker provides a script to download docker and carry out the needed steps to set it up. However, this script is not intended to be used to upgrade an existing version of Docker installed via RPMs/DNF (but it is possible if you previously used the script to get Docker).
As such, download the script; by downloading, we mean you copy the entire script and then paste it into a text editor, as shown below:
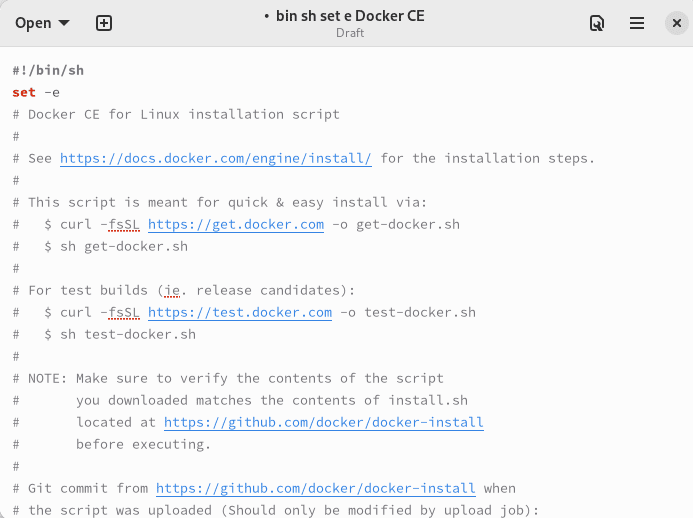
Copy and paste the script
Then save it as “get-docker.sh,” as shown below:
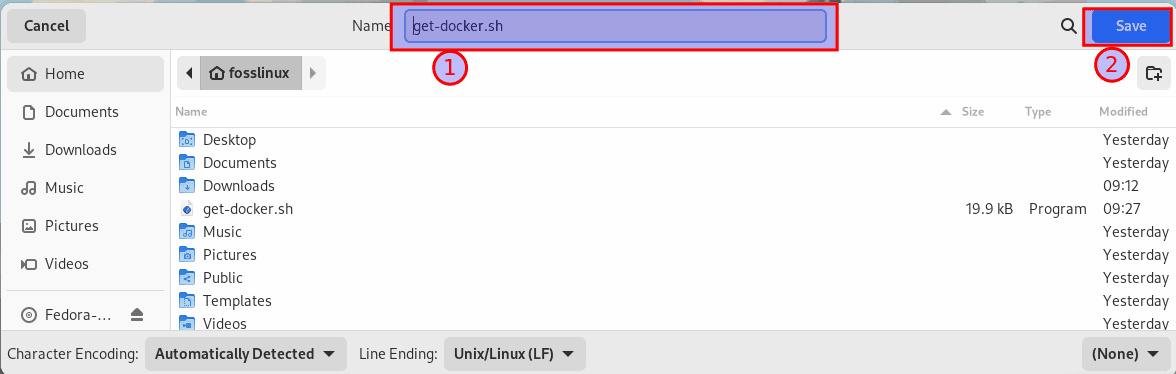
Save file
Then make the just saved file executable and execute it with sudo privileges with the help of the following commands:
curl -fsSL https://get.docker.com -o get-docker.sh
chmod u+x ./get-docker.sh
sudo sh ./get-docker.sh
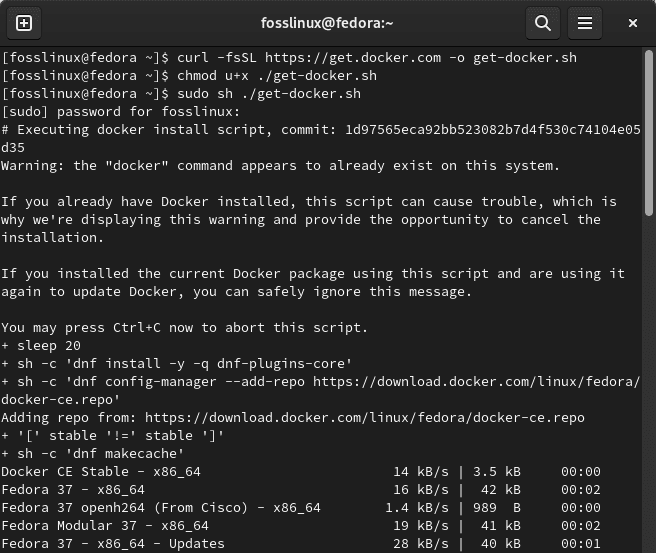
Script installation of Docker
That should do all that is required to install Docker on your Fedora system.
Let us now look at the last method before we test our Docker.
Method 4: How to install Docker using snap
Snap is a software built by Canonical based on source code published by Docker, Inc. They are apps packaged with all their dependencies to run on all well-known Linux distros from a single build. They spontaneously update and roll back gracefully. Snaps are discoverable and installable from the Snap Store, an app store with an audience of millions.
To do this, first enable snapd by running the following command on your terminal:
sudo dnf install snapd
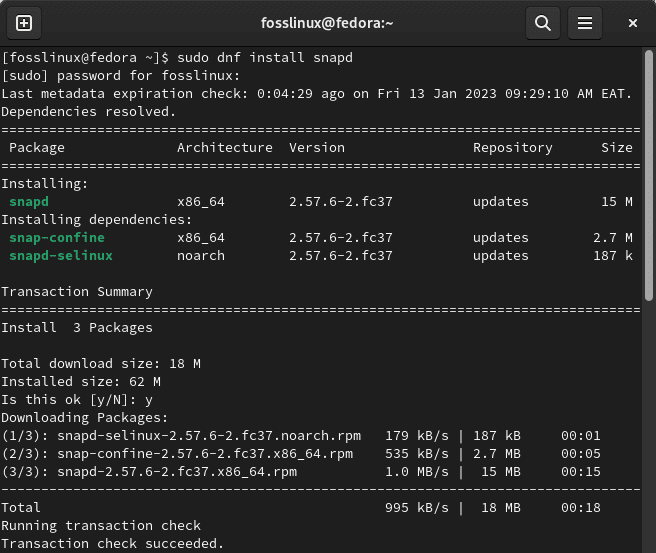
Install snapd
Then restart your system or log out and back in again to ensure snap paths are updated correctly.
After that, enable classic snap support by running the subsequent command, which will create a symbolic interlink between /var/lib/snapd/snap and /snap:
sudo ln -s /var/lib/snapd/snap /snap
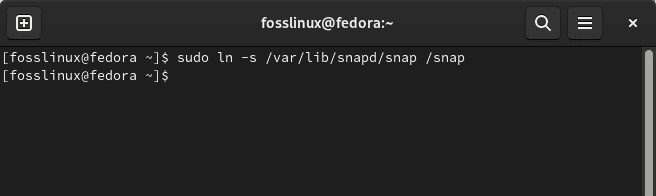
Enable classic snap support
Then install docker by issuing this command:
sudo snap install docker
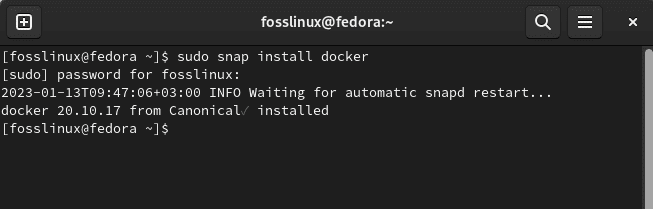
Install Docker using Snap
Let us now put our Docker to the test.
How to test Docker
We can test our Docker software by simply running a hello-world image offered by Docker. If it works as intended, it is a sign that our Docker is working well.
First, start the Docker service, as it is not enabled by default, using the following command:
sudo systemctl start docker
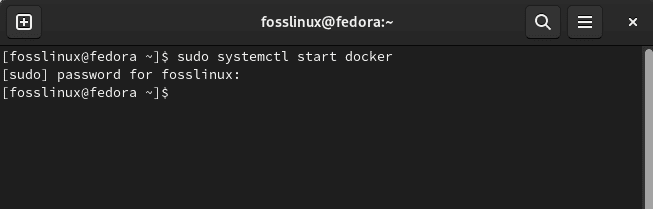
Start Docker
Then, download the hello-world image from docker and run it:
sudo docker run hello-world
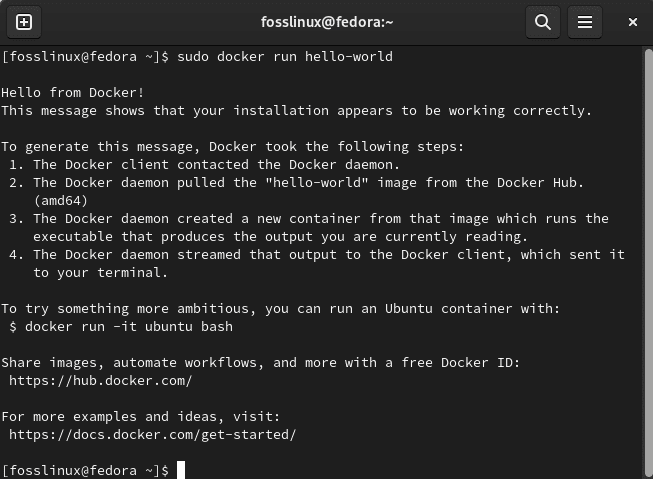
Successful run
A point to note if you are under a proxy or multiple network interfaces is that the image download will fail after some time, returning a 408 response error. You sometimes might not even be under a system-level proxy, and your download fails; the problem might be the ISP who might have enabled it.
How to manage Docker with a Non-Root User
Typically, sudo is required to perform Docker commands. But if you don’t want to preface the docker command with sudo, you must create a Unix group called docker and append users to it. As soon as the Docker daemon starts, it establishes a Unix socket for the docker group members. On some Linux distros, the system spontaneously generates this group when setting up Docker Engine using a package manager. You don’t need to create the group manually in such an instance.
But before proceeding, ensure you have a limited user account that doesn’t belong to the sudo group. Let us now see how we can add a user to the dockergroup.
- To create the docker group and append your user, run the following command:
sudo groupadd docker
2. After that, type in the following command to add a user to the docker group, ensuring you change “user” to the name of your limited user account:
sudo usermod -aG docker [user]
3. Log out and back into the system to allow your group membership re-evaluation. If you are on a virtual machine, it is recommended that you reboot your virtual machine to enable the changes to take effect.
4. Run the “hello-world” image once more to see if the limited user can issue commands to Docker without sudo.
docker run hello-world
The output should give an akin success message as the previous output.
Note: The dockergroup provides similar privileges to those of the root user. You can review the Docker Daemon Attack Surface guide within Docker’s documentation for more info on how that can impact your system’s security.
Let us look at another aspect of Docker.
How to use Docker images to Deploy containers
Docker images are templates that comprise the specifications and instructions for creating a container. To utilize Docker, you first need to obtain an image or generate your own by creating a docker file.
Listing images
To list all images on your system, run the following command:
docker images
This will output the hello-world image that was previously used, as well as any additional images you may have already gathered.
Finding an image
Images are stored on Docker registries, like Docker Hub(Docker’s official registry). So you can look for images on that website or use the subsequent command to look through the Docker registry. In the following command, replace “keyword” with the precise keywords you want to search for, like apache or Nginx.
docker search [keyword]
Obtain an image
After finding an image, download it to your system. Then use the following command syntax replacing “image” with the intended name to use:
docker pull [image]
Running an image
After that, you can create a container based on the image by utilizing the docker run command. Again, remember to replace “image” with the name you intend to use:
docker run [image]
If the image has not yet been downloaded to your system and is available in Docker’s registry, the image will spontaneously be pulled down to your server.
How to handle Docker containers
How to list containers
Issue the following command to help list all active (and inactive) Docker containers running on your system:
docker ps -a
The output should resemble the next snapshot:
Starting a container
Run the following command to start a container, replacing “ID” with the container ID corresponding with the container ID name you wish to begin:
docker start [ID]
Stopping a container
Stop a Docker container with the following command, replacing “ID” with the container ID with which you intend to stop:
docker stop [ID]
Some images, like the “hello-world” image, automatically stop after they are run. Nevertheless, many other containers continue running until they are precisely commanded to stop, and you may wish to run these containers in the background. For such cases, the above command may come in handy.
Removing a container
To remove a container with the following command, replace “ID” with your preferred container ID:
docker rm [ID]
Let us see how we can do away with Docker from our Fedora system.
How to remove Docker from Fedora
Regardless of the method deployed in the installation phase, you can remove Docker from your system using the following command:
sudo dnf remove docker-ce docker-ce-cli containerd.io
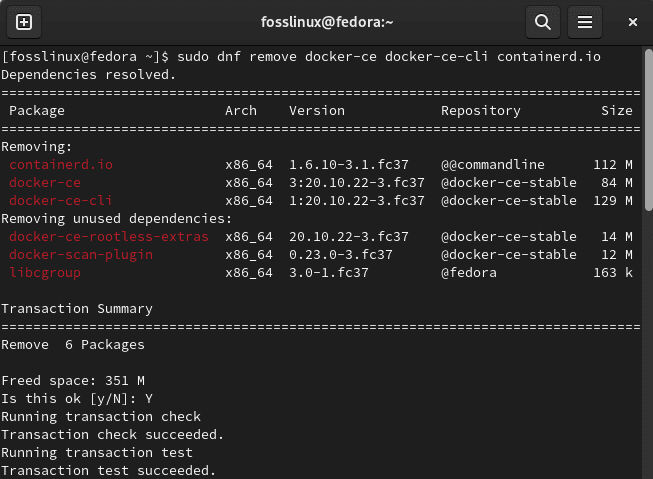
Remove Docker
The above command removes Docker plus all its related packages. But if you want to remove the containers too completely, then you have to remove the “/var/lib/docker” and “/var/lib/containerd” folders using the following command:
sudo rm -rf /var/lib/docker
sudo rm -rf /var/lib/containerd
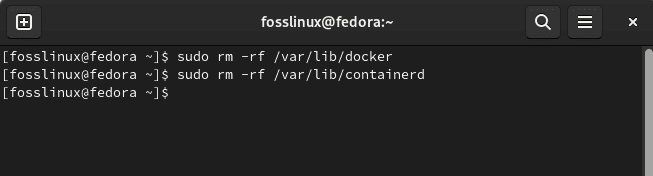
Remove Docker and Containers
Final Thoughts
And that is all from us. We believe this article came in handy for those looking for alternative ways of installing and configuring Docker on their Fedora system. We have covered four different ways of doing this in detail and showed you how to uninstall Docker from your system. We hope you found this informative enough; otherwise, keep routing for FOSSLinux for more tips and hints.