
Investing in quality development tools will make you more productive and significantly increase code quality. One such tool is Sublime Text 3, and you might be surprised by the many cool things in Sublime Text Editor.
Sublime Text 3 is a sophisticated text editor for markup, code, and prose. Sublime Text Editor is loved by web developers, engineers, and programmers alike. Sublime Text 3 is built from custom components, a cross-platform UI toolkit, with an unmatched syntax highlighting engine. Sublime Text Editor is very responsive, giving developers excellent performance. It is free for download and is available for Mac, Windows, and Linux.
This article will highlight tips, shortcuts, and tricks of getting the most from Sublime Text 3. The article will highlight the must-have packages and project-specific preference settings and tweaks.
Prerequisite
To get started, you need to have a running Sublime Text Editor. You can install it in your Linux distro with the following steps.
Installing Sublime Text 3 Ubuntu, Debian
## Install the GPG Key
wget -qO - https://download.sublimetext.com/sublimehq-pub.gpg | sudo apt-key add -
##use apt with https sources
sudo apt-get install apt-transport-https
##select stable channel
echo "deb https://download.sublimetext.com/ apt/stable/" | sudo tee /etc/apt/sources.list.d/sublime-text.list
##Dev channel
echo "deb https://download.sublimetext.com/ apt/dev/" | sudo tee /etc/apt/sources.list.d/sublime-text.list
##update and install Sublime Text Editor
sudo apt-get update
sudo apt-get install sublime-text
Install Sublime Text 3 Fedora
## Install the GPG Key
sudo rpm -v --import https://download.sublimetext.com/sublimehq-rpm-pub.gpg
##Select Stable channel
sudo dnf config-manager --add-repo https://download.sublimetext.com/rpm/stable/x86_64/sublime-text.repo
##Select Dev channel
sudo dnf config-manager --add-repo https://download.sublimetext.com/rpm/dev/x86_64/sublime-text.repo
##Install Sublime Text Editor
sudo dnf install sublime-text
Install Sublime Text Editor as a snap
If you already have snap store on your Linux system, fire up the following command to install Sublime Text Editor.
sudo snap install sublime-text
Helpful Tips using the Sublime Text Editor
1. User Preference Settings
A: Hard-tabs vs. spaces
Do you prefer tabs or spaces? By default, Sublime Text Editor uses hard-tabs over spaces in preferences settings. Hard-tabs uses four characters long. These large tabular indents push your sublime code to the right and might be hard to read. A better option for developers is to convert hard-tabs to spaces. You can update Sublime Text Editor with the following user settings (Sublime Text 3 => Preferences => Settings – User):
{
"draw_white_space": "all",
"rulers": [80],
"tab_size": 2,
"translate_tabs_to_spaces": true
}
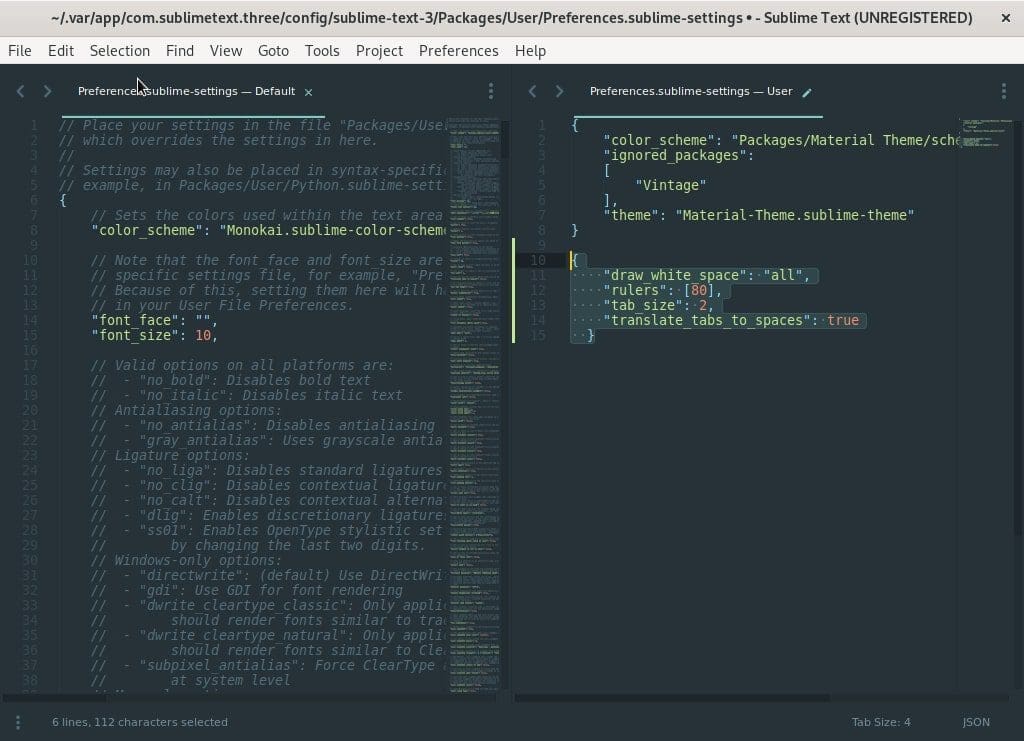
Sublime settings
The settings will make the indents two characters long, add white spaces, and put the Sublime Text Editor ruler at the 80 character mark, which will help you keep your code concise and straightforward. You can find more user settings preferences at sublime text 3.
B: Word-wrap globally
You can set word-wrap globally under Sublime Text 3 => Preferences => Settings => User
"word_wrap": "true",
"wrap_width": "auto"
The word-wrap settings can also be implemented in a markdown file. Open the markdown file and on your preferences settings, update the following configuration.
##“word_wrap”: “auto” vs “true”
"word_wrap": "auto",
When set to true, the word-wrap settings will enable word wrap anywhere. The configuration controls whether word wrap is always on, off, or auto-select, depending on the file type.
“wrap_width”: 0
The configuration, “wrap_width”: 0, will control the wrap column. The default, “wrap_width”: 0, corresponds to wrapping at the width of the window. It is the automatic setting that you want, and you can set it to some other value that wraps at that column specifically.
C. Setting Indentation
The indentation user preference setting will determine the size of the tabs. By default, the size of the tab stops in Sublime Text Editor is four, but you can change it to take two spaces.
For example, when you press ENTER, the next line will start at two spaces instead of the default four spaces. You can change the indentation size from Sublime Text 3 => Preferences => Settings => User. Open the settings file and search for “tab_size,” and change the value from 4 to 2.
A general recommendation is to place your Sublime Text Editor settings in Packages/User/Preferences.sublime-settings. You can also set preferences for specific file types. For example, if you are working on a Python file, you should place your settings in Packages/User/Python.sublime-settings.
Example Settings File
Try saving this as Packages/User/Python.sublime-settings
{
"tab_size": 4,
"translate_tabs_to_spaces": false
}
D. Sync packages and settings across multiple workspaces
Sublime Text Sync Settings
Working across multiple machines as a software developer can come in handy when working across different teams or working remotely. The sync package is beneficial and will save you time and the hassle of setting up your IDE infrastructure in a new computer.
You can follow these steps to sync your settings across various devices using Sublime Text Editor and Github.
1: Install the sync settings package through Sublime package-control.
2: Create a new personal user access token in Github, which has the gist scope.
3: Activate user permissions: Gist -> create gists.
4: Copy your access token to Sync Settings configuration.
5: Create a new gist with content as the newly created token and save it. Preferably make it a secret gist to give you more configuration info for your working device.
6: Copy the gist id in your Github username and Paste it to Sync Settings configuration using the following steps:
Preferences > Packages Settings > Sync Settings > Settings file.
Open your user settings under a new install of Sublime Text 3 and add your gist_id and access_token.
Example gist_id and access_token
{
"access_token": "100aff4ff556e4ettew5t64t4t5716ytry",
"auto_upgrade": false,
"gist_id": "t6656h4re6y5y6r5yr6yr6e"
}
You can also use the same package and sync strategy for other IDE’s like VsCode or Atom.
2. Sync settings – Uploading and backing up
You can access sync settings for upload under Preference > Package Settings > Sync Settings > Upload
To update the sync settings, you have to install Sublime Text Editor on a new computer and install the sync-setting package. Access the sync settings and add your gist_id and access token.
Under your, Preferences > Packages Settings > Sync Settings > Settings >User, add your gist_id and access_token.
{
"access_token": "100aff4ff556e4ettew5t64t4t5716ytry",
"auto_upgrade": false,
"gist_id": "t6656h4re6y5y6r5yr6yr6e"
}
Restart your Sublime Text 3 to update settings and install all the packages.
3. Command Palette
The command palette is an excellent functionality of Sublime Text Editor to run toolbar actions. You can quickly achieve actions such as setting the code syntax for any file type, sorting lines, or install plugins using package Control. Developers with more experience will want to access the Sublime Text Editor menus less and less and do everything with a few keyboard strokes.
When you type a command through the Command Palette, Sublime Text will do a fuzzy match with existing commands, letting you conveniently access essential commands. You can use the Sublime Text Editor command palette by accessing the Tools menu or use the keyboard shortcut CTRL/⌘-SHIFT-P.
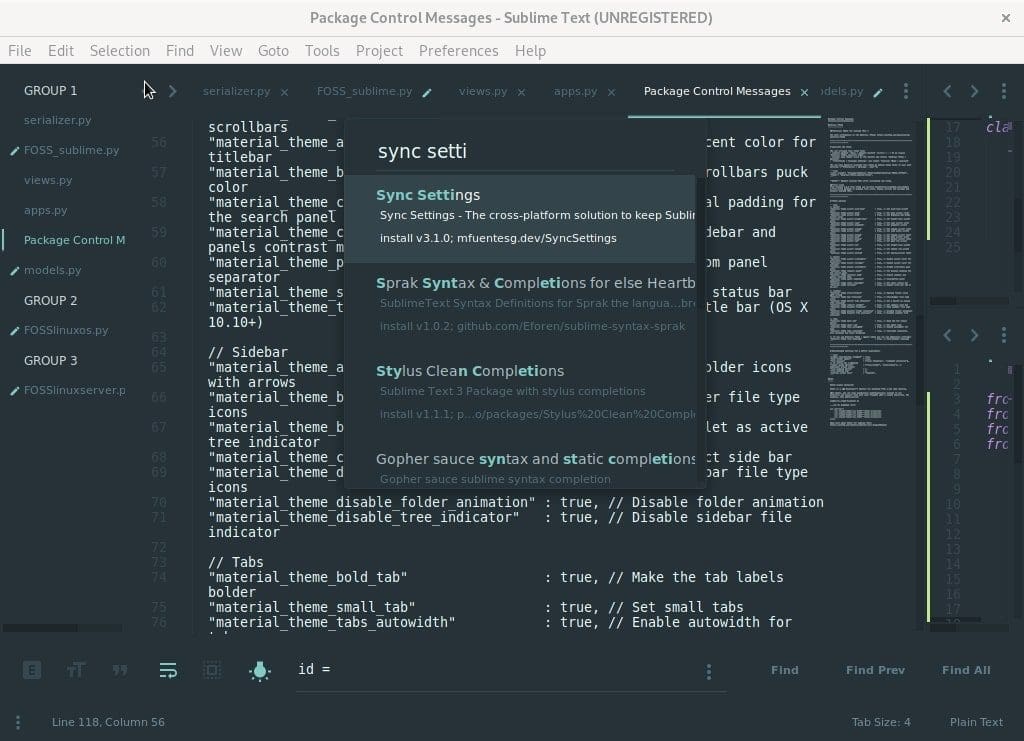
4. Package Control
Sublime text Package Control
Package control is a must-have for any Sublime Text editor. Package control is for downloading and managing Sublime Text Editor plugins and themes. There is a diverse collection of packages you can choose from to increase your productivity. The packages include Git, Emmet, Sidebar enhancements, sublime tutor, and handy widgets like path auto-fill, color picker, etc.
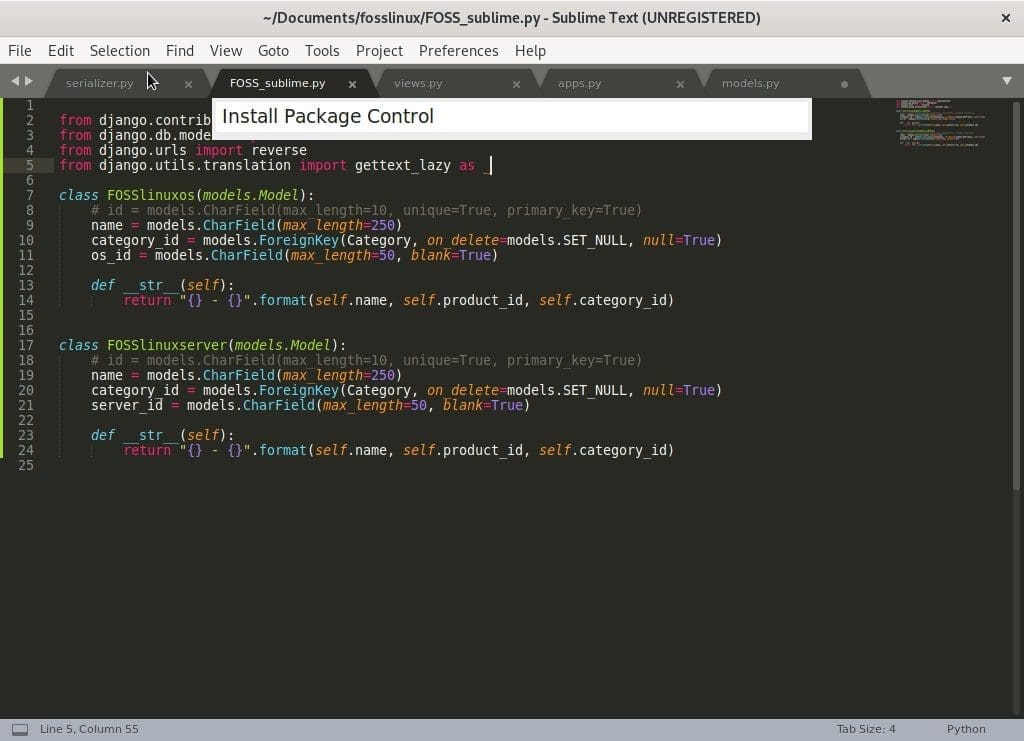
To get started, you have to install Package Control by following the installation instructions on the official Package control homepage.
If Package Control is installed successfully, then you can search for Package Control in the Command Palette (CTRL/⌘-SHIFT-P).
A rule of thumb is to continually search for the most valuable packages to improve your coding techniques and hacks.
5. Theme selection
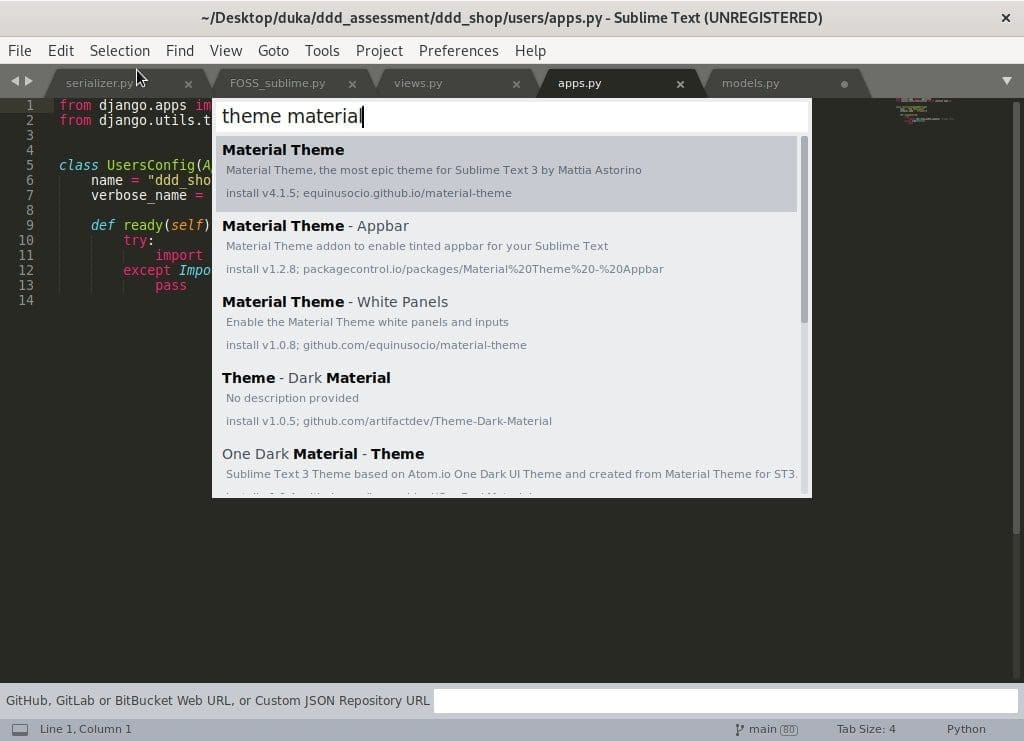
Sublime Text Material theme
After learning about the command palette, let us choose and install a theme to increase productivity and make Sublime Text Editor look prettier.
To install a theme in Sublime Text Editor, access the command palette and search “Theme.” It will display a list of several themes available for you to select and use. However, the best approach is to preview some of the themes and color schemes on the Internet to get a feel of their appearance.
Installing your preferred theme will update the font and color schemes to use for the various file types. Complete your settings by updating the UI preferences for Sublime Text.
Material Theme
Material theme: Dark mode
Developers are recommended to use the popular material theme. The theme is equipped with 4 different color schemes and themes. It gives you neat file icons, folders, and a clean look for the editor.
6. Sidebar Enhancements
The Sidebar Enhancements plugin extends sidebar functionality, making it easy to run actions. It adds commands to run actions on folders and files that are generally not available with the default sidebar. Some actions include opening the file in a browser, copying, copying a path, pasting, duplicating, deleting, and more. Moreover, you can run these actions from the Command Palette.
7. Git integration, Emmet and SASS
Emmet
Emmet is an indispensable tool for web development. In my opinion, it is one of the most productive and time-saving plugins you will use in web development. It makes writing HTML much easier by using shortcuts, syntax, and abbreviations inspired by CSS selectors.
Emmet takes care of the tedious HTML coding work, such as writing tags and wrapping classes with quotes, significantly reducing the time it takes to write code. With Emmet, you can quickly expand abbreviations into full HTML or CSS structures. For example, Emmet lets you use a shorthand for CSS vendor prefixes.
Other examples of using Emmet include working with the Lorem Ipsum text. Previously, developers had to use a lorem ipsum generator to work with Lorem ipsum text, but with Emmet, you type lorem and hit tab. For example, if you want 100 lorem ipsum filler words, use lorem100.
Git integration
Version control is vital for developers to keep track of their code. The Git package in Sublime Text Editor lets you directly run Git commands from Sublime Text Editor’s Command Palette.
SASS
The Sublime Text Editor package “SASS” adds SASS syntax and snippet support to Sublime Text 3. The SASS package is recommended for front-end development and scripting using Ruby on Rails.
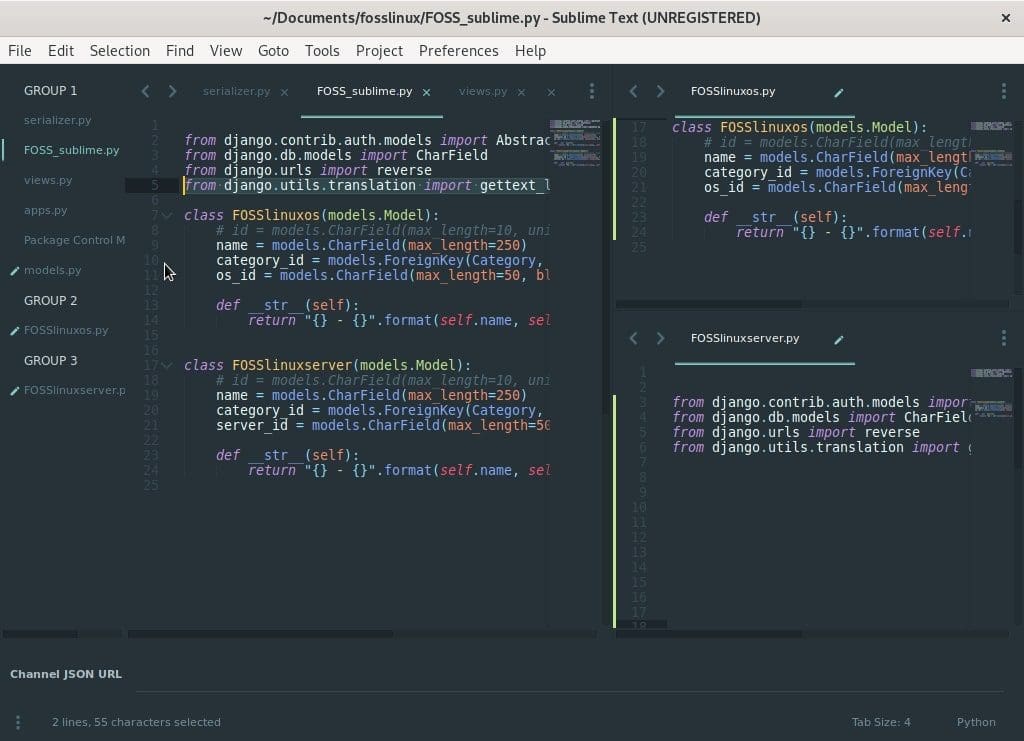
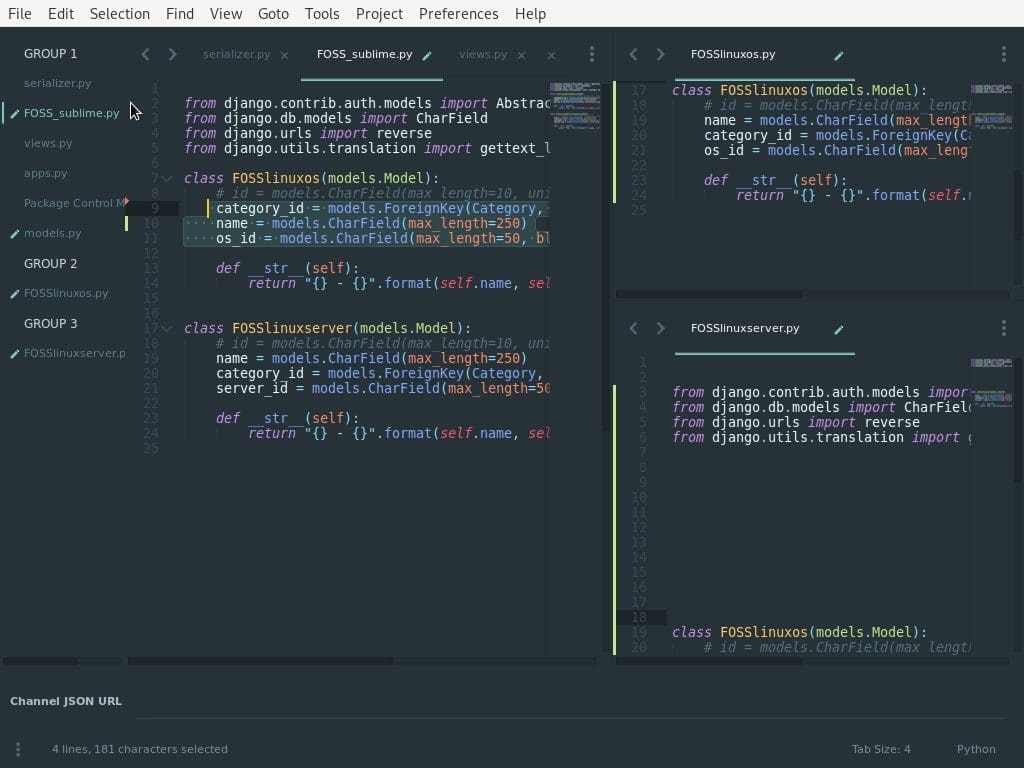
8. Column and Row Workspace Panes
Setting your workspace into several columns and rows can come in handy when working on several files. A workspace with several columns and rows makes it easy to navigate between several files, which increases your productivity.
For example, we can divide the current workspace into three parts using the following steps.
Set your workspace to use 3 columns under View > Layout > Columns: 3
or use the shortcut: Alt + Shift + 3
Sublime Text Columns
After dividing the workspace, we can arrange the three columns to make it manageable, give us more space for coding, and make it easy to navigate between files.
You can set maximum columns groups to two under View > Groups > Max Columns: 2
Sublime Column setting
9: Essential keyboard shortcuts
A. Goto Anything
The Sublime Text Editor Goto Anything feature can take you to a specific file, line, symbol, or any method definition in your code. You can launch Goto Anything’s search bar with CTRL/⌘-P.
Goto file
To switch between files, start typing the file’s name, which will bring out several file suggestions. Goto anything is implemented using fuzzy search, which means that the search query doesn’t have to match the file name exactly. With Goto, you do not have to type the entire file path to locate it.
Goto Line in file
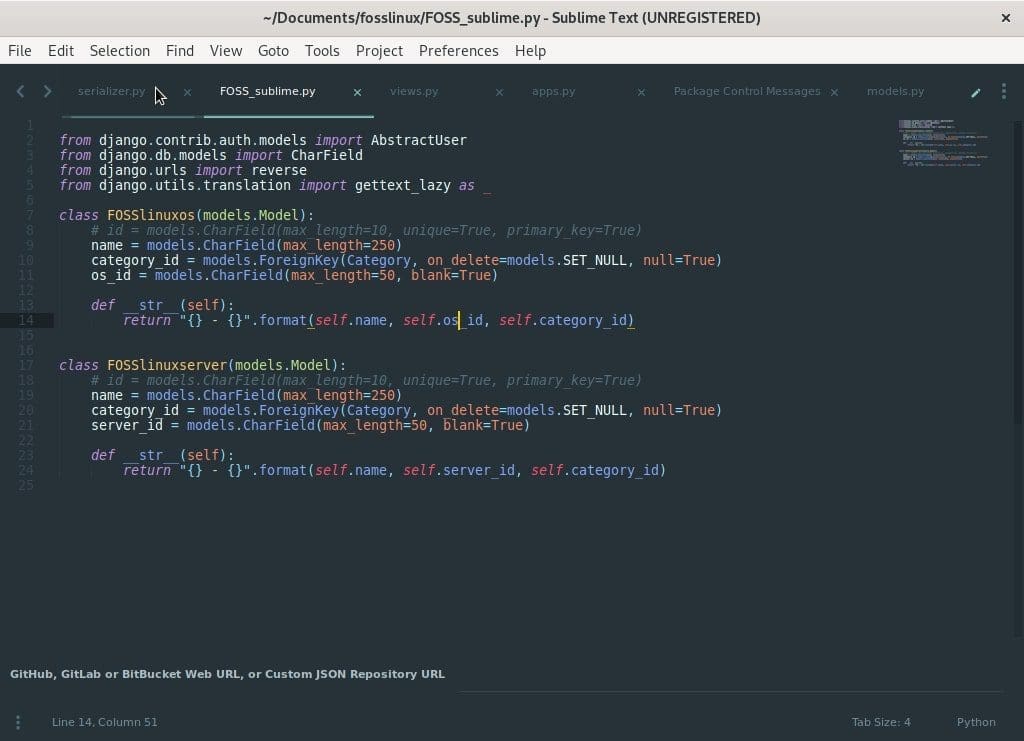
Goto Anything can take you to a line within a file. If you want to edit a line in another file, launch Goto Anything and type a colon followed by the line number. For example, (:113) takes you to line 113 in the current file.
If you want to go to a line in a different file, then type the file name followed by a colon, then the line number: For example, (FOSSlinux.py:113) takes you to line 113 in the FOSSlinux.py file.
Goto definition in a file
Goto Anything can access a class, method, or function definition in a file. To use Goto definitions, launch Goto Anything and type the @ sign followed by a class, function, or method name. It will display a list of all of the definitions in your chosen file. Type the class name you are looking for and hit ENTER, which will take you to the class definition. For example, (@Product) will take you to a class definition named ‘Product’ under the current file.
B. Distraction Free Mode
Sublime Text Editor Distraction Free Mode
Productive developers require a workspace with fewer distractions. Honestly, being productive is more than managing your workspace! Sometimes coffee does the trick! You can start by eliminating distractions like other applications, sidebars, windows, and menus. Sublime Text 3 has a Distraction-Free Mode, making it easy to remove and manage distractions. You can trigger the Distraction Free Mode in Sublime Text Editor using SHIFT-F11.
C. Multiple Cursor
Multiple Cursor is a useful Sublime Text Editor feature to edit multiple lines of code or tweak a repeating function or class name. To use Multiple Cursor, hold the command button and click several regions of your file to edit simultaneously. You can also create multi-selection using the following steps.
- Select several lines, and then press Shift + Command + L.
- Place the cursor over a word you are interested in, and press Control/Command + D repeatedly to select additional occurrences in the file.
- You can also add another cursor at all occurrences of a word by typing Alt+F3.
Using multiple cursor selection can save you the need for using regular expressions (working with regular expressions can be confusing at times), advanced search, and can replace queries.
D. Select all instances of the current selection
You have to love this shortcut! It can select all matching occurrences of a word to edit or replace simultaneously. Pretty useful for a developer. You can access it using the shortcut: Ctrl + ⌃ + G.
E. Turn on the spellchecker
Typographical errors can be frustrating. You can prevent such mistakes and increase your code quality by turning on the spellchecker. You can use the F6 key to quickly launch or toggle the spellchecker.
10. Sublime Tutor
The Sublime Tutor plugin is an interactive in-editor tutorial for keyboard shortcuts in Sublime Text. I recommend Sublime tutor for persons getting started with Sublime Text 3. The sublime tutor will teach you Sublime Text Editor shortcuts within the editor itself.
Become an expert
Sublime Text is full of powerful features with many powerful shortcuts and commands available for you to increase productivity and get coding. We have learned a few shortcuts, tips, packages, and user preference settings to get the best out of Sublime Text 3.
If you are getting started with Sublime Text Editor or coding, it will take time to master and remember all of these shortcuts. Moreover, you can install the Sublime tutor plugin to help you along the way. The best way to master any techniques in whatever you do is through consistent practice.