
A root account is a superuser account that offers a wide array of privileges throughout the databases of MySQL. By default, the initial password for the root account is ‘empty/blank,’ thus allowing access to the MySQL server as root to anyone.
Note: Empty/blank password means there is no password; hence anyone can log in as long as MySQL privileges have been granted.
To log in as a root user in Linux:
- Select start menu > Log Out on the top right corner. This allows you to log out of the user account that you are using at the moment.
- You will now see a login window, and here is where you log in using the username “root” and the password you set up for the root user. If there are several users in the login window, select others and log in.
If the password is not set up or you forgot or need to change your MySQL password, below is a guide on how to do set up/recover the password.
How to set up, change, and recover a MySQL root password
There is a high possibility that you already have MySQL running somewhere else in your database. In this instance, there might come a time when you have to change or set up the root user password. This can be as a result of forgetting the root password or simply wanting to strengthen your password.
This process is handled through the command line and works with either MySQL or MariaDB installations. And well, as long as you have admin access, either by using sudo or su syntaxes, the Linux distribution you are using does not matter since the process is similar.
Please note: there have been many attacks across the IT landscape, thus necessitating very strong passwords, which I highly recommend for your databases. You can try out an unsystematic password generator, then save the password via the aid of a password manager.
Let’s carry on.
Setting the password for the first time
Typically, during the installation of MySQL, you are required to set an initial password. However, if this was not done while installing and setting up MySQL, you will first have to set up a password. Here is how to do that:
- First, open up a terminal window.
- After launching the terminal, paste and execute this command:
mysqladmin -u root password Fosslinux
Where Fosslinux is the password that you will be using from now on, this means that every time you log into MySQL using the command mysql -u root -p, you will have to key in the password we have just configured.
Note: If you encounter the following error: Access denied for user ‘root’@’localhost,’ scroll down to find the solution provided in this article.
Alternatively, you can use the following method to set up the root password for the first time. Use the command below:
mysql_secure_installation
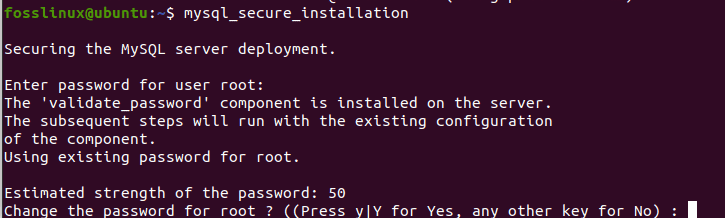
MySQL secure installation
This command will set the root user password and allow you to get rid of anonymous users and the test database. In addition, it will also disallow remote root login. This, in turn, further assures you of concrete security to your MySQL database.
After setting up the MySQL root password for the first time, it is time to learn how to change it.
Changing the MySQL root user password
To change the MySQL root password, follow the steps mentioned herein:
- First, create a new file using the command below:
ALTER USER 'root'@'localhost' IDENTIFIED BY 'Fosslinux$11';
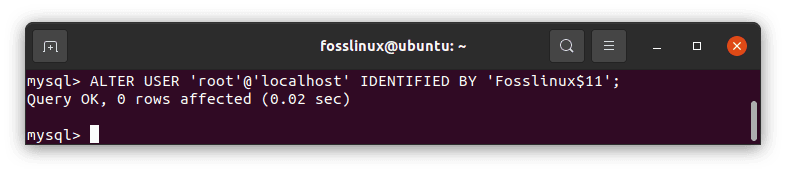
create new password
Where Fosslinux$11 is the new password that will be used. Remember to satisfy the current password policy by combining uppercase, lowercase, numeric and special characters.
Save the file as ~/mysql-pwd
- Next, stop the MySQL daemon using the following command:
sudo systemctl stop mysql
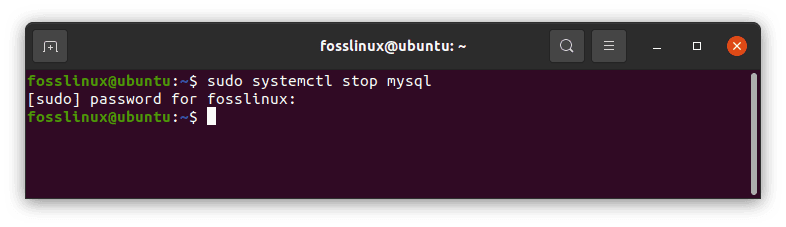
stop MySQL service
- Now that the daemon is stopped, issue and execute the following command on your terminal:
sudo mysqld -init-file=~/mysql-pwd
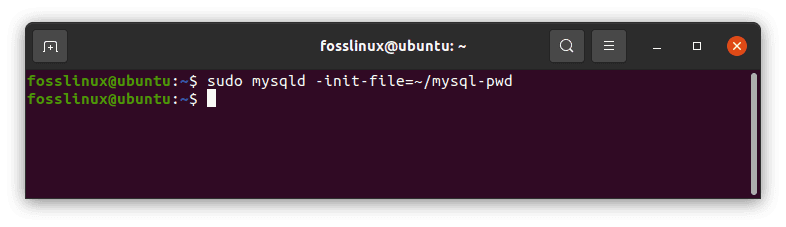
save MySQL password
- As soon as the command prompt completes executing the above command, proceed and restart the MySQL daemon using the following command:
sudo systemctl start mysql
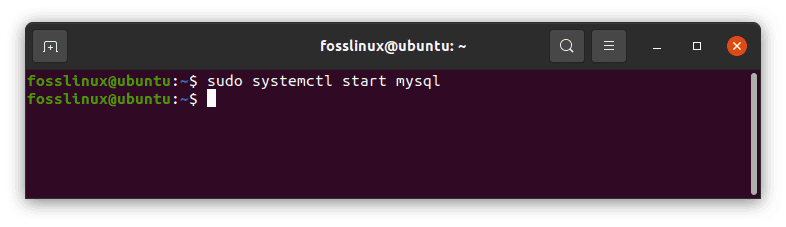
start MySQL service
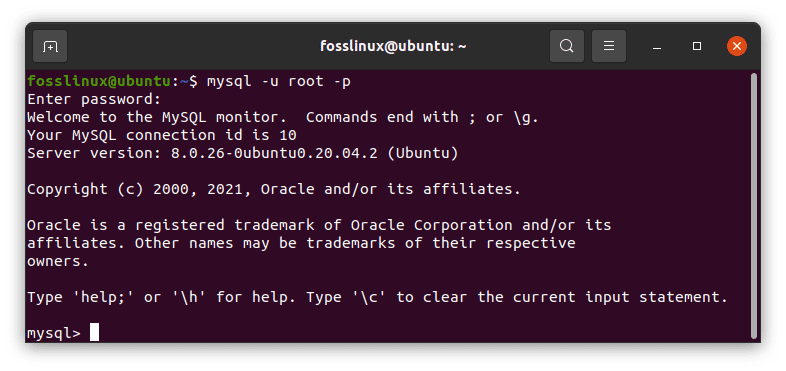
- At this point, you should be able to log into the MySQL command prompt using the newly set admin passcode by executing the command below:
mysql -u root -p
When a prompt appears, key in the admin password you created, and you will be all set to go.
login as a root user
Now that we have fruitfully learned how to change the newly created MySQL root password, it is time to learn how to recover a forgotten or lost MySQL root password.
Recover your MySQL password
Well, let’s say that you have forgotten your MySQL root user password, and you desperately need to recover it. All you need to do is to follow the steps mentioned herein:
1. Stop the MySQL server process using the command:
sudo service mysql stop
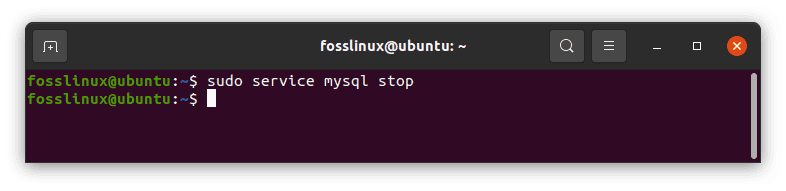
service stop MySQL
2. Start the MySQL server using the following command:
sudo mysqld_safe --skip-grant-tables --skip-networking &
3. Connect to the MySQL server as the root user using the command:
mysql -u root
You will be required to issue the following MySQL commands for you to reset the root password after completing the steps mentioned above:
mysql> use mysql;

mysql> update user set authentication_string=password('NEWPASSWORD') where user='root';

mysql> flush privileges;

mysql> quit
Note: Please do not forget that NEWPASSWORD refers to the new password you will be using to log in as a root user.
Once you are done running all the commands mentioned above, proceed and restart the MySQL daemon using this command:
sudo service mysql restart

restart MySQL service
By now, you should be able to log into MySQL using the newly set password.
That’s all. We believe you are now in a position to set, reset, and recover your MySQL root password.
A key point to note: Remember to set a very strong password for the MySQL root user. A password that is difficult to crack. This will boost the security of your databases. As you already know, databases house very sensitive data, so the last thing you want is for anyone to access your information without your consent. Use of a long password and ones that cannot be easily memorized and guessed are highly recommended. If you use a password generator to create your password, remember to store it in a password vault.
While using MySQL, you might be so embarrassed if you encounter error messages. For instance, most users complain of facing this error message: Access denied for user root@localhost. This might not be very pleasant, but we have a solution for you.
How To Solve The MySQL Error: Access denied for user root@localhost
This error message usually appears for new installations of MySQL when you attempt to connect to MySQL with the root user.
Here is how to quickly resolve the access denied for user root on localhost. The outlined steps can be used for both MySQL and MariaDB. You do not have to make modifications to any tables or carry out any complex configurations.
As we have already seen in this article, when you install MySQL and want to gain access to it on the local machine with the root user, you use the following command:
mysql -u root -p
In most instances, you will receive the error message we just mentioned: “Access denied for user root@localhost.”
For you to log into MySQL as root, first use sudo to make modifications to the root user:
sudo mysql
Then, input your passcode at the prompt. A MySQL shell will load.

MySQL shell
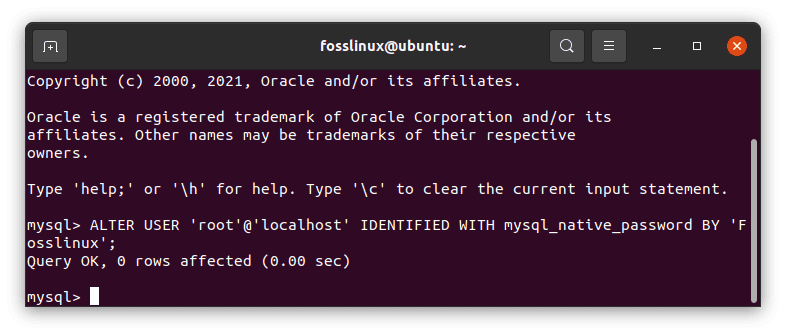
Use the ALTER USER command and change the method of authentication to log into MySQL as root:
ALTER USER 'root'@'localhost' IDENTIFIED WITH mysql_native_password BY 'insert_password';
Example:
For the sake of the tutorial, I will change the password to ‘Fosslinux as shown in the command line and output below:
ALTER USER 'root'@'localhost' IDENTIFIED WITH mysql_native_password BY 'Fosslinux';
Output
open MySQL shell
What the above command-line does, is it changes the password for the user root and sets the authentication method to mysql_native_password. This is a traditional mode of authentication. Unfortunately, in most cases, the error above occurs since the authentication mode used is auth_plugin which is not safe, thus the error.
Note: While typing your desired password, make sure it follows the password-provided rules, a combination of capital and small letter plus numerics if you intend to input a stronger password.
After running the commands listed above, exit the MySQL shell by clicking CTRL + D on your keyboard or key in “exit” on the MySQL shell and click enter. You do not have to restart the MySQL service for you to log in using the command below:
sudo service mysql restart 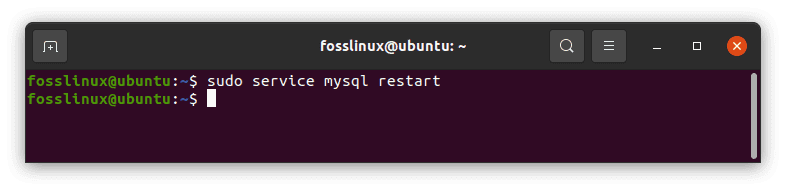
restart MySQL service
At this point, you can now attempt to access MySQL with root again. In the terminal, key in:
mysql -u root -p
Input the passcode you used with the ALTER USER command and do not input the system password to try and access MySQL because it will not work. You should now see the MySQL welcome message if it all went well.

login to MySQL as root
Please note: The ALTER USER command may fail to work for the versions of MySQL and MariaDB older than 5.7.6 and 10.1.20, respectively.
In summary, now you are in a position to bypass the MySQL ERROR 1698 (28000): Access denied for user ‘root’@’localhost’. There are various ways to bypass this error, but we used the much simpler and faster method. Ensure that you input the commands as listed in this article to avoid errors in SQL syntax. It is more advisable to copy and paste them.
Conclusion
This article explains and breaks down all the subject matters relating to the root user login in MySQL. It not only shows you how to log in as a root user in MySQL, but it further shows you how to ensure you do so without encountering any errors and how to bypass the most common error in case it does occur.
The article further breaks down the steps to set up, change and recover a MySQL root password and set up the root password for the first time. Ensure to stick to all the processes provided in this article to avoid security breaches by using strong password combinations. We hope the article will be helpful. If yes, give a thumbs up via the comments section.