
EmulationStation is a frontend for emulators that gives a GUI (Graphical User Interface) to access all favorite games. It is the frontend for the widely known RetroPie projects that comes pre-configured with more than 30 different emulators for distinct platforms.
In this article guide, we shall cover the installation process of the EmulationStation on your Linux OS.
Installing EmulationStation on Linux
Since there is no “.Deb” package for most Linux distros, we shall be cloning and creating the installation package using the GitHub project. Follow the guide below to complete the installation process.
1. Clone the repository using the command below:
cd /home/foss/
git clone https://github.com/Wintermute0110/EmulationStation-Install.git
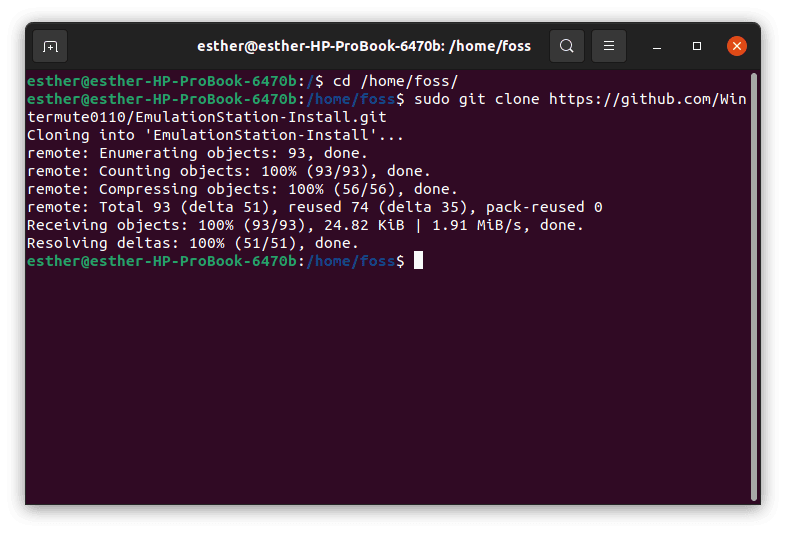
cd into foss and clone the emulation-station repo
2. After cloning the project repository, now install all the necessary libraries and software needed in the build-up process of the EmulationStation using these commands:
cd /home/foss/EmulationStation-Install
sudo ./install-build-dependencies.sh
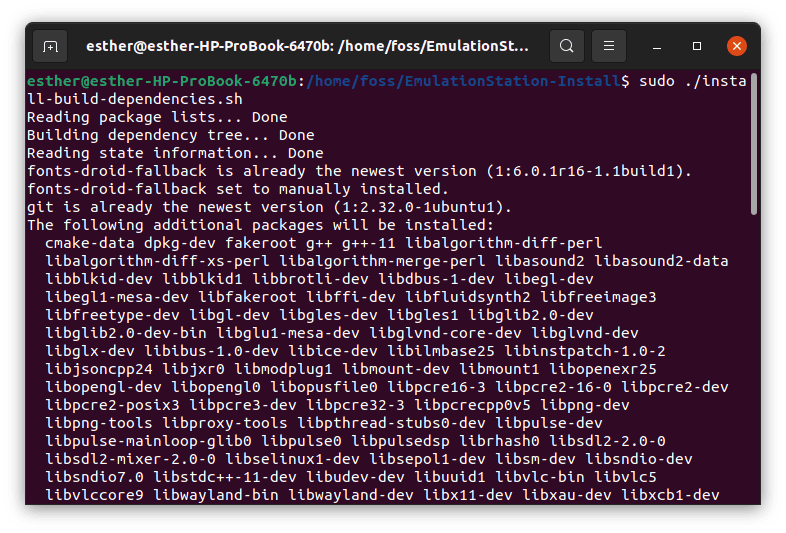
cd into the emulation-station and install the build dependencies
3. Be patient as the commands above execute. Once the execution process is complete, use the commands below to acquire the EmulationStation source code:
cd /home/foss/EmulationStation-Install
sudo git clone https://github.com/RetroPie/EmulationStation.git retropie-ES
cd retropie-ES
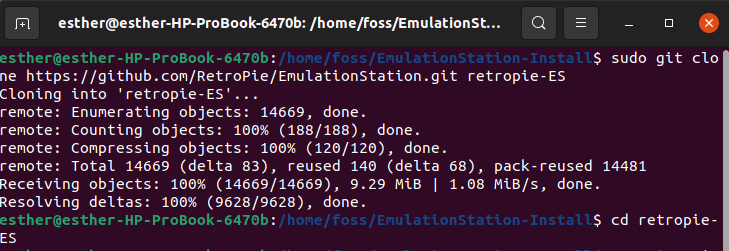
Clone the retropie repo and cd into it
sudo git submodule update --init --recursive
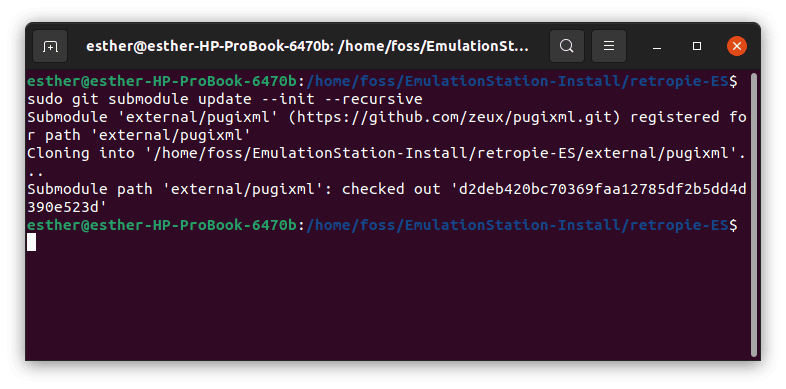
Clone the git sub-module recursive
4. Before getting to the compilation section, it is critical to change some C++ code. For this task, we shall be using the
sudo nano es-core/src/platform.cpp
In the function section, we shall use the function below:
void processQuitMode()
Note: ensure you comment out the lines by adding “//”. Once done, your final result should resemble the ones provided below:
case QuitMode::REBOOT:
LOG(LogInfo) << "Rebooting system";
touch("/tmp/es-sysrestart");
// runRestartCommand();
break;
case QuitMode::SHUTDOWN:
LOG(LogInfo) << "Shutting system down";
touch("/tmp/es-shutdown");
// runShutdownCommand();
break;
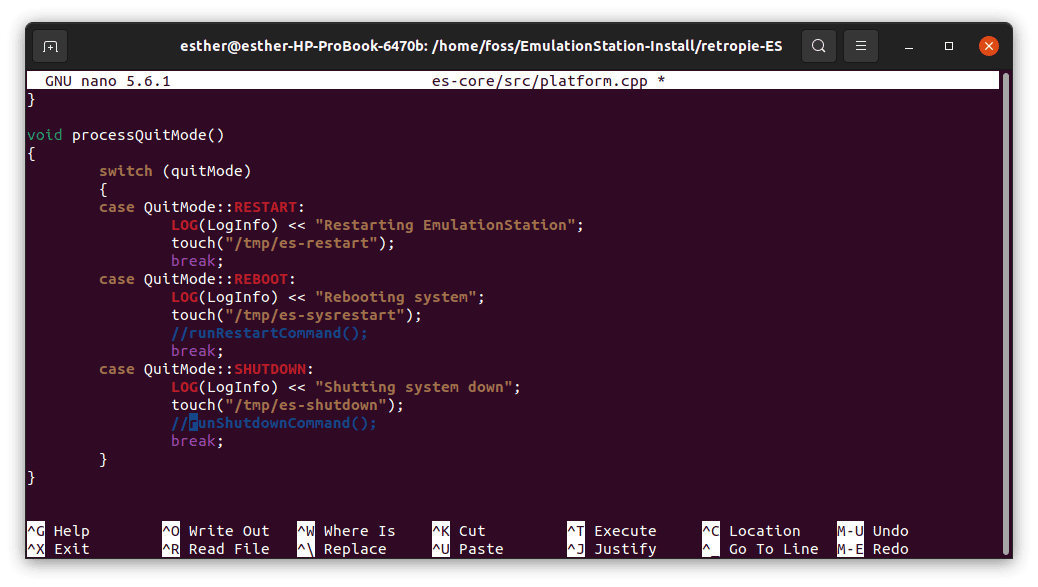
Edit the nano script by commenting as shown in the image
5. Compile the code by building the EmulationStation executable file using the commands provided herein:
cd /home/foss/EmulationStation-Install/retropie-ES
sudo cmake .
sudo make -j8
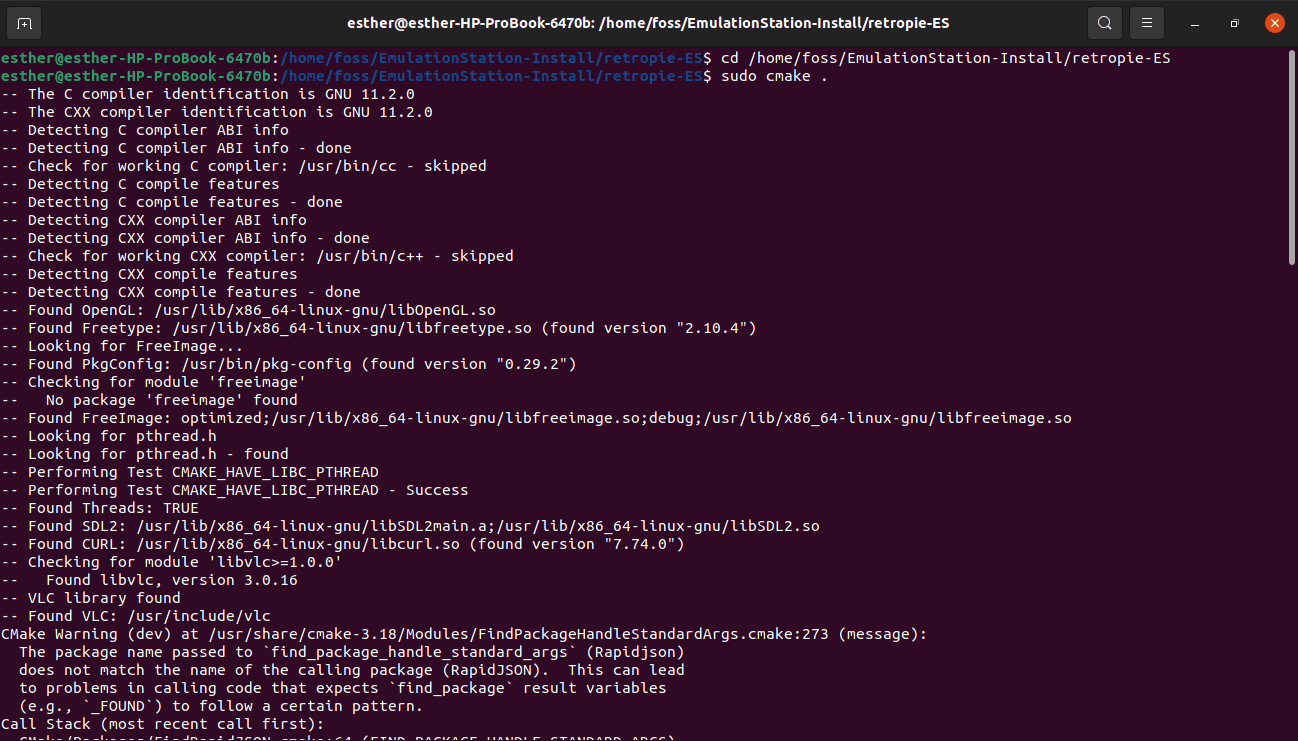
Make and build the installation package using the provided commands
6. Once the compilation process is over, create and copy a soft link and helper script respectively to the EmulationExecutable. The helper script will be needed to power off/reset the HTPC using the D-Bus.
Note: The EmulationStation executable “emulationstation” and the helper script “emulationstation.sh” should be stored in the same directory. That is why we created the soft link in step 6 to ensure they are both stored in the exact location.
To create the soft link, run the executable commands below:
cd /home/foss/EmulationStation-Install
sudo mkdir /home/foss/bin
sudo cp emulationstation.sh /home/foss/bin/emulationstation.sh
sudo chmod 755 /home/foss/bin/emulationstation.sh
sudo ln -s /home/foss/EmulationStation-Install/retropie-ES/emulationstation /home/foss/bin/emulationstation
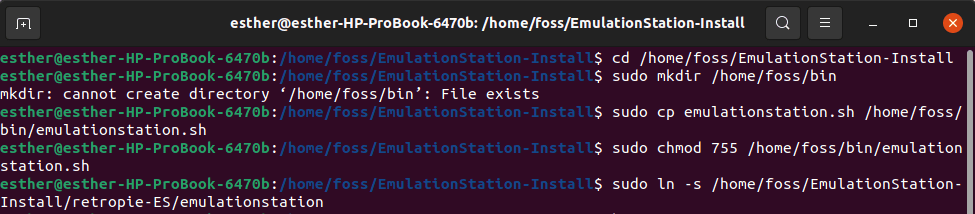
Run the commands above
That’s all. The EmulationStation has been successfully installed in our Linux operating system. Let us learn how to set it up.
How to set up the EmulationStation
To use the recently installed EmulationStation, we first need to configure it hence this subtopic. In this case scenario, we need to configure the following:
/home/foss/.emulationstation/es_systems.cfg
Next, we shall install the essential EmulationStation themes after setting them up. Before concluding the configuration process, we shall configure the gamepad and keyboard to help control the EmulationStation.
The default and recommended EmulationStation theme is the Batocera and the Retropie Carbon themes. To download any of the themes mentioned above, visit Github and either download as a .ZIP file or clone the repo to your system. Once the themes have been downloaded, place them in this directory:
/home/foss/.emulationstation/themes/
Note: Each theme should be placed in its own subdirectory failure to which there will be a conflict between the themes causing errors.
However, it is essential to clarify that the fact at which each theme has been placed in its own subdirectory does not guarantee that the subdirectory names matter. Any names used will work.
After placing the themes in the relevant directory, launch the EmulationStation. It will automatically scan the directory for themes.
If you downloaded the Batocera theme, place the downloaded file contents into this directory:
/home/foss/.emulationstation/batocera/
Note: The theme can be found inside the .ZIP file inside a folder directory named batocera-themes-master. In this case, the master is the repositories master branch.
If, on the other hand, you downloaded the Retropie Carbon theme, then move “es-theme-carbon-master” into the following directory:
/home/foss/.emulationstation/themes/
Linux users can either use SSFHS or FileZilla to mount the remote HTPC directory to a local directory. However, Windows users have to use the WinSCP program or other SFTP programs to migrate and create new file directories from the HTPC directory.
Note: after updating the theme files above, remember to restart the EmulationStation application to save and see the changes made.
Automatically running the EmulationStation at boot
If you want to boot the EmulationStation at boot automatically, then you need to edit and append the file below:
/home/foss/.config/openbox/autostart
# File /home/foss/.config/openbox/autostart
# Other configuration you may have in autostart
# Launchg a terminal emulator
# lxterminal &

# Start EmulationStation
/home/foss/bin/emulationstation.sh
openbox --exit
The lxterminal has been disabled and the EmulationStation executed in the above code snippet. This allows the EmulationStation to boot during boot time automatically.
How to run the EmulationStation for the first time
If you want to run the EmulationStation for the first time, it is vital to configure a controlling device such as a gamepad or a keyboard. According to statistics, it is essential first to configure the keyboard then the gamepads. However, this does not mean that the vice versa won’t work. The EmulationStation can be controlled with any of the configured devices.
Note: If you do not configure any controlling devices, you will not be able to control the EmulationStation.
To exit the EmulationStation, press the F4 button on your keyboard. After setting up your controls, reboot your EmulationStation for the HTPC and emulation to automatically start the next time you boot.
If you configure to boot your system via the text console, you can launch the Emulation station using the command below:
sudo startx
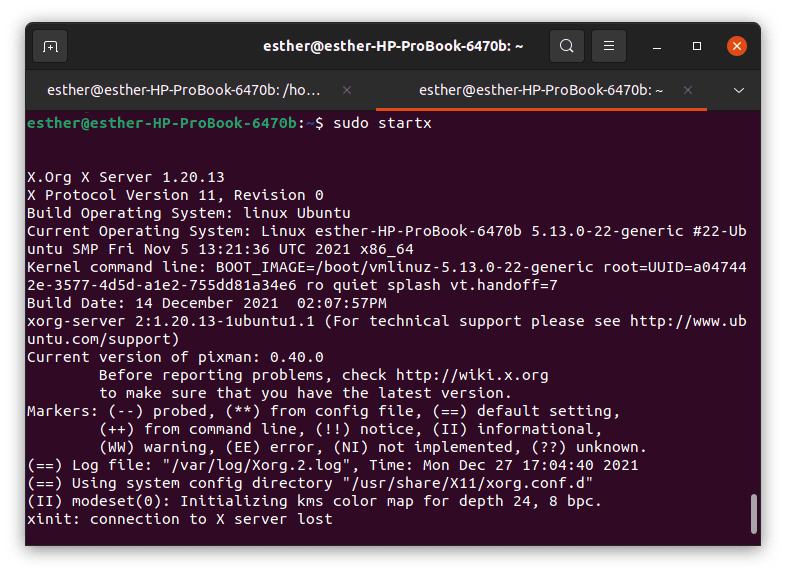
run the sudo startx command to launch the emulationstation
However, if you configured to boot your system via the X server, then you require a lxterminal to execute the command below:
/home/foss/bin/emulationstation.sh
How to create a basic es_systems XML
For testing purposes, you might need to create a basic es_systems XML. To do so, create a fake /home/foss/.emulationstation/es_systems.cfg. file.
<?xml version="1.0"?>
<!-- File /home/foss/.emulationstation/es_systems.cfg -->
<systemList>
<system>
<name>fosslinux</name>
<fullname>Tutor Foss Linux</fullname>
<path>/home/foss/roms/fosslinux</path>
<extension>.smd .bin .gen .md .zip</extension>
<command>ls %ROM%</command>
<platform>fosslinux</platform>
<theme>fosslinux</theme>
</system>
</system>
</systemList>
Now create a FossLinux directory for ROMs and also create a fake ROM using the commands below:
mkdir -p /home/foss/roms/fosslinux
touch "/home/foss/roms/fosslinux/Sonic The Hedgehog 2 (World).zip"
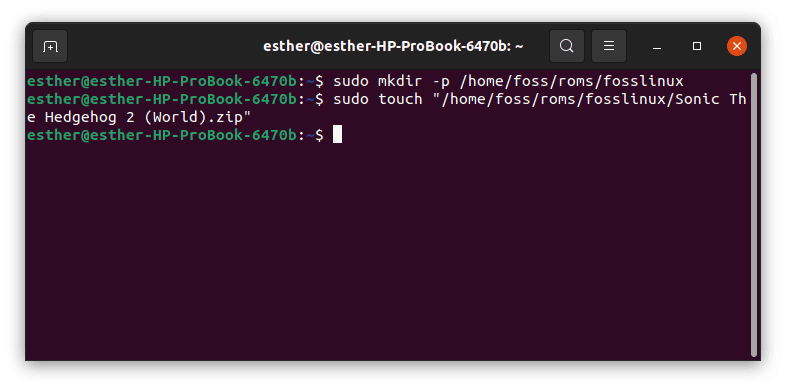
creating fake roms
The command above is for testing purposes; hence nothing will launch whenever you click on your ROM. (To make the ROM functional, replace the es_systems.cfg file with a real one. Also, replace the ROMs with real ones.)
How to Update the EmulationStation Files
During the updating process, the EmulationStation files should not be running. This will aid prevent you from running into errors during the process. To stop the EmulationStation process, run the command below:
sudo systemctl stop display-manager.service
Once the EmulationStation updating process has been completed, you can start the application by executing the command below:
sudo systemctl start display-manager.service
Note: It is recommended to run the above commands from the text console with a keyboard connected to your HTPC. Also, you can use the SSH remote terminal.
Conclusion
This article has comprehensively covered all the installation phases needed when installing the EmulationStation application. We believe by now you are well-positioned to handle the installation by yourself. If yes, please leave a feedback in the comment section. Also, remember to write to us if you encounter any notable challenges during the installation process.
1 comment
this is out of date and doesn’t work. ‘unable to locate package’