
So, you might have probably come across GIFs in your daily social media life, and you are wondering how you can create your animated GIFs. GIFs have revolutionized the internet and the social media world. A GIF is a bitmap image for pictures that support multiple images per file or animations and up to 256 distinct colors per frame in the computing world.
In a gist, a GIF is just any short video(mostly less than 10s) without audio, usually looping once played. I hope now that demystifies what a GIF is.
Below is an example of a GIF we created with some of the tools discussed in this post.
GIF created with Peek
Let’s delve deeper into the world of GIFs. How to install it, the tools used, and most importantly, learn how to create one after digesting this article. We’re focusing mainly on the Ubuntu OS, the most beginner-friendly Linux distribution based on Debian, so this walk-through should be as easy as watching your favorite show on Netflix.
Creating an animated GIF on Ubuntu
You can use various tools to create animated GIFs on Linux. These include:
- Peek
- byzanz
- GIFbrewery
- Recordit
- PowToon
We will give you a step-by-step guide on using all the tools listed above. Surprisingly enough, you can also use LibreOffice in Ubuntu to make GIFs. Before installing any programs or tools on any Linux distribution, it’s our tradition to update our system first. Let’s fire up our terminal and run the following command in our terminal:
sudo apt-get update
sudo apt upgrade
1. Byzanz
Byzanz is a command-line utility that you can use to create GIFs from your Terminal. It is part of the GNOME project, and it’s available in the Ubuntu repositories. One of the significant drawbacks with Byzanz is that you need to specify everything (including the areas to record) on the Terminal. It doesn’t offer any graphical utility to specify an exact area on your screen.
To get started, we install the Byzanz tool by running the following command;
sudo apt-get install byzanz
Remember that we are running these commands as the superuser or the root.
Creating our first GIF
Now that byzanz has been successfully installed, we can create our first GIF. The command is pretty straightforward:
byzanz-record --duration=10 --x=0 --y=0 --width=800 --height=800 /home/johndoe/Desktop/example.gif
Recall that in Linux, no news is good news, meaning that a successful command does not display any message on the terminal. Let’s look at all the arguments used in the command above.
- byzanz-record – Here, we are calling the Byanz tool to start recording.
- –duration: This argument specifies the length (duration) of the GIF. In our case, we have set it to 10s. Therefore, Byzanz will record our screen for 20seconds before saving the GIF.
- The x and y coordinates dictate how large our GIF should be.
- Finally, the last argument tells the shell where to save the created GIF and the name of the GIF. For this tutorial, we will save it as
example.gif.
After successful execution, you should find your animated GIF in the specified directory. In our case, we saved it on our Desktop.
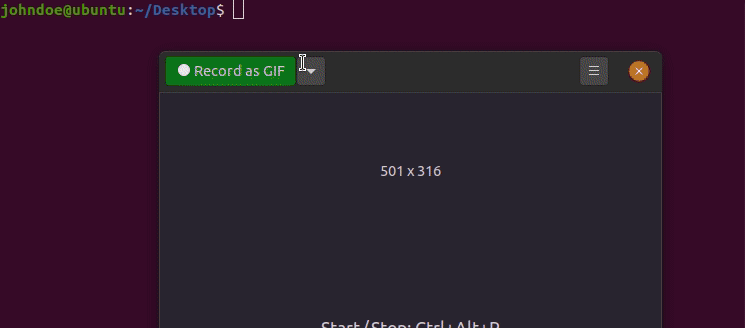
2. Peek
Peek is another fantastic utility that you can use to create animated GIFs on Linux. It’s a lightweight screen recorder that supports several file formats, including MP4, WebM, and GIF. Unlike the previous tool – Byzanz, Peek allows you to graphically select the area on your screen that you ish to record and use to create a GIF.
To get started, install Peek with the command below.
sudo add-apt-repository ppa:peek-developers/stable
sudo apt-get update
sudo apt-get install peek
Create an animated GIF with Peek
After a successful installation, you should see the Peek application on the applications menu.

Peek app
After successfully launching the app, a transparent window with dark borders will pop up on your screen. The area inside this window is the target location that will be recorded. You can resize the window to your liking by stretching it from any angle. You will see a drop-down menu at the top-right to select which format you want to use for your recording. In our case, we will set it as GIF. When ready to start recording, hit the green button at the top.
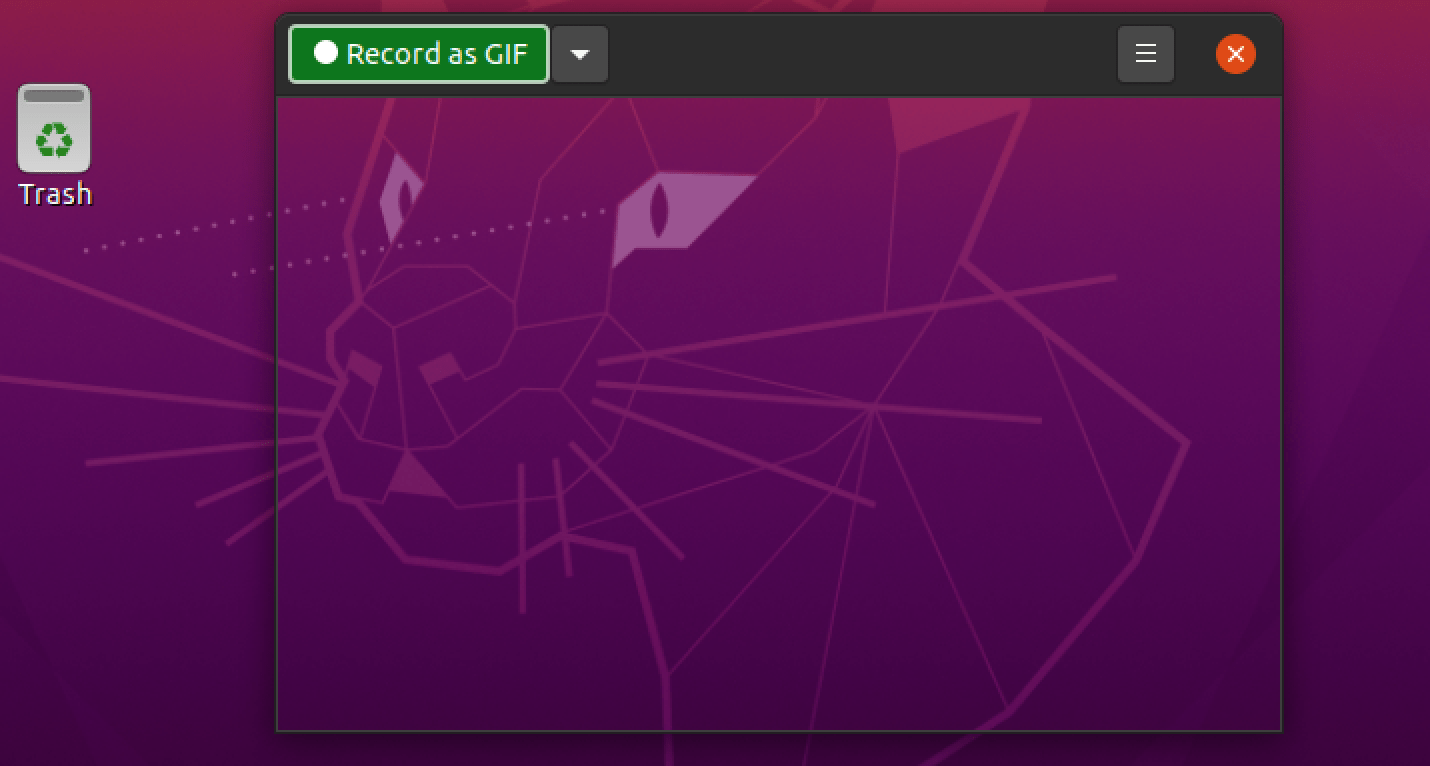
Peek window
The green button will turn red with the text STOP when you start recording. When you are done with the recording, click the STOP button to save the recording. A file manager window will pop up, and you can set the name and the location where you want to save the GIF.
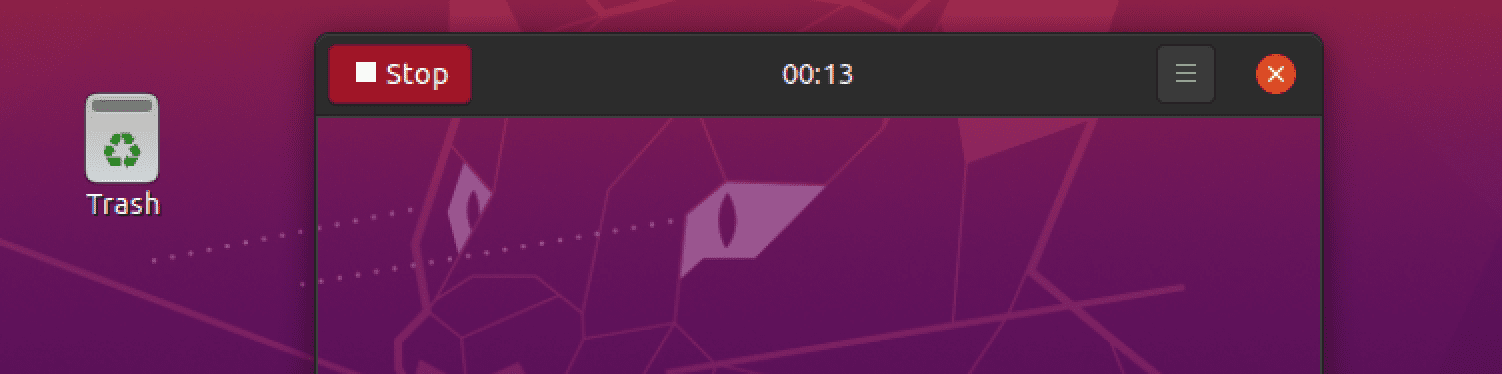
Stop recording
Note: When Peek starts to record the screen, don’t move the window. That will cause Peek to cancel that recording, and you will lose all your progress.
3. ImageMagick
We looked at creating animated GIFs from recorded videos in all the previous methods. What if you wish to create a GIF from several images or image frames. Well, then you should give ImageMagick a try. It is a free and open-source graphical app for editing and manipulating raster images on Linux systems. It also comes with a command-line tool known as ‘convert,’ which also comes in handy when creating GIFs.
However, there is a catch. To get a smooth GIF, you need to combine several image frames. Unfortunately, you cannot use ImageMagick to generate frames, and you will need to use another application for that work.
To install ImageMagick on your system, execute the commands below.
sudo apt-get install -y imagemagick
After a successful installation, you should see ImageMagick listed on your applications menu. When you launch the app, you will see a window similar to the image below. Here, you can upload and edit the raster images you want to use for your GIF.
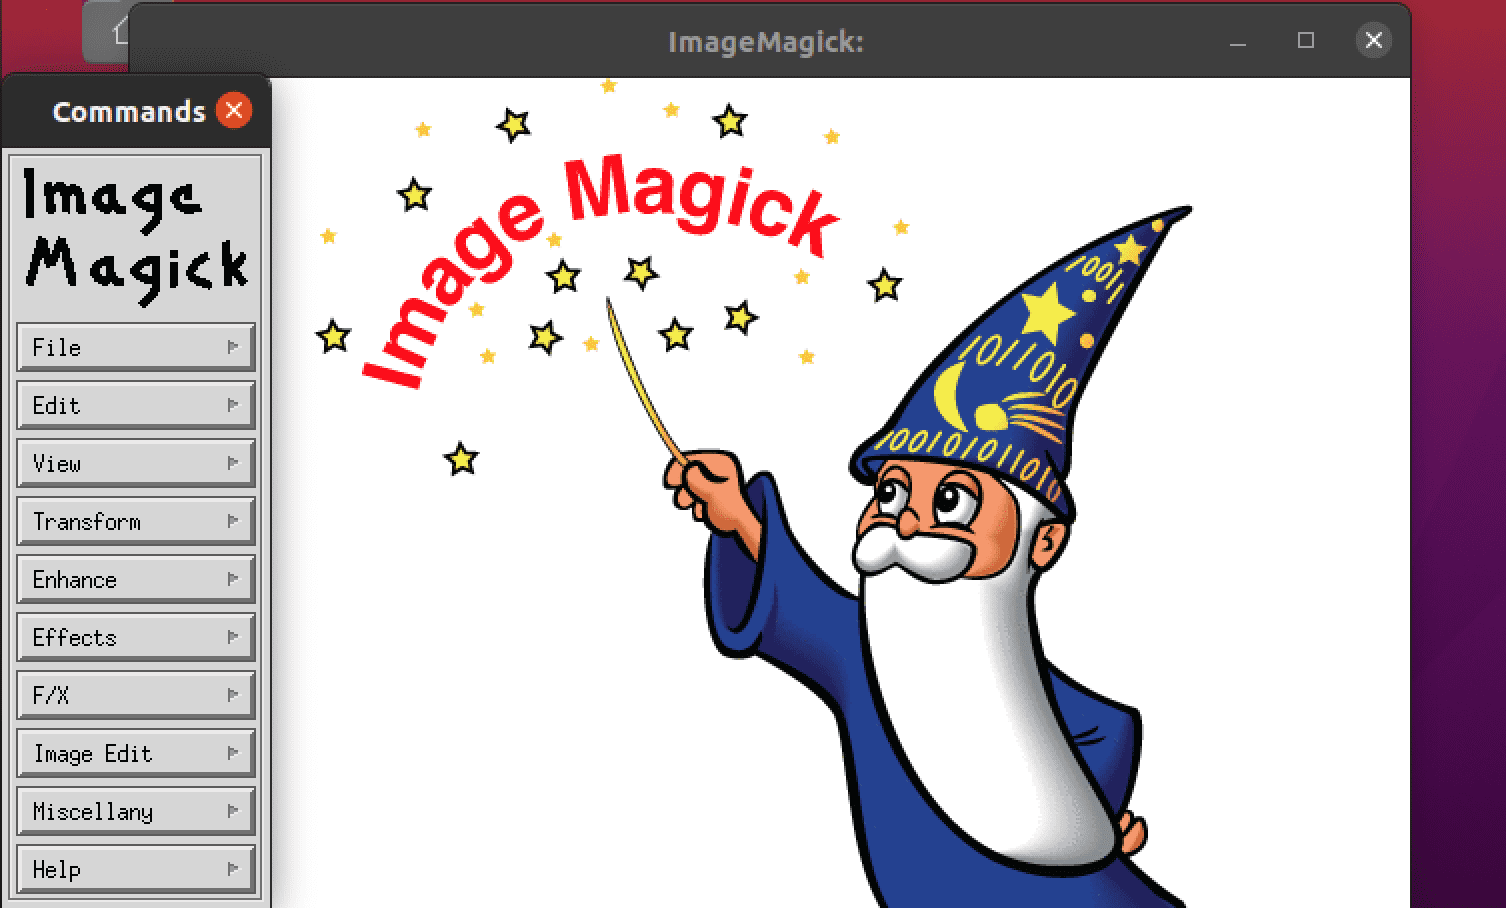
ImageMagick
Creating a GIF with ImageMagick
After you have edited your images with ImageMagick and saved them in your system, we need to use the ‘convert’ utility to create a GIF. Launch the Terminal and use the syntax below to create your GIF.
convert -delay 100 -loop 5 -dispose previous <your-images> <your-gif-name.gif>
e.g
convert -delay 100 -loop 5 -dispose previous imageOne.png imageTwo.png imageThree.png example.gif

Create GIF with ImageMagick
4. GIMP
GIMP is a powerful, free, open-source image editor available for macOS, Linux, and Windows. It is considered one of the best free alternatives to commercial image editors like Adobe photoshop. Other than editing photos, you can also use GIMP to generate animated GIFs from several images.
This app might seem a little complex if you are just getting started. However, it has a simple learning curve with many online learning materials. To create GIFs, GIMP makes use of image layers. You might have heard of that if you had worked with other image editors.
To install GIMP on your system USING PPA, run the commands below.
sudo add-apt-repository ppa:otto-kesselgulasch/gimp
sudo apt-get update
sudo apt-get install gimp
In case you encounter any dependency errors during the installation, install GIMP via snap, as shown below.
sudo apt install snapd
sudo snap install gimp
After a successful installation, proceed to launch GIMP from the applications menu. You will see a window similar to the image below.
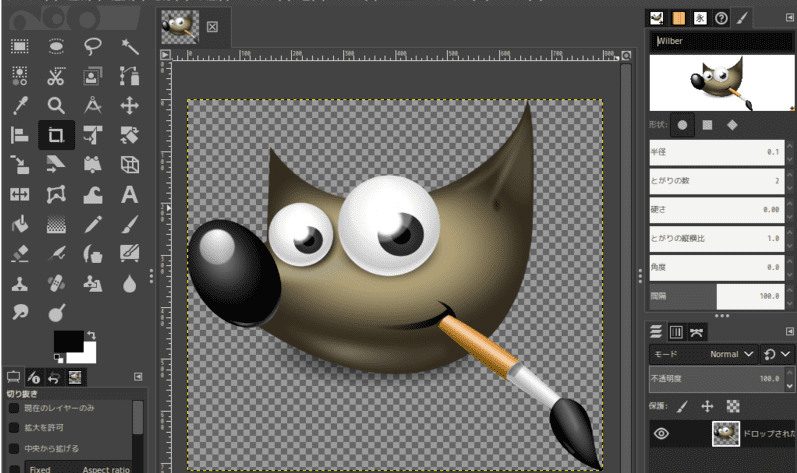
GIMP as a GIF Maker App
4. FFMPEG
FFmpeg is a free and open-source multimedia framework available for Linux systems. You can use this tool to carry out several media operations, including encoding, decoding, transcoding, streaming, multiplexing and demultiplexing, filtering, converting video and audio formats, etc. In short, ffmpeg is the defacto utility you can use to manipulate any media files created by machines or humans.
To install ffmpeg on your system, execute the commands below.
- Debian/ Ubuntu
sudo apt install ffmpeg
- RHEL, CentOS, Fedora
sudo yum install ffmpeg ffmpeg-devel
It’s a command-line tool and comes with many options and parameters that you can use t manipulate your video and audio files. Use the syntax below to convert a video to GIF.
sudo ffmpeg -ss 61.0 -t 2.5 -i [video-file] -f gif [output-file-name.gif]
e.g.
sudo ffmpeg -ss 61.0 -t 2.5 -i videoTwo.mp4 -f gif exampleTwo.gif
Let’s take a look at the parameters used in this command.
-ss 61.0: Here, we tell FFmpeg to get/ seek 61.0 seconds into the provided video file.-t 4.5: Here, we specify the length of our GIF video. Therefore, out of the 61.0 seconds, FFmpeg will only take the first 4.5 seconds of the video and use it to create a GIF.-i: Here, we provide the video file name we want to convert to GIF.-f: Here, we provide the output file name of the GIF.

FFmpeg
Conclusion
We have looked at four tools that you can use to create animated GIFs easily in your Ubuntu system. If you want to create a GIF from a section of your screen or a video, Peek and Byzanz would be a great option. However, if you wish to create animated GIFs from selected images, try GIMP or ImageMagick.