
CentOS is an open-source Linux Distro. The CentOS project is focused on delivering a vast open-source ecosystem. Being open-source software, you should not worry about any extra costs incurred during the download and installation process. If you are a newbie, relax and follow the guidelines on this article, as they will help you complete create a bootable CentOS live USB drive on windows.
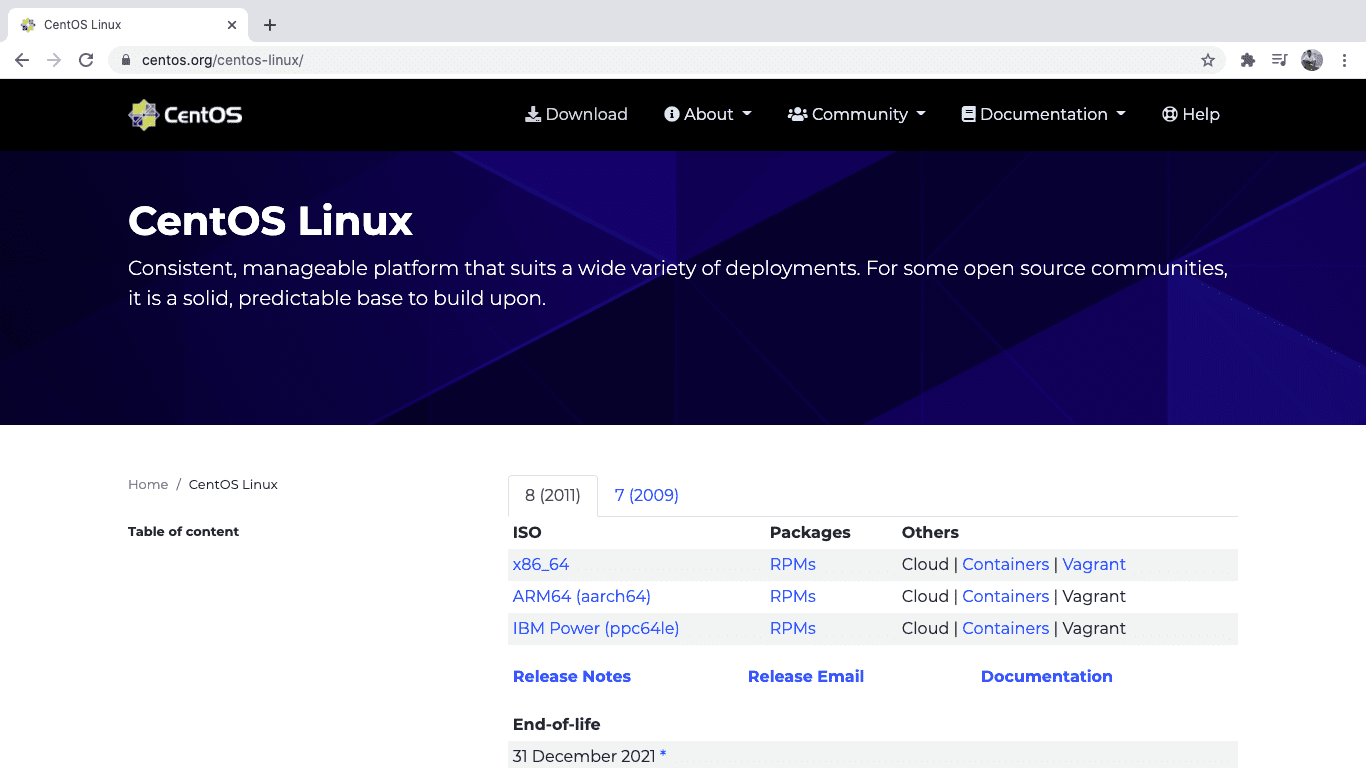
First, you need to visit the CentOS official website here. Here you will find two options as indicated below: CentOS Linux and CentOS Stream. These are the two Linux distros offered by the CentOS project.

CentOS Official Website
The difference between these two distros is:
CentOS Linux is the standard stable version of CentOS, while the CentOS Stream is a rolling release meaning its stability is questionable.
The CentOS Stream is in between RHEL (Red Hat Enterprise Linux) and Fedora. This is because it provides a clear vision of the next probable version of RHEL, thus giving developers adequate time to create next-gen applications. Besides, the CentOS Stream’s essence is to enable developers to come up with compatible applications of future RHEL versions yet to be released.
Creating a Live CentOS USB drive
In this tutorial, we shall be using CentOS Linux. Click the “CentOS Linux”, and you will be redirected to the download page. On the download page, we shall download the ISO that is compatible with your operating system. In my case, I will choose the first option, which is “x86_64.”
CentOS Download Page
This link will redirect you to the “mirror page”, where you will choose the best mirror to download the CentOS ISO.
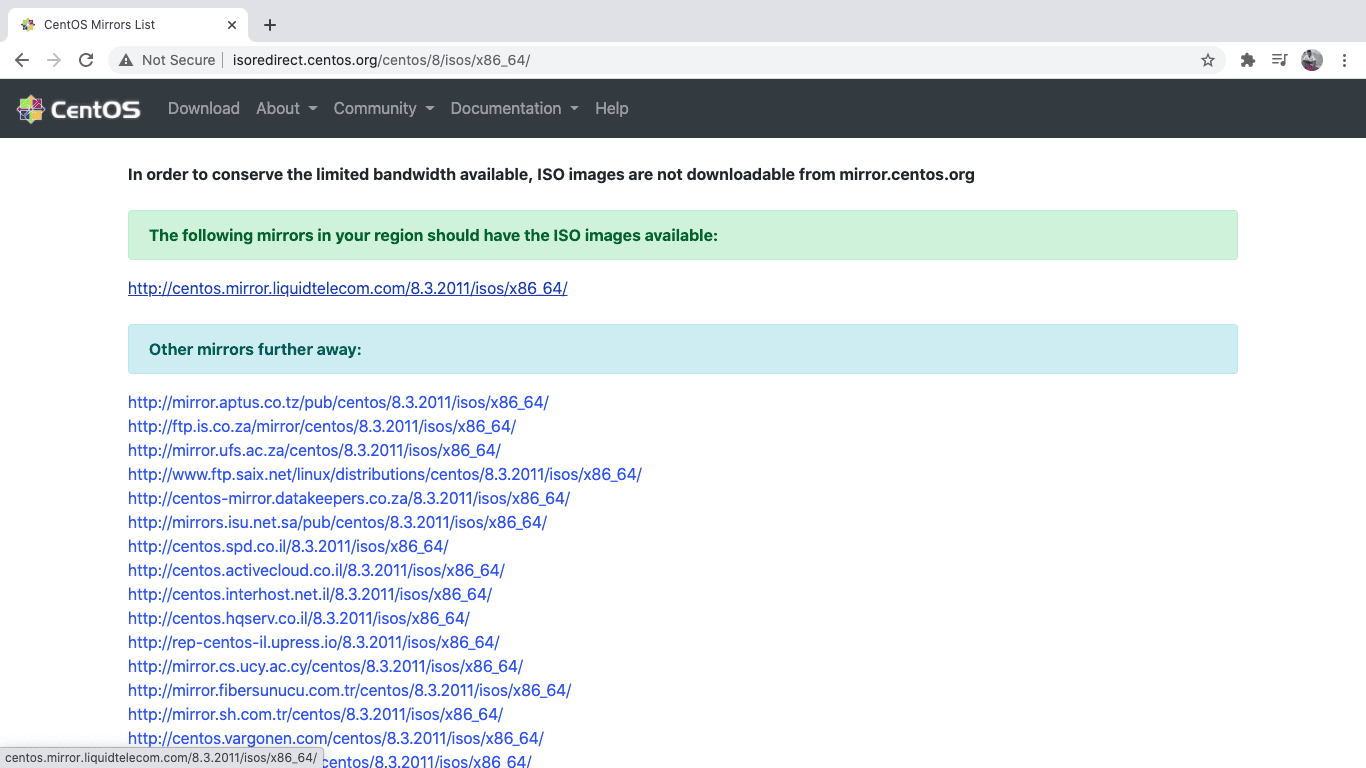
CentOS Mirror Page
When you click the “mirror”, it will redirect to another page that contains the download links. Here the user has to choose which option suits him or her the best. For instance, there is a Boot ISO, DVD ISO, and a Minimal ISO.
Depending on your needs, you will select the OS that bests suits you. For this tutorial, we shall choose the DVD ISO. This file is quite large, and therefore depending on your internet speed, it will take some time to download. The file is around 8.68 GB.
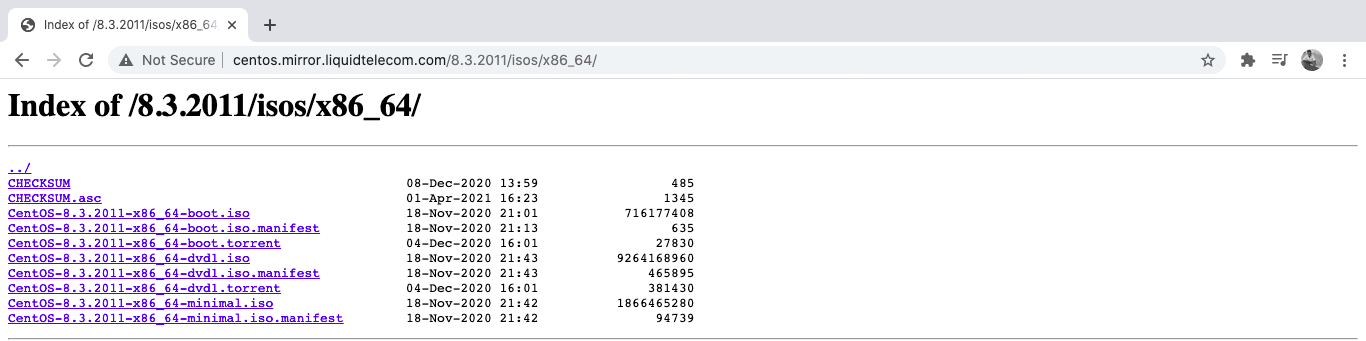
CentOS Download links
How to download ISO for previous CentOS versions
Some users might not be interested in the latest CentOS version, thus opting to install previous versions that they are used to. In such cases, you have to know how to download the older versions. Here is a short guide on how to download the older versions of CentOS
First, visit the official CentOS website mentioned above. Click the “download folder” and navigate to the download page. Here, all you have to do is scroll down to alternative downloads and click the “link.”
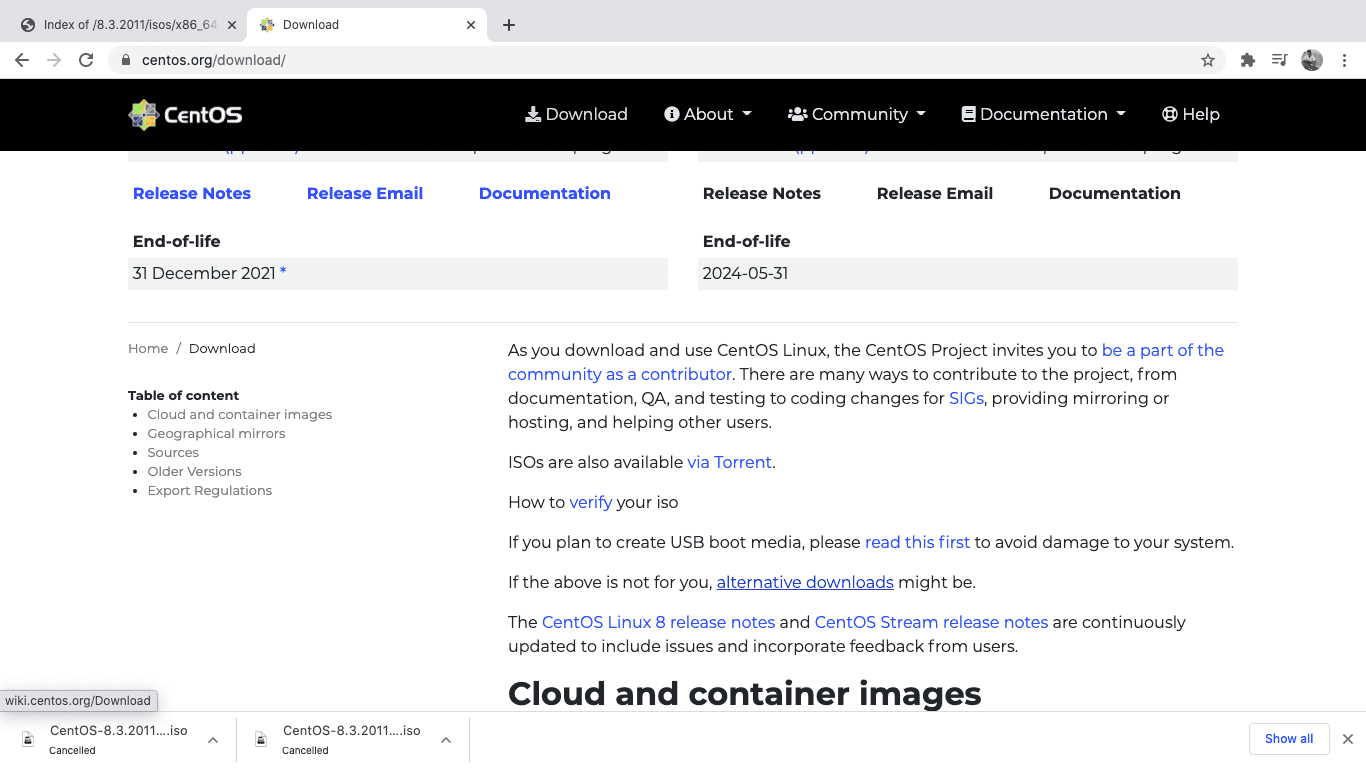
CentOS Alternative Downloads
Now you can download the version of CentOS that you wish.

CentOS Older Version Release Download Page
Do some users ask which type of ISO should I download? A DVD or Minimal ISO? We got you covered. The DVD ISO is a complete image that contains all the CentOS packages. Simultaneously, the Minimal ISO is a smaller version with only the necessary packages to run a CentOS system. In this tutorial, we shall use the DVD ISO.
Download and install Etcher
Click this “link.” It will redirect you to the Etcher official page. Download the file and install it on your PC.
Note: In this tutorial, we opted to use the Etcher, but other software can create bootable drives such as; Rufus, UNetbootin, gBurner. Most of the software is open-source; hence no need to worry.
Creating a Bootable USB drive using Etcher
Ensure you have a flash drive with at least 16GB of storage. This is because the latest version of CentOS is around 8.68 GB as we write this article. Also, ensure that the drive is empty and it does not contain your files, as this process will destroy all the files in your USB drive. Insert your drive into your Windows PC.
Launch Etcher and Click the “blue select image” icon.
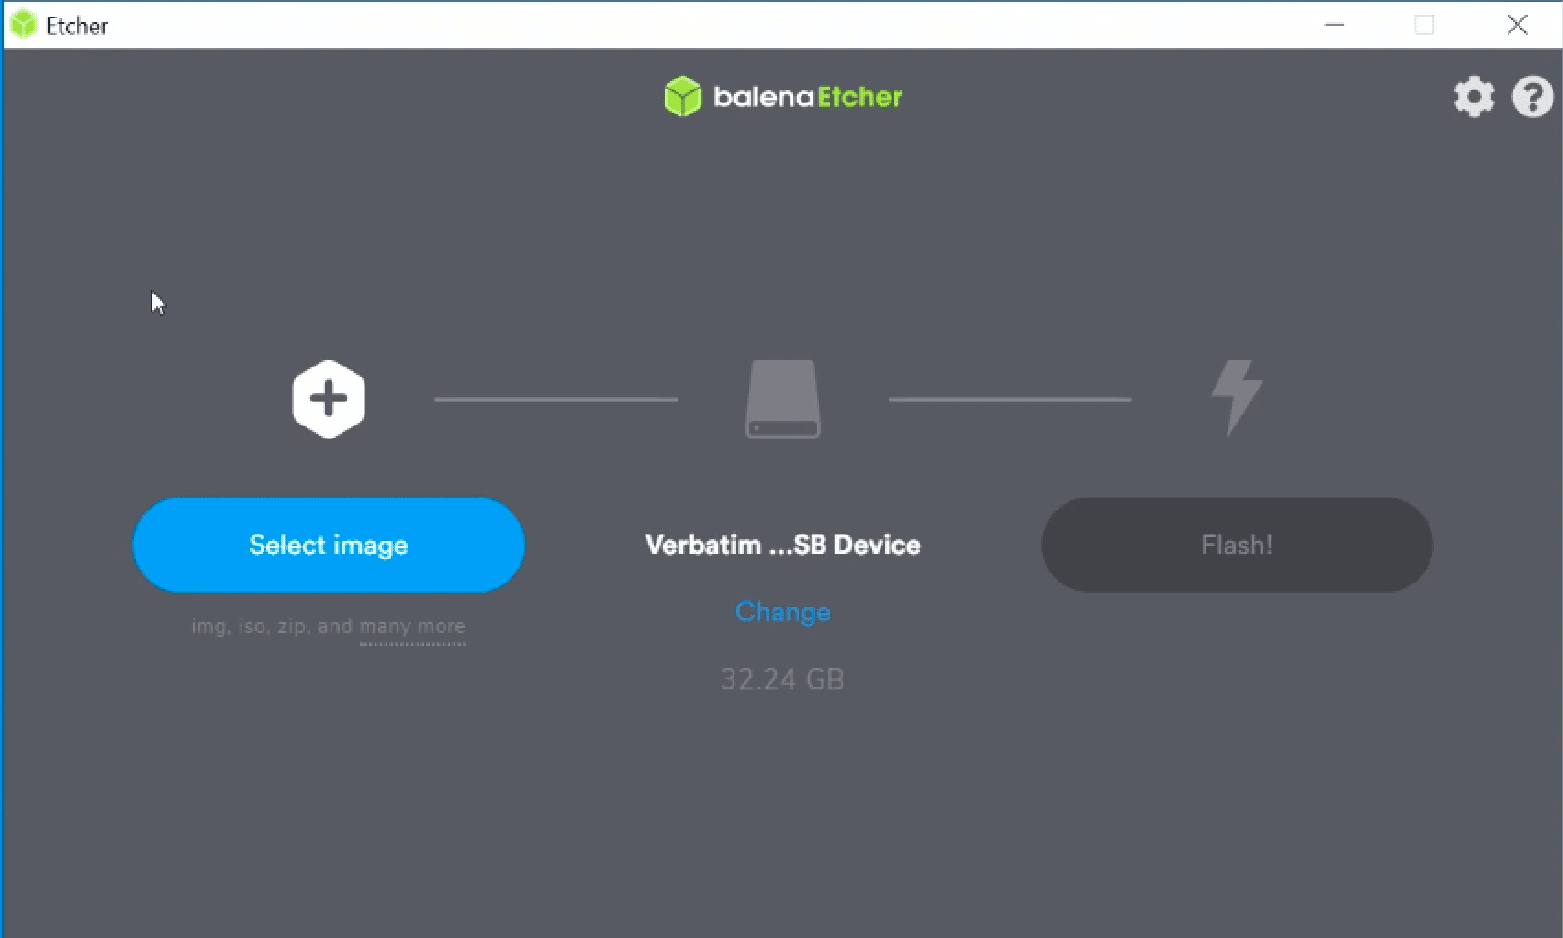
Balena Etcher Launching (Select Image icon)
This will open up windows explorer, where you will be required to choose the downloaded CentOS ISO file. After selecting your ISO file, Click “Open!”
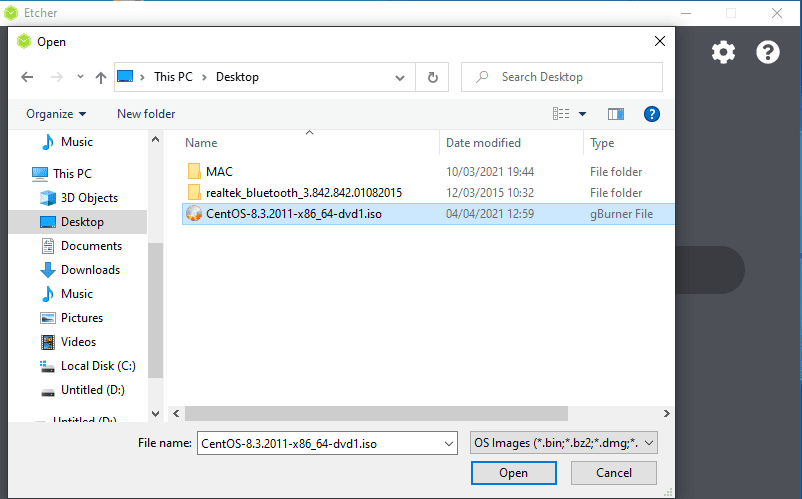
Balena Etcher Selecting ISO File
Click “Flash!”.
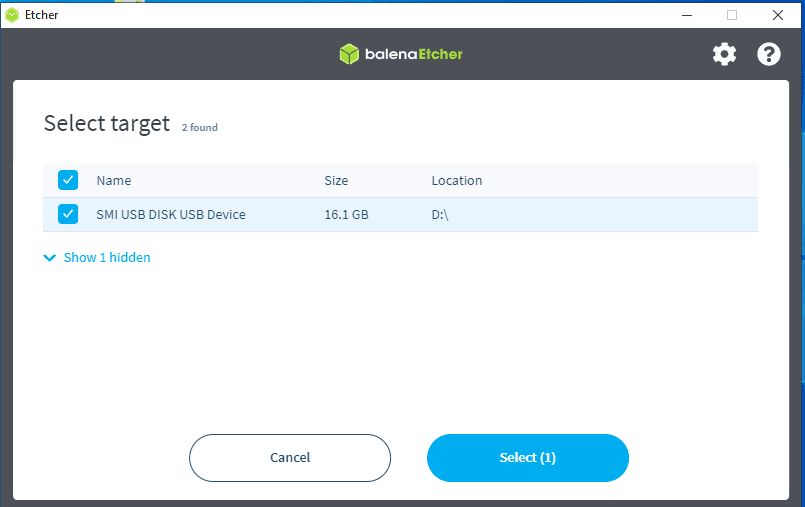
Selecting target drive
Upon completion, Etcher will start the validation process. This process is quite fast as compared to the initial flashing process.
Wait till the process is done, and you will get a ‘Flash Complete!’ message. This is an indication that you have successfully created a CentOS bootable flash drive. Now exit the etcher window.
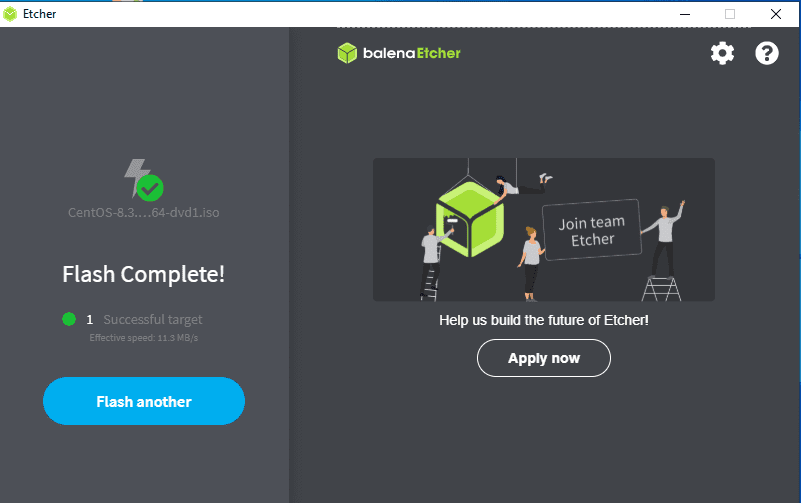
Flash complete
Let us look at other alternatives for creating a bootable CentOS flash drive.
Creating a Bootable USB drive using Rufus
Click this link “here“, and you will be redirected to the Rufus official website. Scroll down until you see a large Download button. Below it, click the first link, “Rufus 3.13 (1.1 MB).” This is the first link at the time we are writing this article.
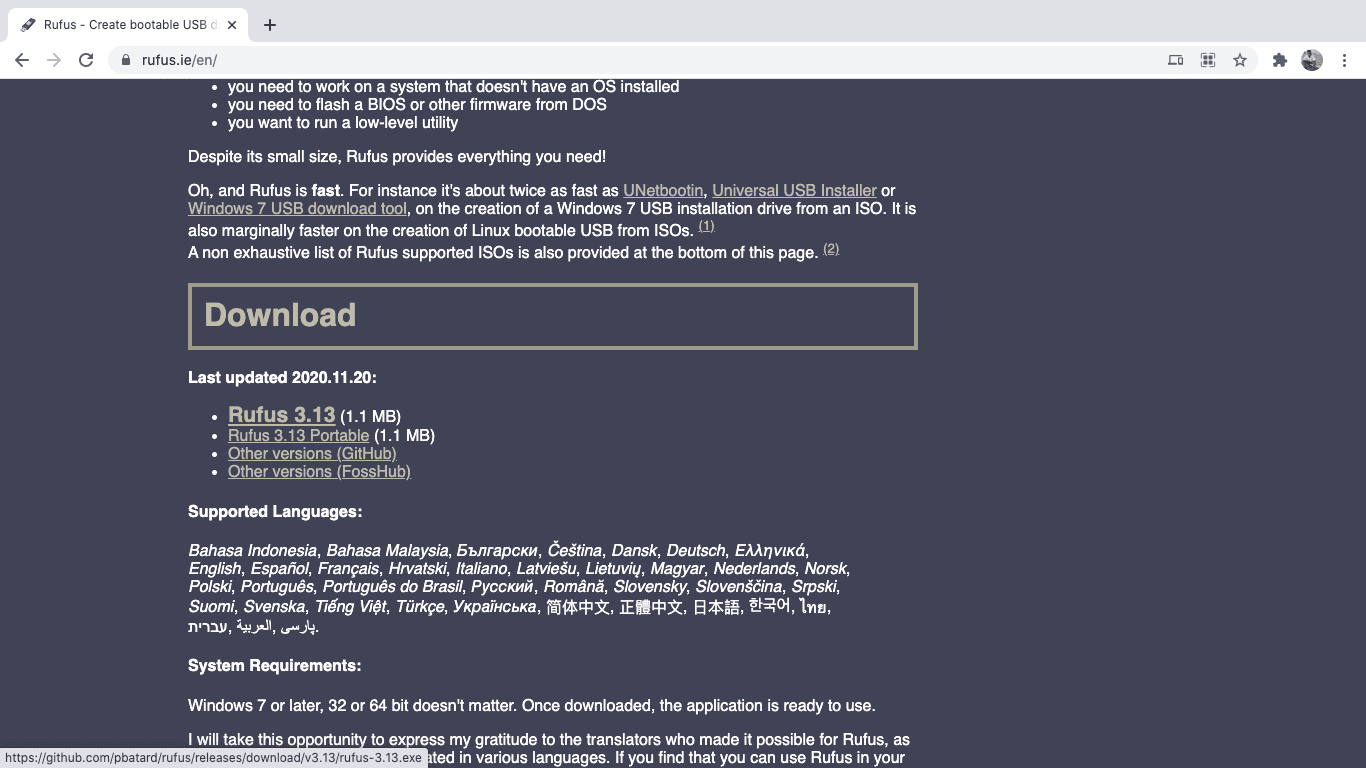
Rufus Download page
It would help if you understood that the versions might change over time. Install the rufus.exe file by following the prompts and pressing next. There are no alterations or settings that need to be made; hence we shall stick to the defaults.
Upon completion, launch Rufus, and you will see an interface similar to the one shown below:
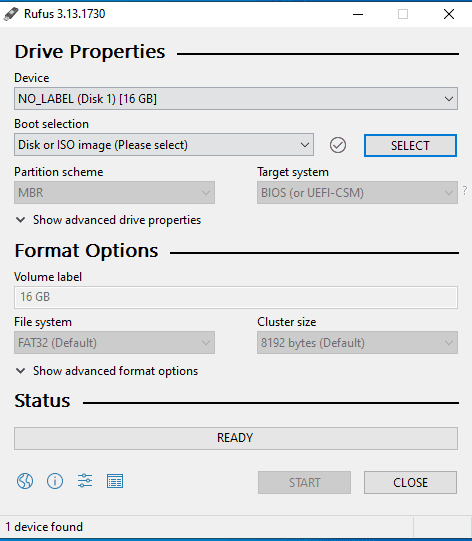
Rufus Interface
Click on “SELECT” to choose your ISO image. Select the ISO message you downloaded previously and click “open.”

Rufus Selecting ISO
Choose your USB drive and click the “START” button. A pop will show press yes to continue. However, in some cases, you might be required to download extra files, as shown below. Don’t freak out; click the “Yes” button, and Rufus will do the installation on your behalf.
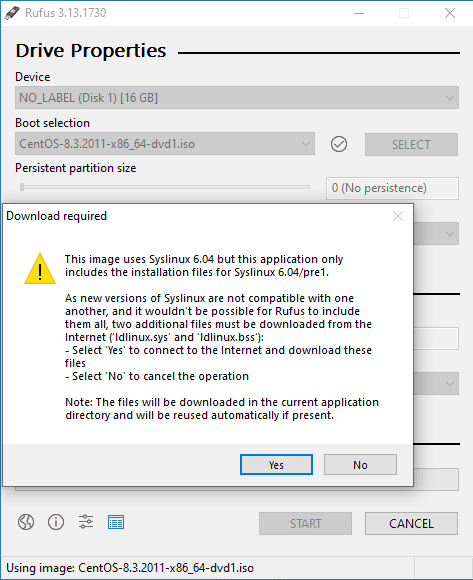
Rufus Download Warning Pop-up
A warning will show indicating that all files from your USB drive will be destroyed. If you are sure the USB drive does not contain any essential files, click “Yes”—however, first back up your files before continuing. The Rufus software will start writing files into your USB drive. Once it is done, click the “Close” button, and you are good to go.
Creating a Bootable USB drive using Win32diskimager
Now that we have the ISO, we shall not download it again. We shall move to the next step, which is downloading the Win32diskimager. Follow this link to download the Win32diskimager.
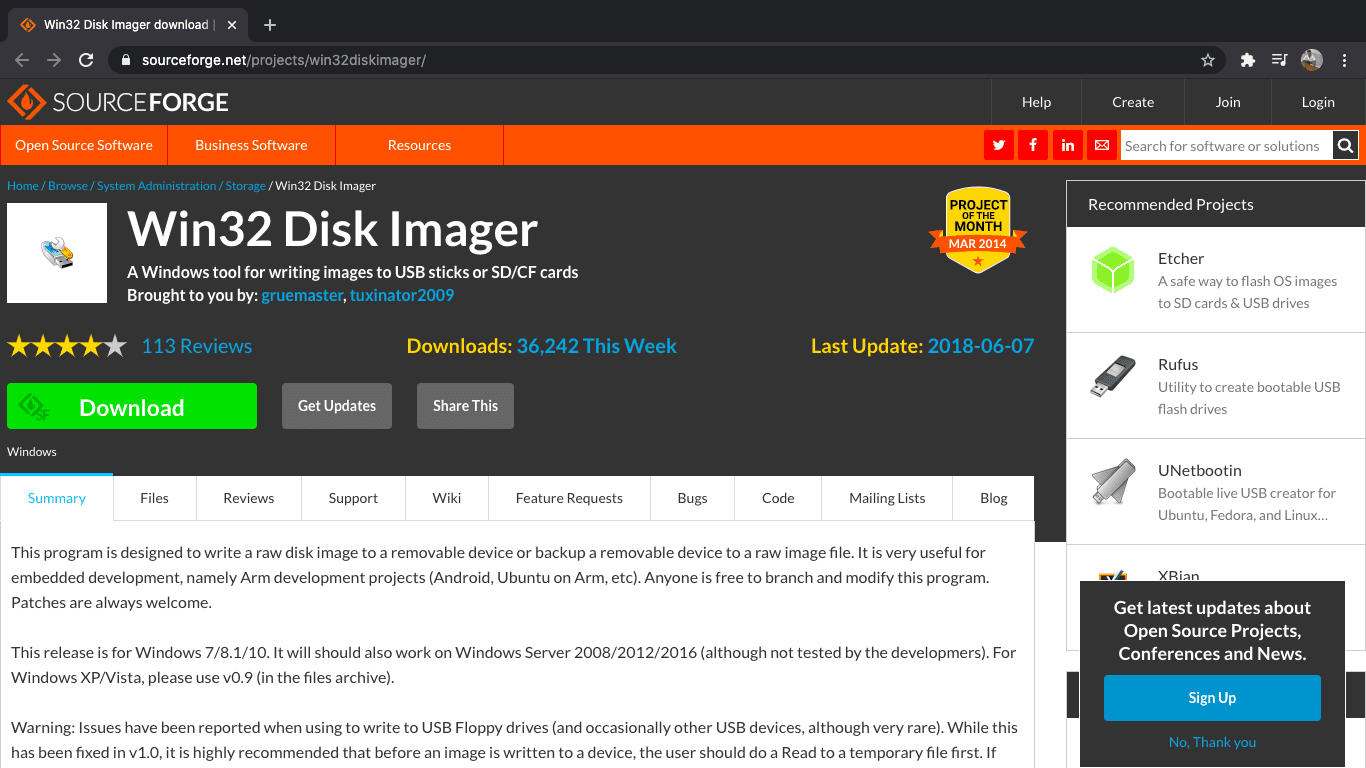
Win32 diskimager download page
Using this tool to burn an ISO image is recommended because of its reliability. After downloading, install and run the Win32diskimager.
Windows will essentially run a security scan which fails. However, don’t freak out. Press yes to continue with the installation process.
Accept the License agreement and press next. There are no alterations made during the installation process; therefore, continue pressing next until you come to the final install screen. For this tutorial, uncheck the README file and press the finish button to launch Win32diskimager.
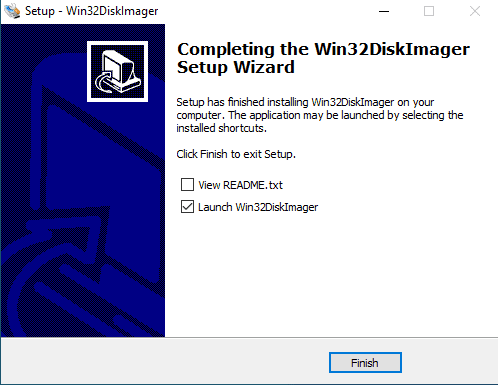
Uncheck README Image
Now insert your USB thumb drive into your Windows PC to create a bootable drive. Choose the CentOS image in the Win32diskimager window by browsing through the windows explorer pop-up. Click open. Move to the subsequent phase, which is choosing the drive you inserted. Do this by navigating to the Device section and select your thumb drive.

Win32 diskimager selecting ISO
Click the Write button and relax, and Win32diskimager does its thing. Suppose you get a pop-up warning after pressing write, press yes. You can watch the progress bar to take into account the writing process. Once the process is complete, eject the thumb drive and place it in the machine you would like to install CentOS. That’s all. You successfully created a bootable USB thumb drive using Win32diskimager.
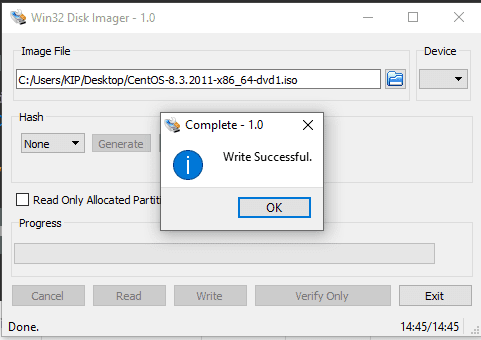
Win32 diskimager complete flashing
The process is almost similar. Therefore, it does not matter what method you choose when creating the bootable flash drive. All you have to do is following the procedure highlighted in this article. Before starting the installation process, ensure you have your USB drive ready and the required ISO.
Why should I create a bootable drive?
Some users might find this task not to be very necessary. On most occasions, they will opt to use alternative methods such as the use of CD installers. However, with the rapid technological changes and advancements, you will require a bootable USB drive because modern laptops lack CD drive ports. Therefore, the user does not have any other option on such occasions other than creating a bootable USB drive.
Conclusion
The article has covered the various ways one can use to create a CentOS bootable USB thumb drive. We now believe that you can make a bootable drive on your own. Try out any of the methods that suit you. The processes are almost similar, only that the software used is different.
4 comments
does not work. only get the option to ‘install CentOS’ or ‘Test media & install CentOS’
Instructions for getting a LIVE image are incomplete!
Do not download the minimal iso, this is for install,
Instead, click the “alternative downloads” link,
Look for LiveGNOME or LiveKDE in the list, click the mirrors link.
Select a mirror, then download one of the LiveGNOME or LiveKDE images.
Don’t waste your time on this article.
Disappointing. Read the entire article only to find NO instructions to do what the headline proclaims. CentOS does not appear to have a LIVE USB option.